How To Install Notepad++ On Windows 11
Operating with different program files is an everyday task for every developer. In such scenarios, a good source code editor comes very handily. There are different text editors, and every windows user has interacted with a notepad. But notepad is a terrible text editor you might wanna use. However, Notepad++ can be said as the enhanced version of notepad. Due to its seamlessly low size, the application loads up pretty quickly and works very well. Therefore today we’re going to see how can we install Notepad++ on Windows 11.
Video Tutorial: How to Install Notepad++ on Windows 11
No need to worry guys, currently we’re working on this tutorial, till then refer to the below article. If you have any questions! Feel Free To Ask.
Step 1 : Download Notepad++
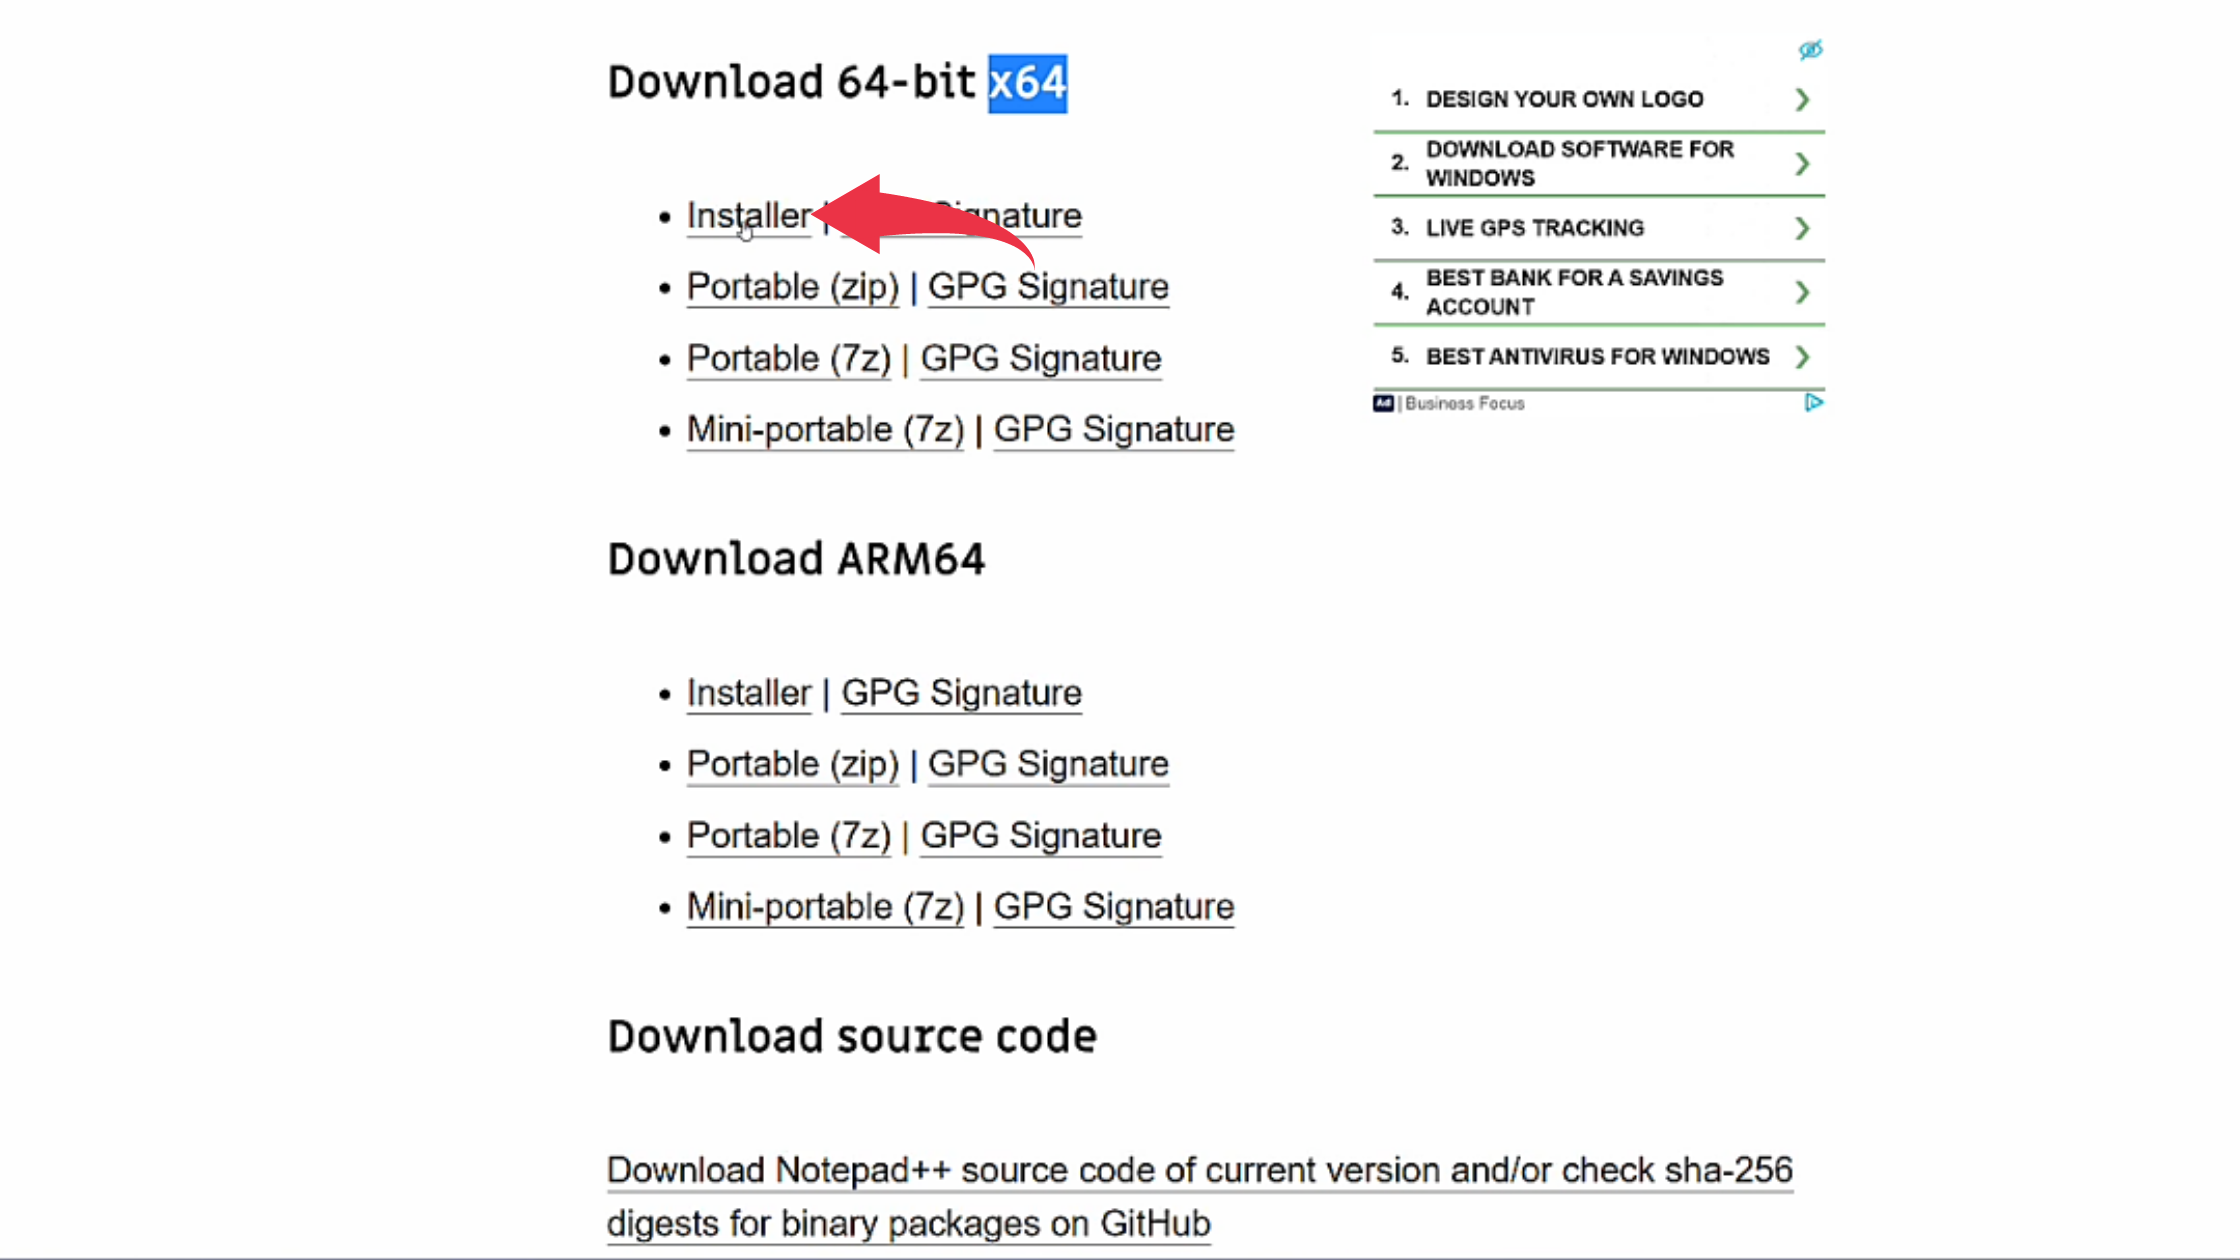
1) Firstly we will download Notepad++ for Windows 11. Follow the below-provided download link, and click on the latest release version available. In our case, it’s Notepad++ 8.1.3 Release.
Download Notepad++ here: https://notepad-plus-plus.org/downloads/
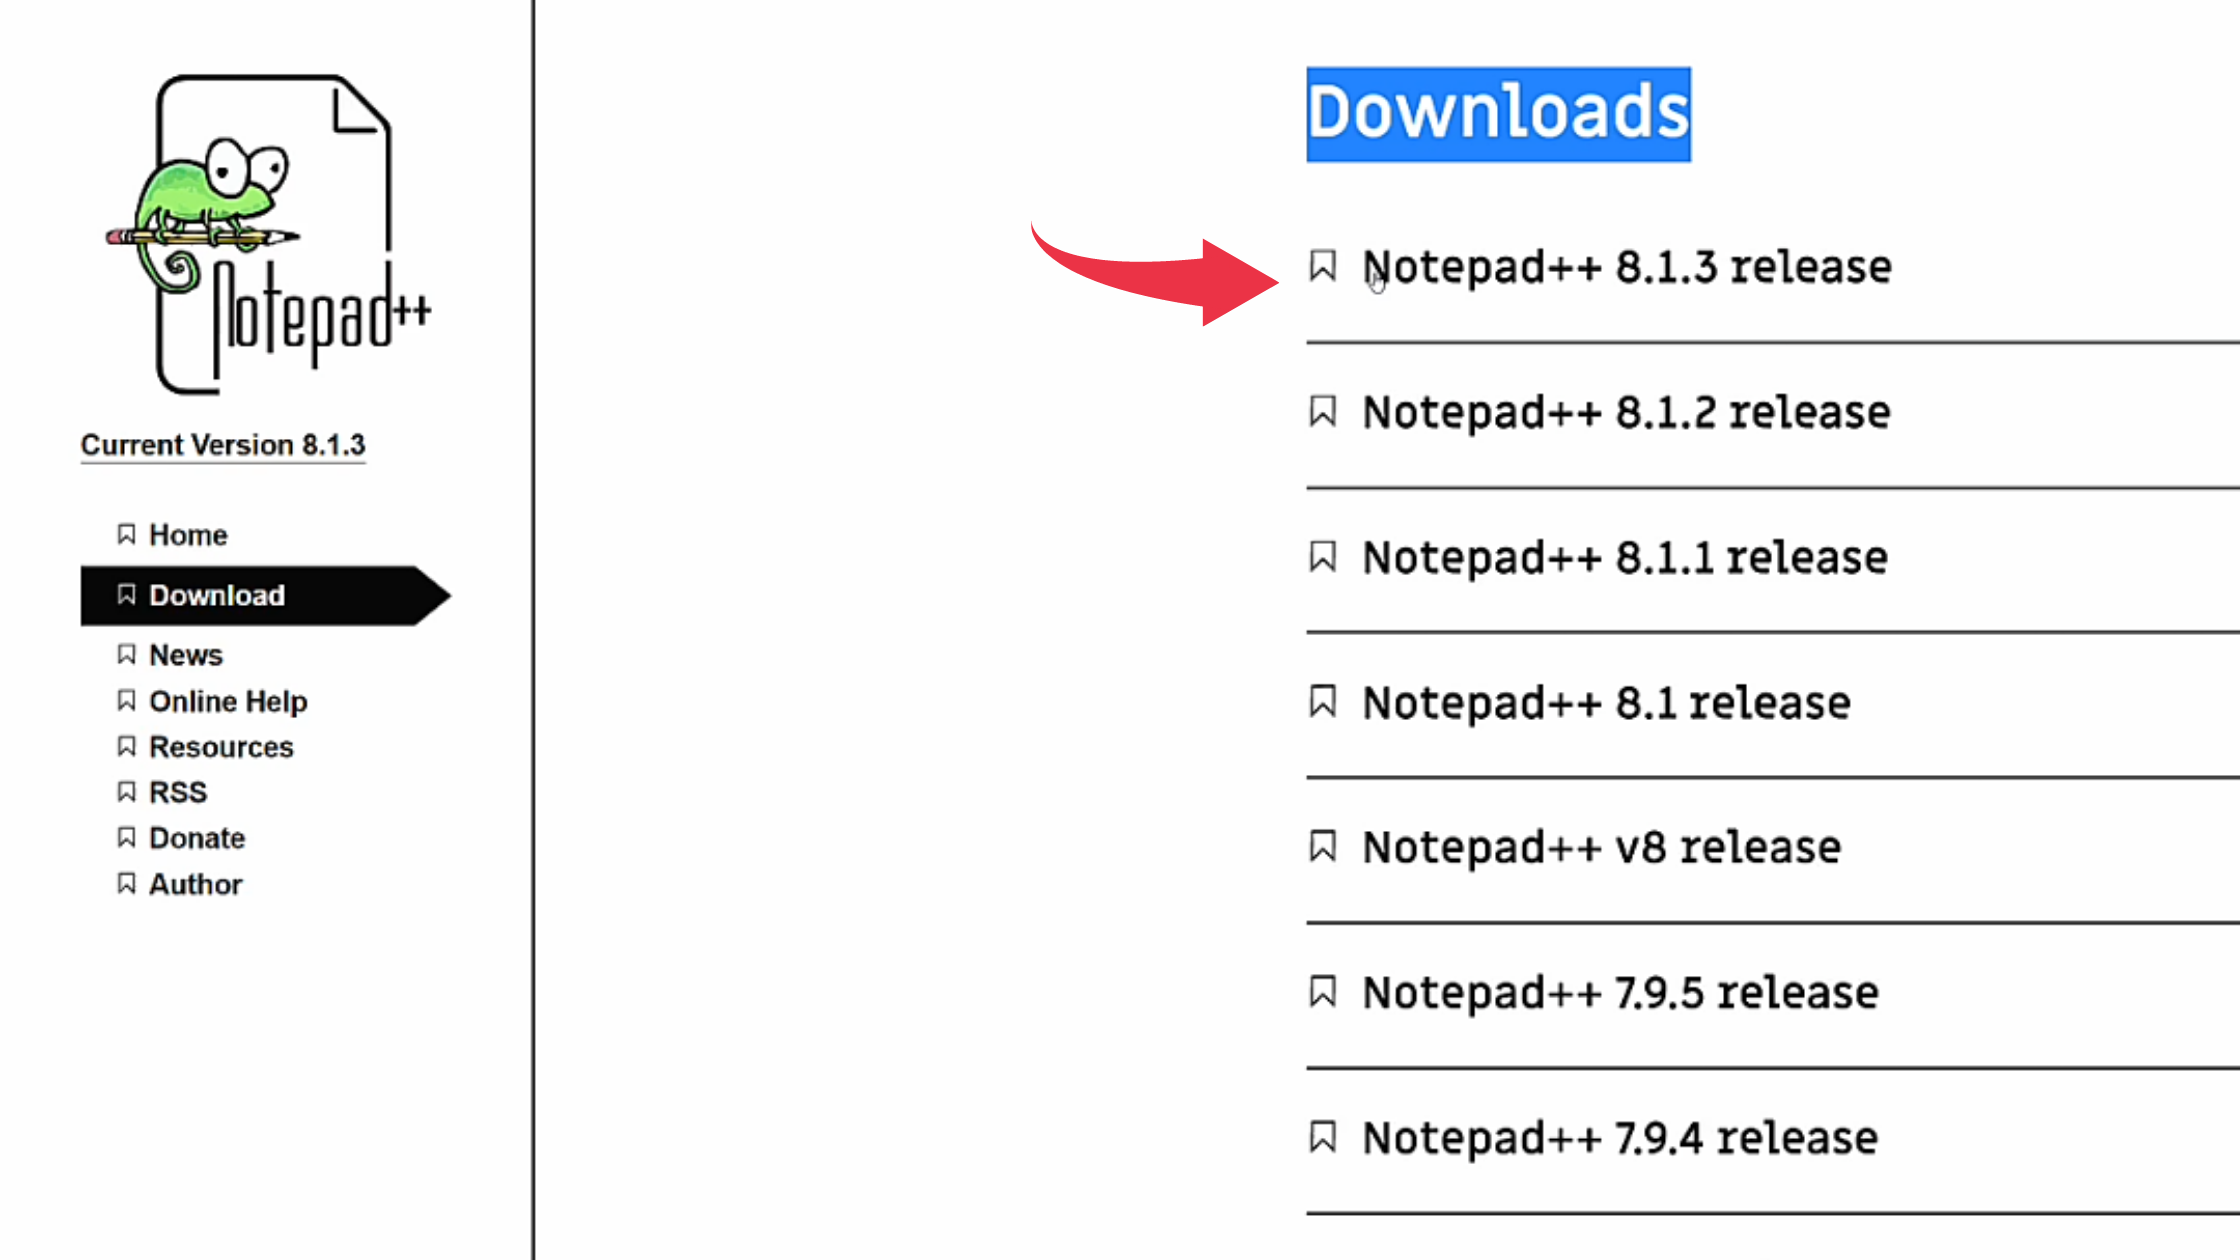
2) Now based on your system architecture download the appropriate Installer file. We’re using Windows 11 system with x64 Architecture.
Also Read: How to download R and install RStudio on Windows 11
Step 2 : Install Notepad++
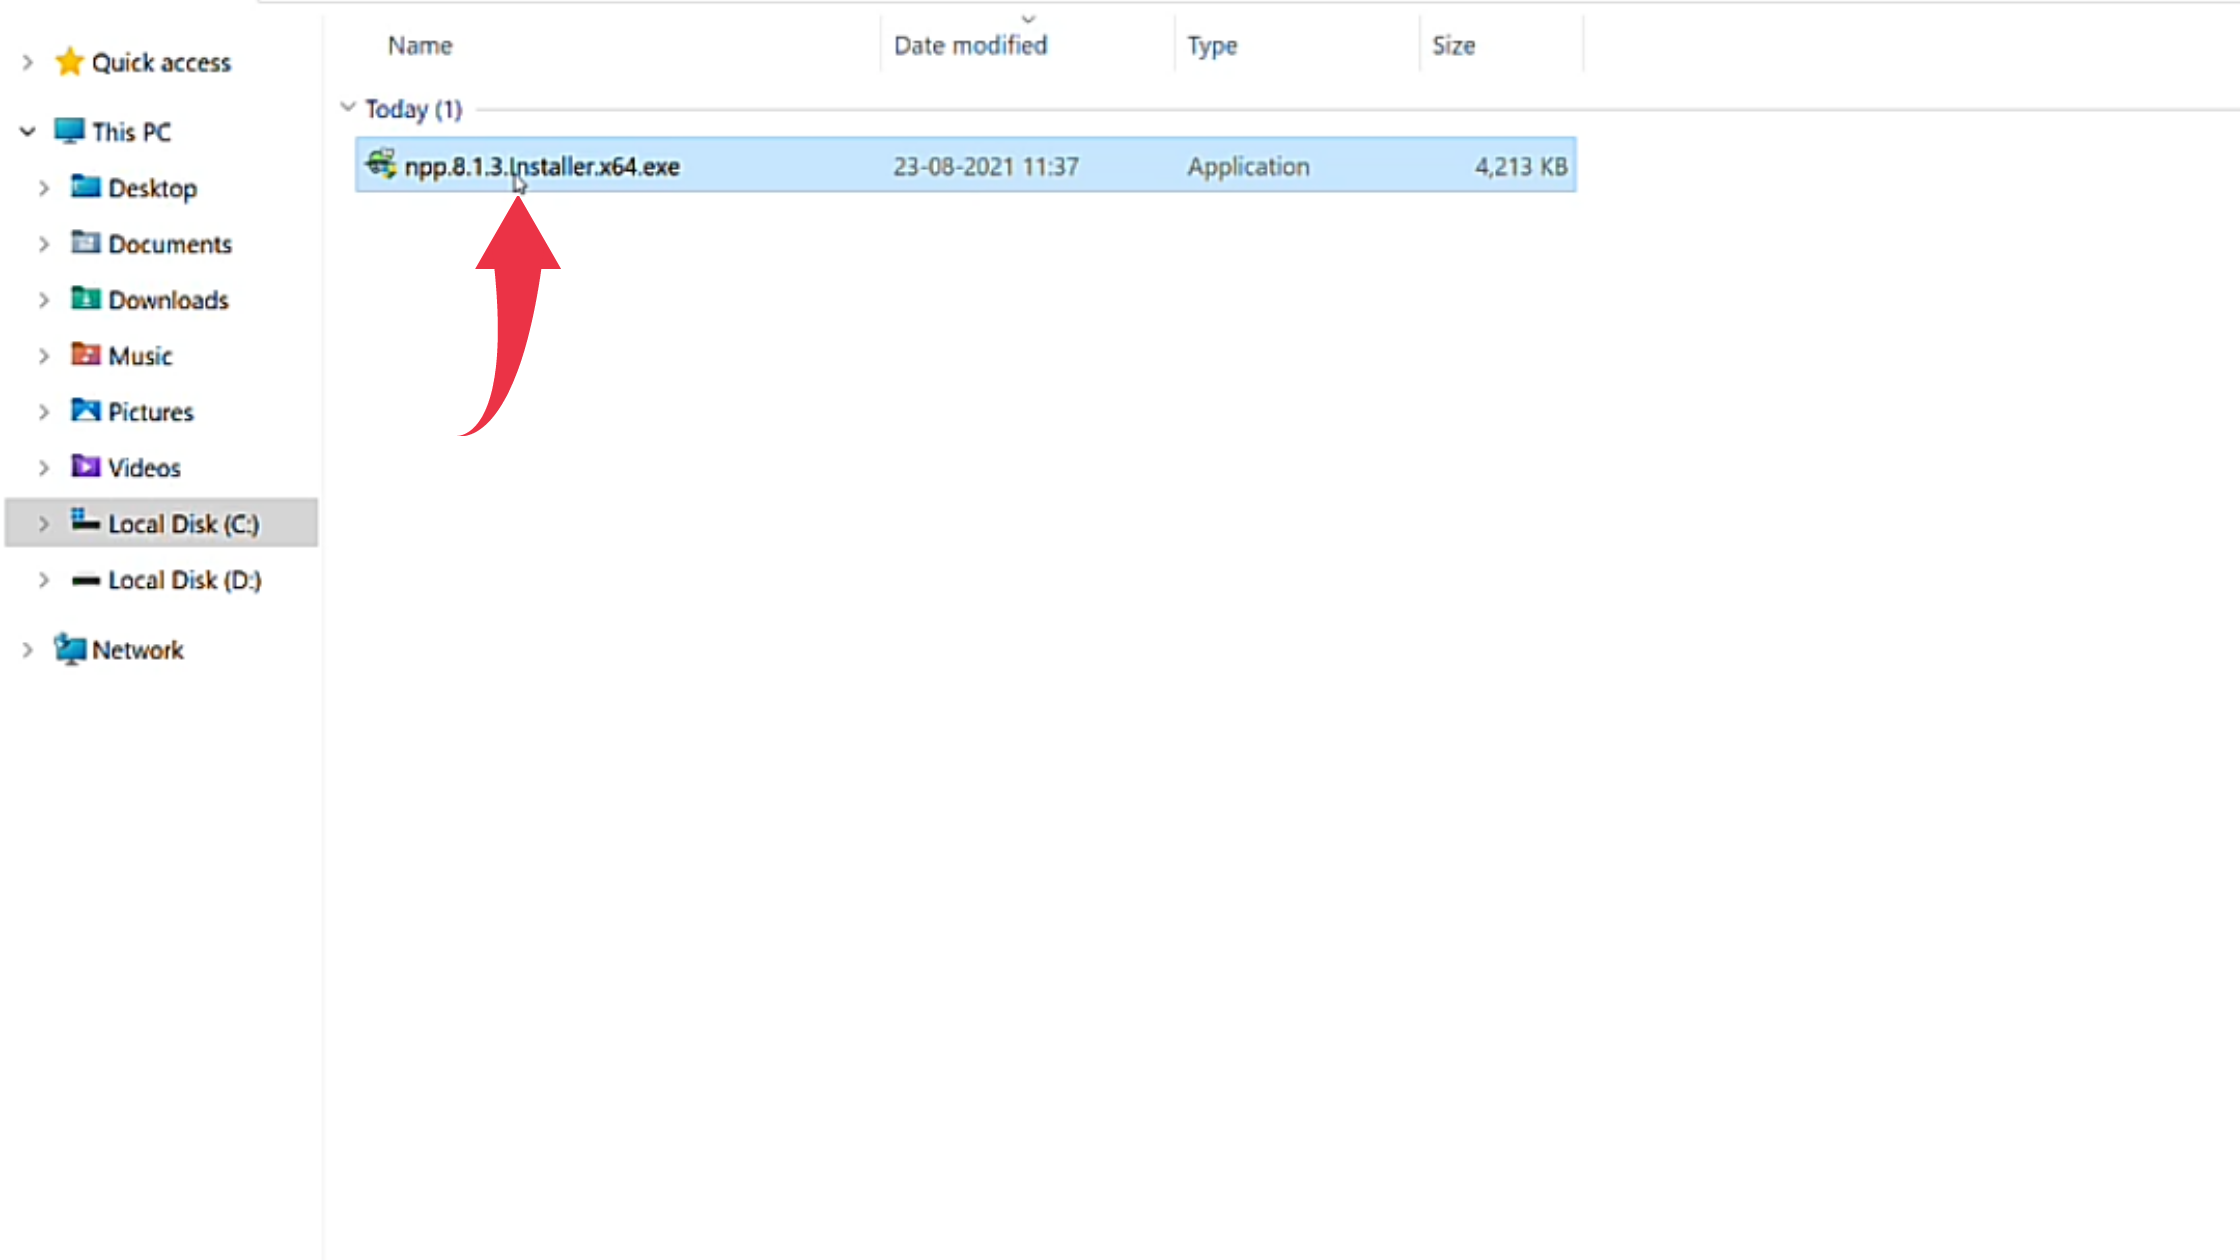
1) Once the download gets finished open it up in the folder where it has been downloaded and Double Click on the downloaded file to start it’s the installation process.
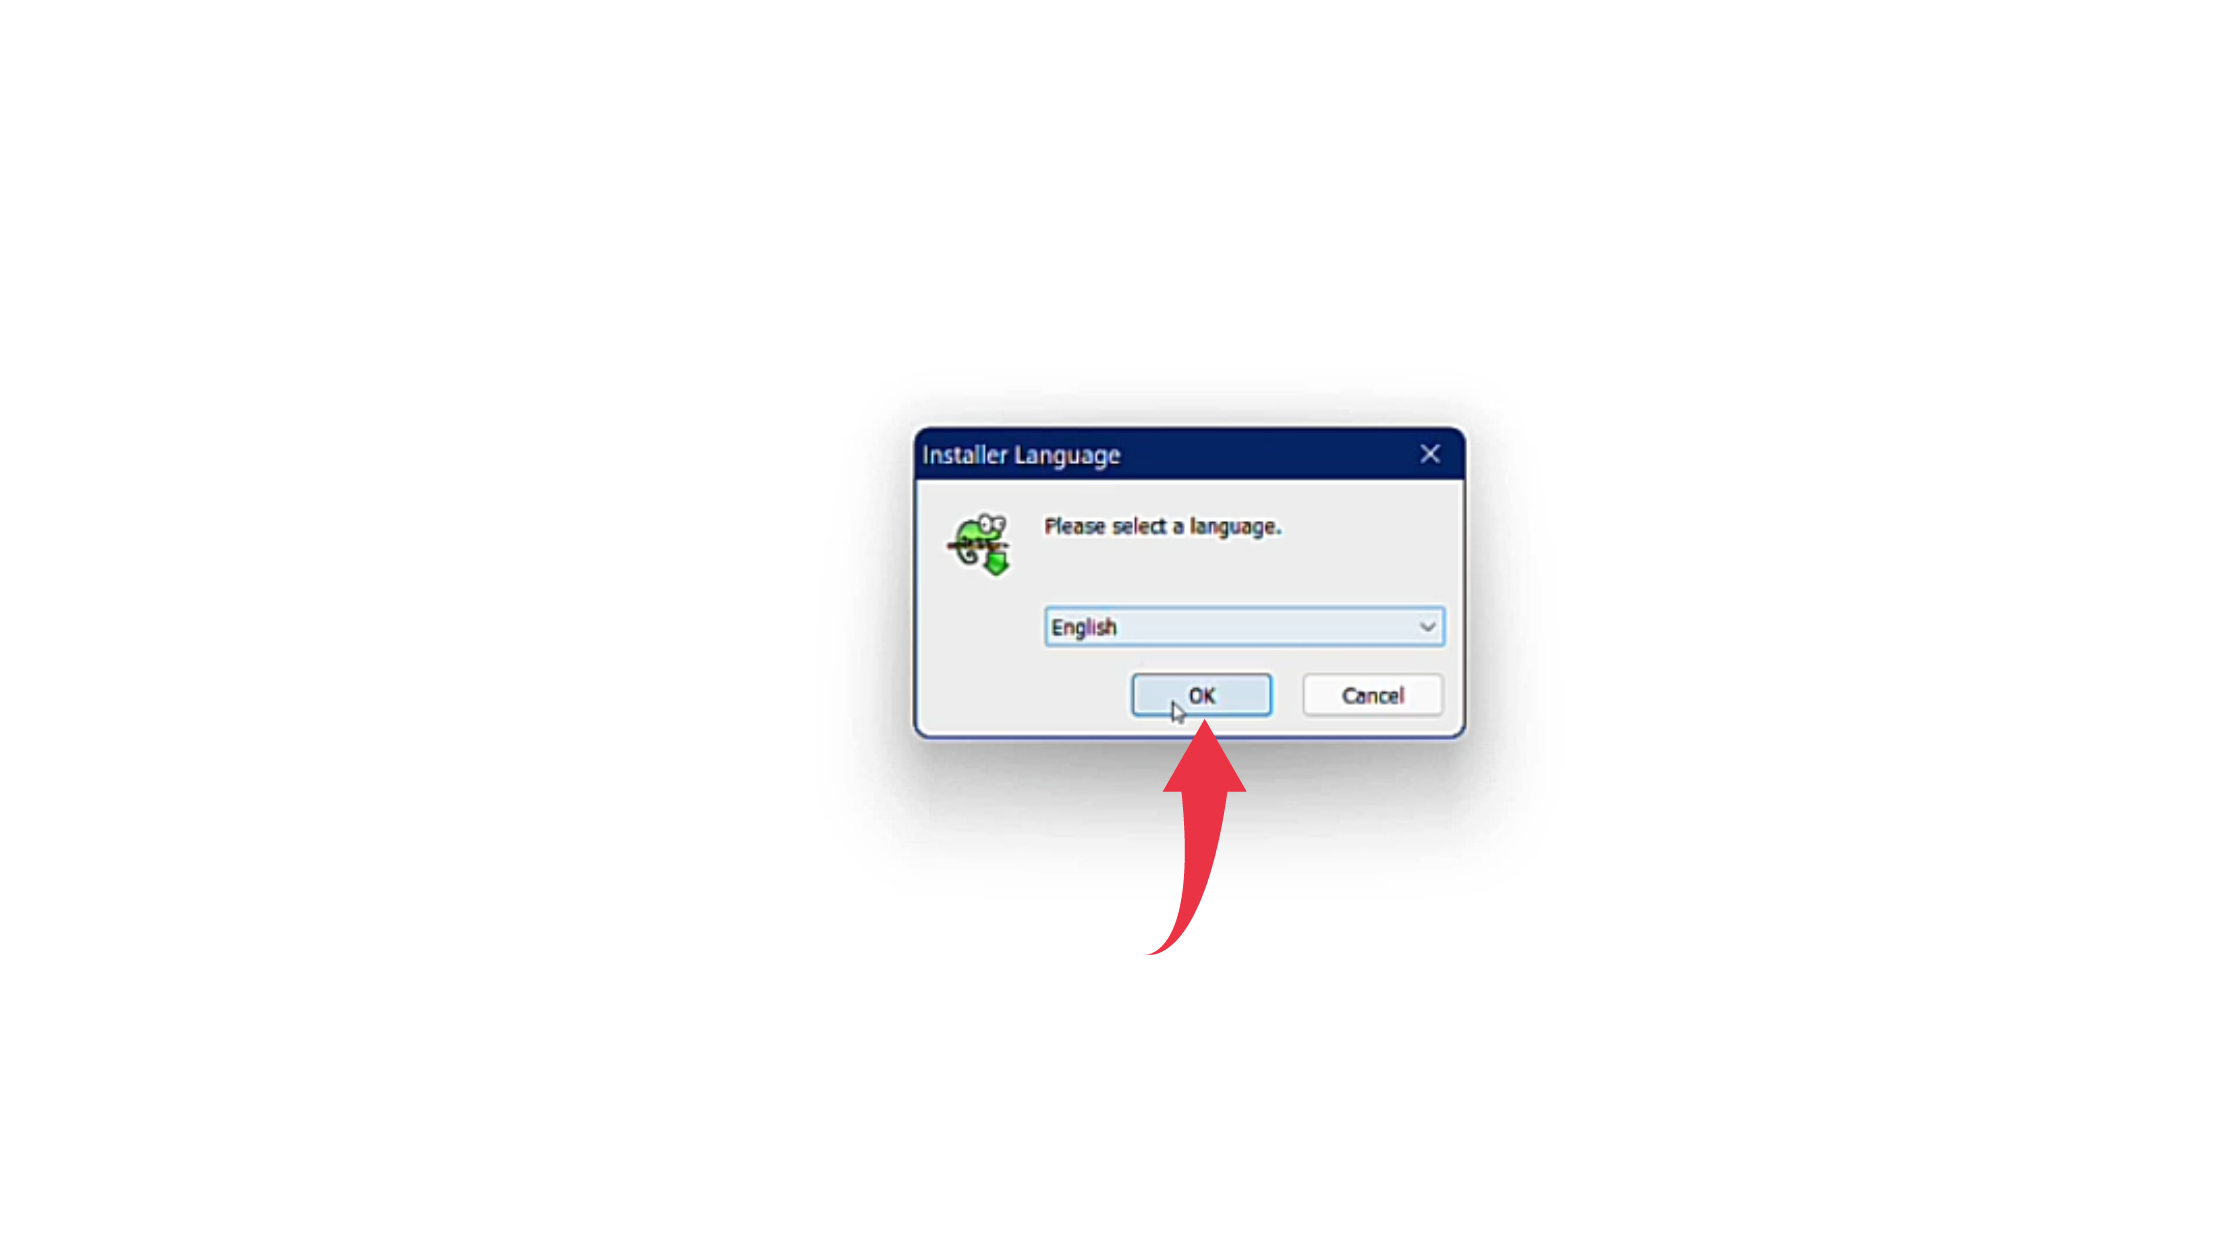
2) Now we have to select the installation language of Notepad++. We will stick to the default language i.e English and click on the Ok button.
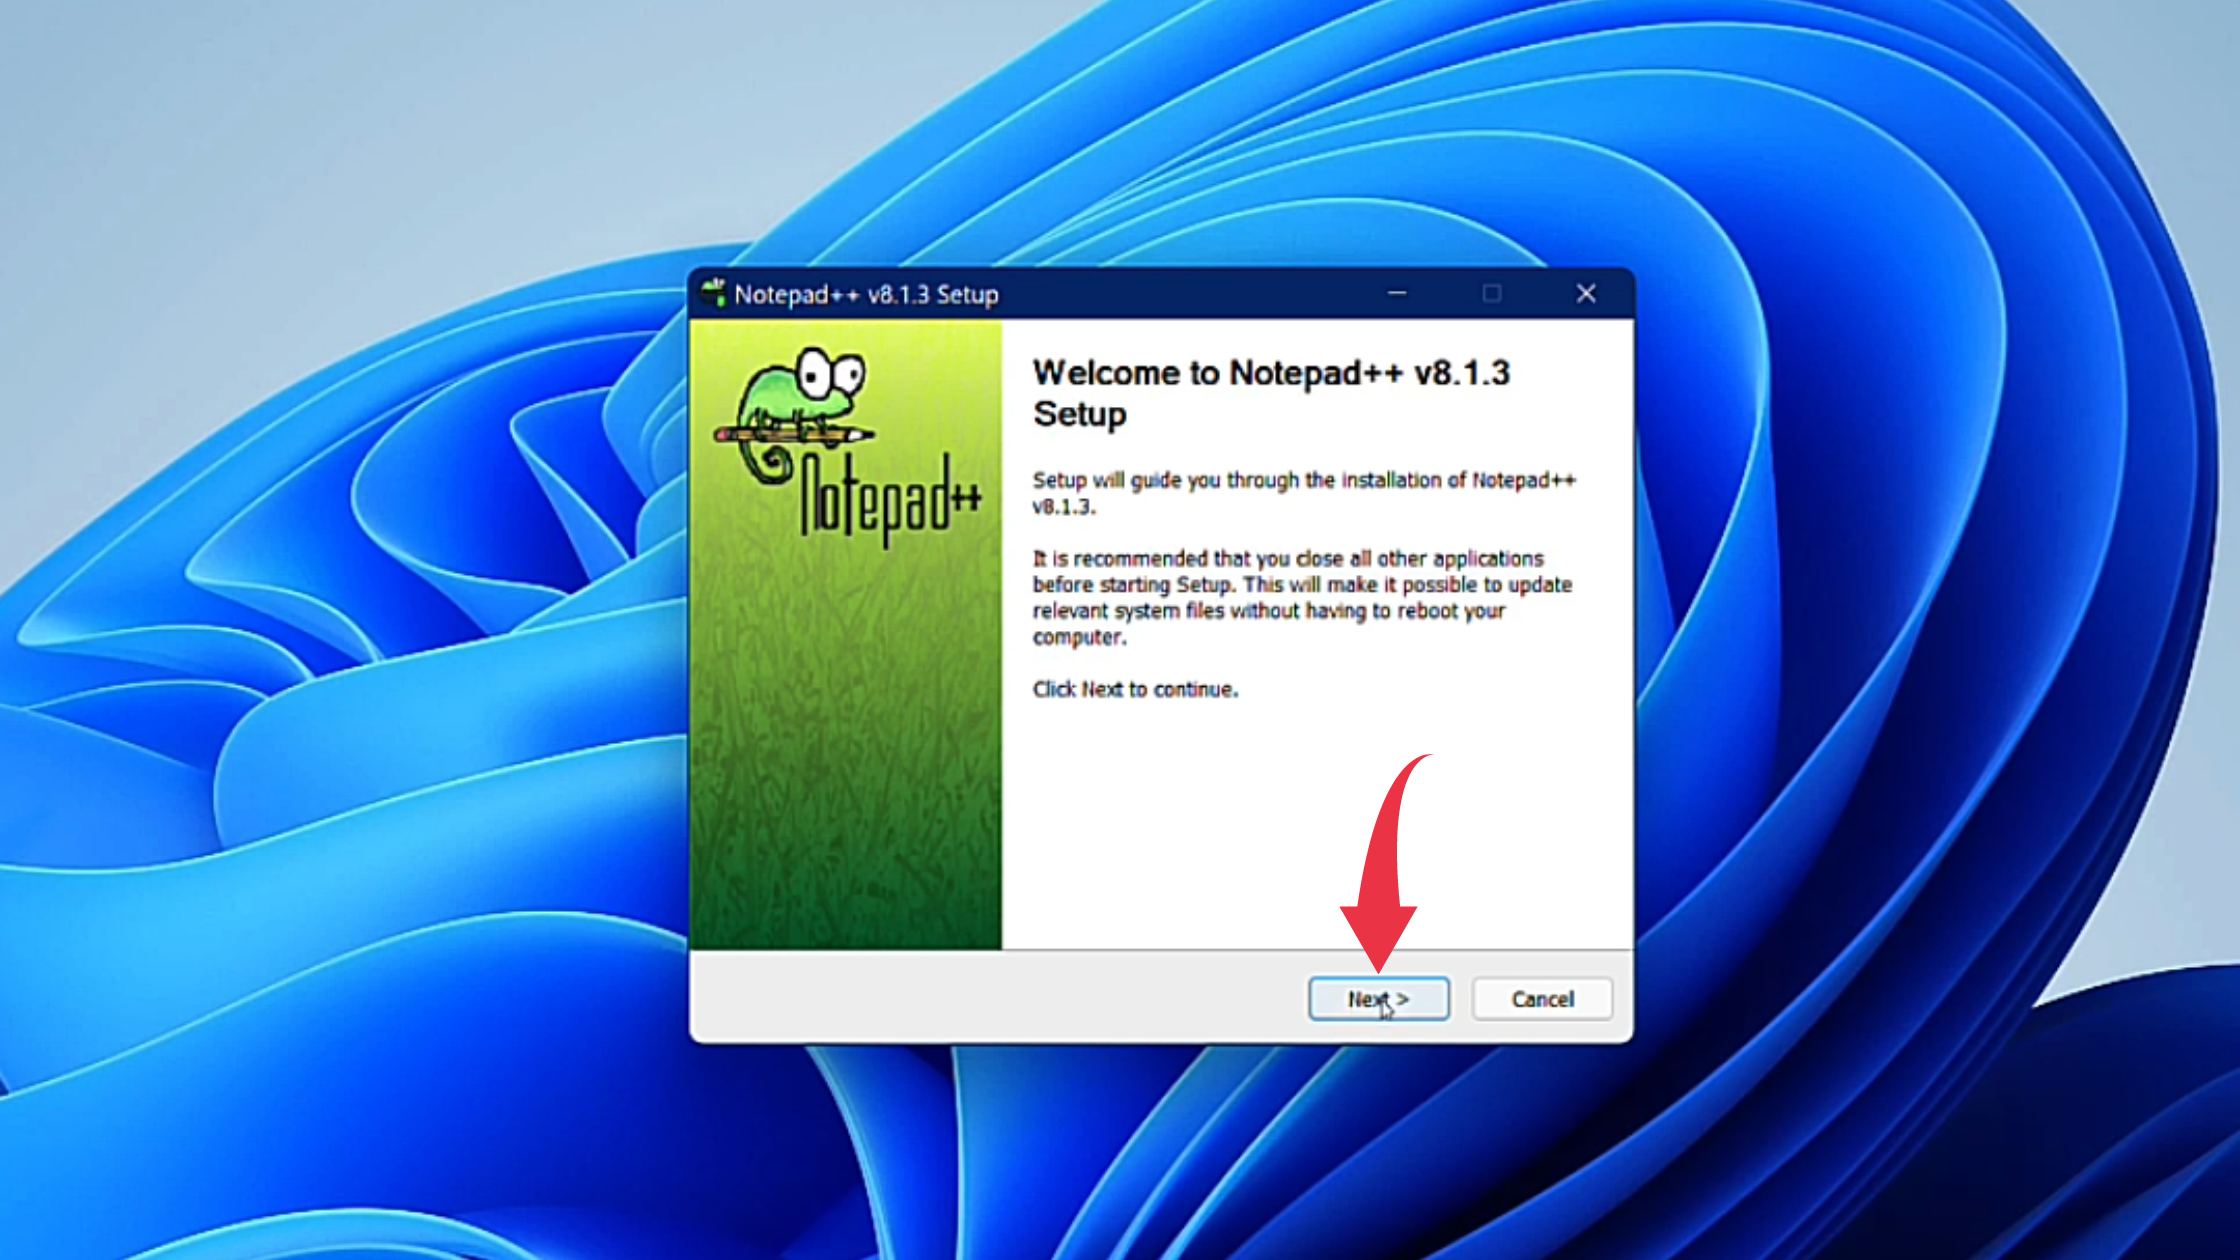
3) In the setup wizard’s welcome screen click on the Next button.
4) In the licence agreement window simply click on the I Agree the button.
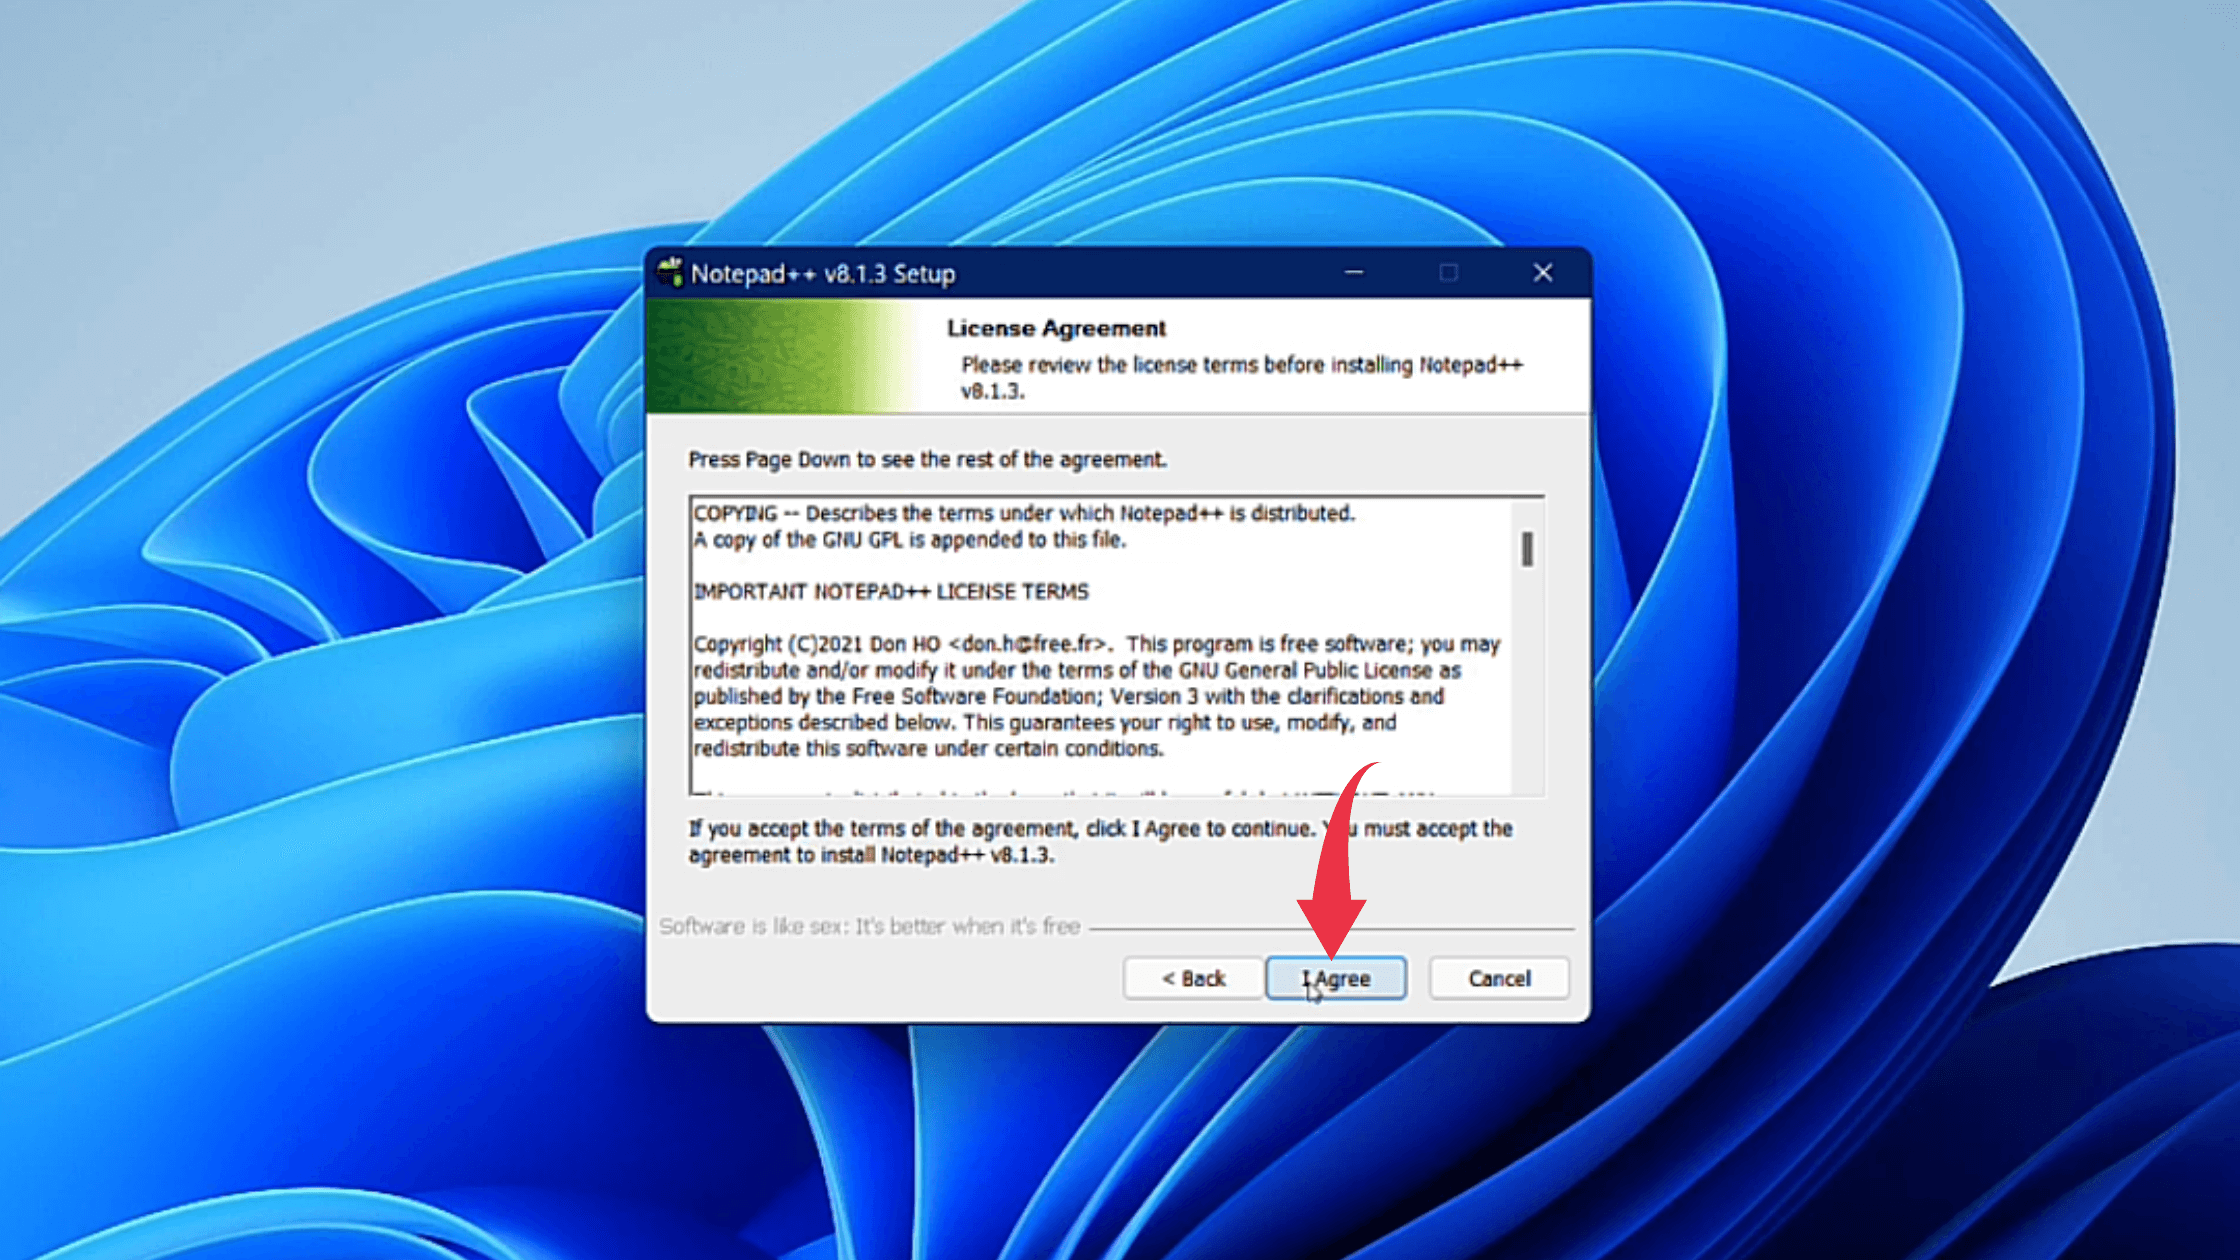
5) Here we have to select the installation location, we’ll stick to the default destination location so click on the Next button.
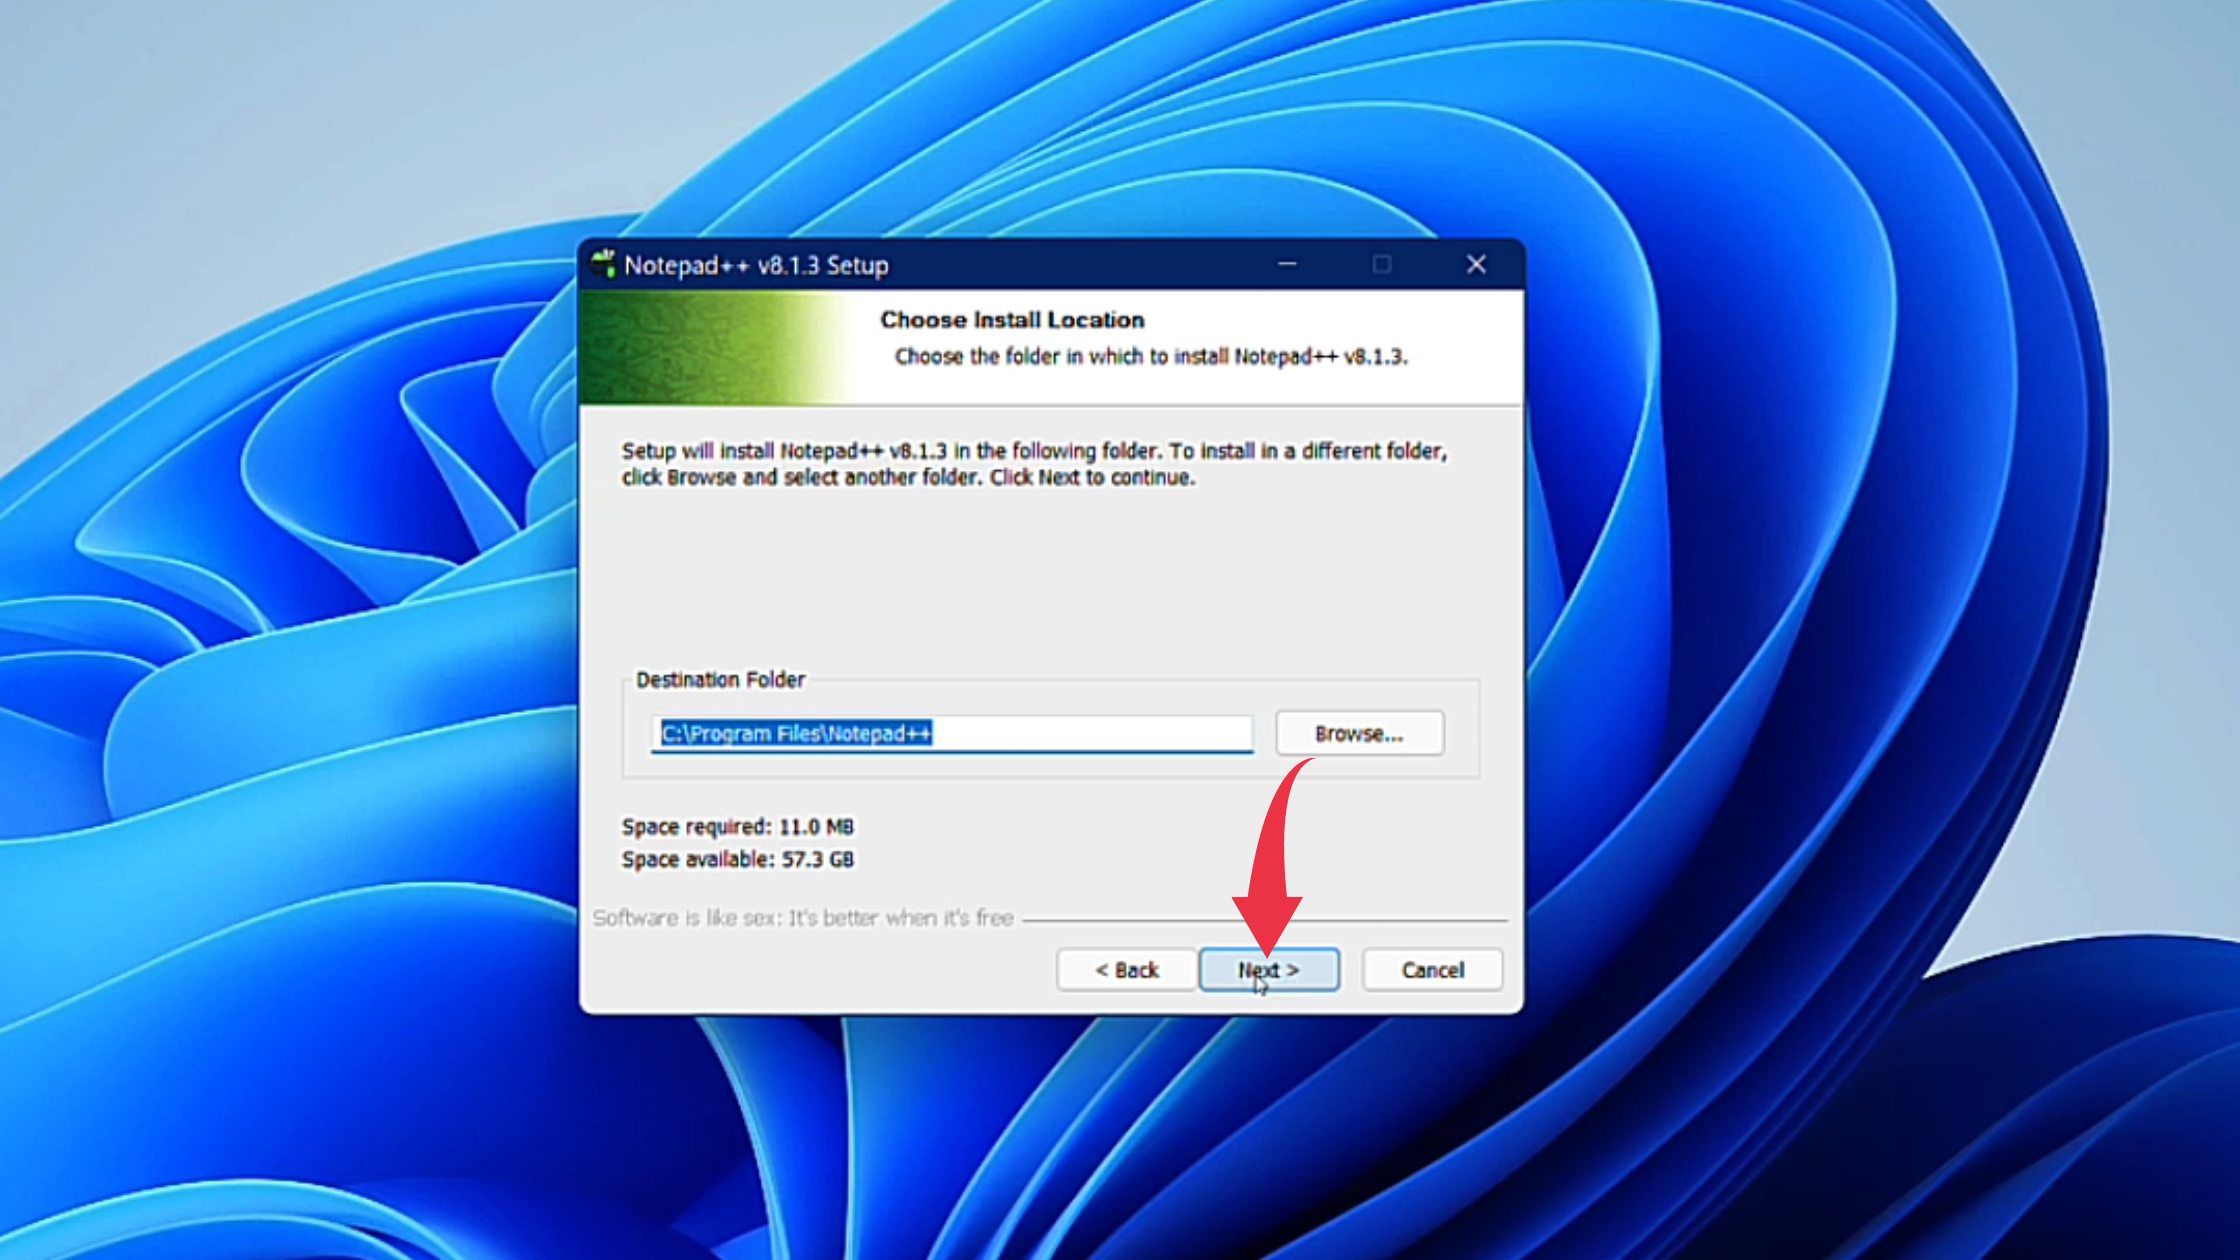
6) In the Choose Components window as well click on the Next button.
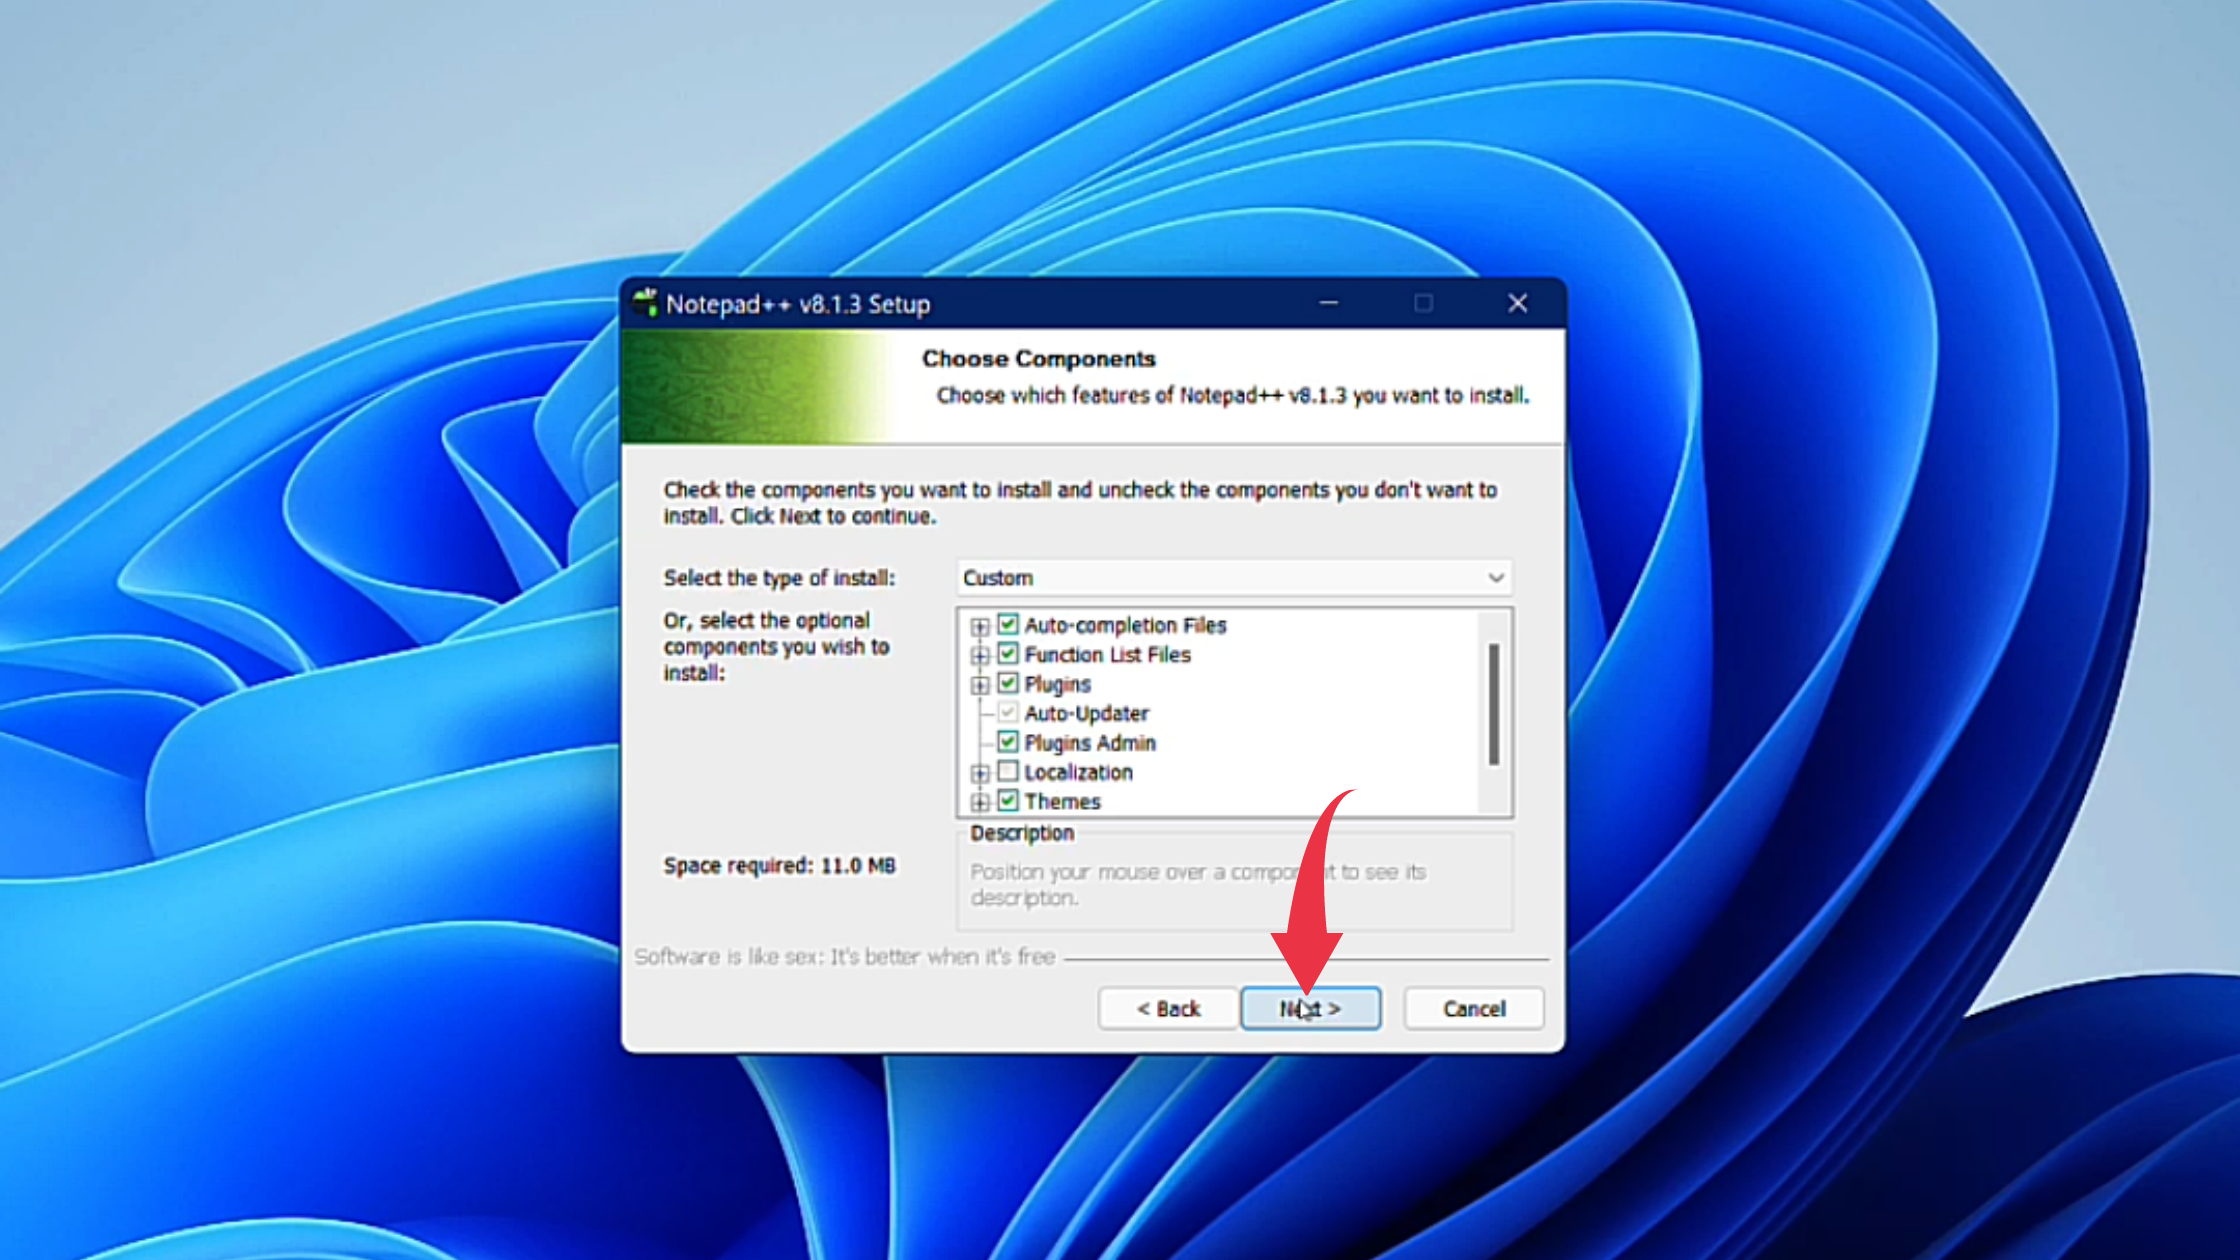
7) In the final installation window check the Create Shortcut on Desktop checkbox. After that click on the Install button and your Notepad++ installation will begin.
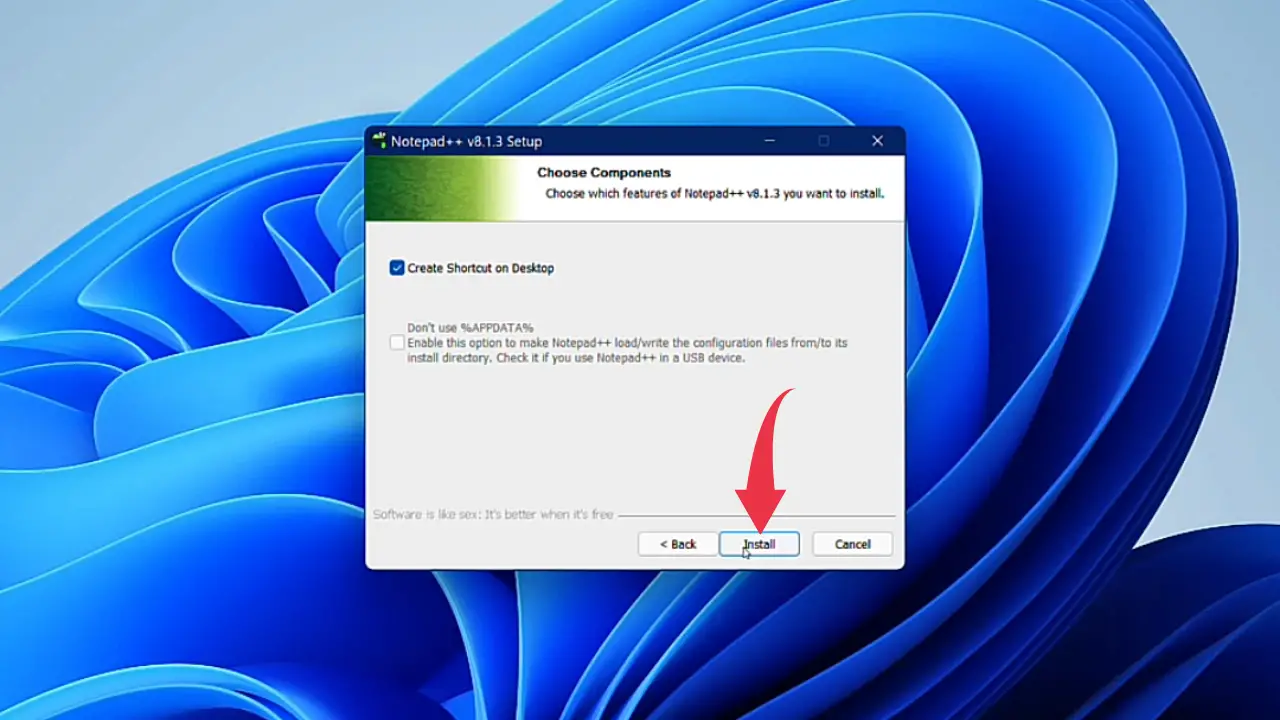
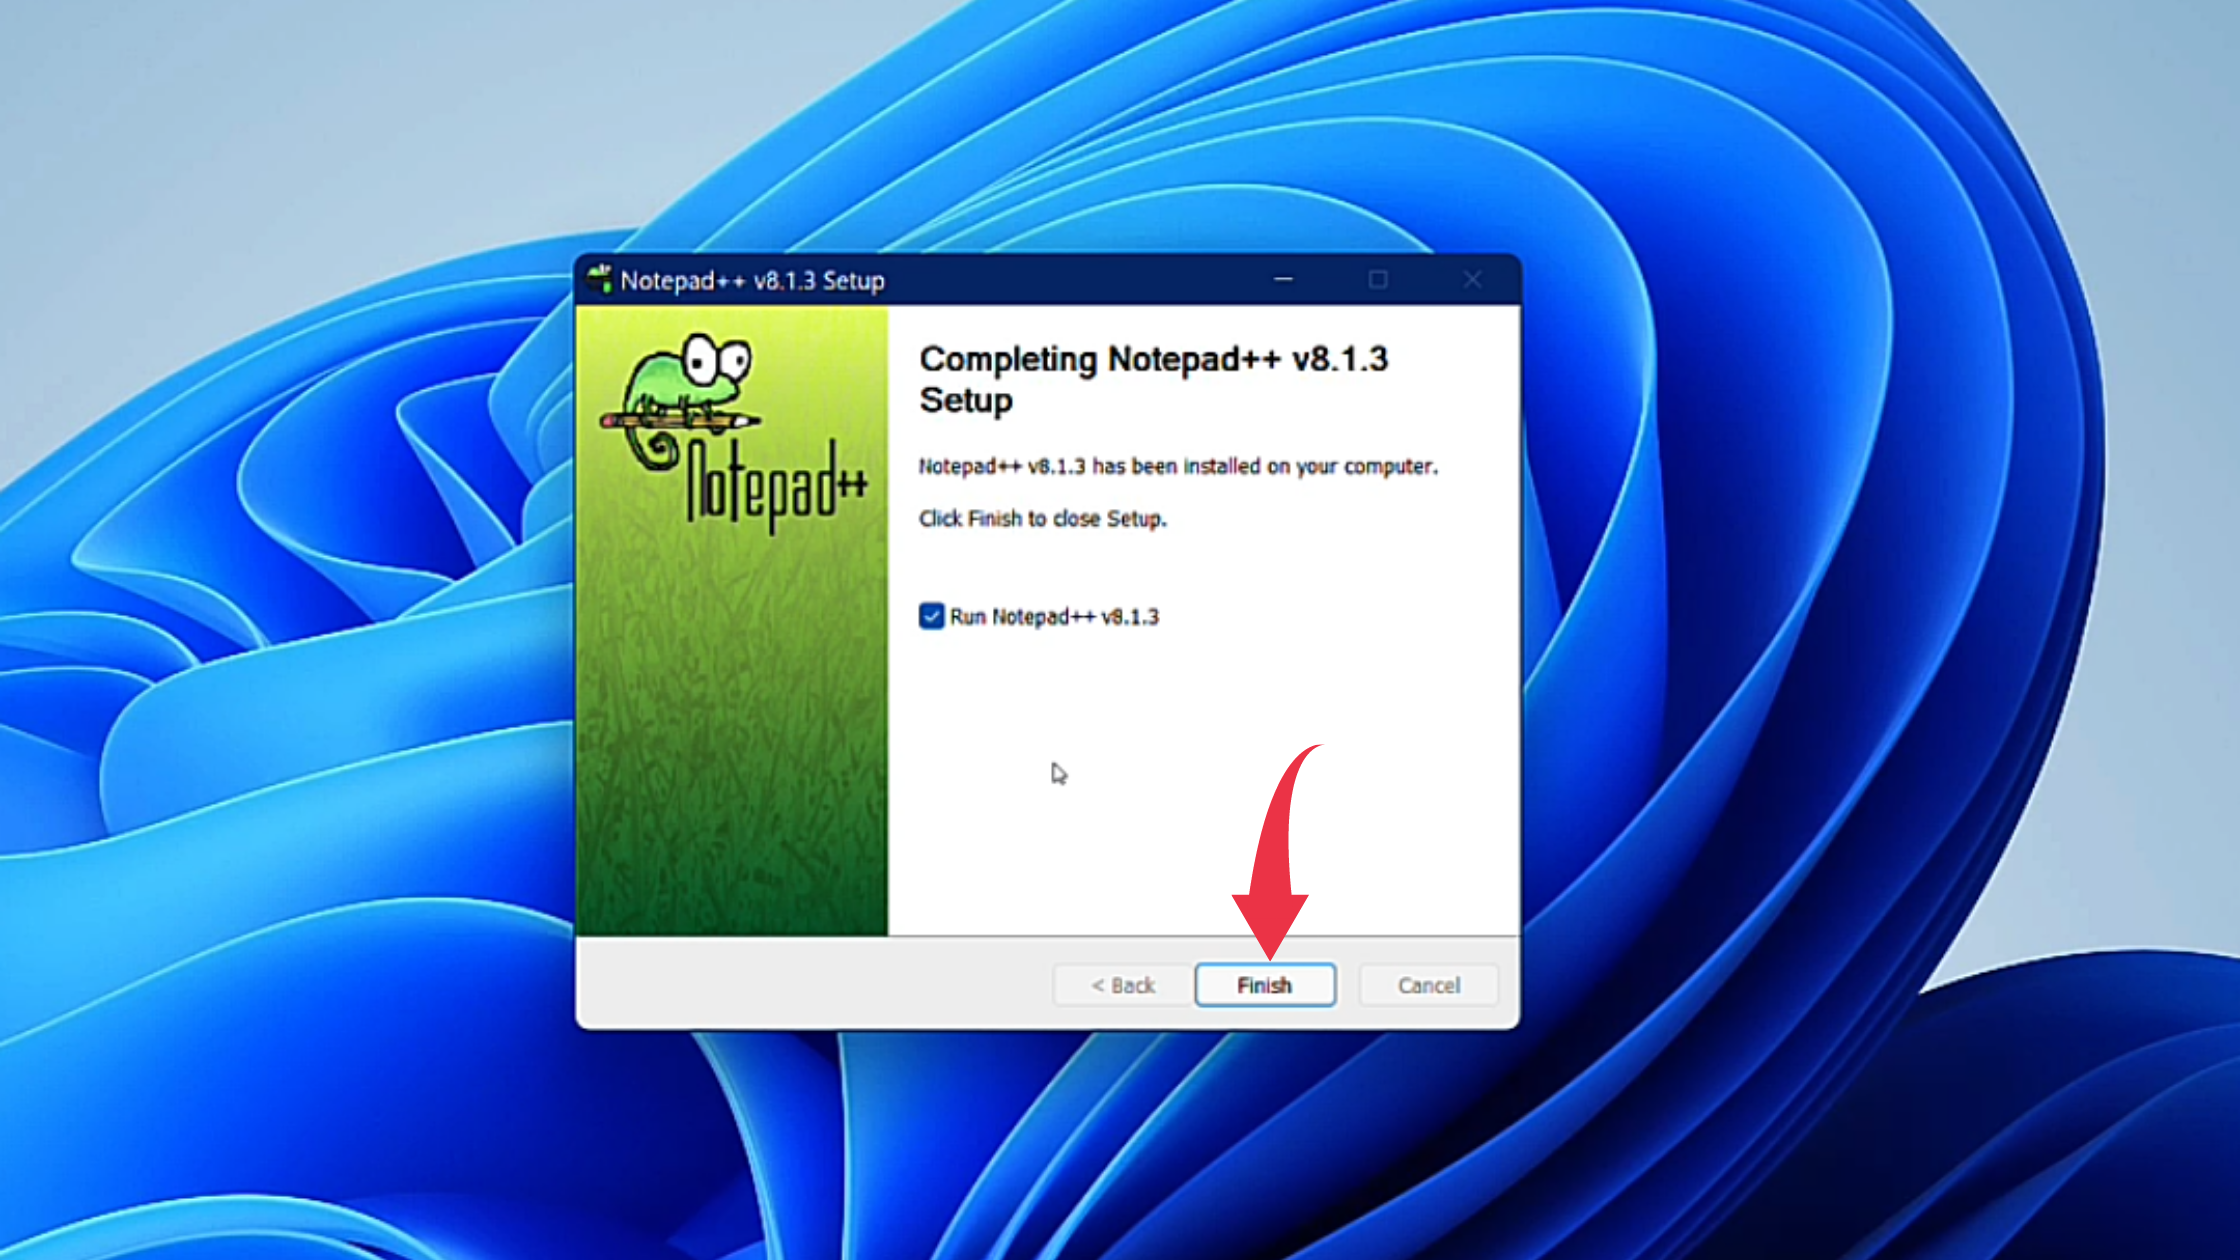
8) Once the installation gets successful click on the Finish button to close the setup wizard and launch Notepad++.
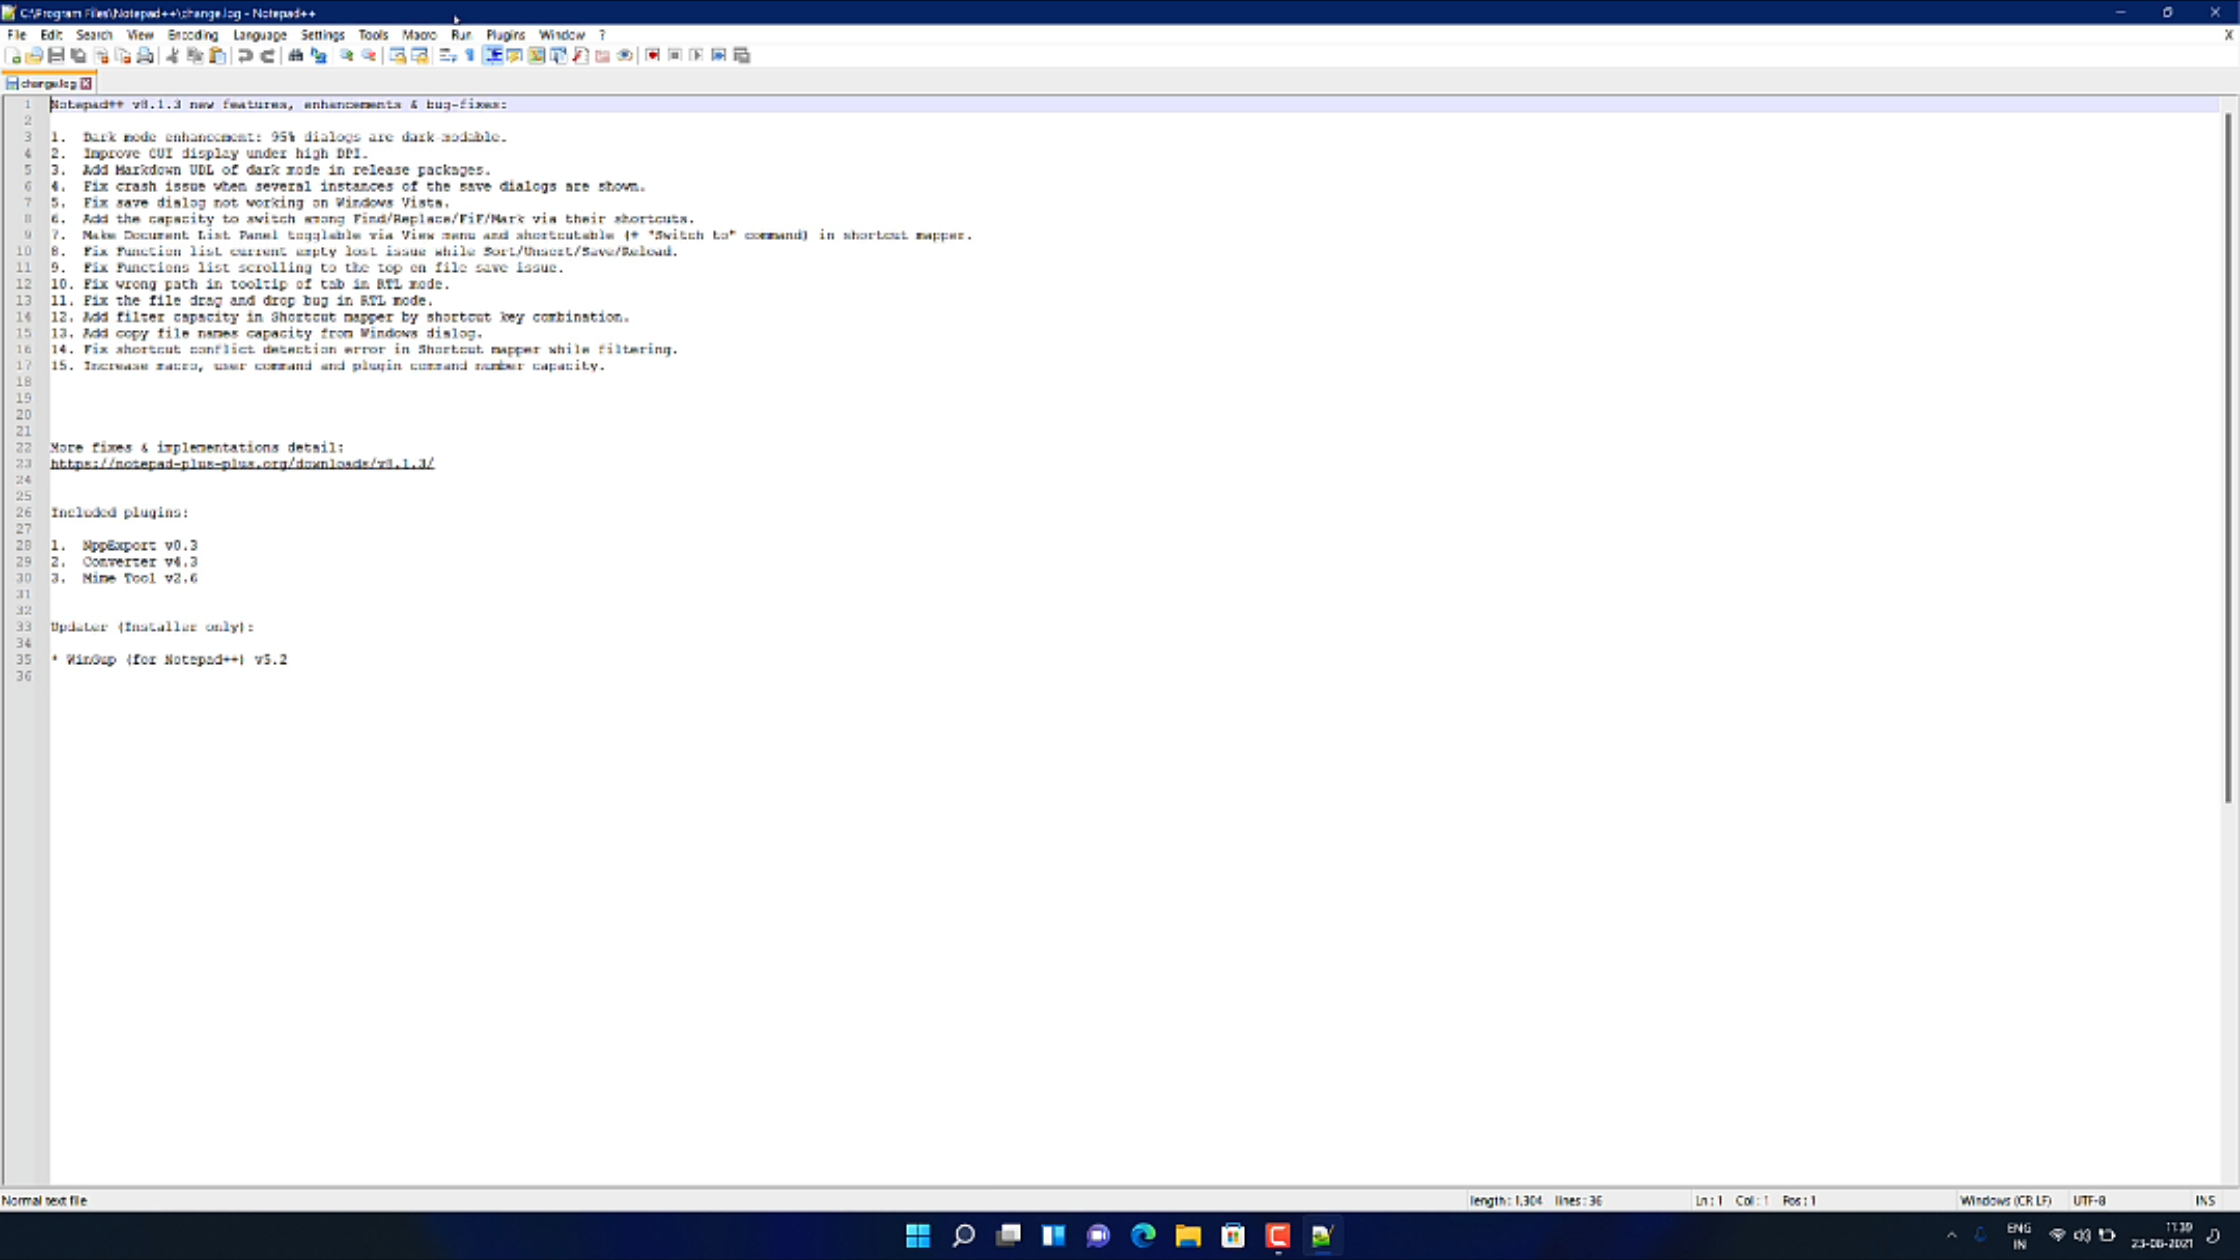
9) Opening up for the first time you will see a window similar to that of the below image in its full-screen mode.
