How to Install Sublime Text Editor On Windows 11
Operating with different program files is an everyday task for every developer. In such scenarios, a good source code editor comes very handily. There are different text editors, but Sublime text Editor stands out from most of them. Due to its seamlessly low size, the application loads up pretty quickly and works very well. Therefore today we’re going to see how can we install the sublime text editor on Windows 11.
Video Tutorial: How to Install Sublime Text Editor on Windows 11
No need to worry guys, currently we’re working on this tutorial, till then refer to the below article. If you have any questions! Feel Free To Ask.
Step 1 : Download Sublime Text Editor
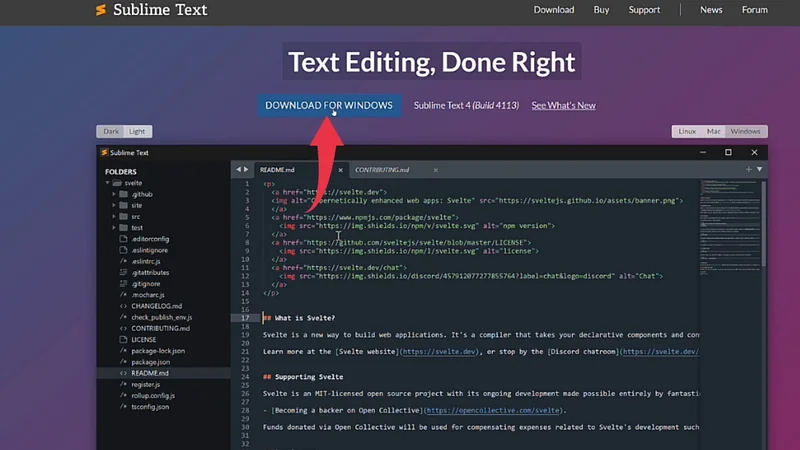
1) Firstly we will download the Sublime Text Editor for Windows 11. Follow the below-provided download link, and click on the Download For Windows button to start the download.
Download Sublime Text Editor here: https://www.sublimetext.com/
Also Read: How to install Turbo C++ on Windows 11
Step 2 : Install Sublime Text Editor
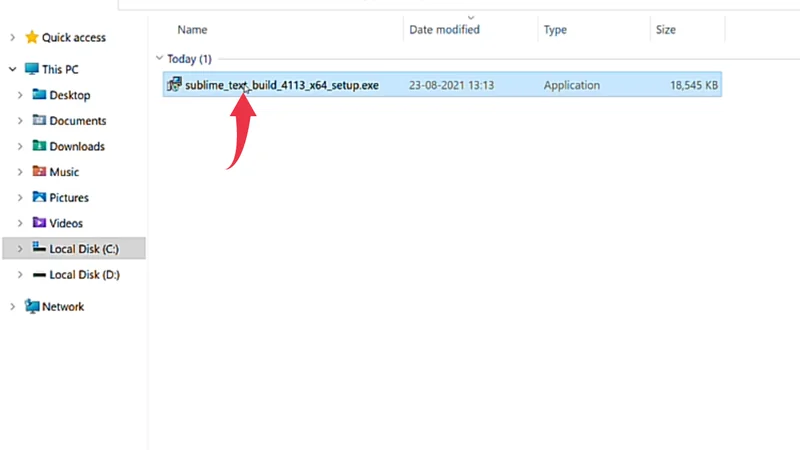
1) Once the download gets finished open it up in the folder where it has been downloaded and Double Click on the downloaded file to start it’s the installation process.
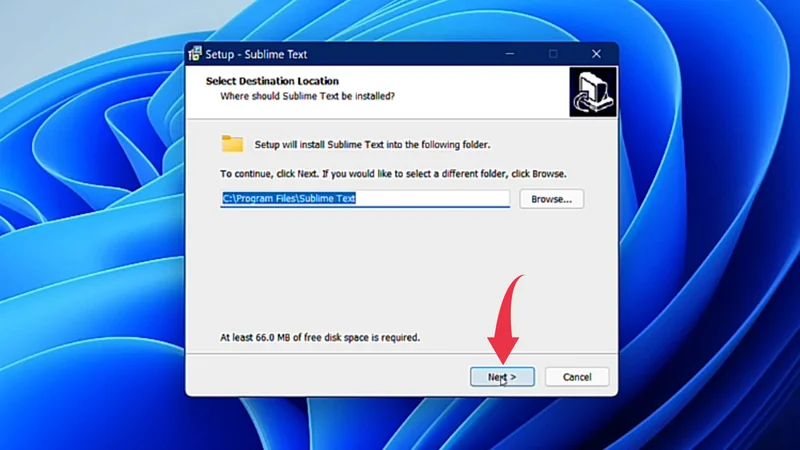
2) Here we have to select the installation location for Sublime text, we’ll stick to the default destination location so click on the Next button.
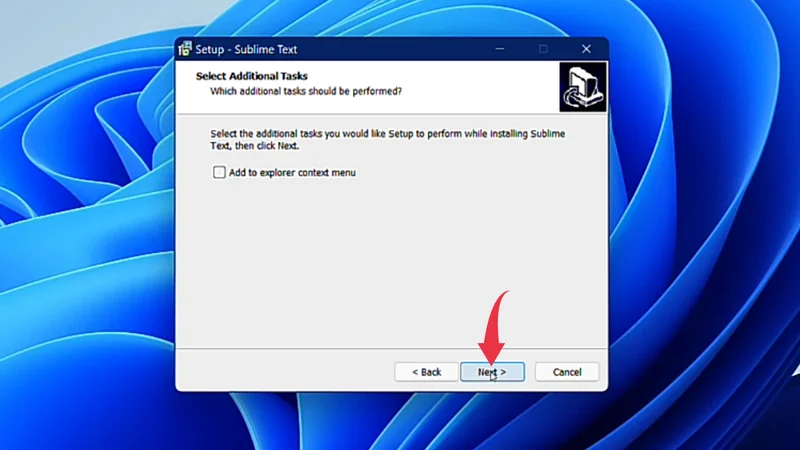
3) Same applies to the Select Additional Tasks window, simply click on the Next button.
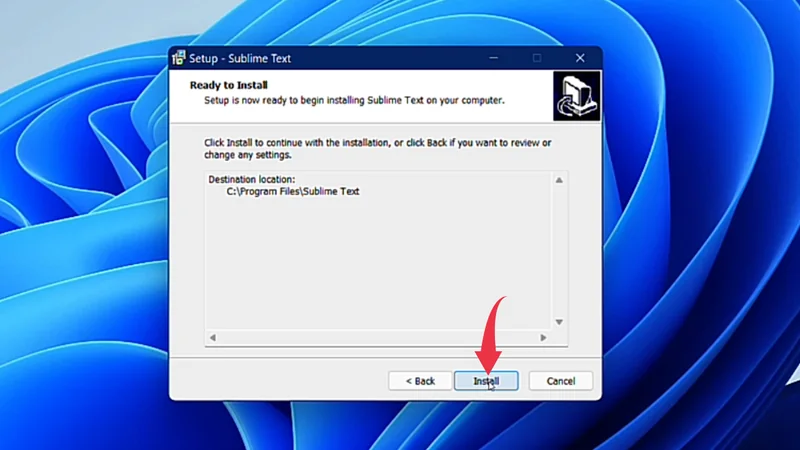
4) In this final step, simply click on the Install button and your Sublime Text Editor installation will get started.
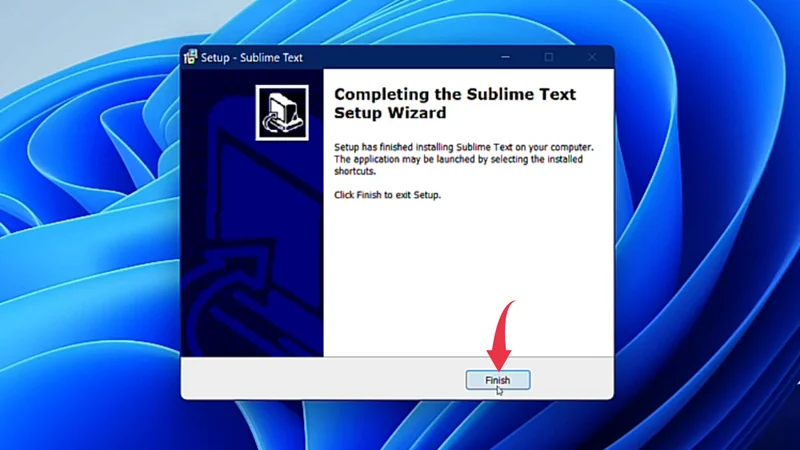
5) Once the installation gets successful click on the Finish button to close the setup wizard.
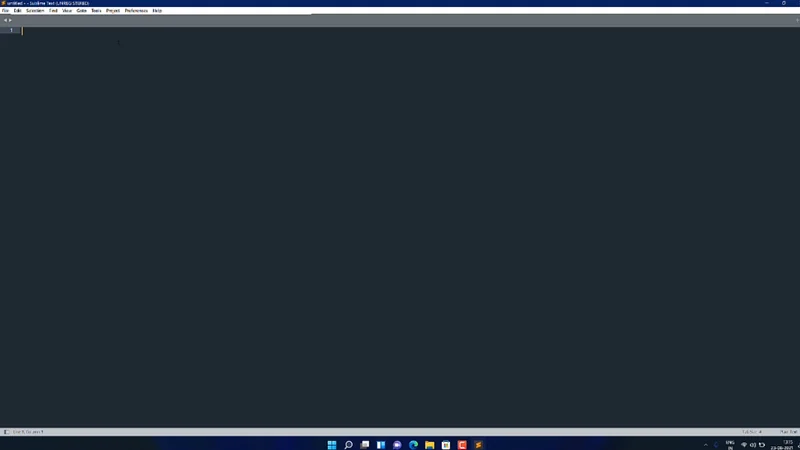
6) Opening up Sublime Text Editor for the first time you will see a window similar to that of the below image in its full-screen mode.