

How to install Turbo C++ on Windows 11
C++ programming is full of surprises and errors, but to today’s date, it is respected by every programmer. But things get more interesting when you run your c program in Turbo C. So in today’s article we’ll see how to install Turbo C++ on a Windows 11 machine.
Video Tutorial: How to Install Turbo C++ on Windows 11
Step 1: Download Turbo C++
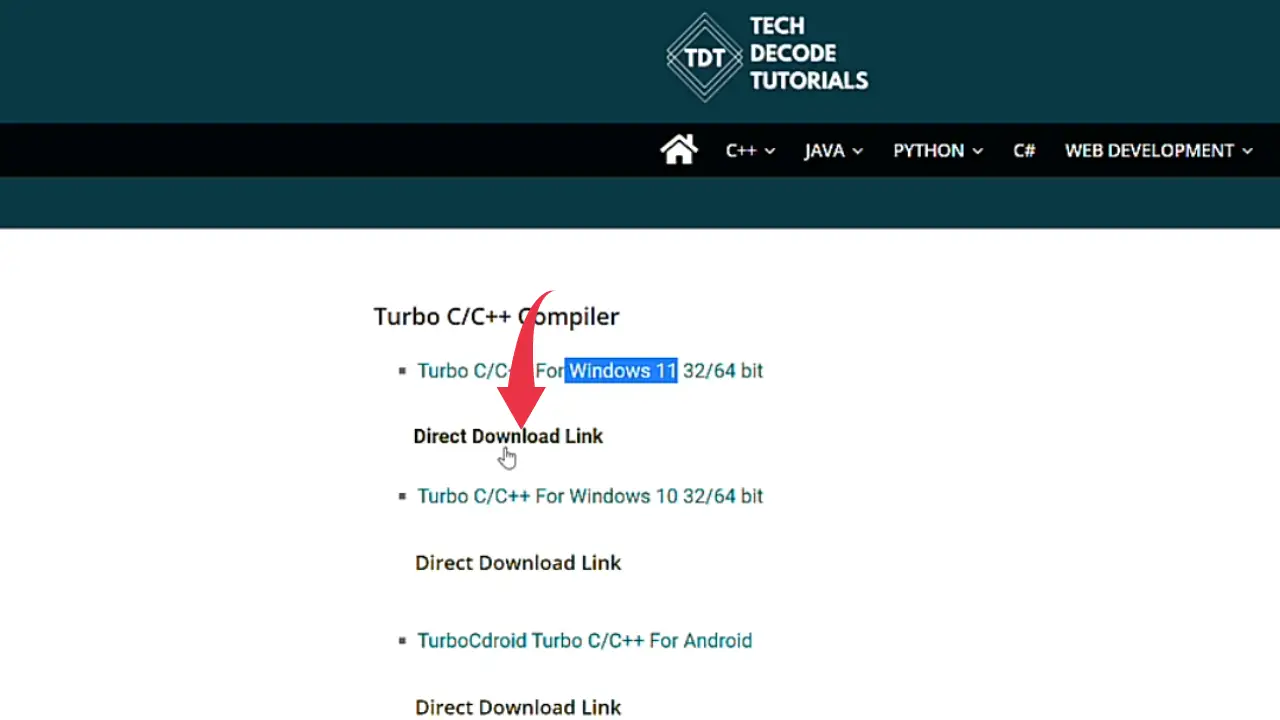
1) Firstly, we’ll download the latest version of Turbo C++ available on the internet, to do so follow the below-provided download link and you’ll be redirected turbo C++ downloads page. There simply click on the Direct Download Link button.
Download Turbo C++ Here: http://techdecodetutorials.com/TurboC++
Step 2: Install Turbo C++
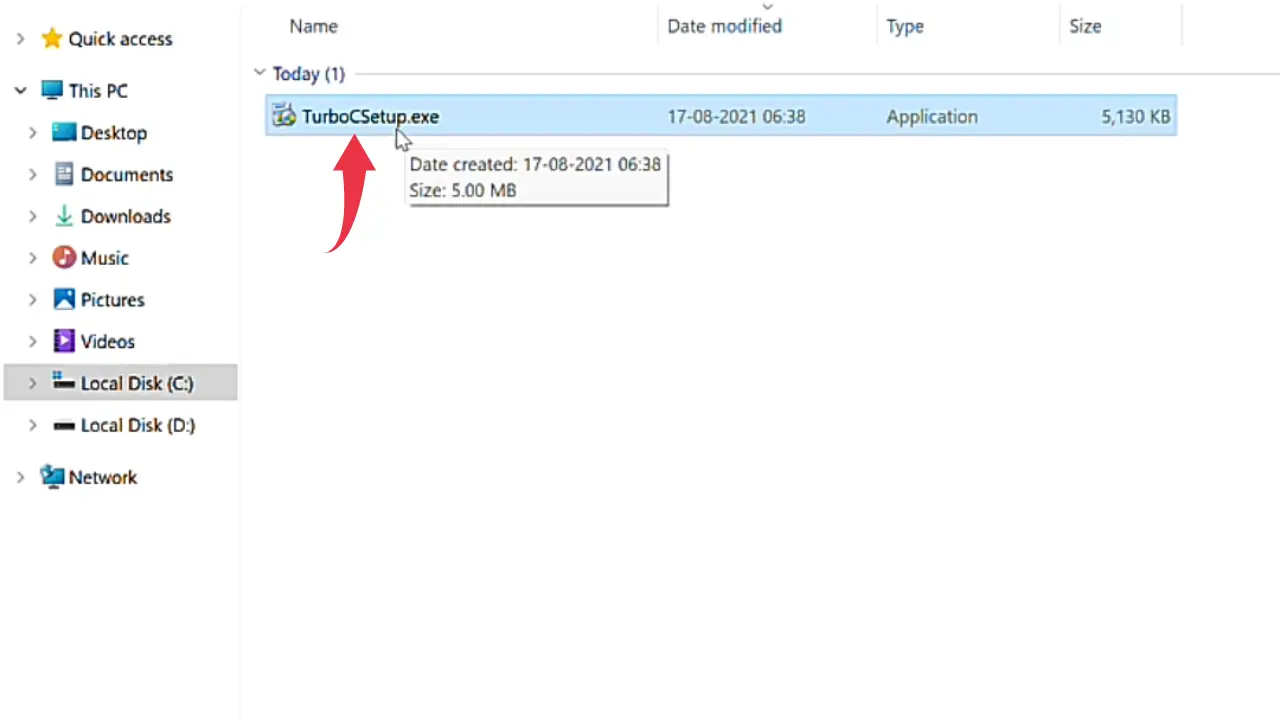
1) Once the download gets finished open it up in the folder where it has been downloaded and Double Click on the downloaded .exe file to start it’s the installation process.
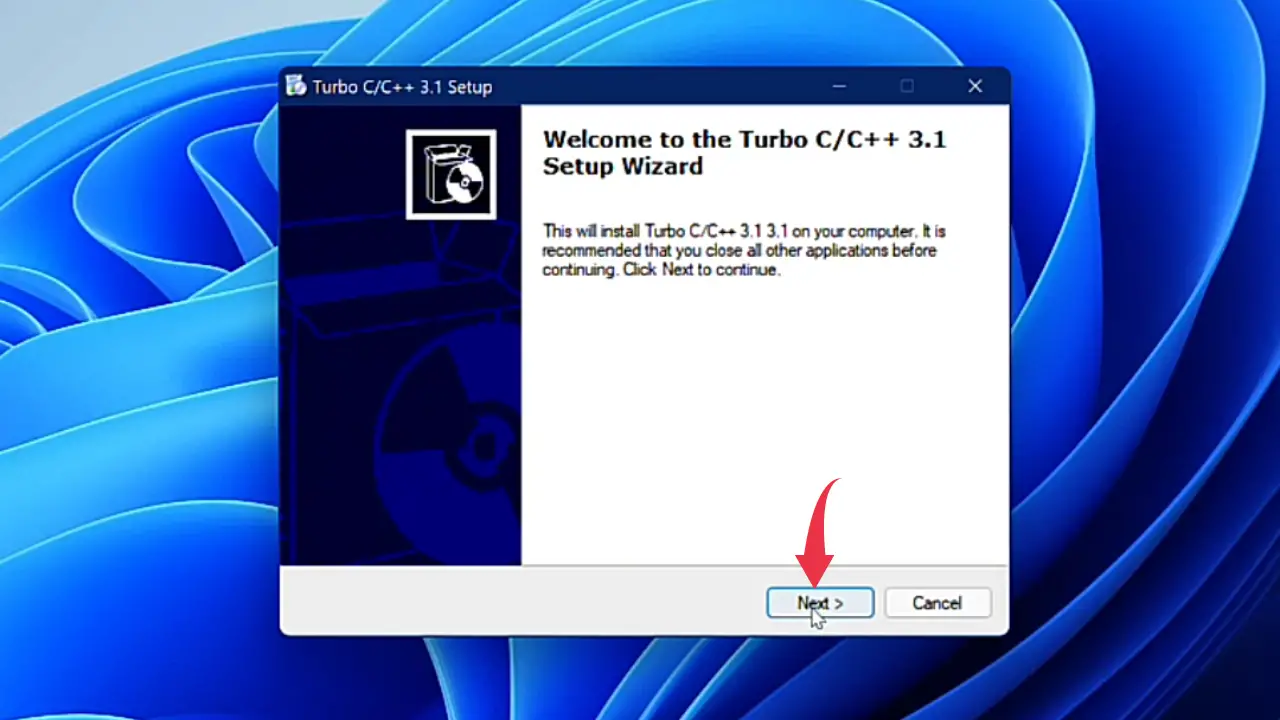
2) In the setup wizard’s welcome screen click on the Next button.
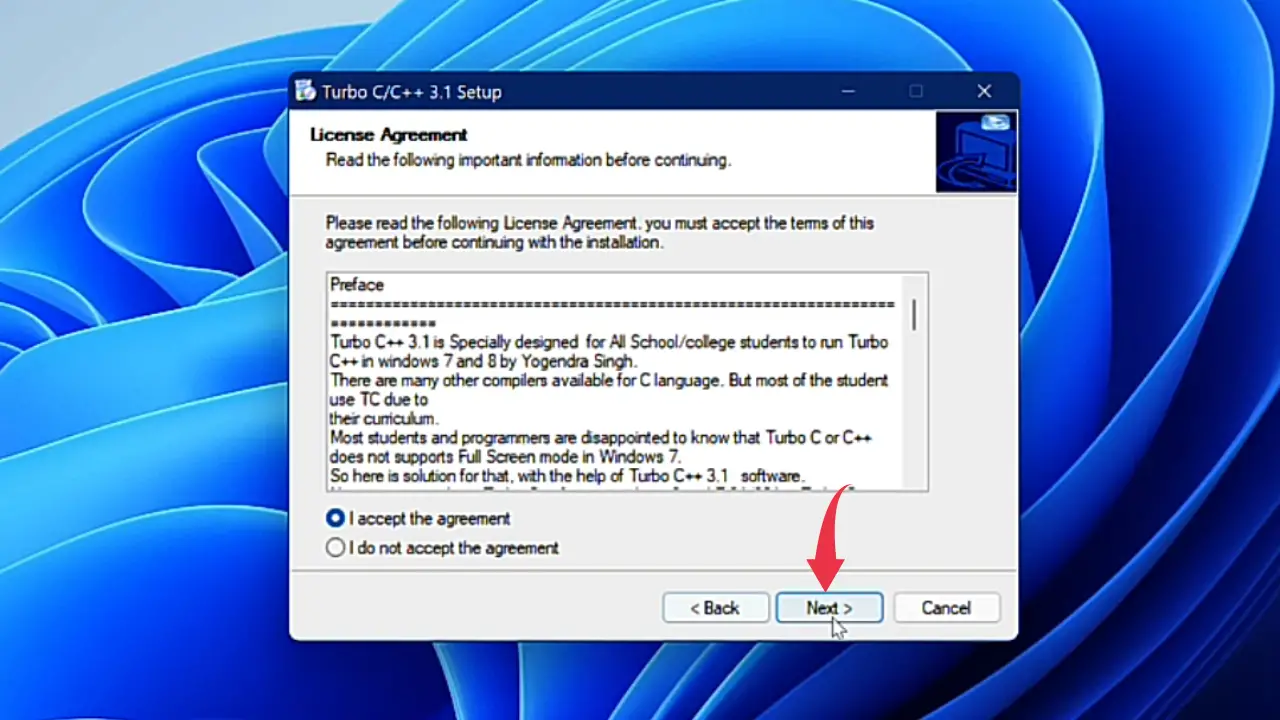
3) in the licence agreement window simply click on the I Accept The Agreement and click on the Next button.
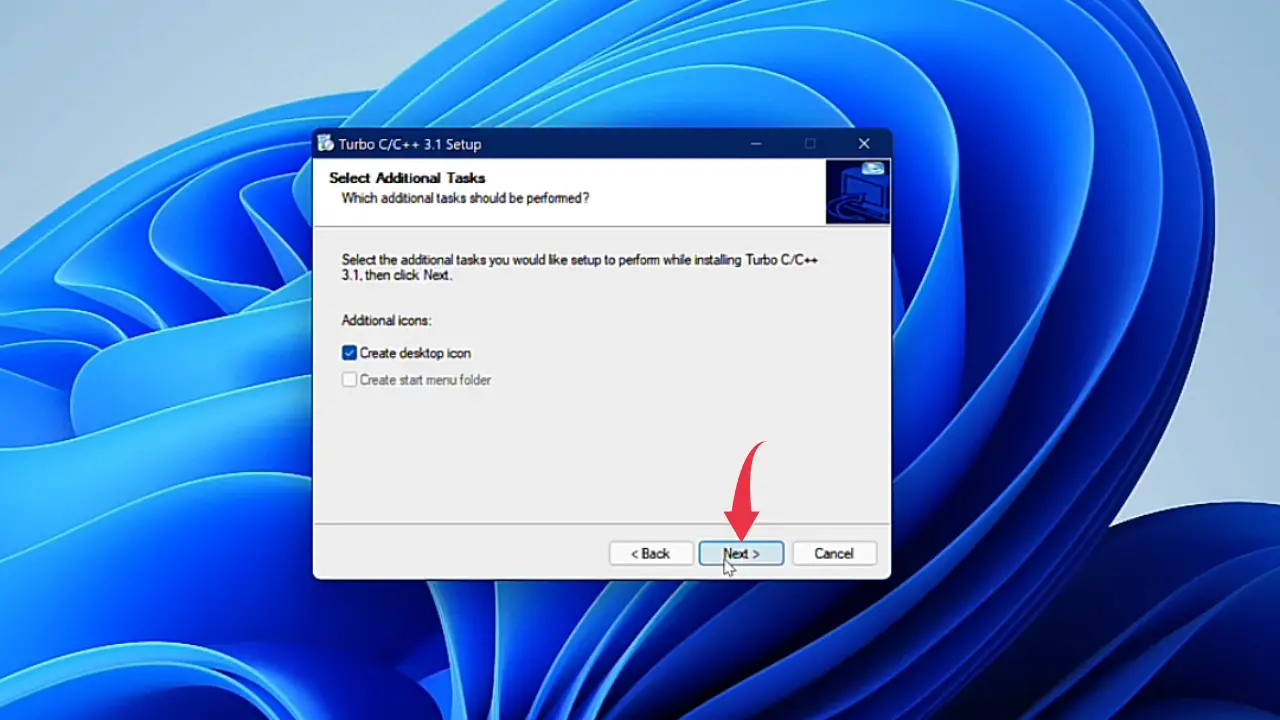
4) Same as for the Select Additional Tasks window. Click on the Next button.
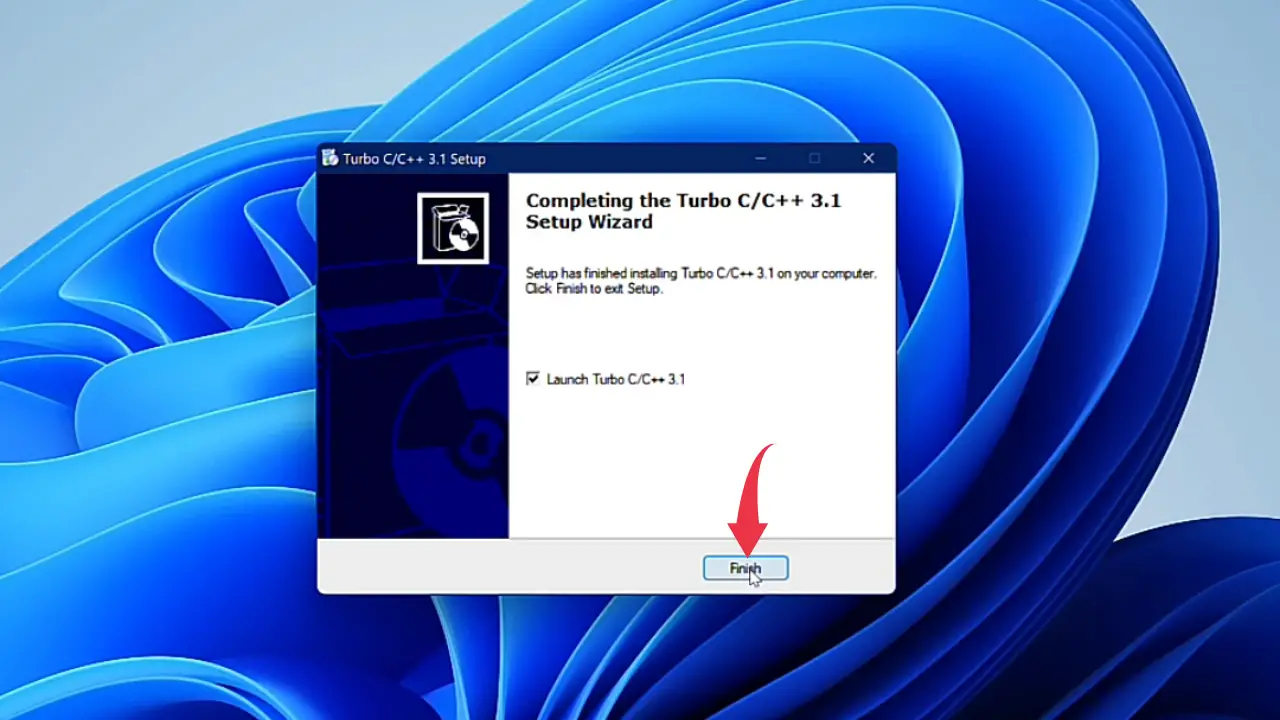
5) Once the installation gets completed click on the Finish button.
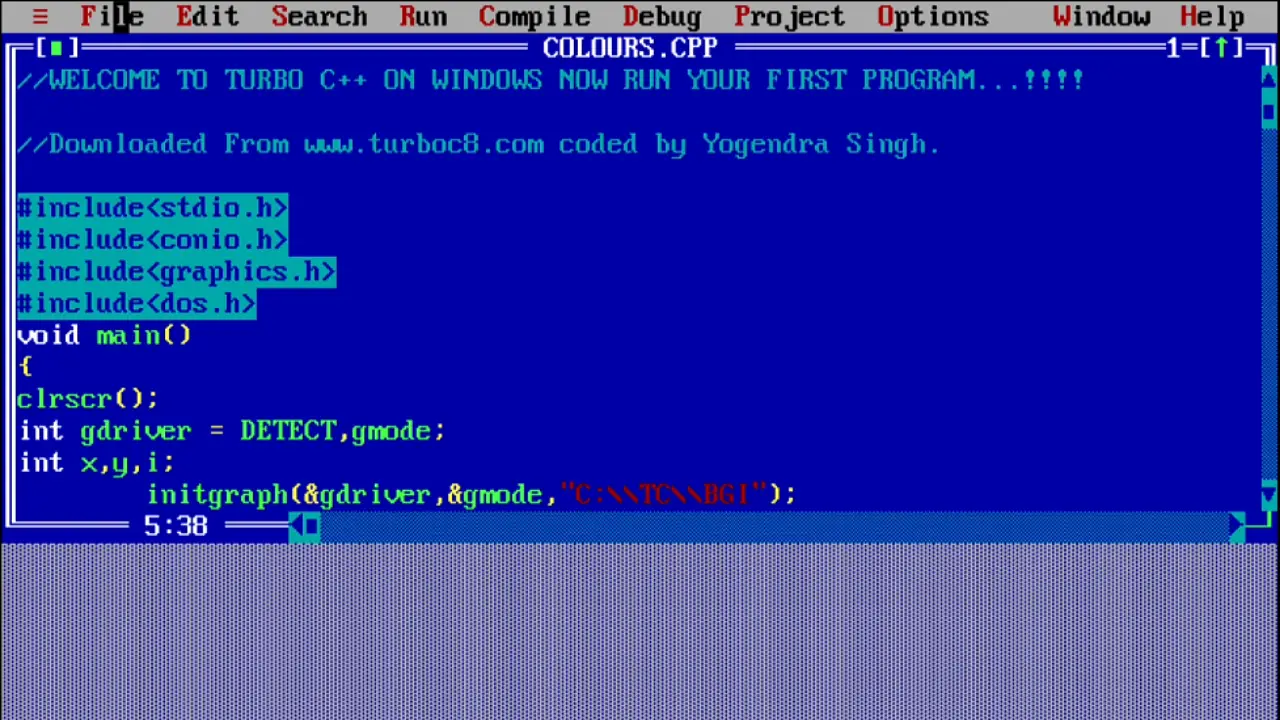
6) The installed Turbo C++ home screen will look like the below image in full-screen mode.
Click Here To Enroll in Complete C++ Programming Course: Go From Beginner to Beyond with an additional discount.
Click Here To Enroll in Complete C Programming Course: Go From Beginner to Master with an additional discount.

Also Read: How To Install Visual Studio Code in Windows 11