How to Run SFML in Visual Studio Code on Windows 10
We all love to play games, however for those who are programmers things become a little more complicated. Instead of playing games, for programmers creating games is more fun and enjoyable task. So if you’re a beginner in creating games, you must use SFML (Simple and Fast Multimedia Library) for development purposes. SFML is used widely for game developments and even in-game engine development. But before learning SFML you should be able to install and run SFML on your machine. So today let’s learn how to run SFML in Visual Studio Code on Windows 10.
Video Tutorial: How to Run SFML in Visual Studio Code on Windows 10
If you’re finding it hard running SFML programs in Visual Studio Code on your Windows machine then you can refer to the below video for a complete guide.
Also Read: How to install C++ compiler in Windows 10?
Download SFML VS Code Boilerplate
1) Firstly we will download the Visual Studio code boilerplate for SFML. Follow the below provided GitHub link to download the sfml vs code boilerplate.
Download SFML VS Code Boilerplate Here: https://github.com/andrew-r-king/sfml-vscode-boilerplate
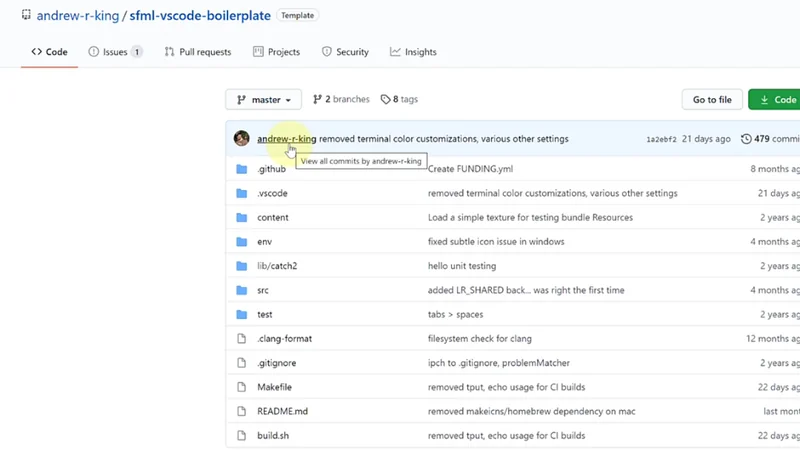
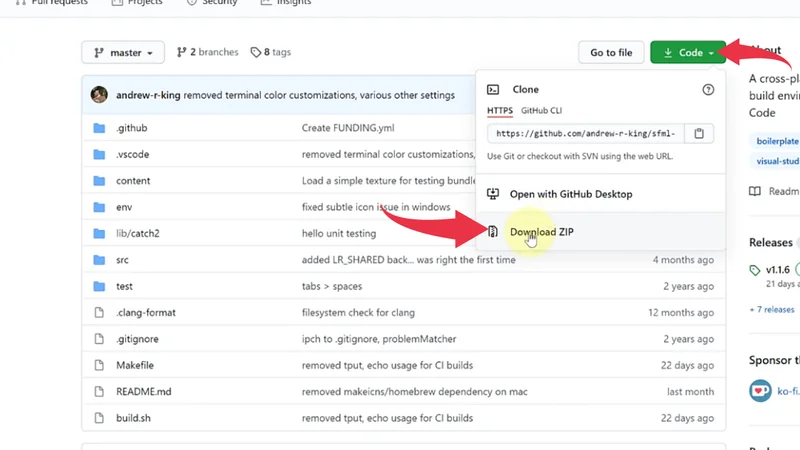
2) Now click on the green Code button and after that click on the Download Zip button. Your Boilerplate will start getting downloaded.
Download SFML For Windows 10
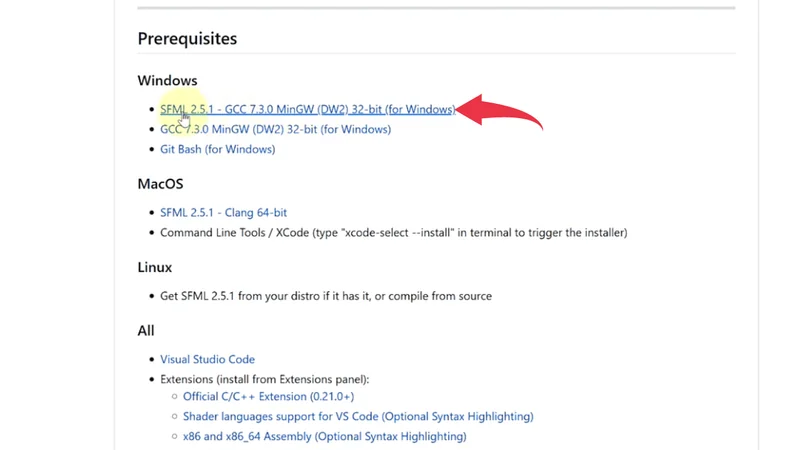
1) After that scroll down to the prerequisites section and under the windows, section click on the first link named SFML 2.5.1 - GCC 7.3.0 MinGW (DW2) 32-bit (for Windows) and SFML will start downloading for your windows machine.
Download GCC For Windows 10
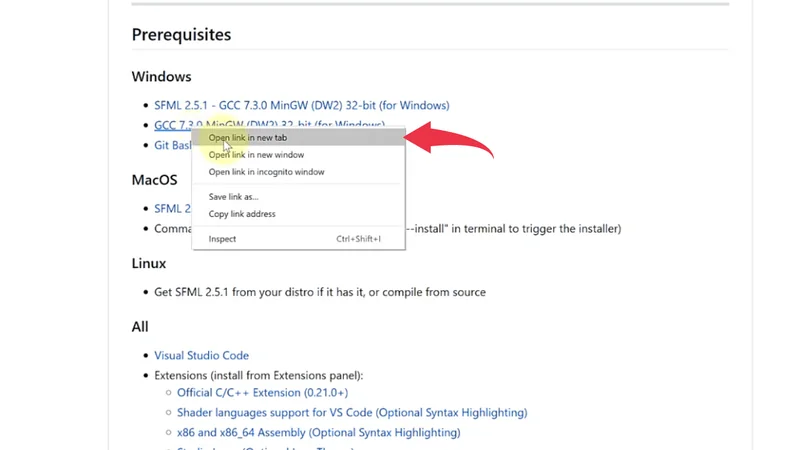
1) After that open the second link named GCC 7.3.0 MinGW (DW2) 32-bit (for Windows) in a new tab. Soon after switching to the new tab, your GCC will start getting downloaded.
Download Git For Windows 10
1) Now click the third link named Git Bash (for Windows). And open it up in a new tab as well.
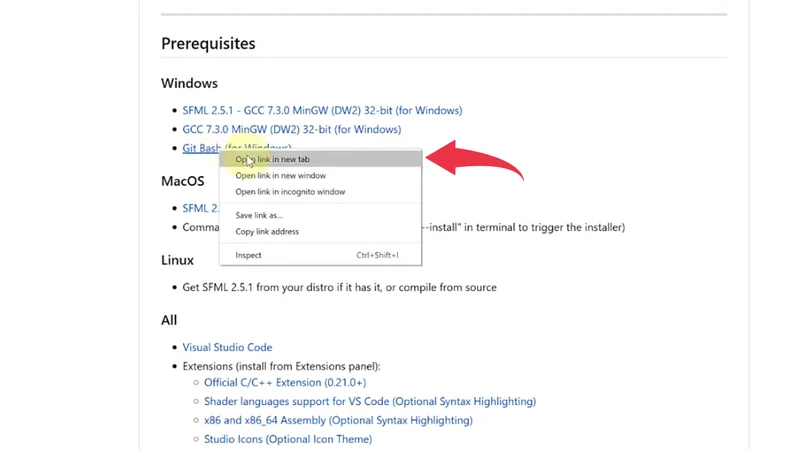
2) Click on the Download 2.31.0 For Windows button and git Installer will start downloading on your windows machine.

Install Git on Windows 10
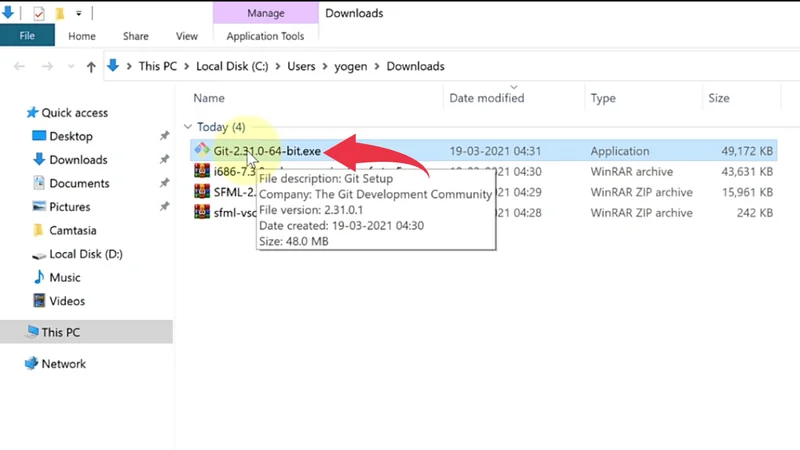
1) Open the downloaded files in the folder where they have been downloaded. There double click on the downloaded Git File to start its installation wizard.
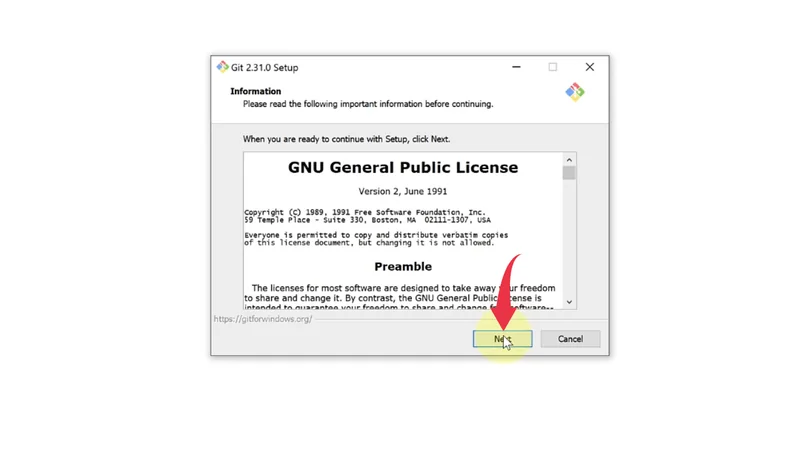
2) In the installation wizard click on the Next button, just like shown in the image below.
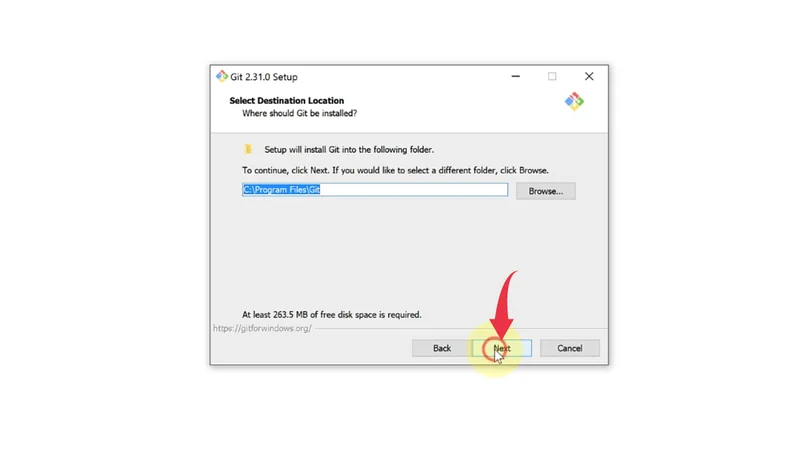
3) In the Select Destination Location window we don’t need to change the installation location so simply click on the Next button.
Make sure at least 265.3 Mb disk space is free for Git installation.
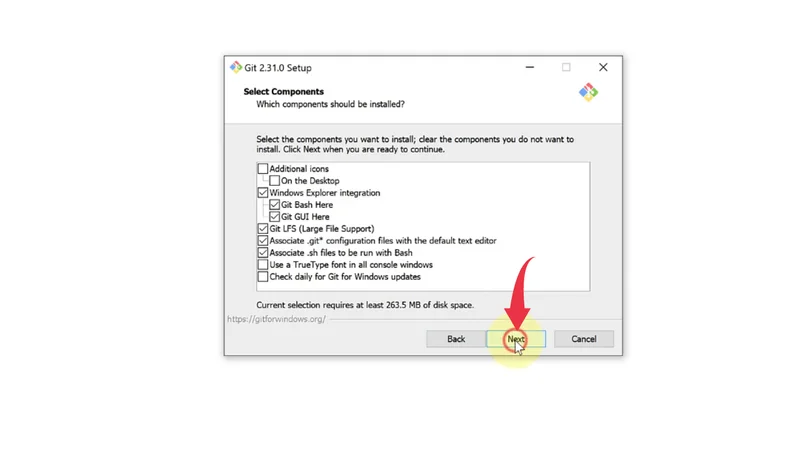
4) Same as in the Select Components window no need to change anything click on the Next button.
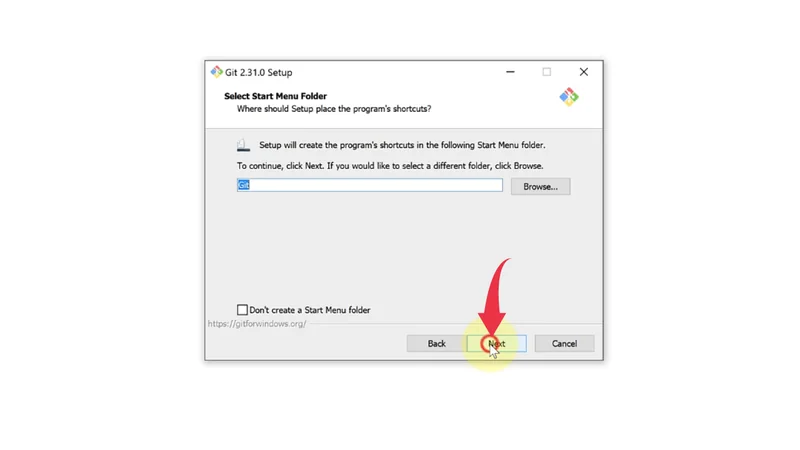
5) In the Select Start Menu folder window click on the Next button as well.
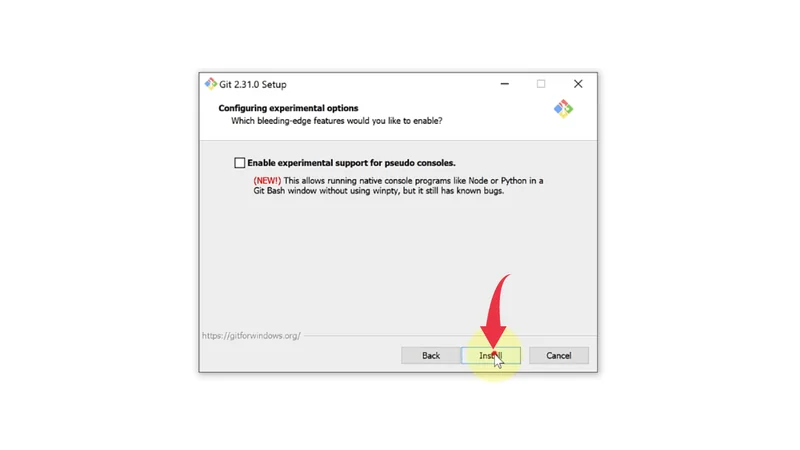
6) Keep clicking on the Next button till you see Configuring Experimental Options window. Once you are in this window simply click on the Install button.
7) Once the installation gets complete uncheck the View Release Notes checkbox and click on the Finish button.

Extract Zip Files
1) Right Click on the downloaded zip file we have downloaded from the prerequisites section and click on the Extract Here button. Repeat this same step with all the zip files we have downloaded from the prerequisites section.

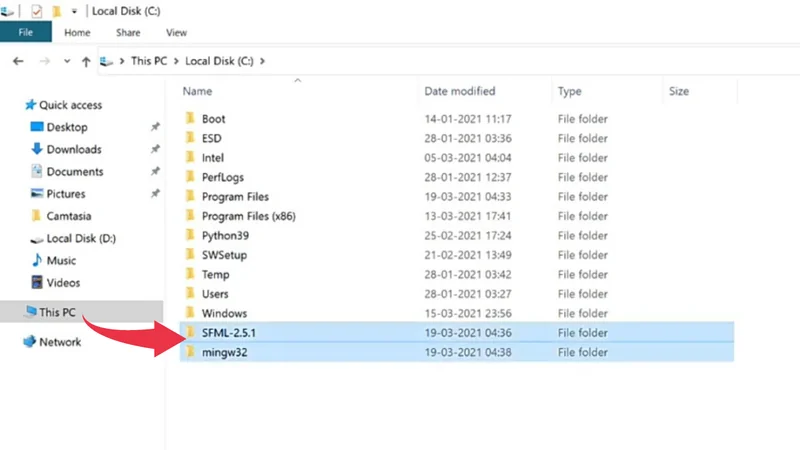
2) Now, Copy the extracted folders and paste them in Local Disk C of your Windows 10 machine.
3) after this extract the SFML VS Code Boilerplate zip file in the same way as described above.

Configure Visual Studio Code to Run SFML in Windows 10
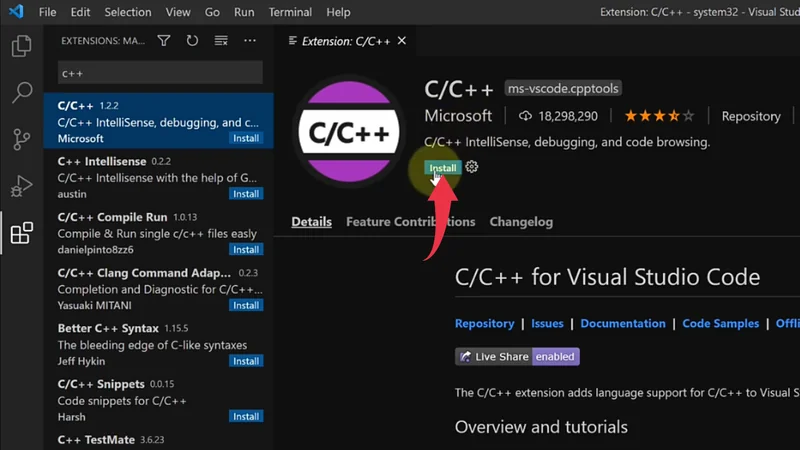
1) Open vs code, click on the extension button and in the search bar type C++, select the first option from Microsoft and click on the small blue install button.
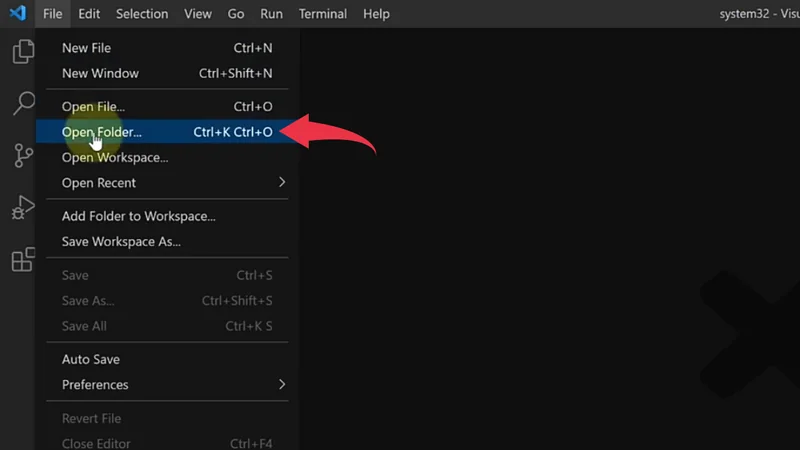
2) Now open the folder by clicking on the File, Open Folder.
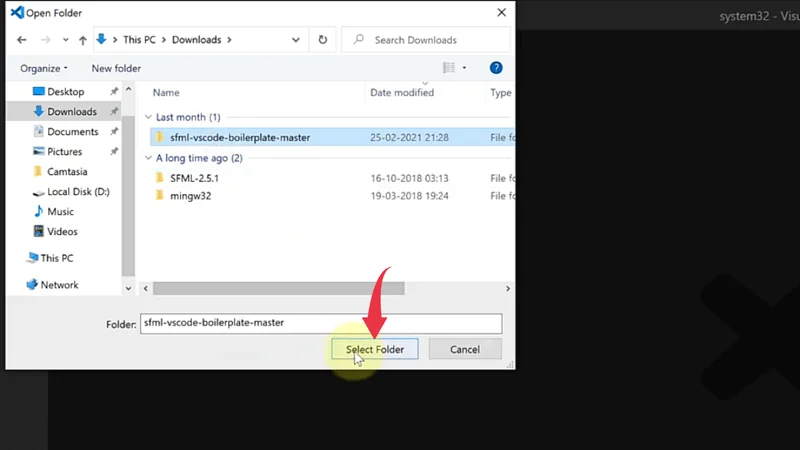
3) Here select the folder we have extracted from SFML vs code boilerplate zip file and click on the Select Folder button.
Run SFML in Visual Studio Code on Windows 10
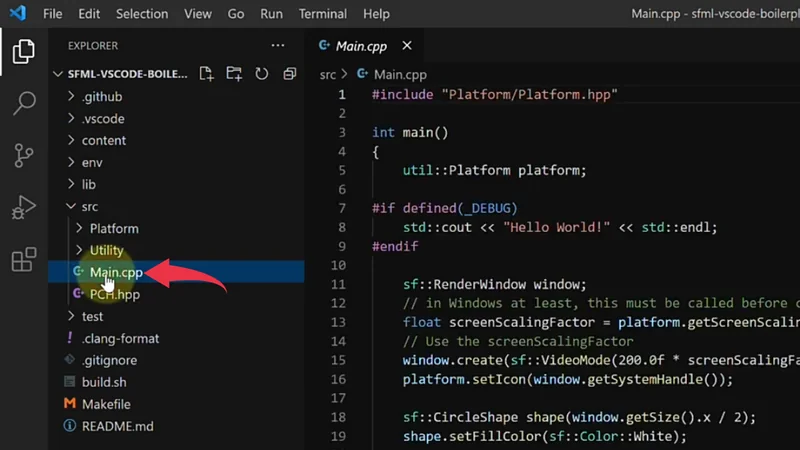
1) Open up the main.cpp file by clicking on the Src, main.cpp.
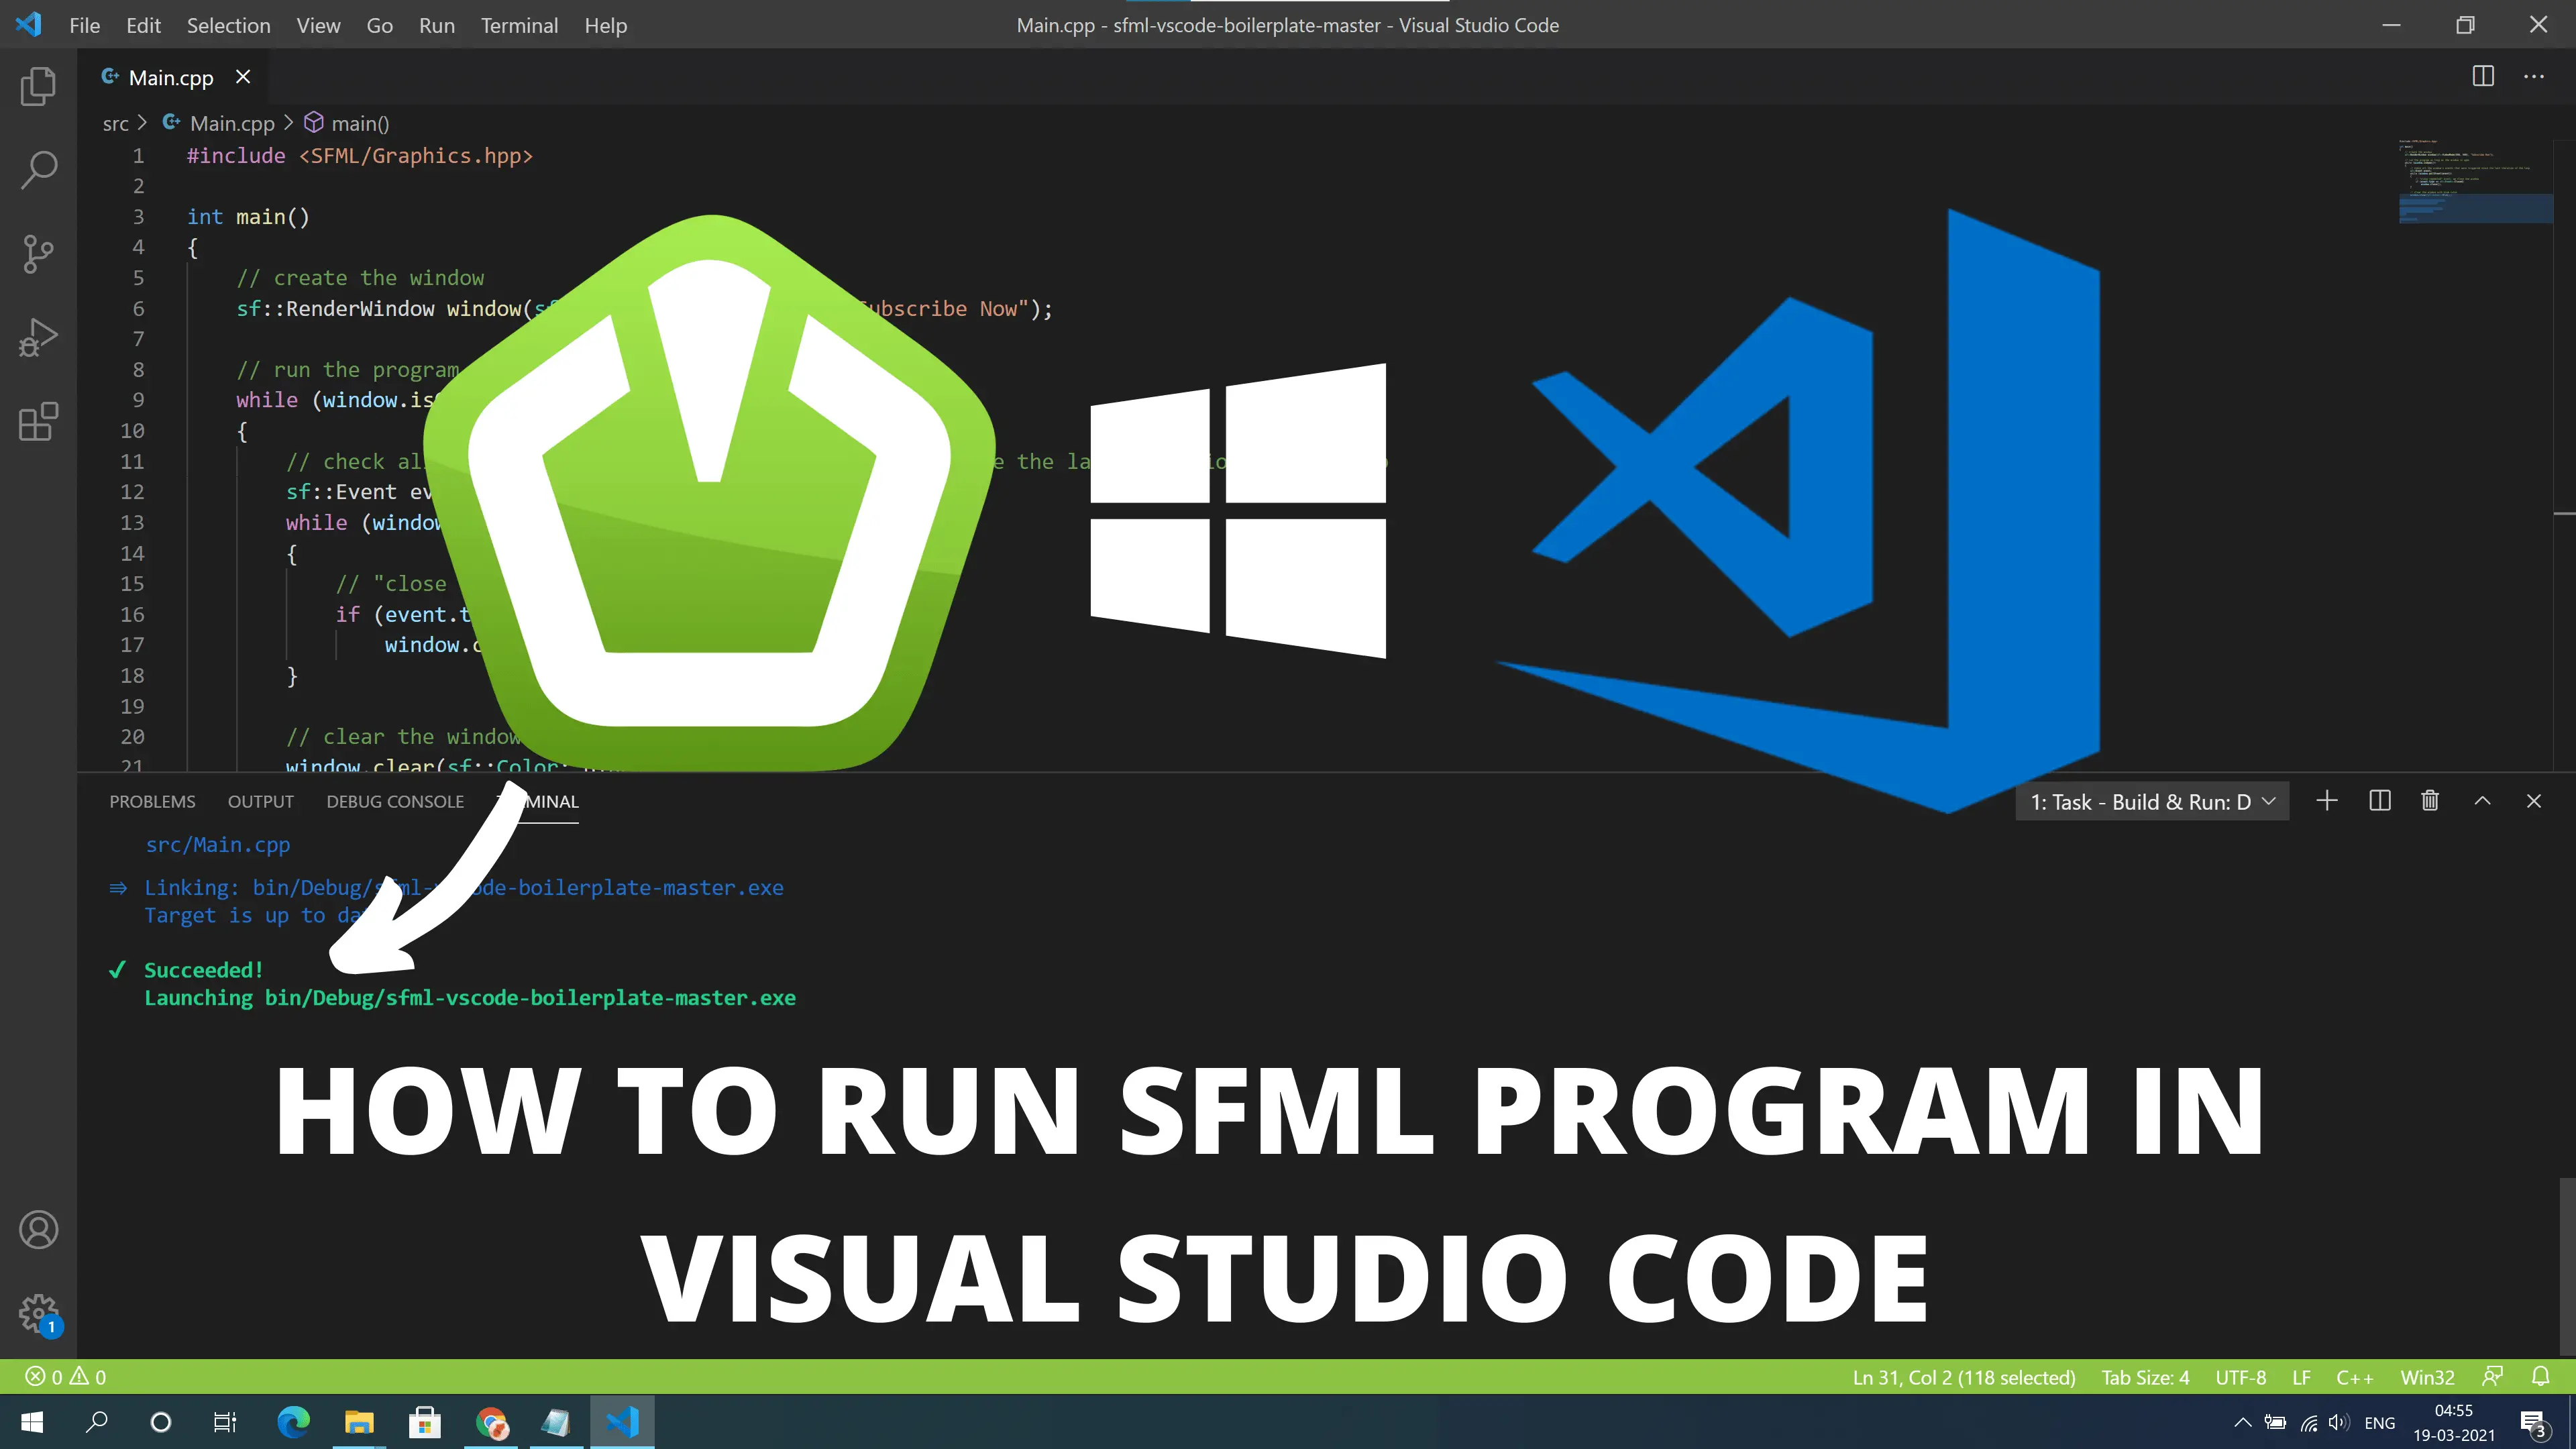
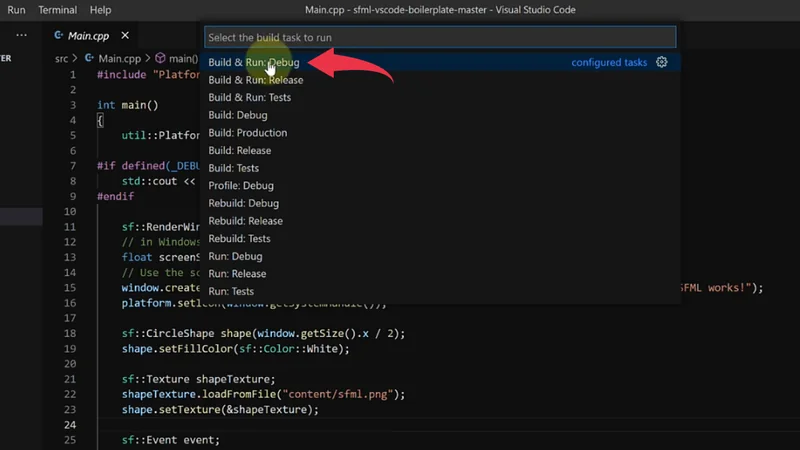
2) To run the project press Ctrl+Shift+B and click on the Build & Run Debug option.
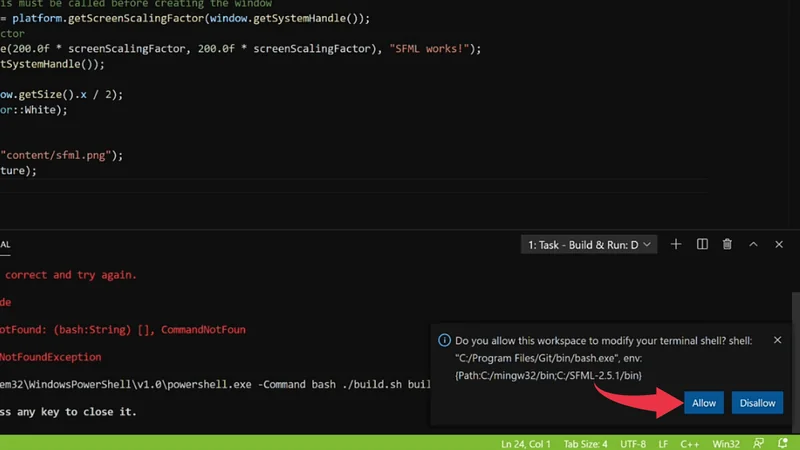
3) For the first time it will throw an error and will ask you to Modify Your Terminal, Shell. In the alert box simply click on the allow button.
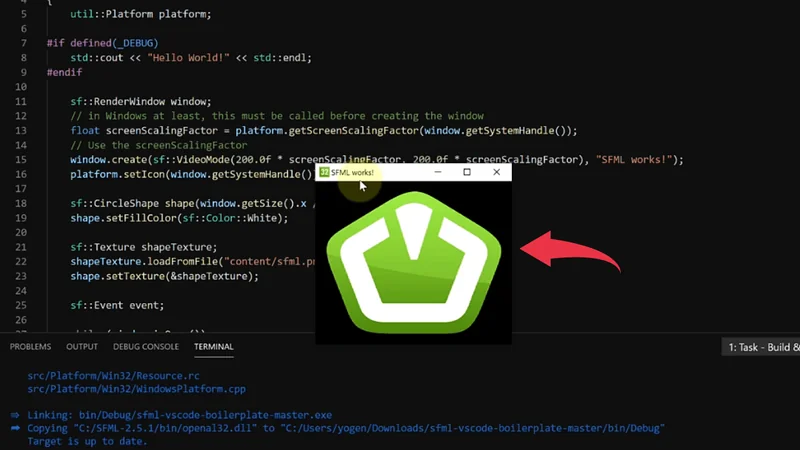
4) Repeat Step 2 after completing the above step and you will see an output like the below image.