How To Install Filmora On Windows 11
Content creators working on video creation have to be pretty active and creative at the same time. It does not matter how good the video shooting goes, every video needs editing before being published online. Especially for desktop, laptop machines; video editing software is power & resource, hungry. So having proper video editing software to utilize system resources in a much efficient way, is going to be pretty helpful. Here comes Filmora, an easy-to-use video editing software to make the lives of video content creators easy. Though some users may face difficulties while installing this software. So we’ll help you out in the installation step, and in today’s article we’ll find out how to install Filmora on Windows 11.
The more you’ll use Filmora more you’ll fall in love with it.
Video Tutorial: How To Install Filmora On Windows 11
Also Read: How To Install Zoom On Windows 11
Step 1: Download Filmora
1) Firstly we will download Filmora, for our windows 11 machine. Follow the download link provided below and click on the Try It Free button.
Download Filmora Here: https://filmora.wondershare.com/

Step 2: Install Filmora On Windows 11
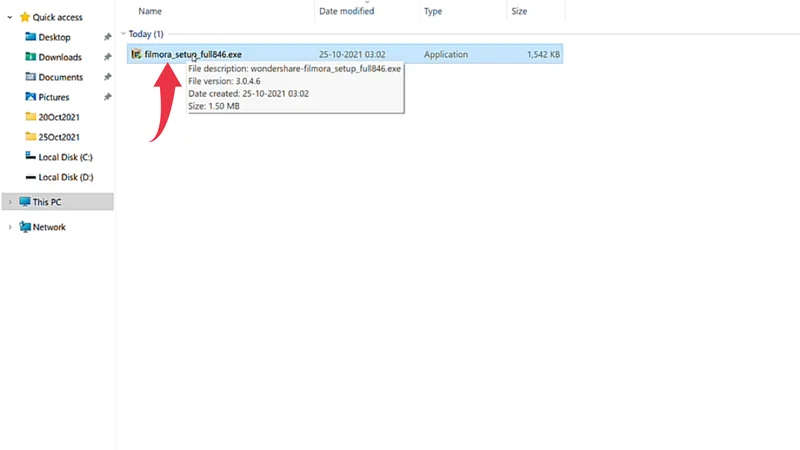
1) Once the download gets finished open the downloaded file in the folder where it has been downloaded. Double click, on the downloaded file, to start the Installation.
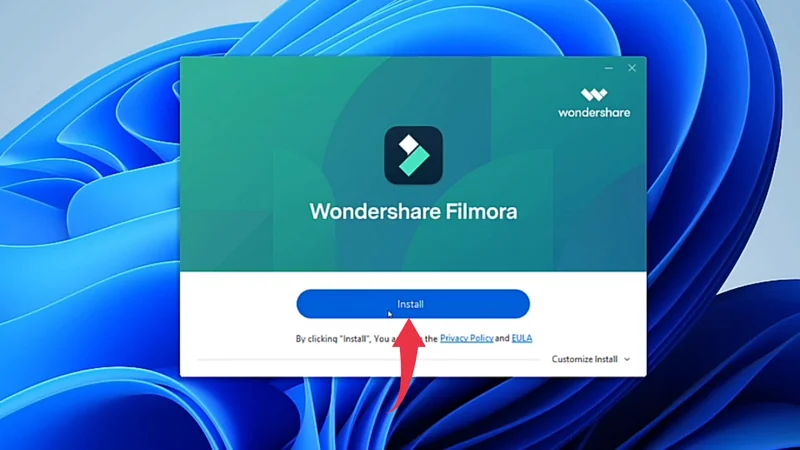
2) In the installation window, simply click on the Install button.
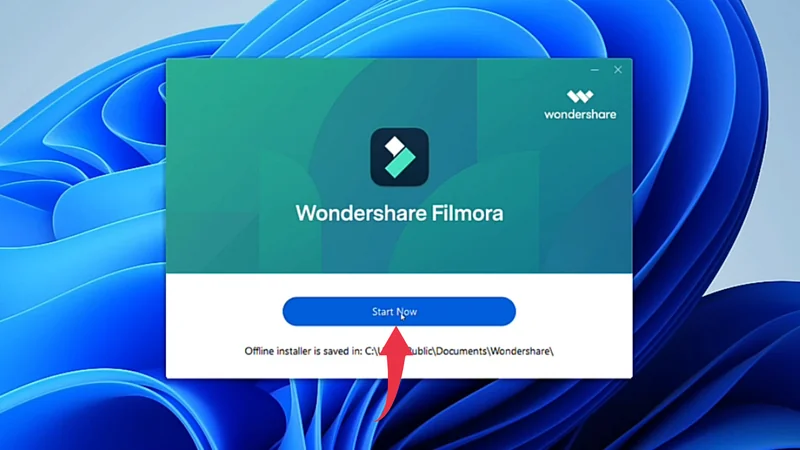
3) After successful installation of Filmora, a start-up window will appear so click on the Start Now button.
4) After successful installation first glance at Filmora, on your Windows 11 will look like the below image.