How To Install Telegram On Windows 11
Prematurely the mode of communication used to be only messages & voice calls. However, as the internet developed different applications emerged as new ways of communication via the internet. Telegram is one of them, not only that but it’s also so one of the fastest-growing communication platforms today. The main reason why users use Telegram instead of any other communication application is because of privacy and confidentiality of user’s data, especially personal chats. So today let’s quickly find out how to install Telegram on Windows 11 pretty easily.
Video Tutorial: How to Install Telegram on Windows 11
Step 1 : Download Telegram
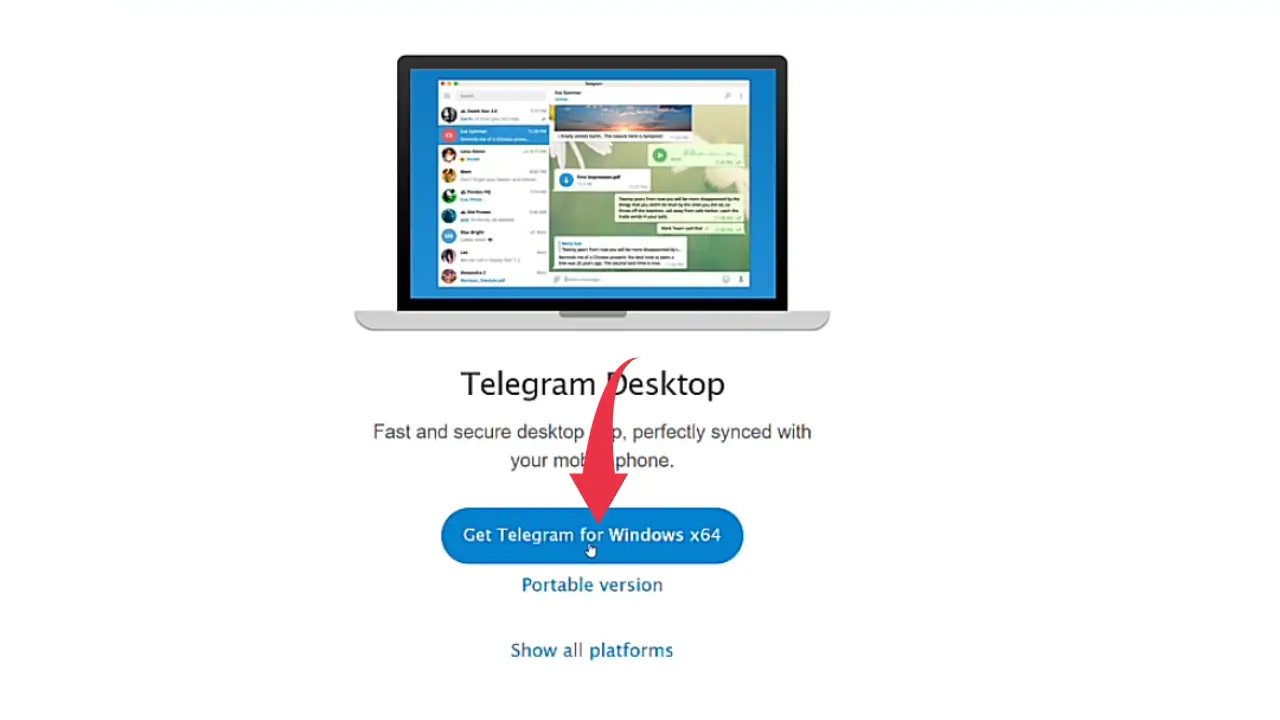
1) We will download the latest version of Telegram available on the internet for windows 11. Follow the below-provided download link, and click on the Get Telegram For Windows x64 button to start the download.
Download Telegram here: https://desktop.telegram.org/
Also Read: How to Install PHP on Windows 11
Step 2 : Install Telegram
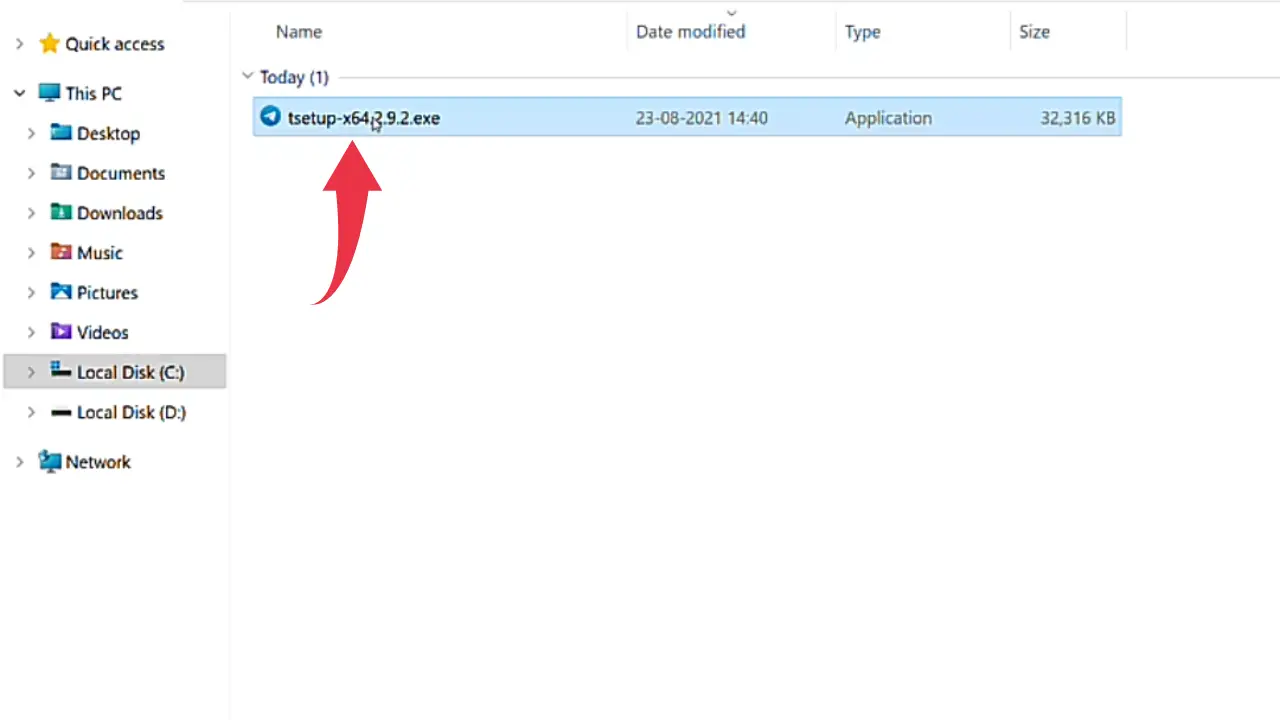
1) Once the download gets finished open it up in the folder where it has been downloaded and Double Click on the downloaded telegram file to start it’s the installation process.
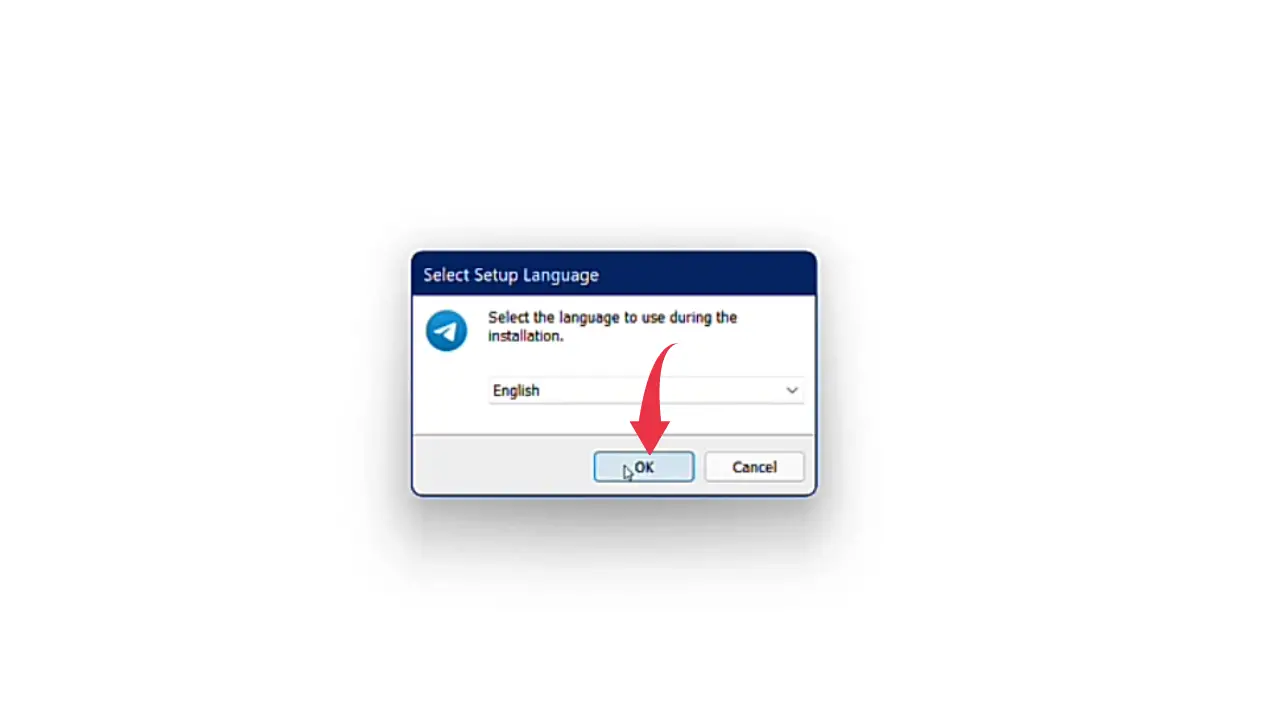
2) Now we have to select the installation language of telegram. We will stick to the default language i.e English and click on the Ok button.
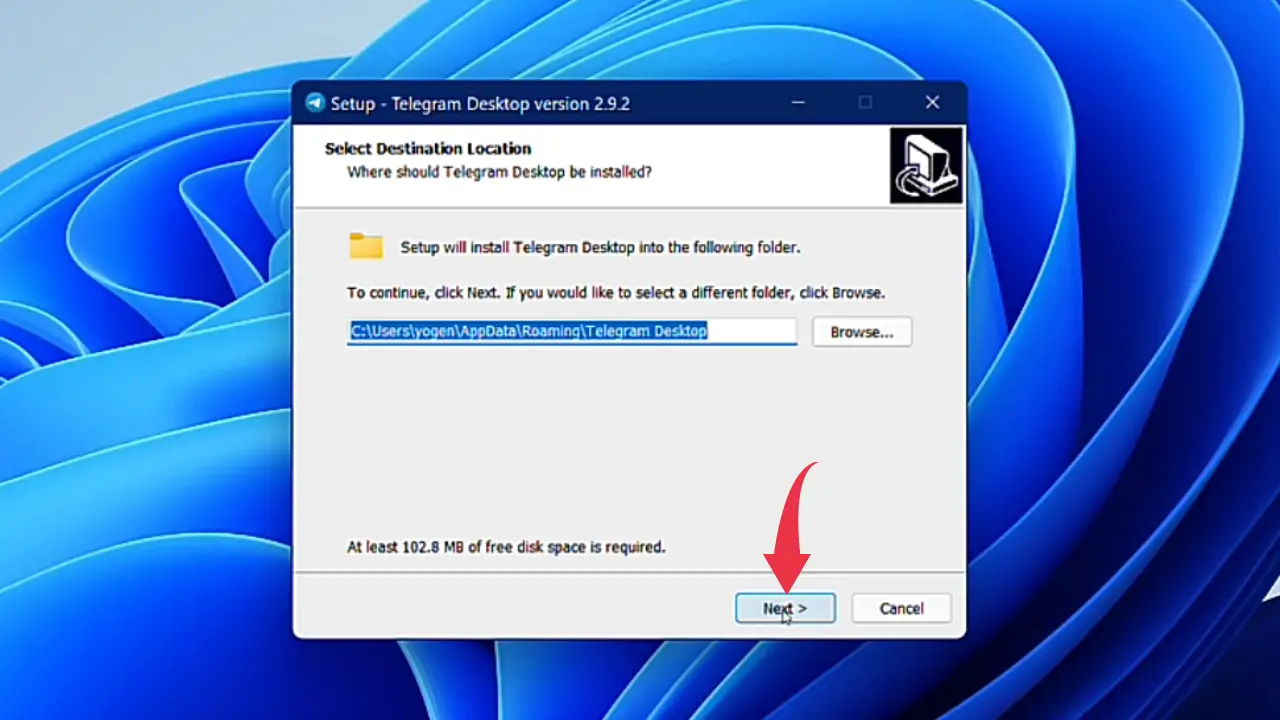
3) Here we have to select the installation location for Telegram, we’ll stick to the default installation location so click on the Next button.
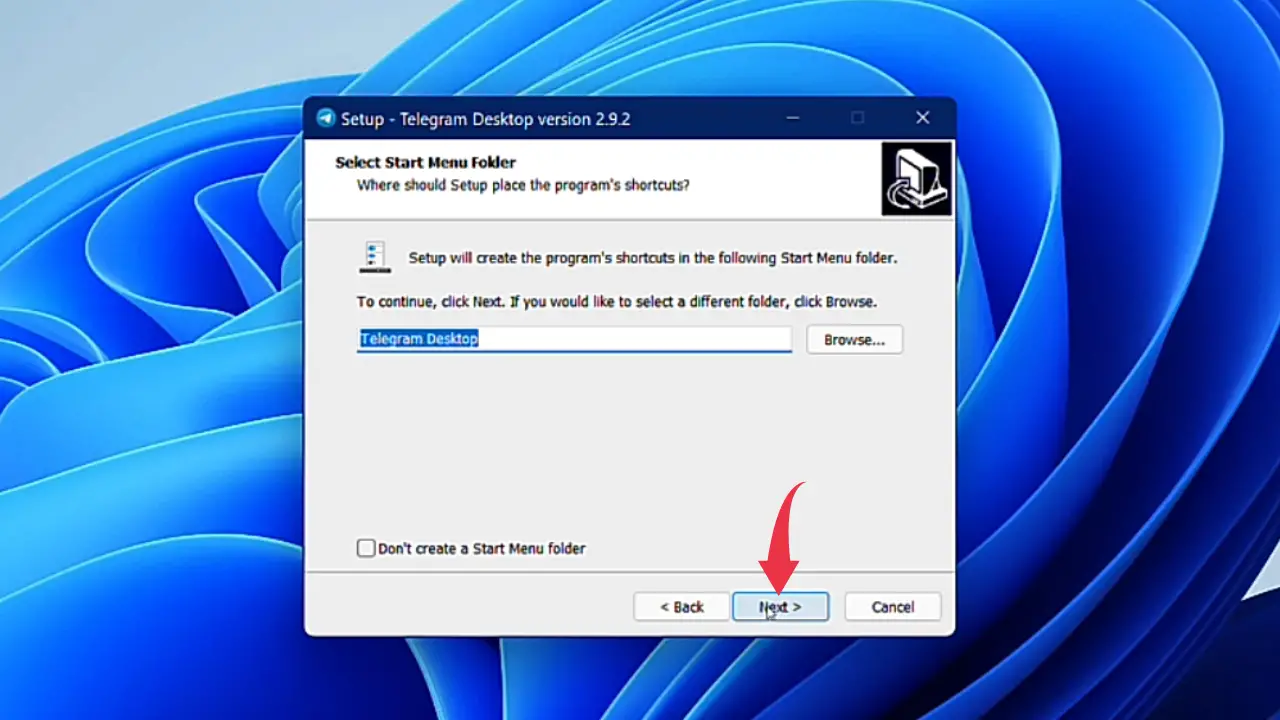
4) In the Select Start Menu Folder window as well click on the Next button.
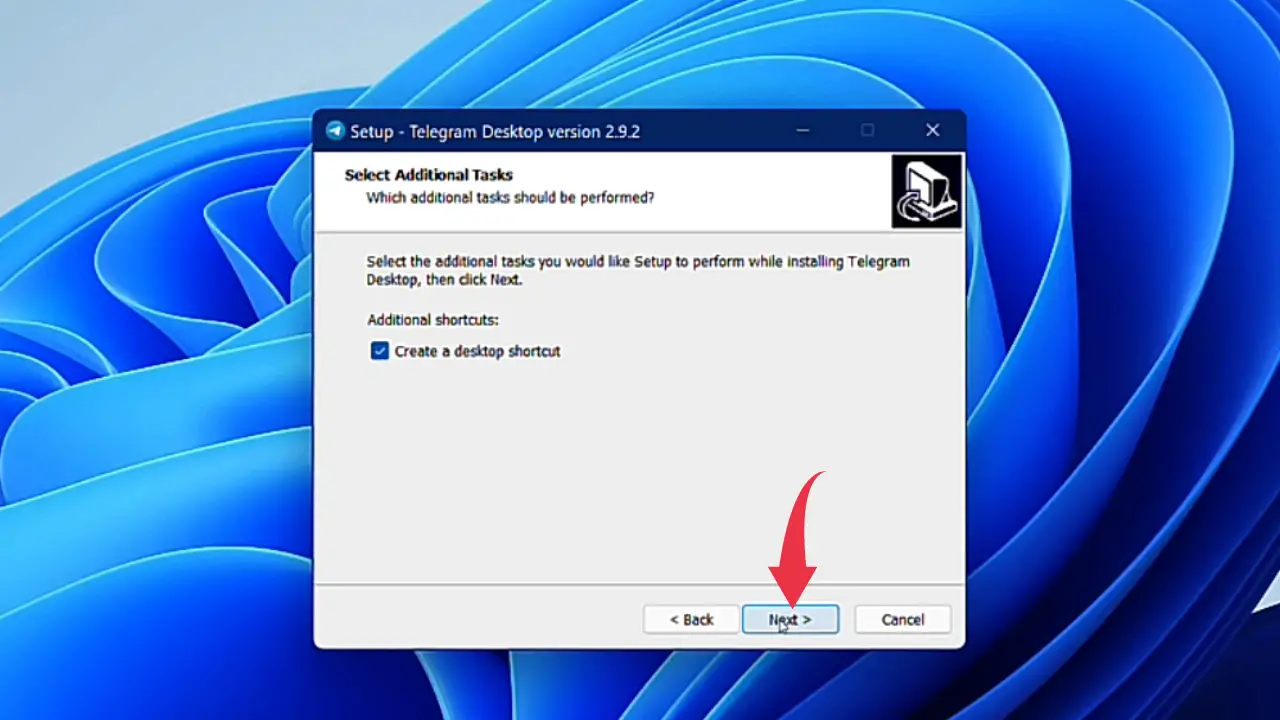
5) Same applies to the Select Additional Tasks window, simply click on Next.
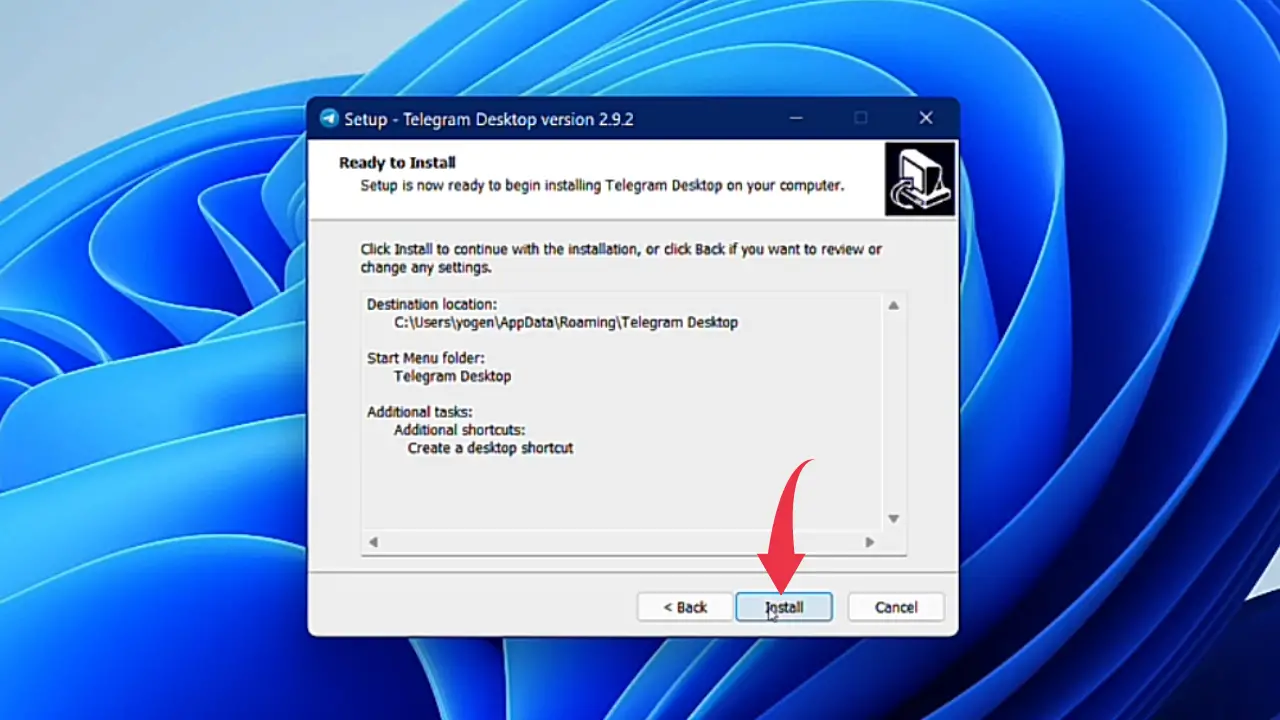
6) In this final step, simply click on the Install button and your Telegram installation process will get started.
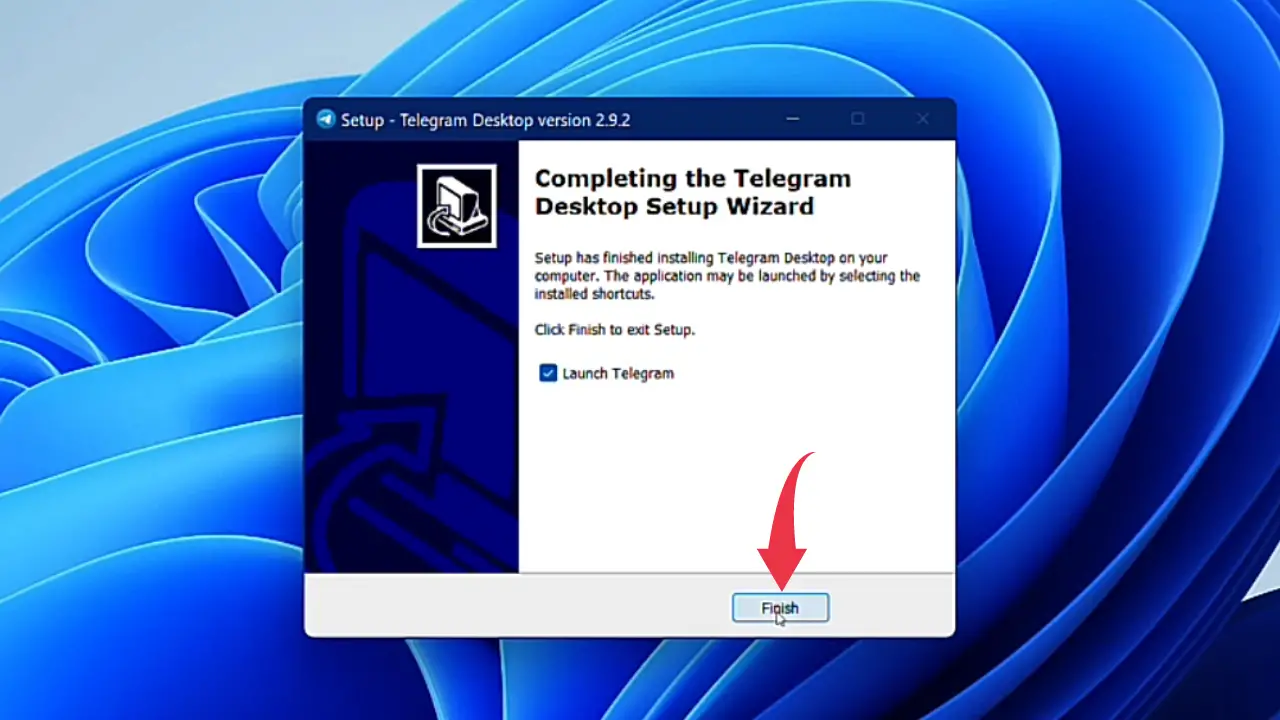
7) Once the installation gets successful click on the Finish button to close the setup wizard and launch Telegram.
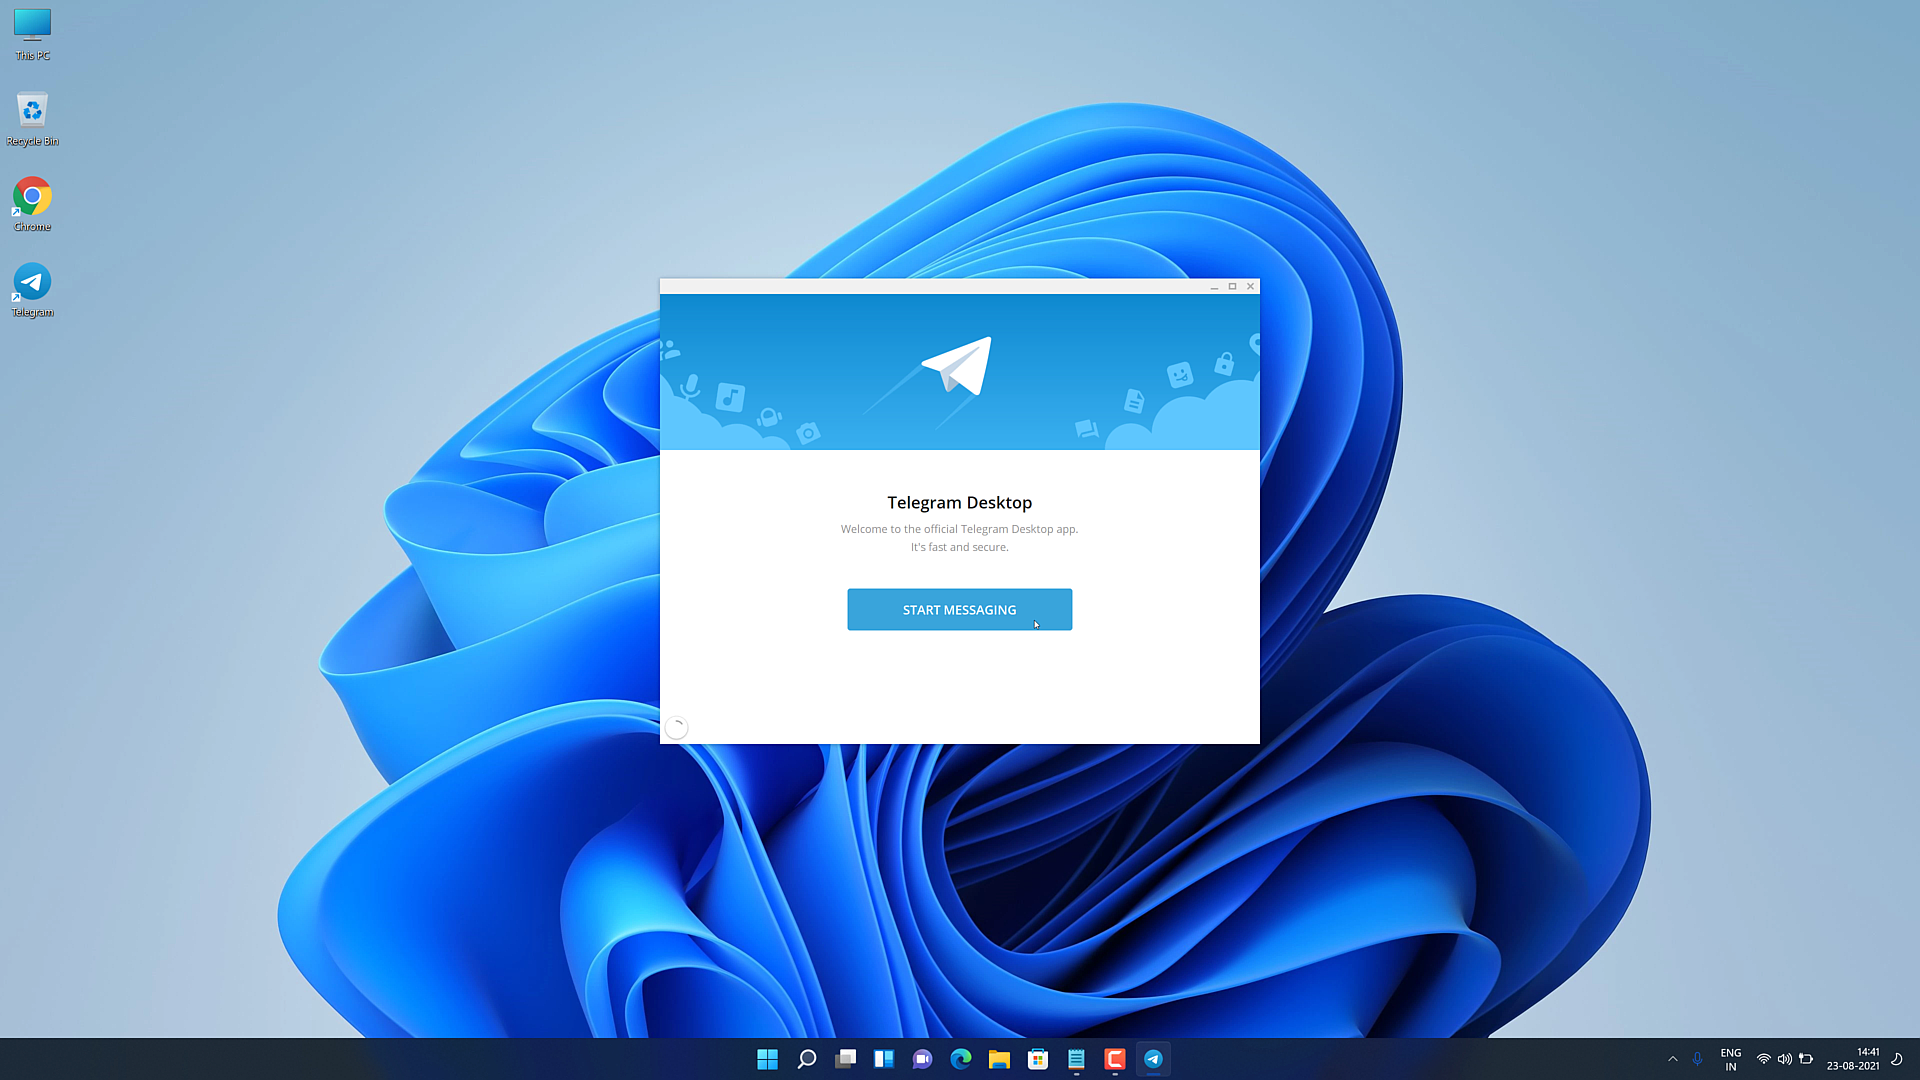
8) Opening up Telegram for the first time you will see a window similar to that of the below image.
