How To Install Skype On Windows 11
Communication has helped us in many ways to advance. Today it’s pretty easy to talk with whoever you want, no matter where he/she is. Voice calling is now old-school, nowadays the trend of video calls is going on. And during the covid-19 pandemic, video calls have connected people even when they’re far away. So it’s always good to be able to do a video call or use internet calls for communication. Not only it’s easy but also is more reliable and pocket-friendly. And for using internet communication services, Skype is the name everyone remembers. Skype offers features beyond just video/voice calls. But many users find it pretty hard to install Skype on their systems. Therefore today we’ll find out how to install Skype On Windows 11.
Video Tutorial: How To Install Skype On Windows 11
Also Read: How To Install Audacity On Windows 11
Step 1: Download Skype
1) Firstly we will download Skype, for our windows machine. Follow the download link provided below and click on the Get Skype For Windows button.
Download Skype Here: https://www.skype.com/en/get-skype/

Step 2: Install Skype On Windows 11
1) Once the download gets finished open the downloaded file in the folder where it has been downloaded. Double click, on the downloaded file, to start the setup window.

2) In the setup window, simply click on the Install button to start Skype Installation.

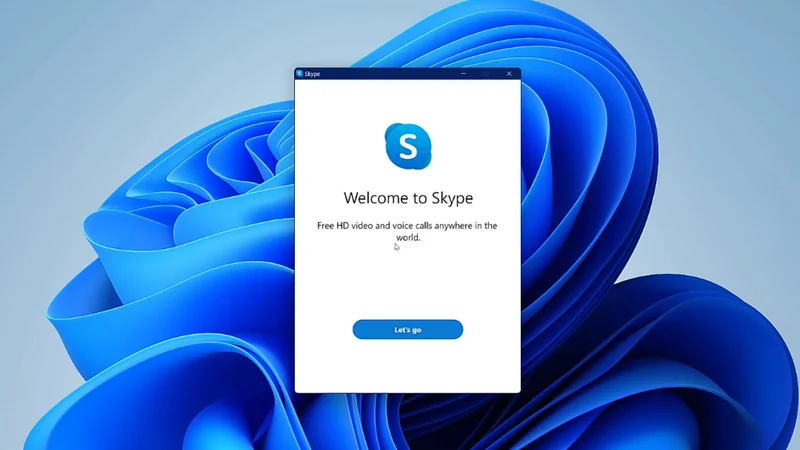
3) After successful installation first glance at Skype, on your Windows 11 will look like the below image.