
How to install PowerShell 7 on M1 macOS
If you are looking for how to install PowerShell 7 on m1 macOS you, have come to the right place! PowerShell is a powerful scripting language that enables system administrators and IT professionals to automate administrative tasks and manage Windows-based systems. While PowerShell can be used on a variety of platforms, in this article we will focus on how to install PowerShell on M1 Mac
There are two ways to install PowerShell on Mac – using a package manager or compiling from source. In this article, we will show you how to install PowerShell 7 on Mac using a package manager.
Step 1: Install Homebrew package manager
First, you will need to install the Homebrew package manager. To do this, open a Terminal window and run the following command:
/bin/bash -c "$(curl -fsSL https://raw.githubusercontent.com/Homebrew/install/HEAD/install.sh)"
Step 2: Install Powershell 7 on M1 macOS
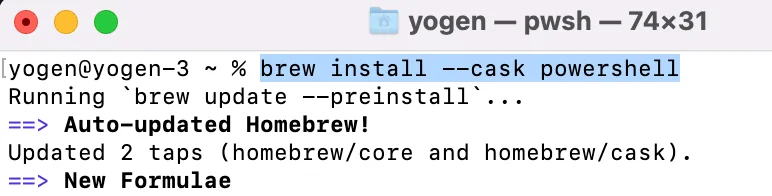
Once Homebrew is installed, you can install PowerShell by running the following command:
brew install --cask powershell
Step 3: Run Powershell in M1 macOS
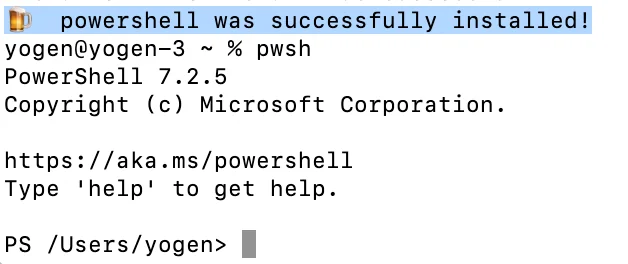
Once PowerShell is installed, you can open it by typing pwsh in the terminal
Step 4 [Bonus]: To use Homebrew in Powershell
To use Homebrew in PowerShell, type the following command in PowerShell.
Add-Content -Path $PROFILE.CurrentUserAllHosts -Value '$(/opt/homebrew/bin/brew shellenv) | Invoke-Expression'
Also Read : How to install C/C++ Compiler in Mac OS M1 Big Sur

