How To Install Malwarebytes On Windows 11
With the sharp increase in usage of the internet, many people are moving towards living a digital life. When revolved around technology, sometimes privacy and security become an issue. When privacy & security are not maintained properly. Devices often get hacked, breached, penetrated, etc by malicious hackers. Now, to protect your gadgets, there are hundreds of AntiVirus software. However, the majority of the antivirus software is either copy of other Antivirus software or they are not capable enough to remove malware from your system. Now, one such software named Malwarebytes stands out from the majority of the antivirus software. So using Malwarebytes, as a security guard of your digital life is an intelligent decision. But when going through its installation, some users may get stuck. Therefore today we’ll tell you, how to install Malwarebytes on Windows 11.
Video Tutorial: How To Install Malwarebytes On Windows 11
Also Read: How To Install Canva On Windows 11
Step 1: Download Malwarebytes
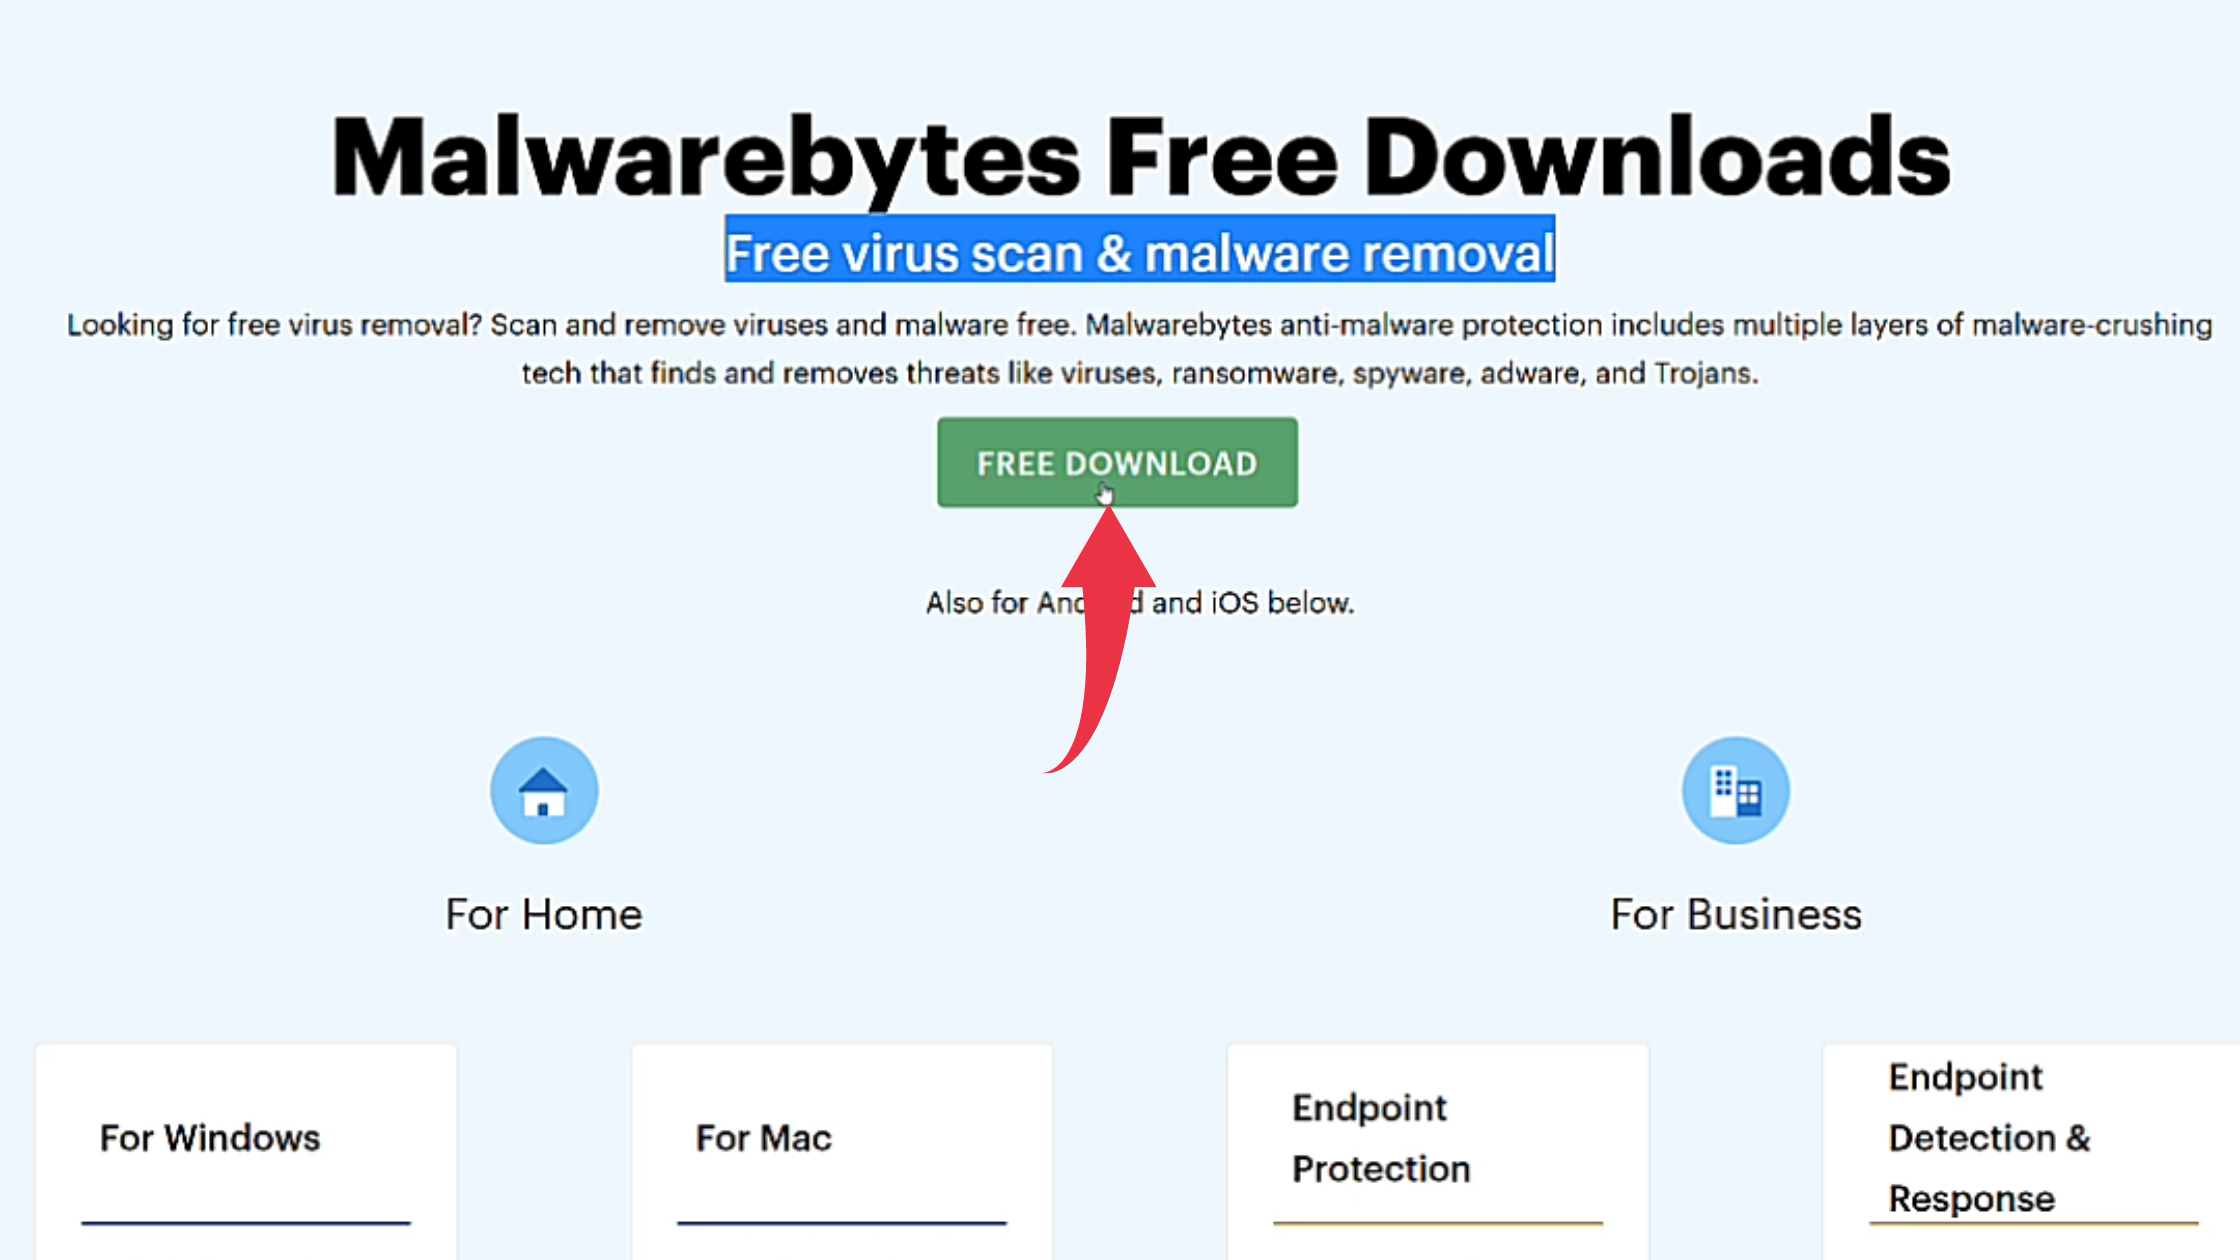
1) Firstly we will download Malwarebytes, for our windows 11 machine. Follow the download link provided below and click on the Free DOWNLOAD button.
Download Malwarebytes Here: https://www.malwarebytes.com/mwb-download
Step 2: Install Malwarebytes On Windows 11
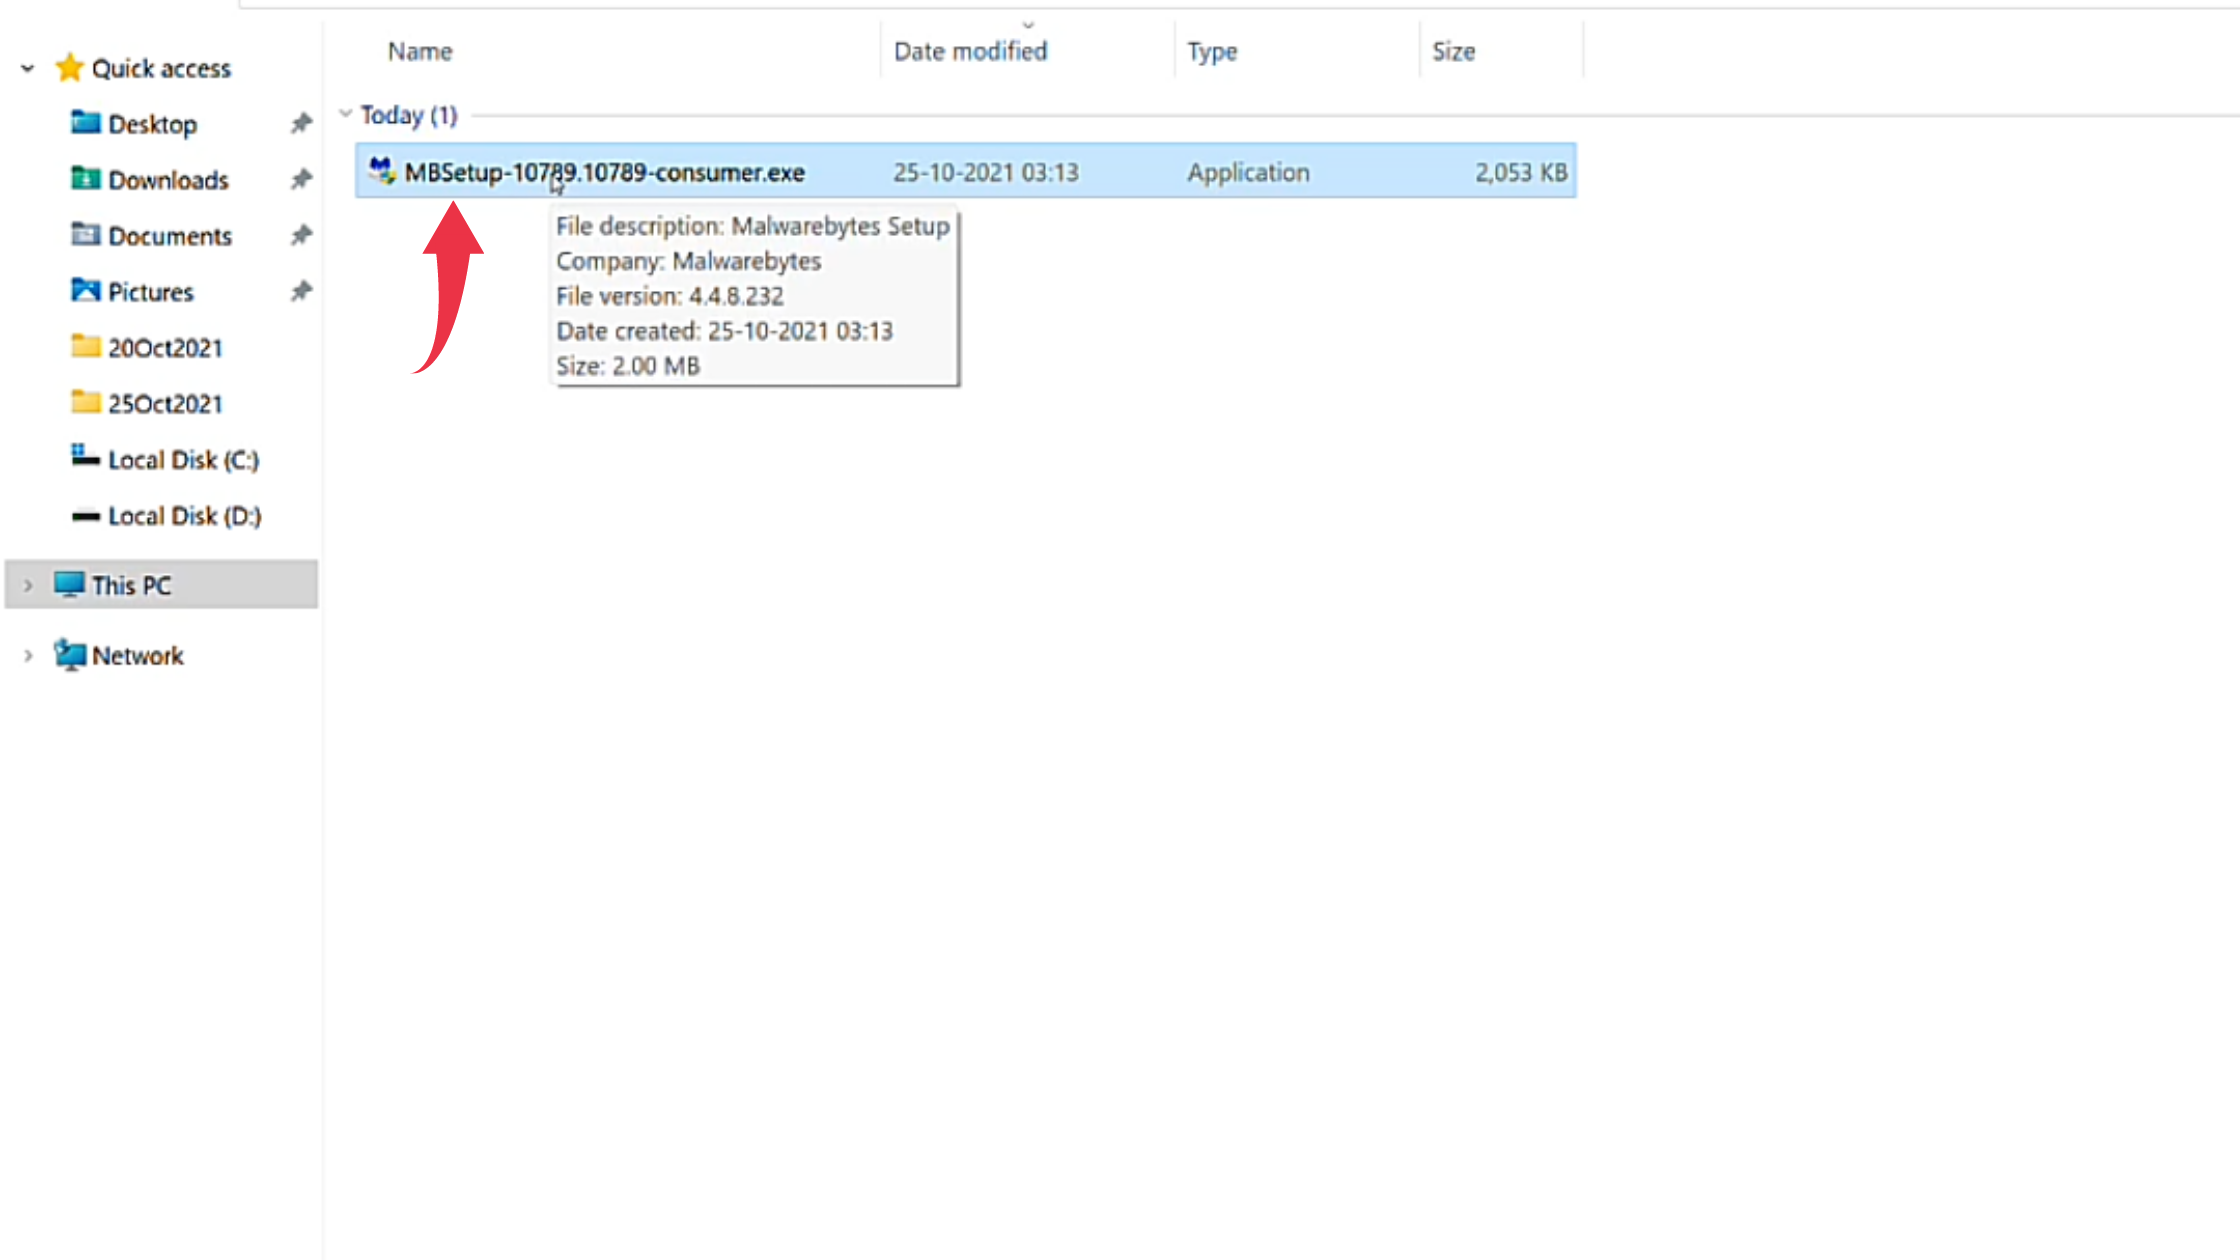
1) Once the download gets finished open the downloaded file in the folder where it has been downloaded. Double click, on the downloaded file, to start the Installation.
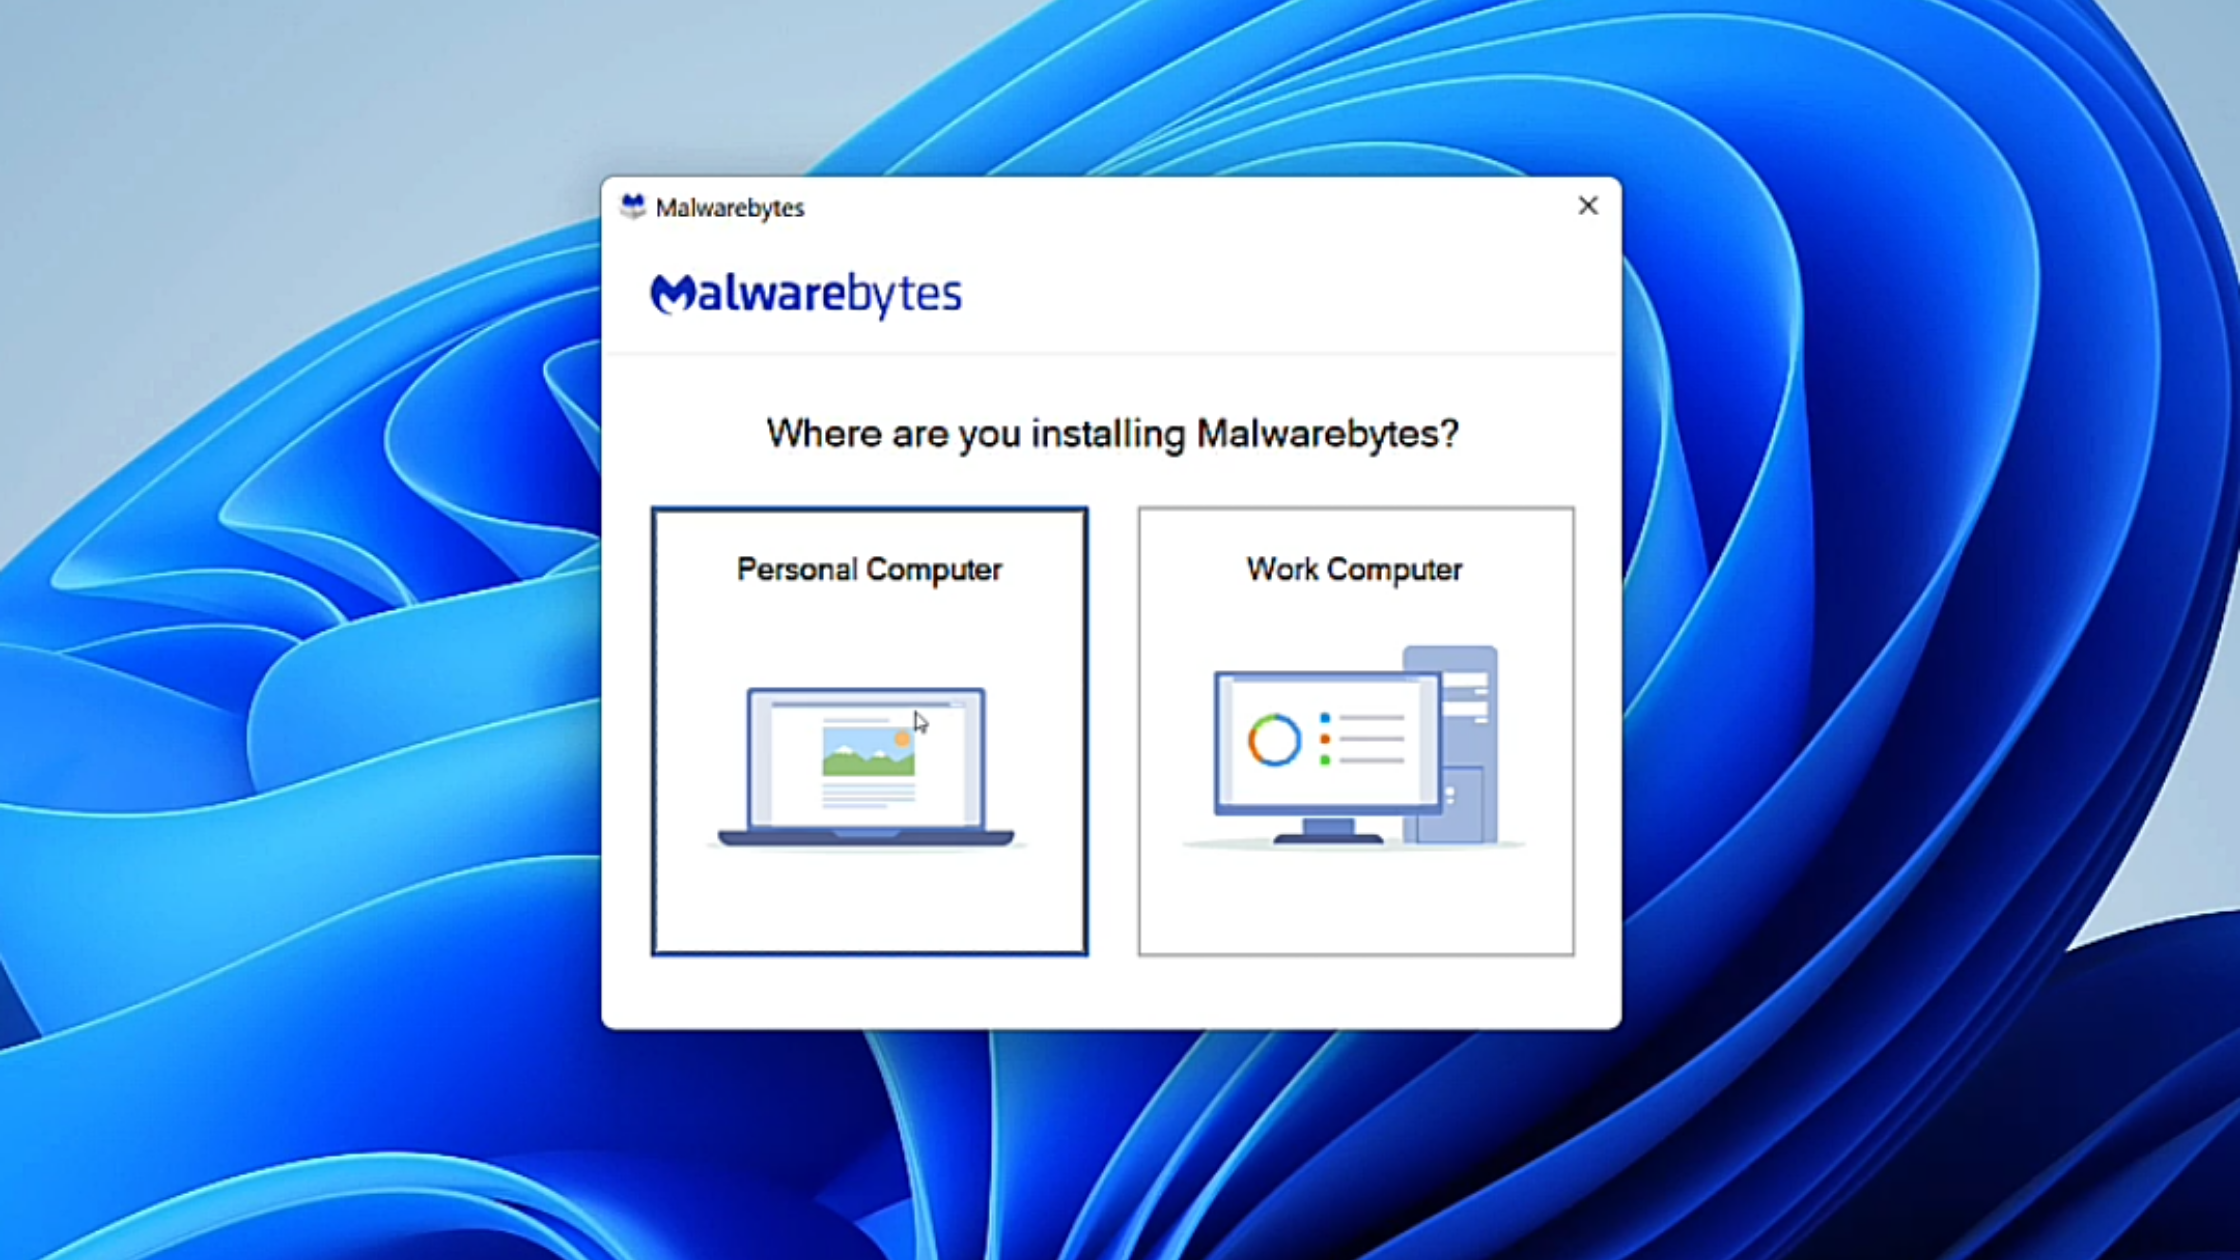
2) Now you’ll have to choose the type of work environment where you are going to install Malwarebytes. And click on that appropriate option. In our case, it’s Personal Computer.
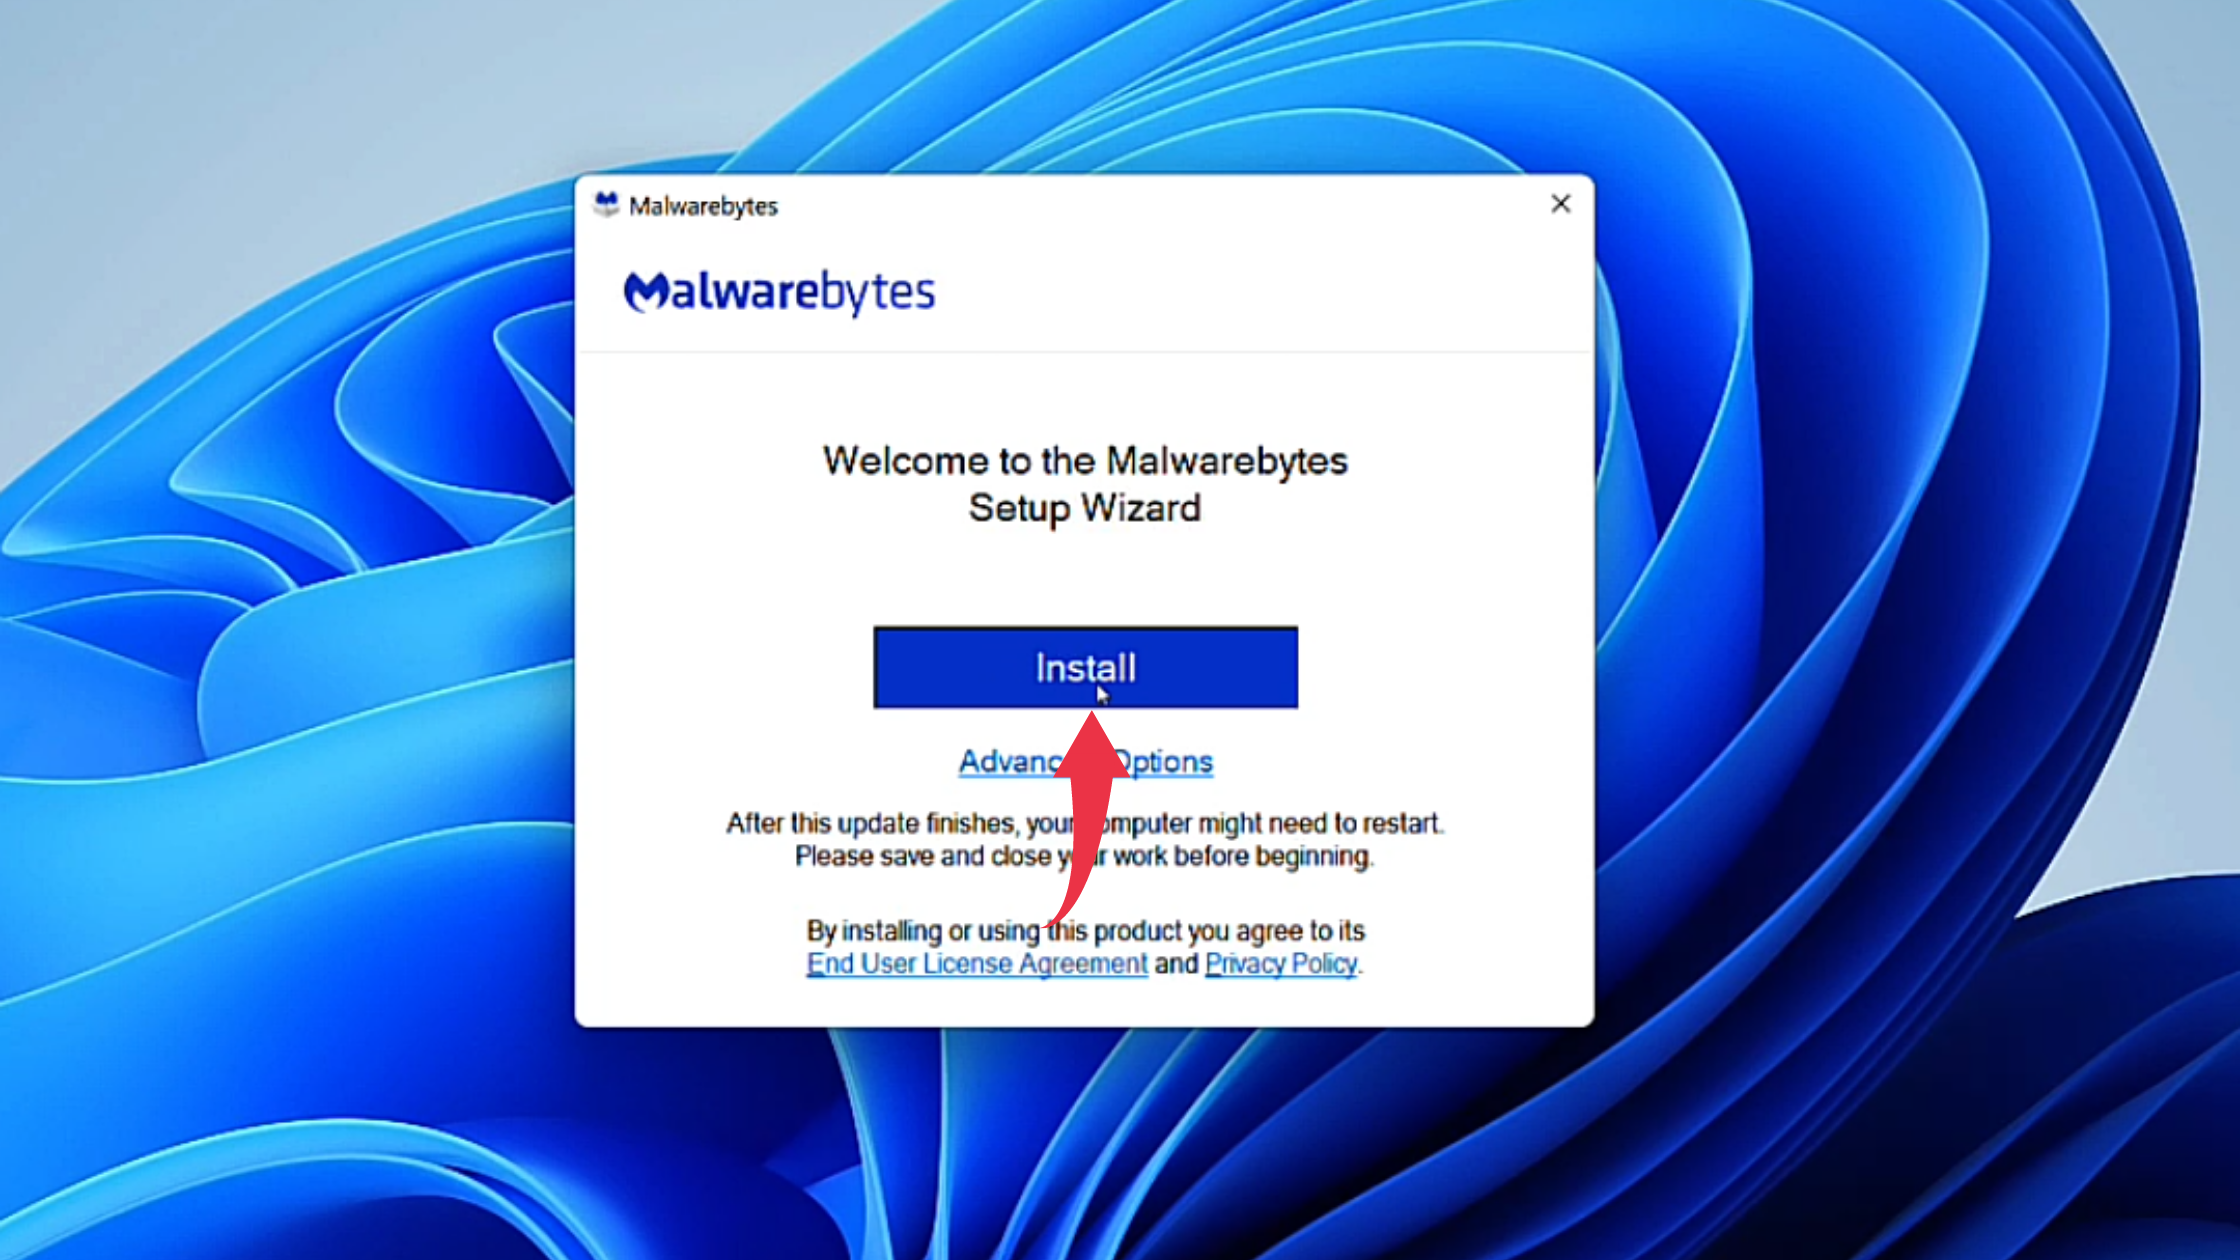
3) After that, in the setup wizard click on the Install button.
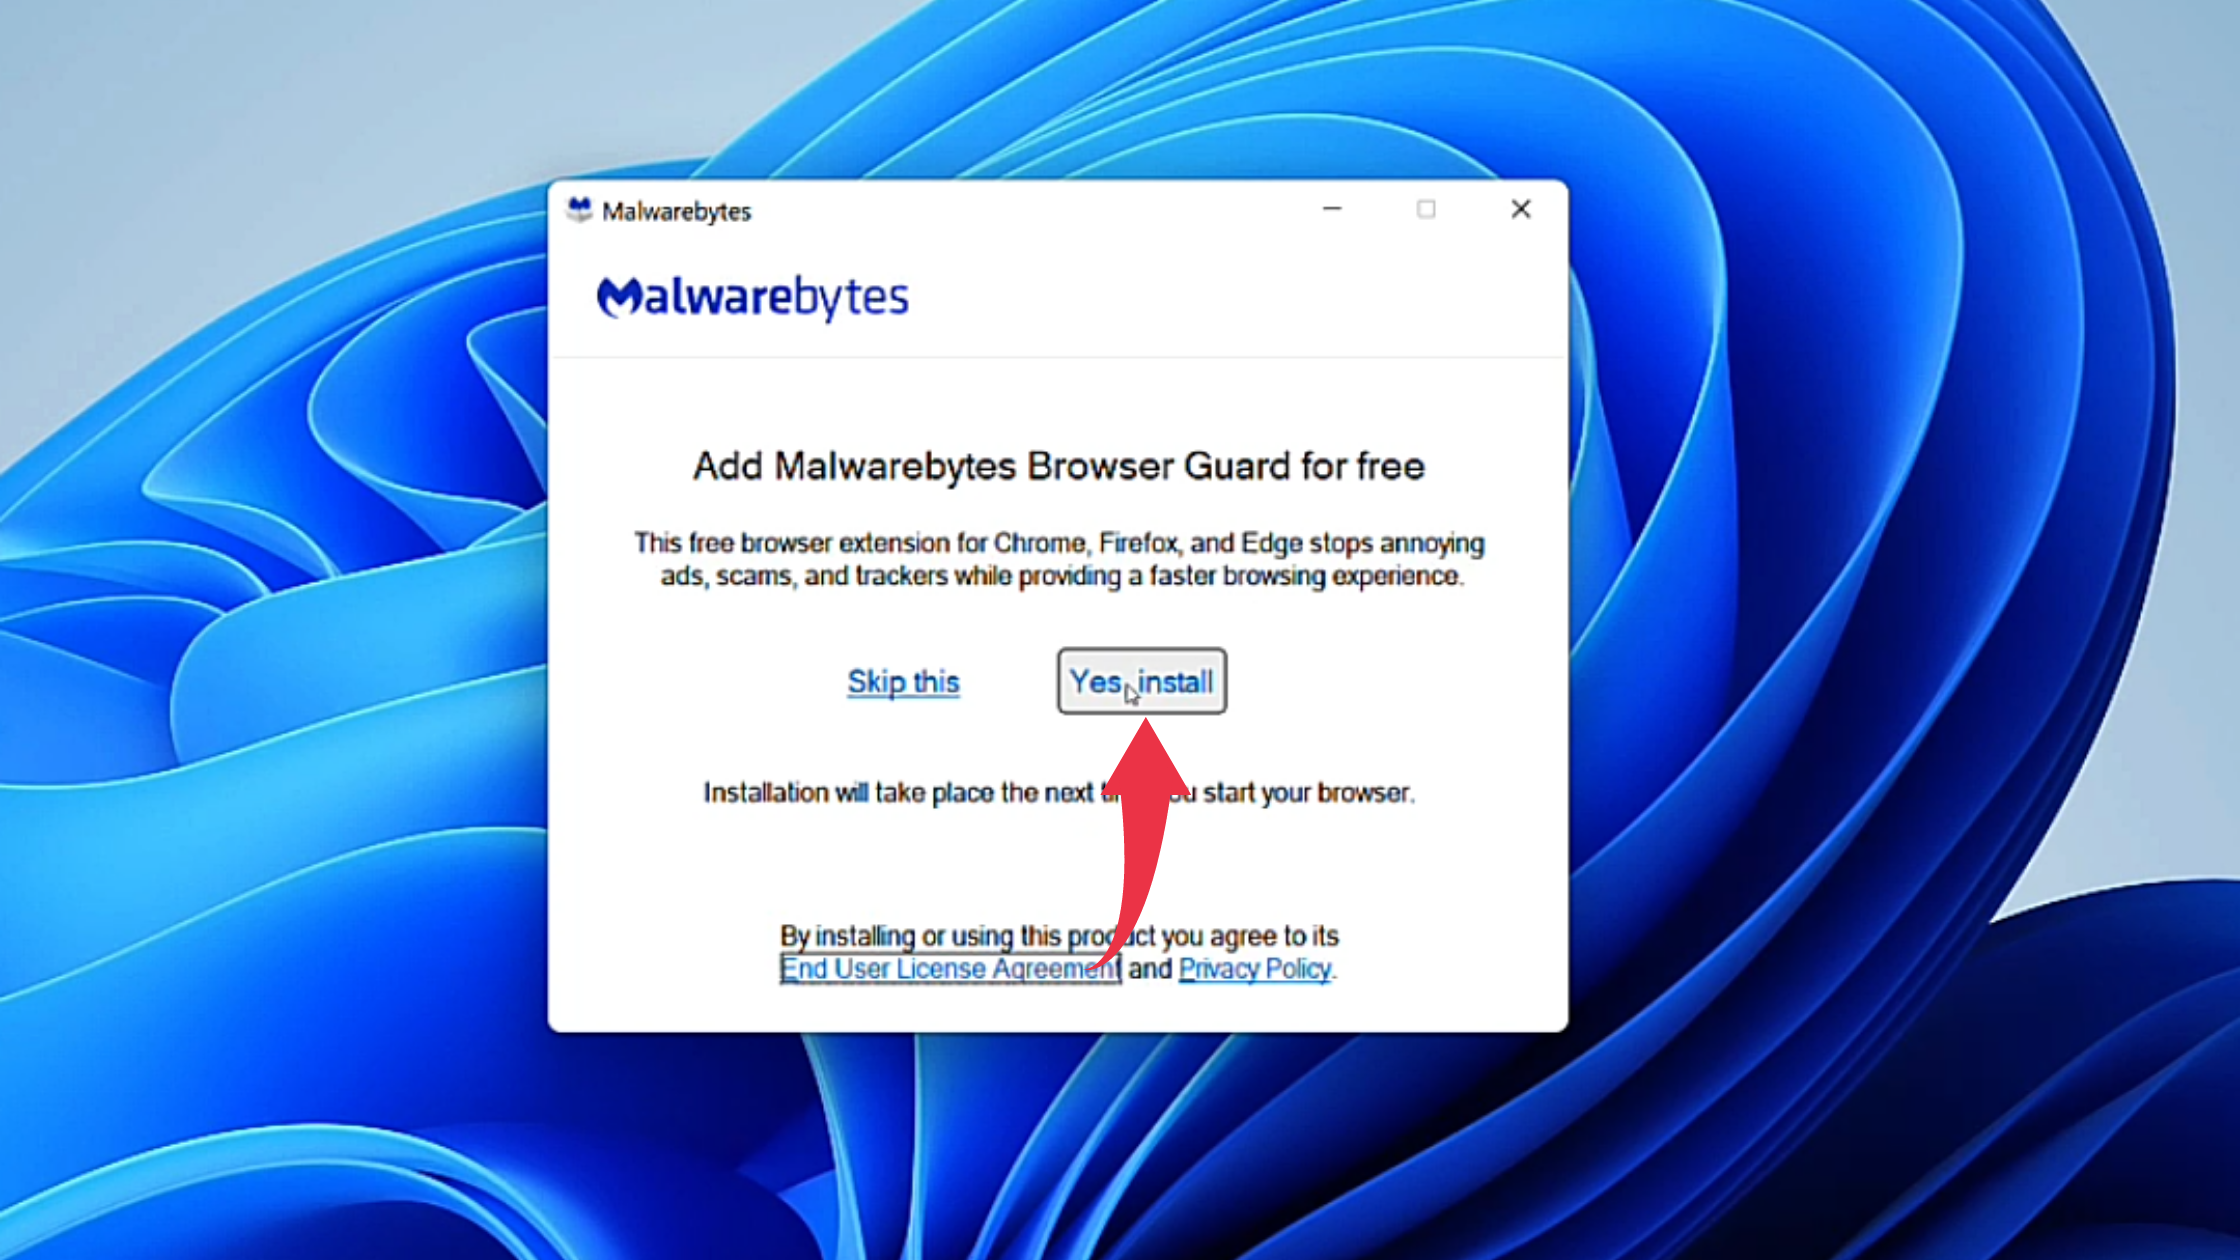
4) Now, a popup window will appear, asking you to install the Malwarebytes Browser Guard. So here as well click on the Yes Install button.
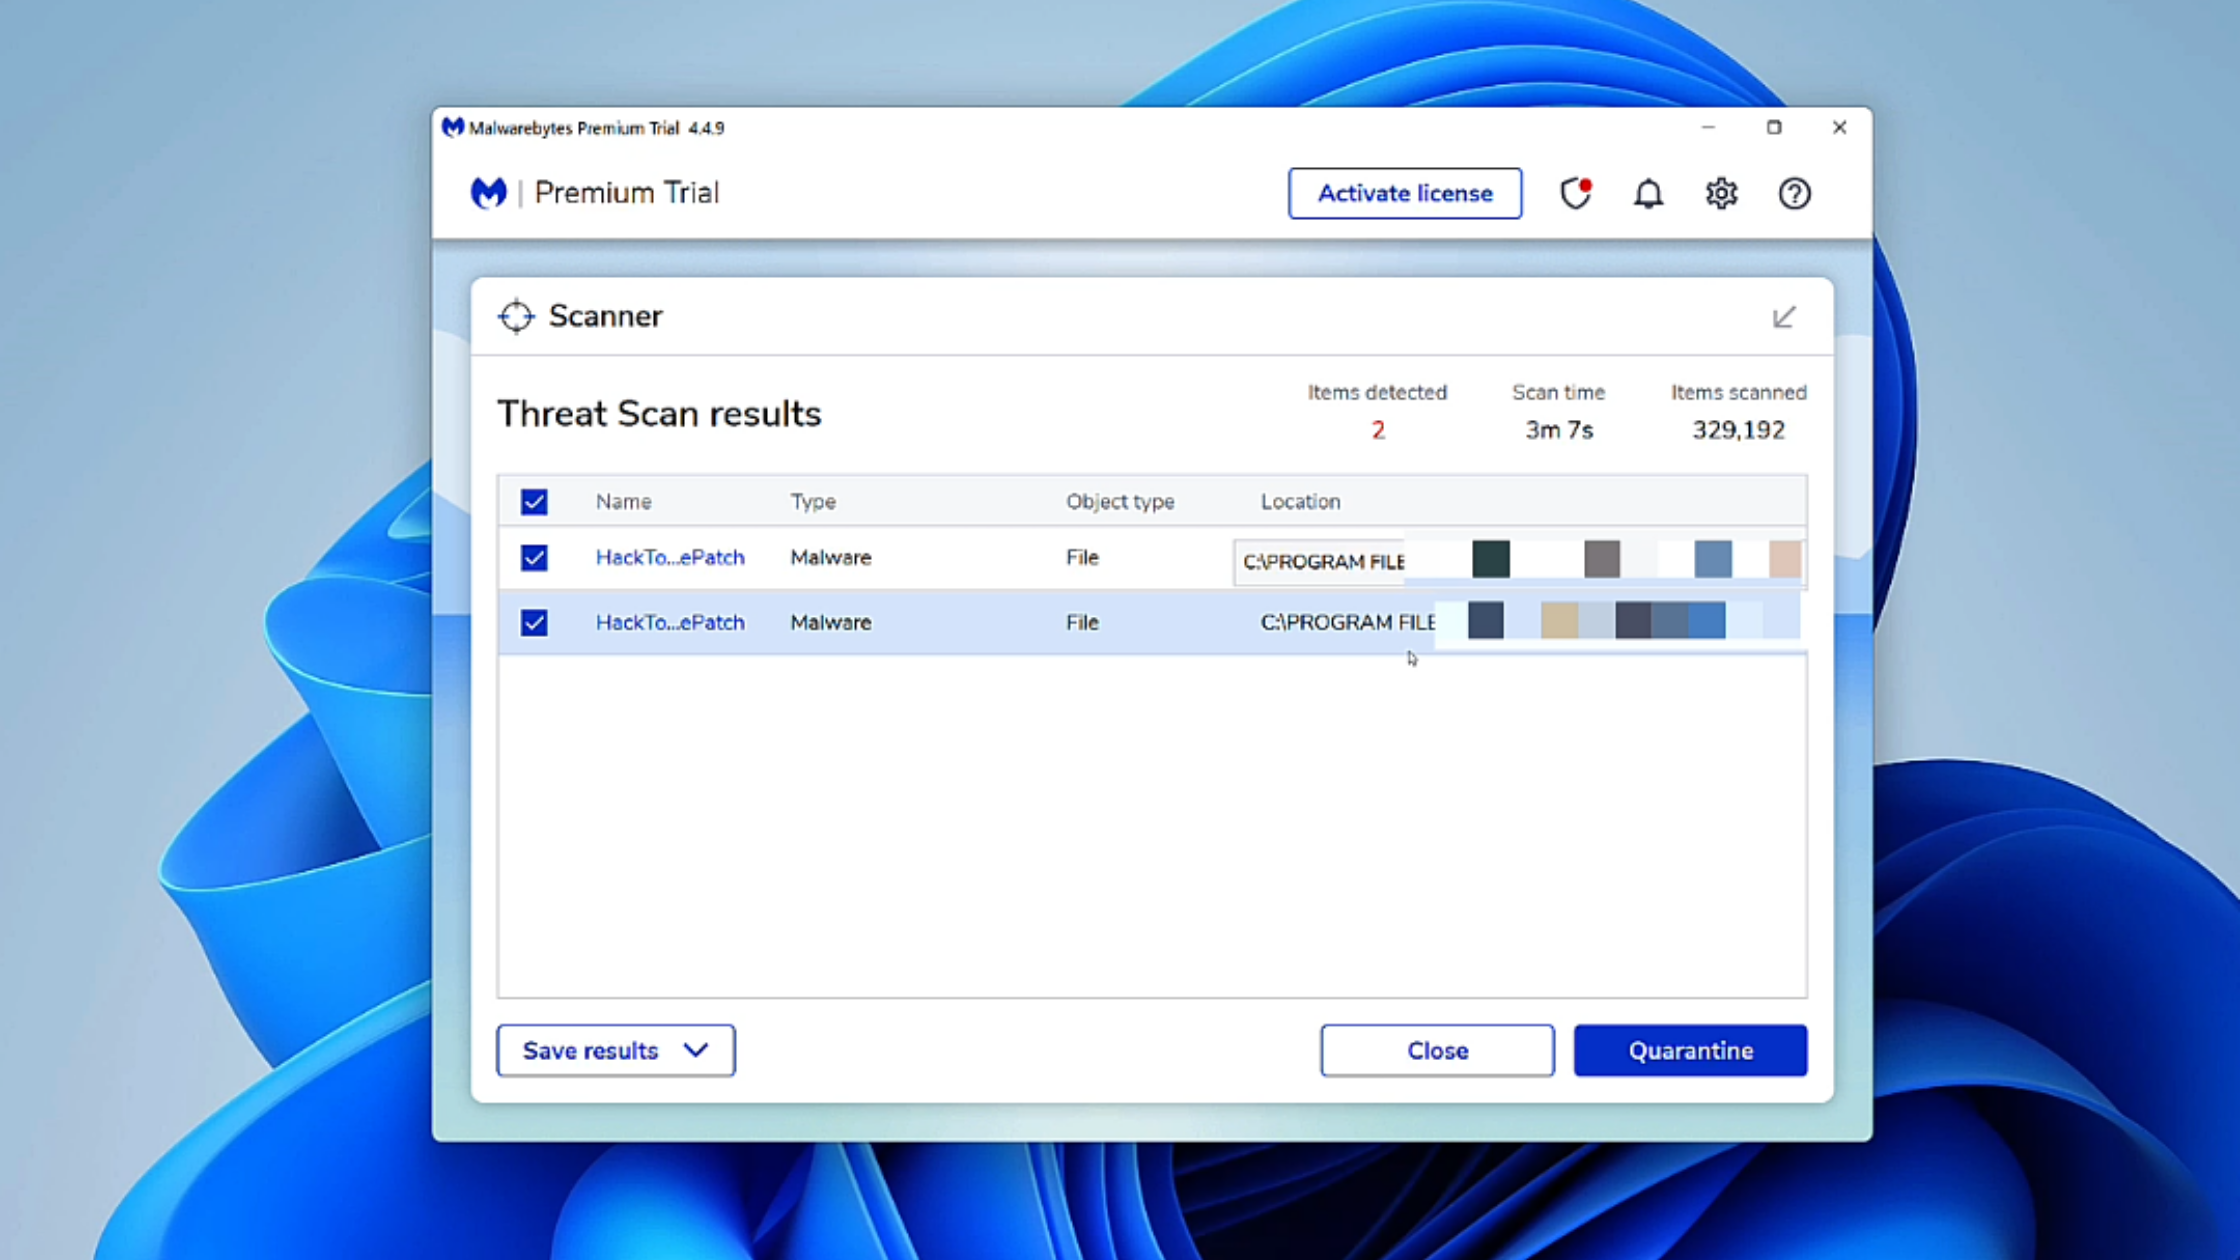
5) After successful installation first glance at Malwarebytes, on your Windows 11 will look like the below image.
