How To Install iTunes On Windows 11
Giving attention to music creates a soothing effect on our minds and mental health. Generally, due to everyday busy life, many individuals get completely exhausted by the end of the day. As there remains no time to heal an exhausted body, eventually frustration takes away all the mental peace. So we should always listen to music to entertain ourselves. Not only music but watching entertaining videos also helps to boost the mood. So whatever software you use to watch videos or to listen to music plays a very important role. For Apple users, there’s no better option than iTunes. But what about those who’ve shifted from Apple to Windows environment. We’ll no need to worry, today we’re going to help you with this same issue. So in this article, we are going to learn, how to Install Itunes On Windows 11.
Video Tutorial: How To Install iTunes On Windows 11
Also Read: How To Install Audacity On Windows 11
Step 1: Download iTunes
1) Firstly we will download Itunes, for our windows machine. Follow the download link provided below. Based on your Windows 11 system architecture click on the appropriate download button. In our case, it’s iTunes 12.10.11 for Windows (Windows 64 bit)
Download Itunes Here: https://support.apple.com/downloads/iTunes

Step 2: Install iTunes On Windows 11
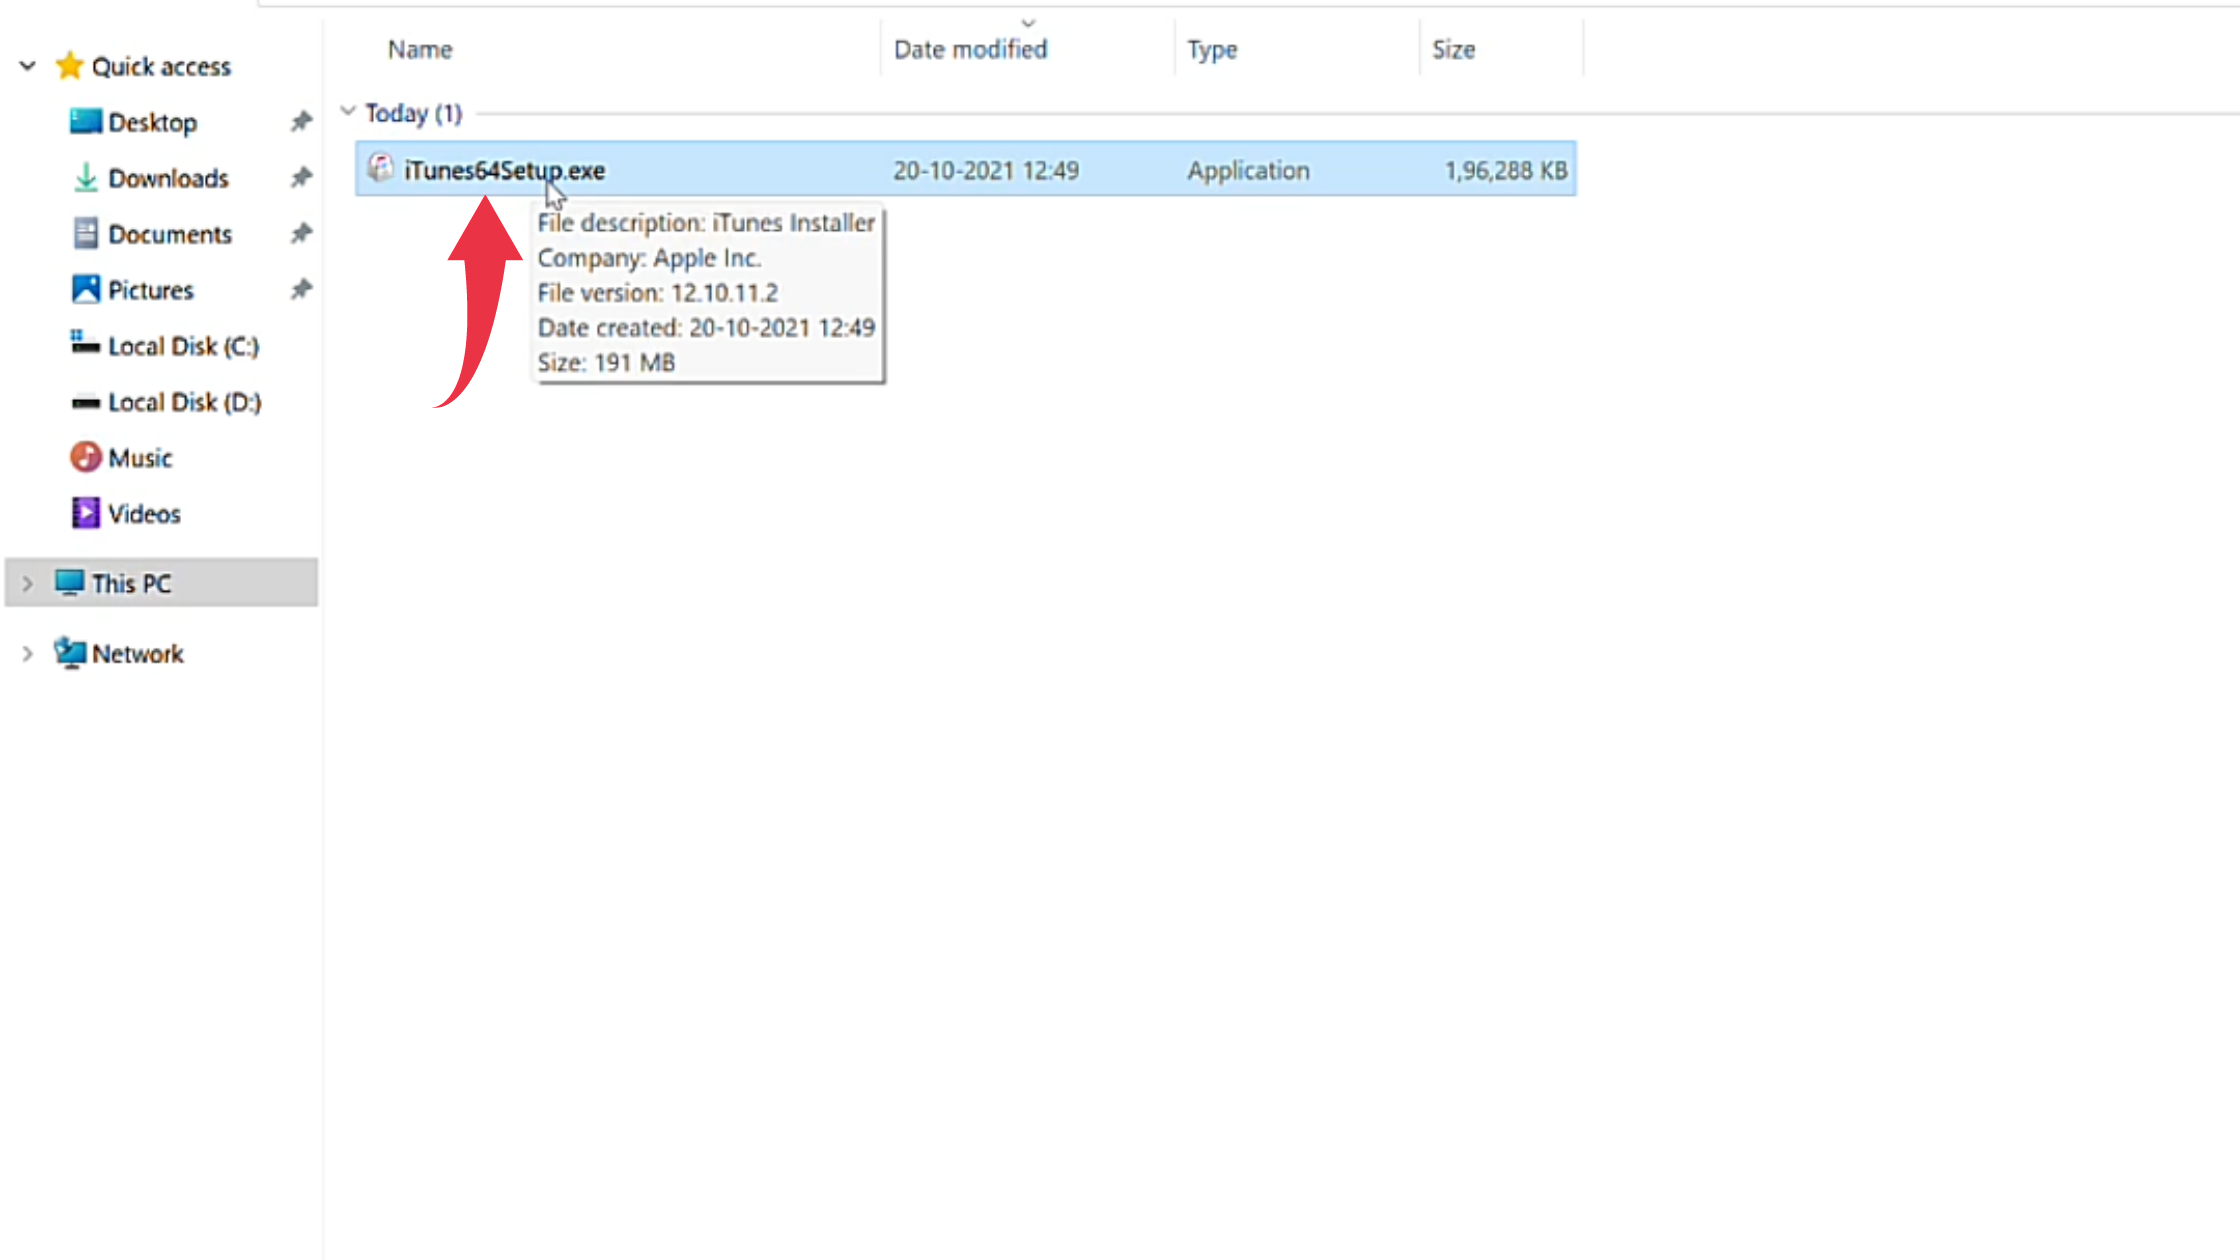
1) Once the download gets finished open the downloaded file in the folder where it has been downloaded. Double click, on the downloaded file, to start the welcome screen.
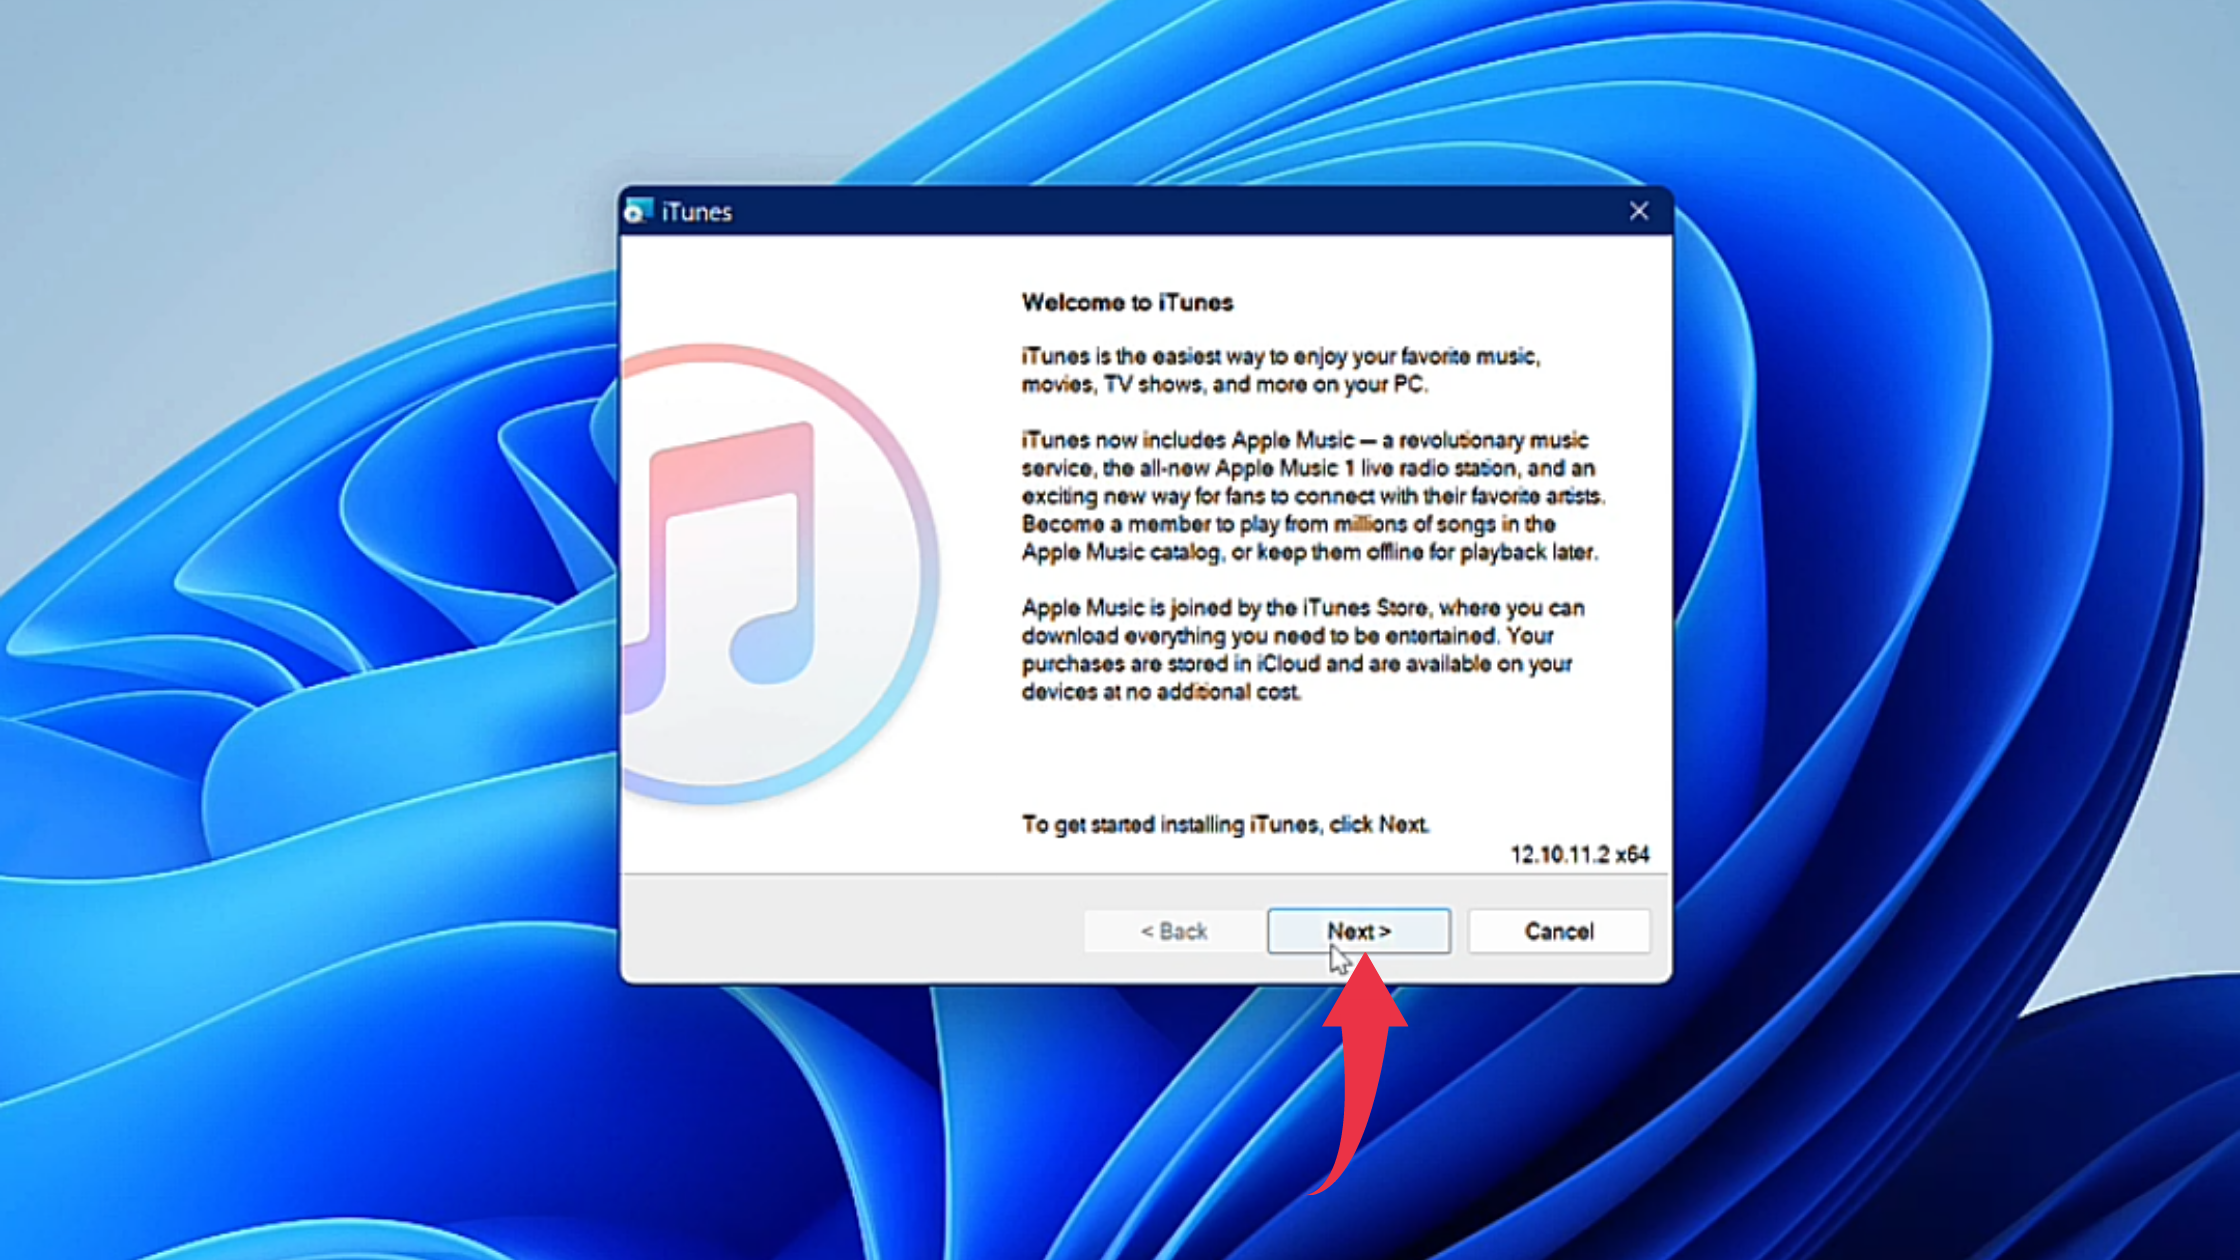
2) In the Welcome Screen of the iTunes installation window, click on the Next button.
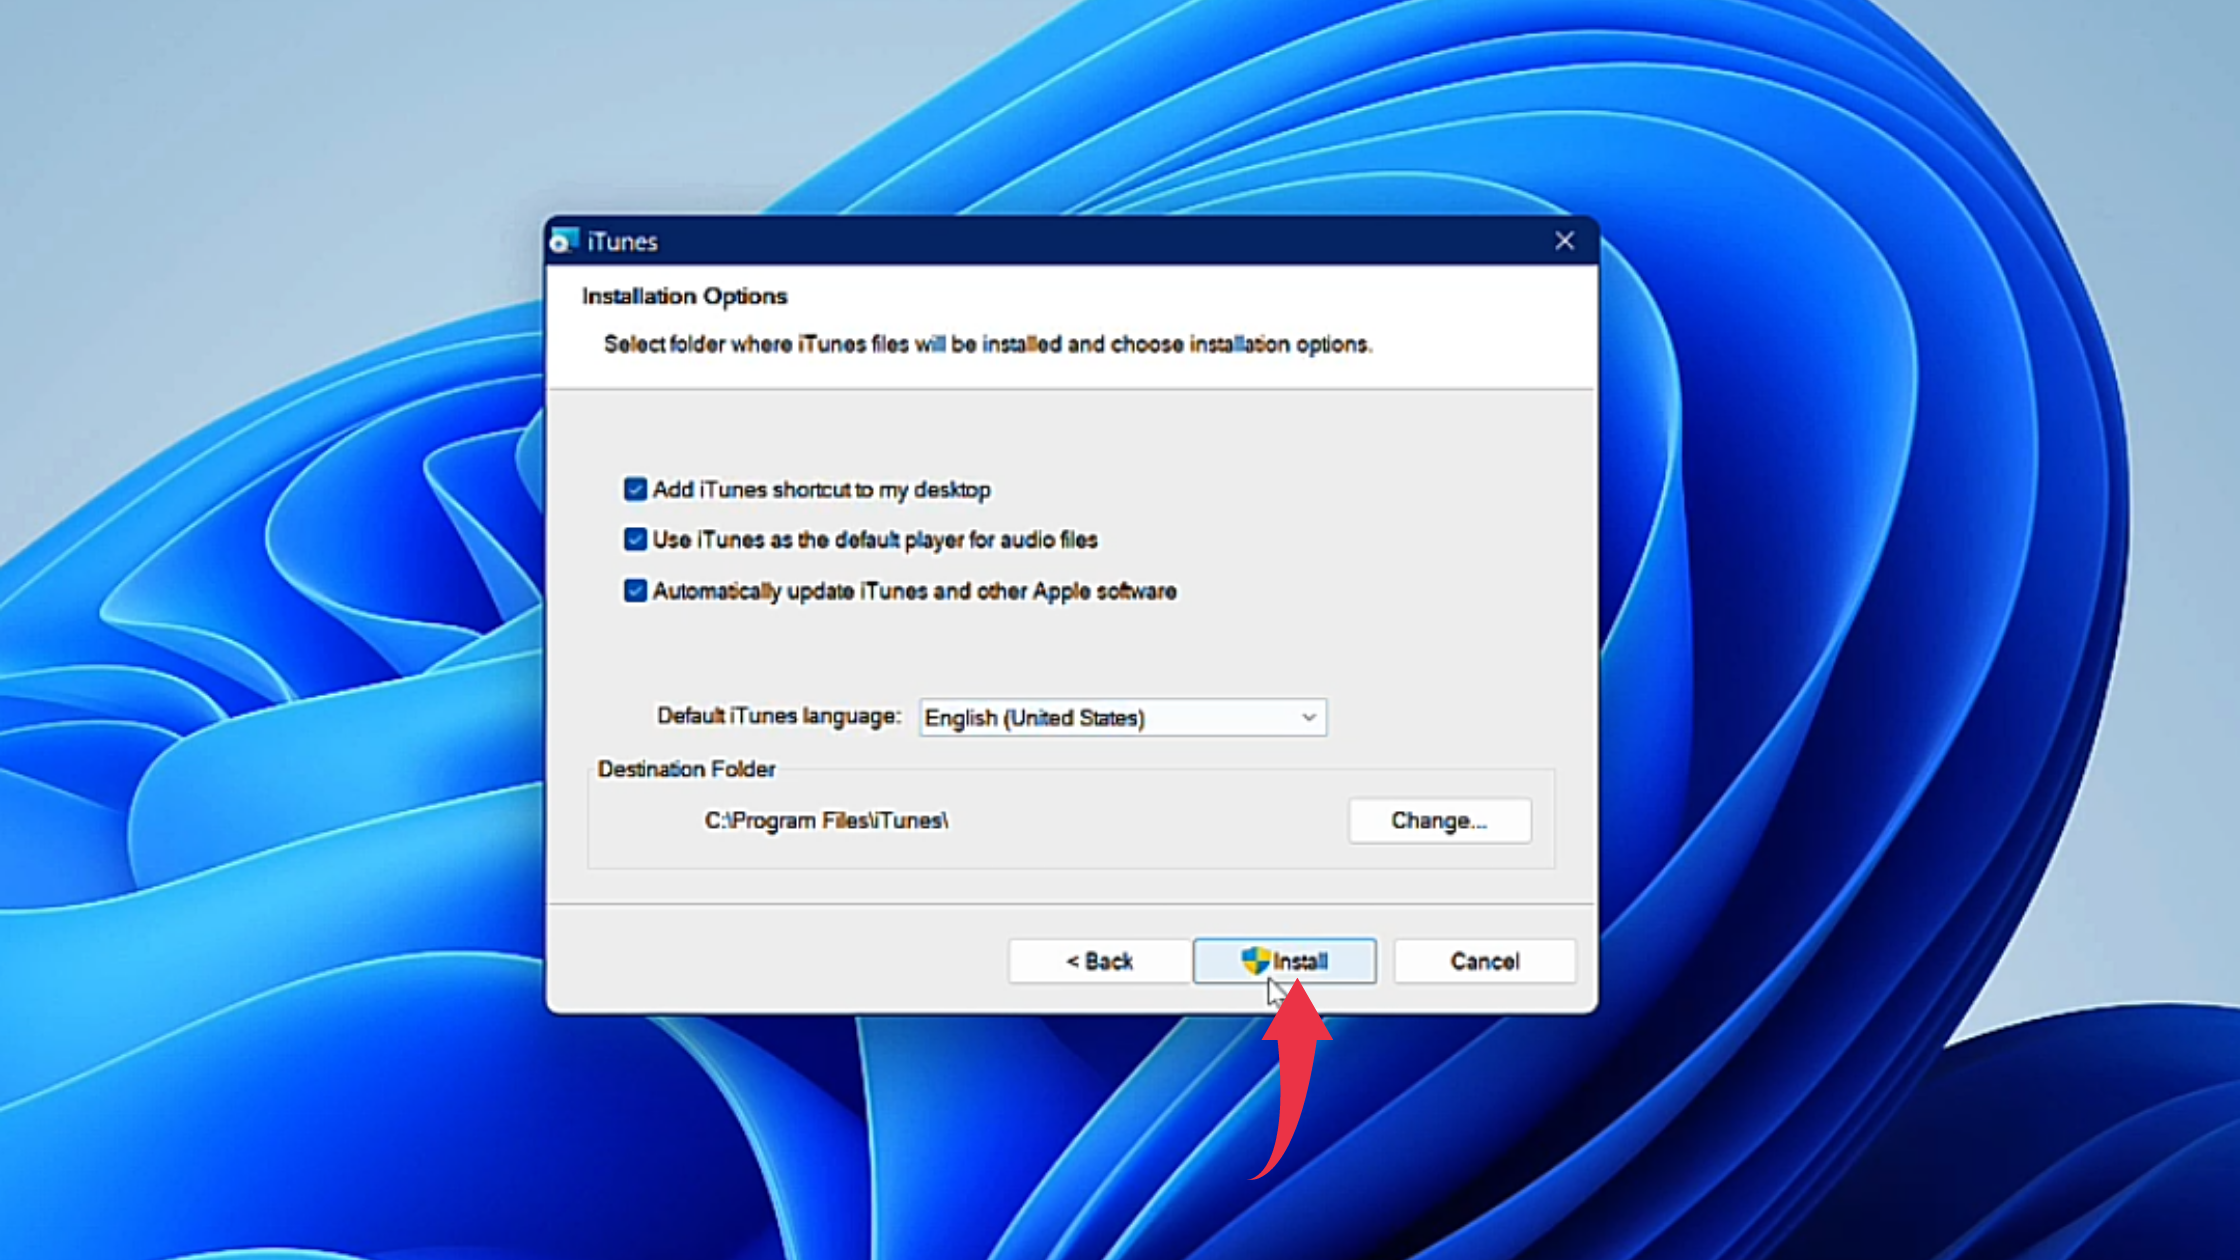
3) In this final installation window, click on the Install button to start iTunes installation.
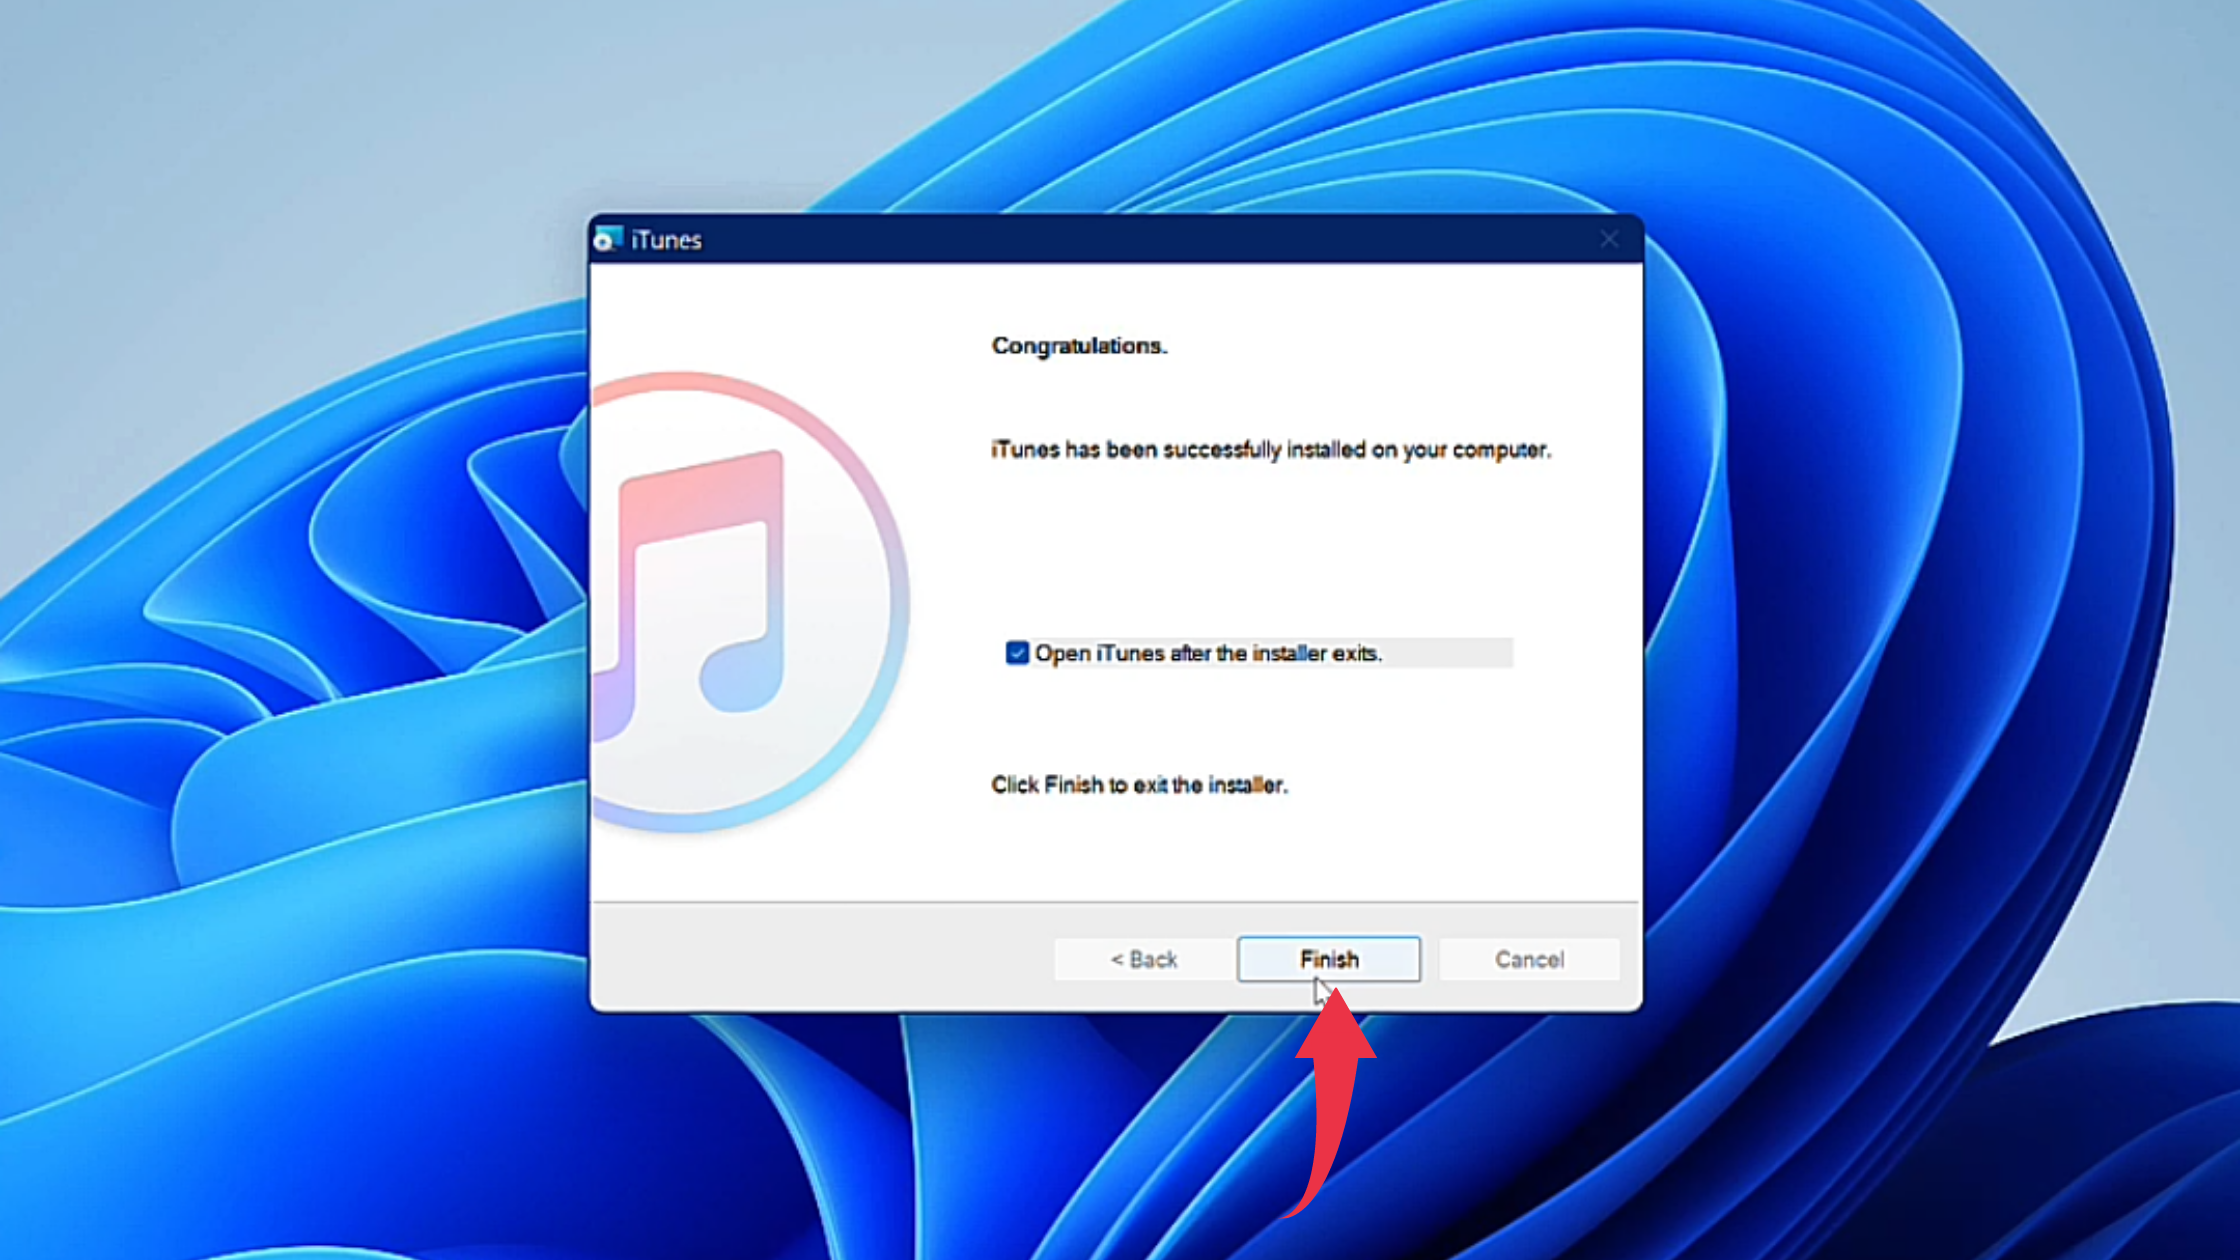
4) After successful installation, click on the finish button to launch iTunes on your Windows 11 machine.
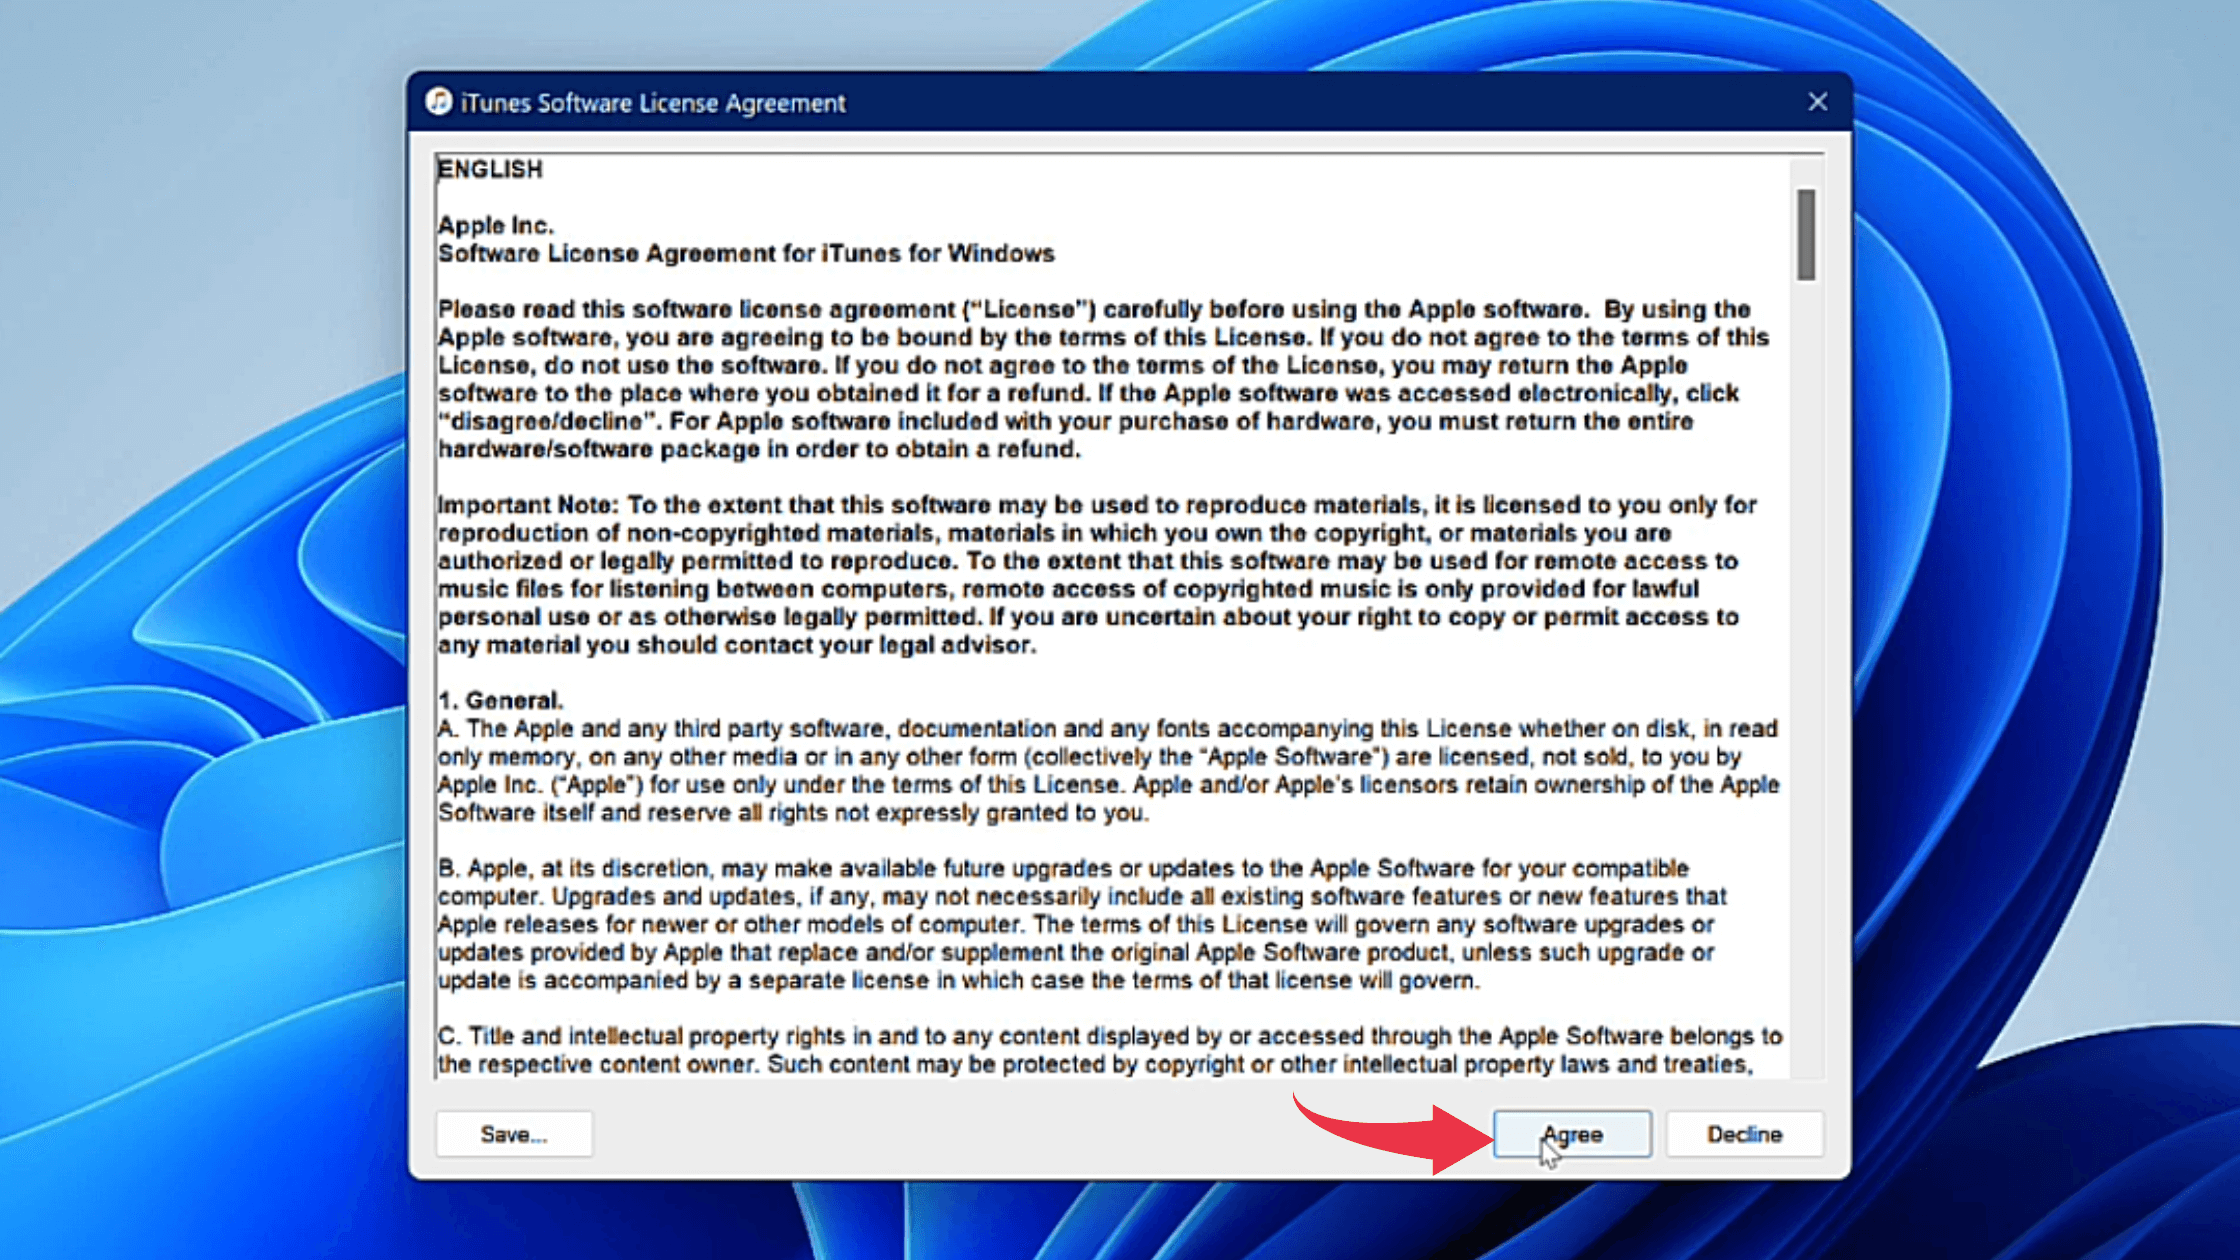
5) For the first time you’ll see a license agreement, click on the Agree button to start using iTunes.
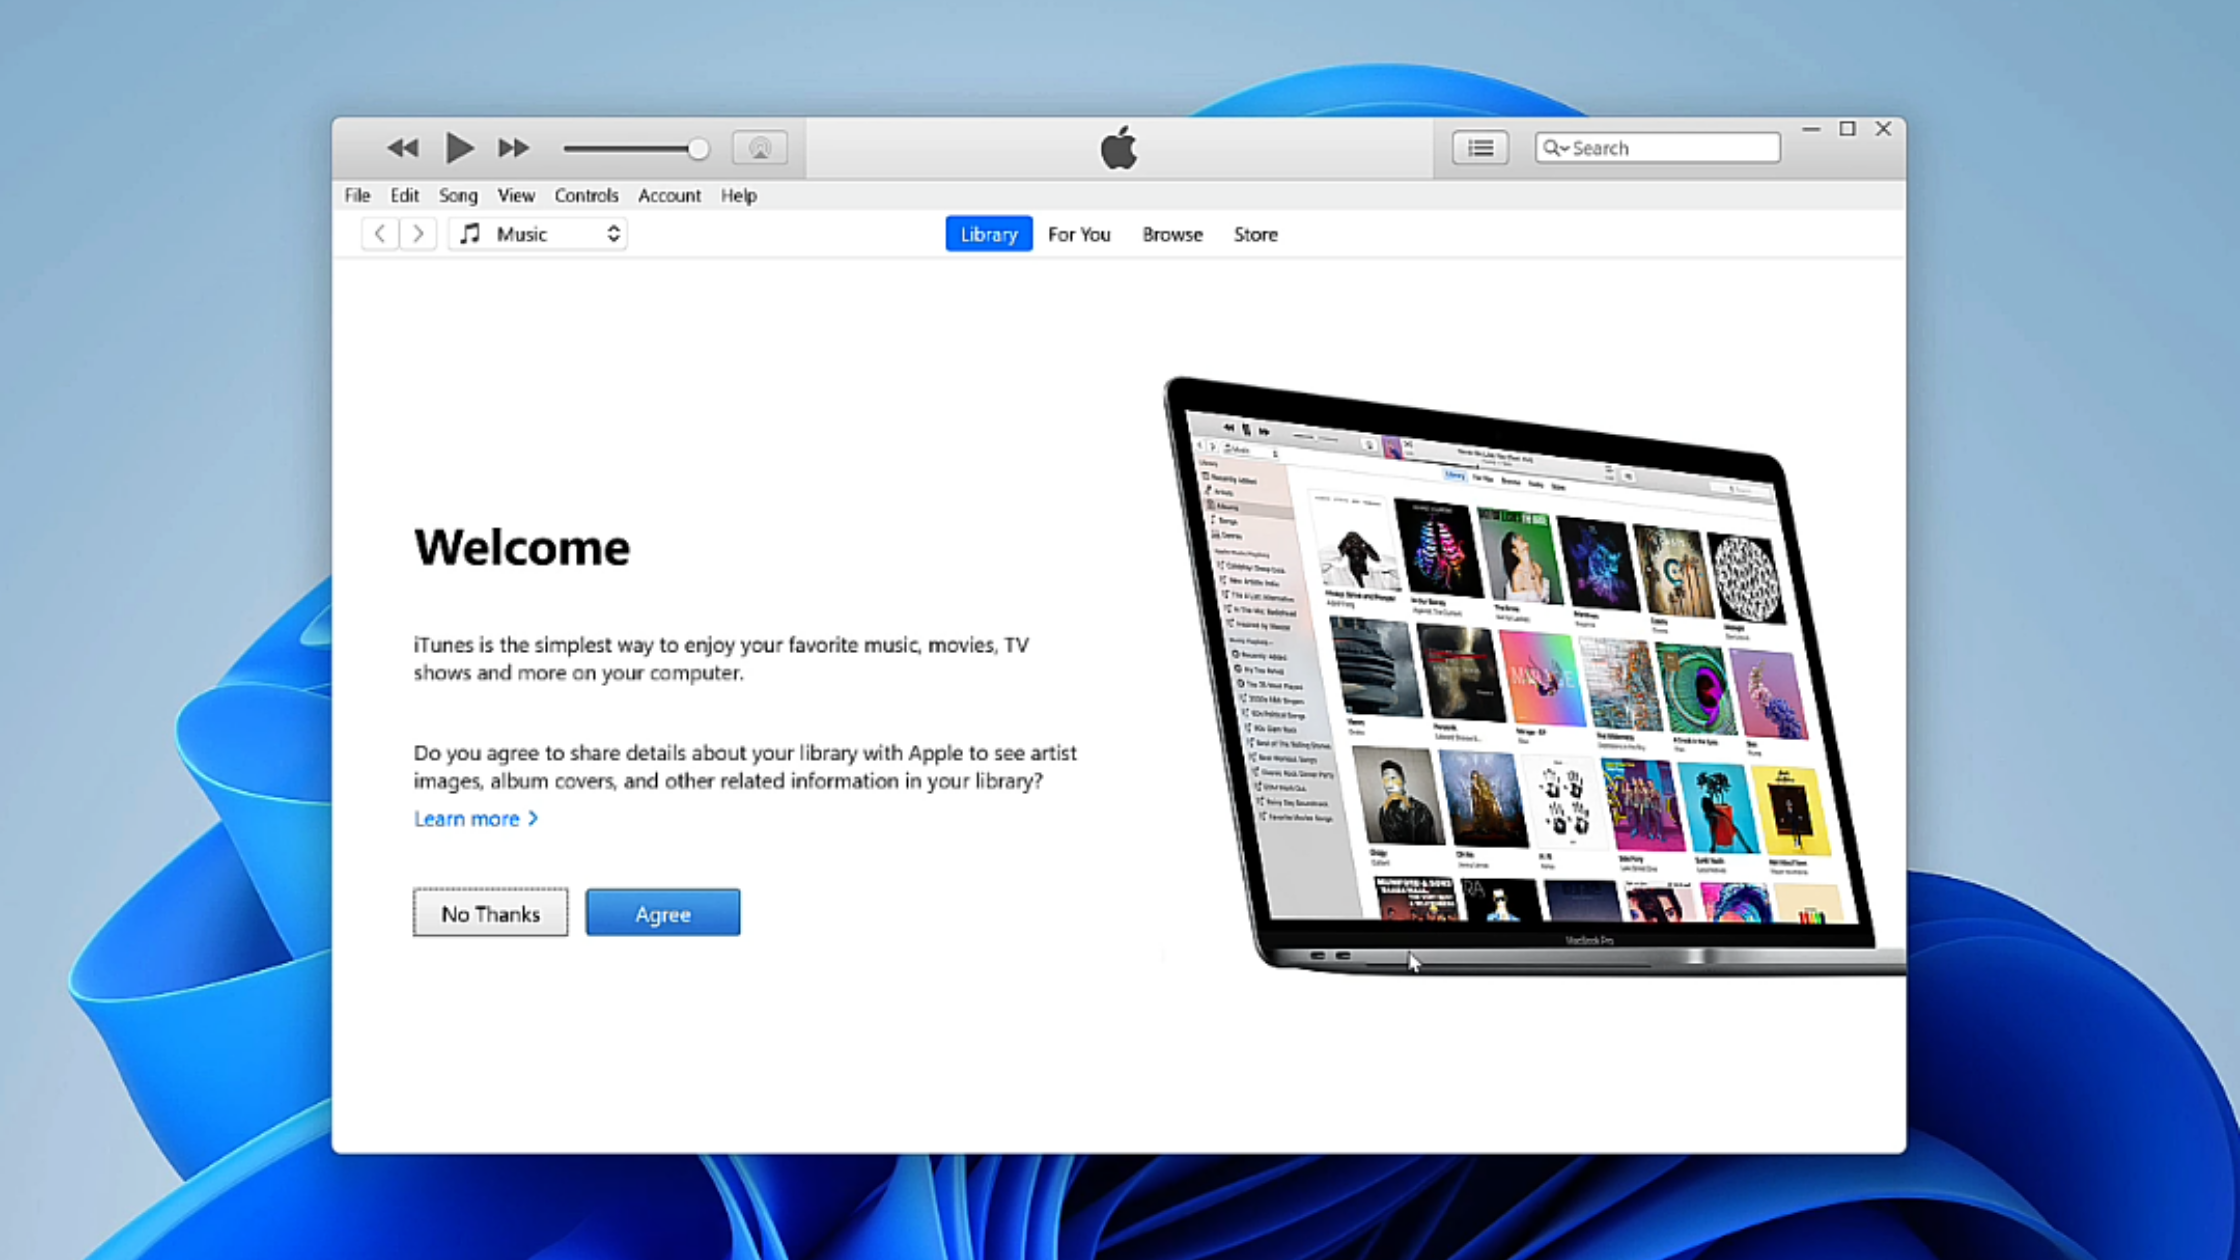
6) First glance at iTunes, on your Windows 11 will look like the below image.
