

How To Run C++ in Visual Studio Code on Windows 10
Running a c++ program varies between different operating systems. However running it in visual studio code is pretty simple and does not requires any rocket science, just follow the steps mentioned in this article and you’ll be good to go. So in this article let’s find out how you can run c++ in visual studio code.
Video Tutorial: How to Run C++ in Visual Studio Code
If you’re still finding it hard running C++ programs in Visual Studio Code on your Windows 10 machine then you can refer to the below video for a complete guide.
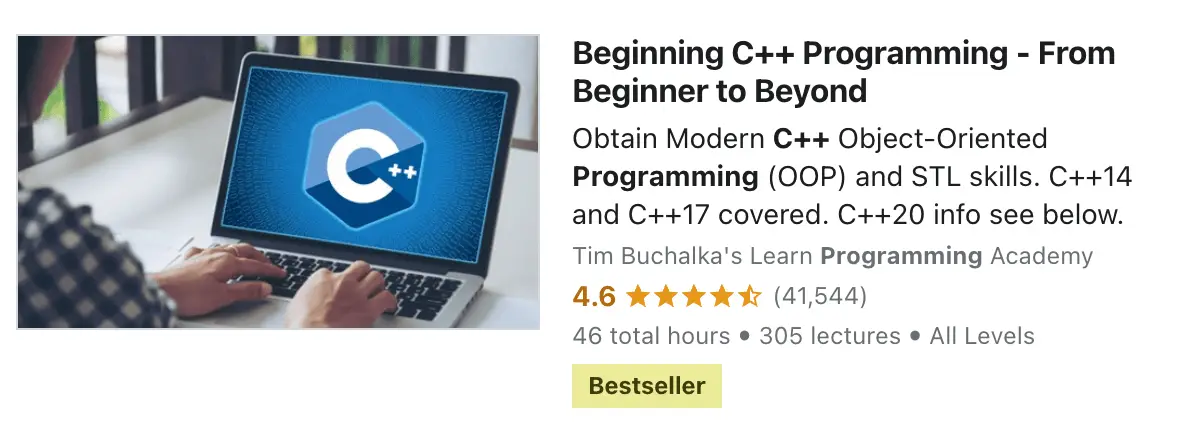
👉 Click Here To Enroll in Complete C++ Programming Course: Go From Beginner to Beyond with an additional discount.
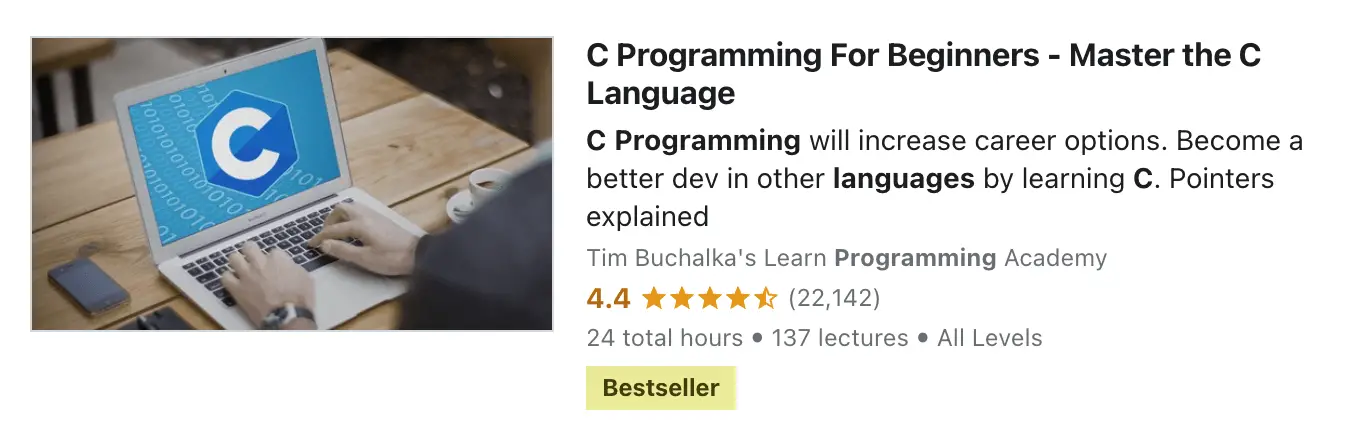
👉 Click Here To Enroll in Complete C Programming Course: Go From Beginner to Master with an additional discount.
Step 1: Downloading the C++ Compiler for Windows 10
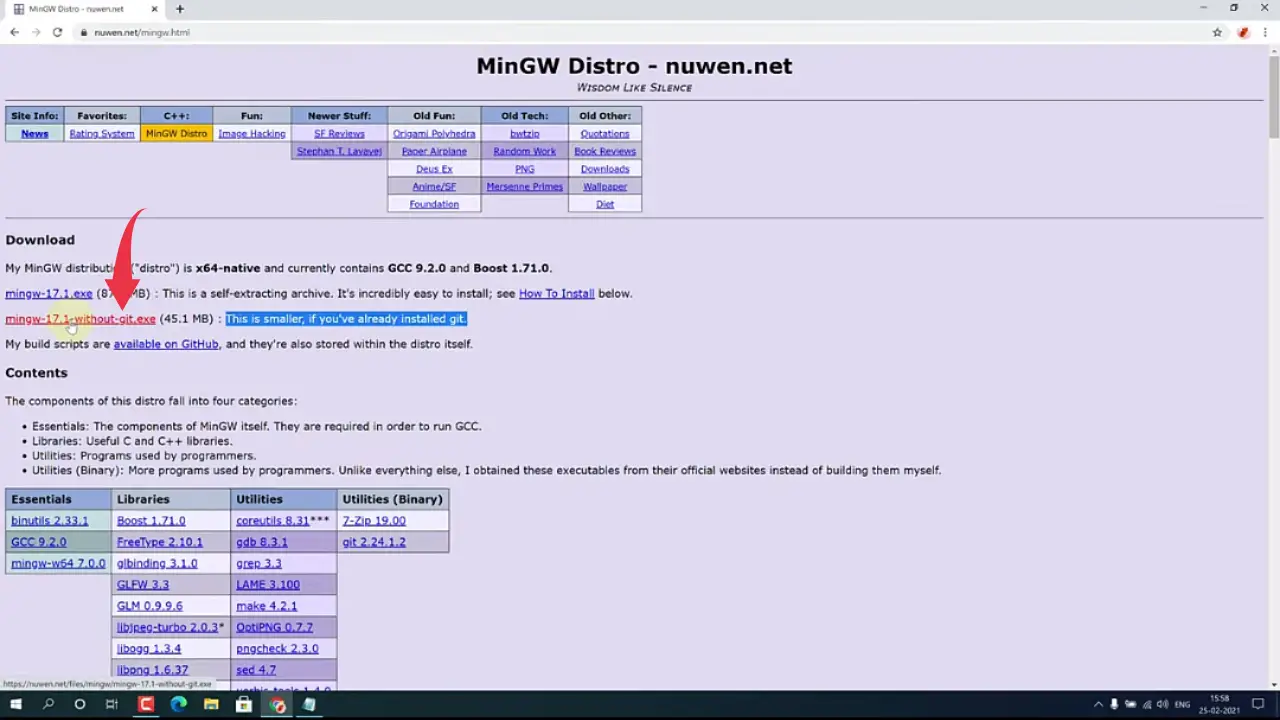
1) Firstly we will download the C++ compiler for our windows machine and for that we’re going to download the “MinGW” compiler. Follow the download link provided below you’ll be redirected official site of MinGW.
Download MinGW Compiler Here: https://nuwen.net/mingw
2) We will download the self extractable archive for MinGW to make our installation process easy and simple. So simply click on the “MinGW-17.1-without-git.exe” and your download will start.
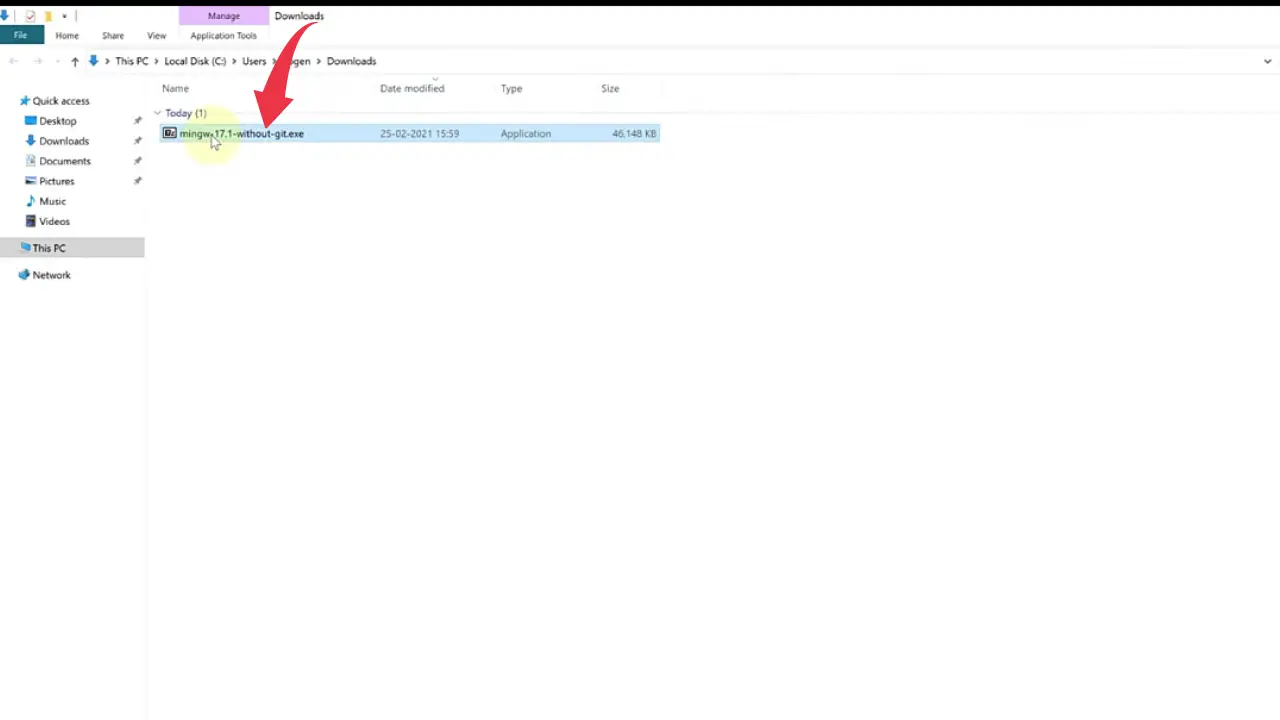
3) Once your download gets finished open it from the folder where it has been downloaded and double click on it to start the installation process.
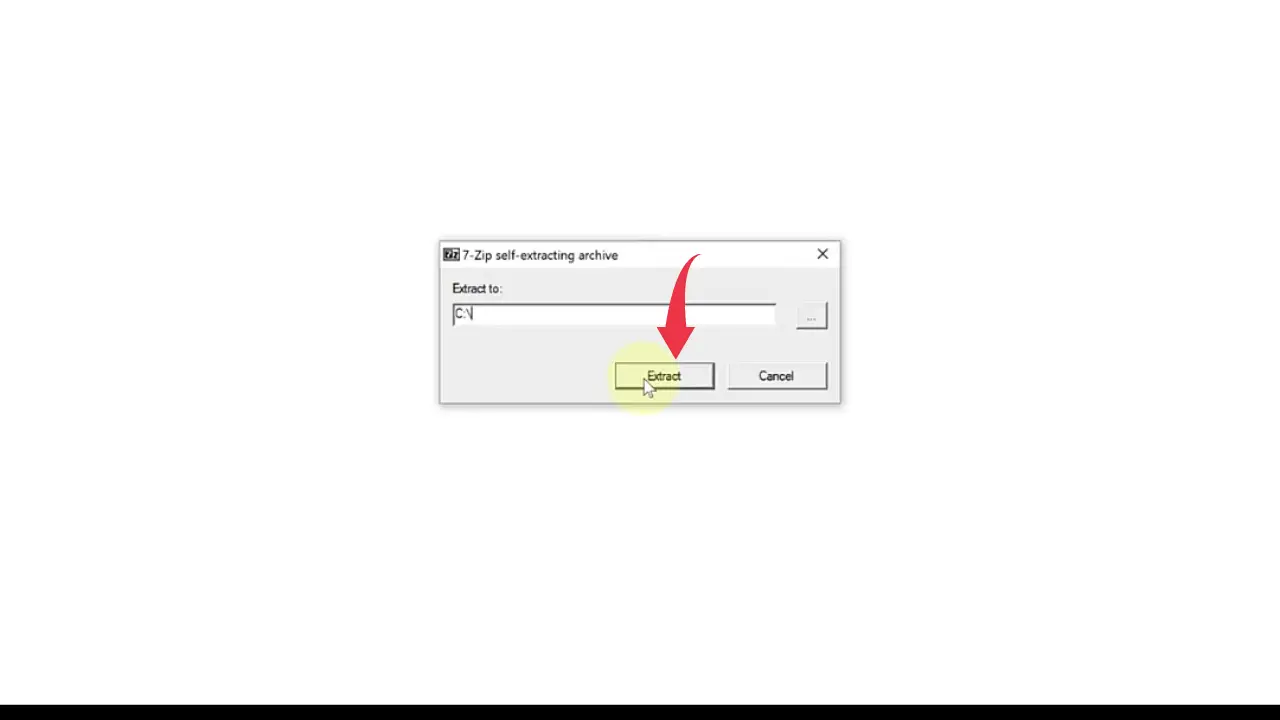
4)Now you’ll be asked to choose the extraction location of the compiler, in the text field type “C:\” and click on the extract button. Extraction of this archive will take some time so keep patience.
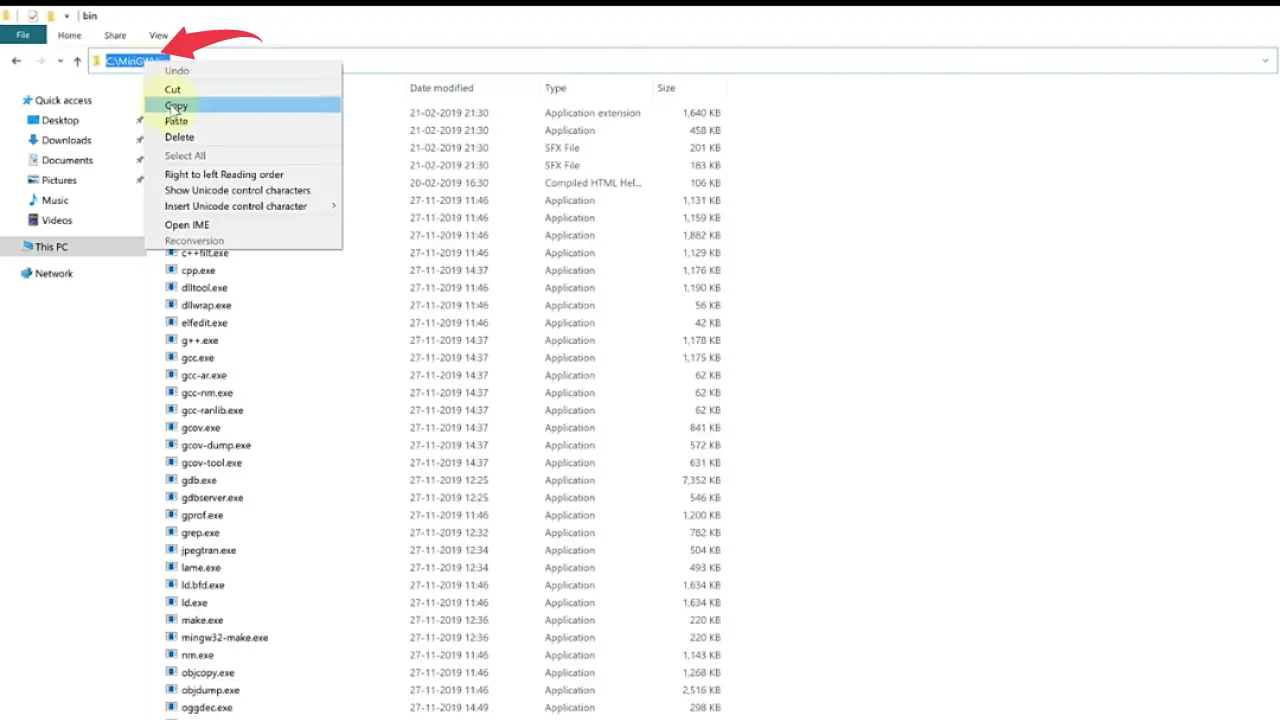
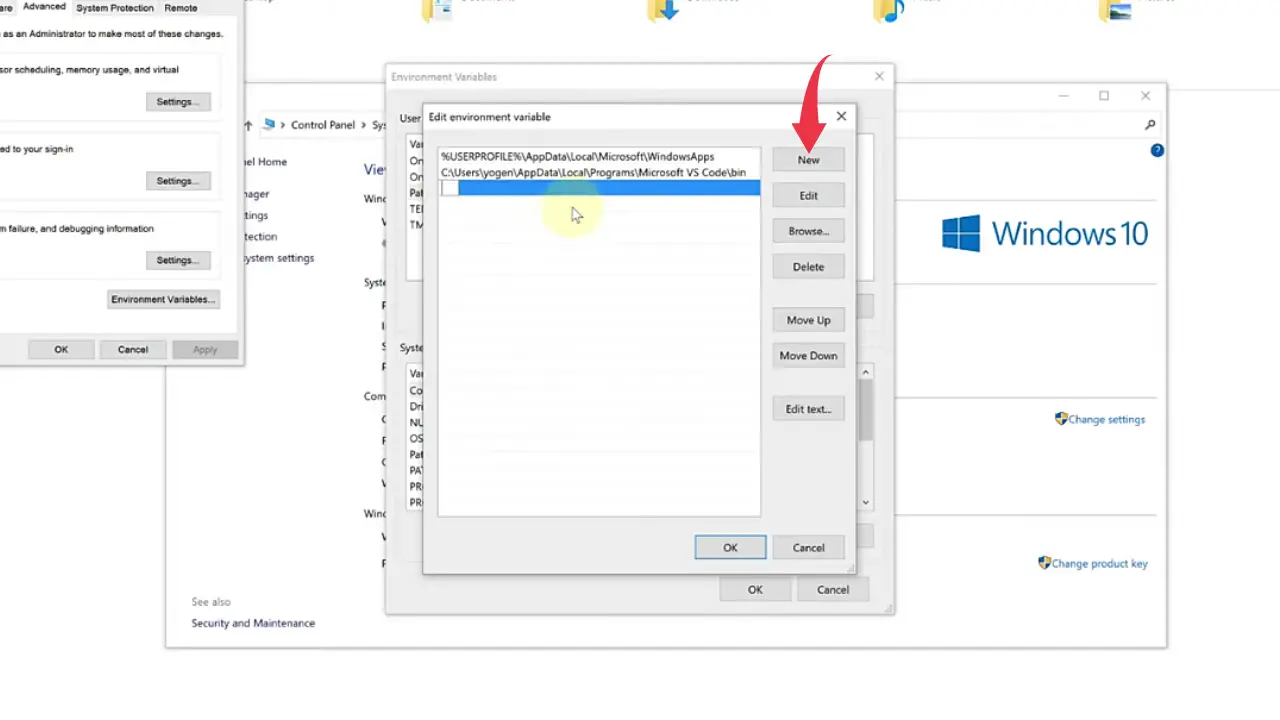
5) Next, we will set up the environment variables for accessing GCC in vs code, and to do so, first copy the location of the bin folder from the newly extracted MinGW directory. In our case, it looks like this: “C:\MinGw\bin“.
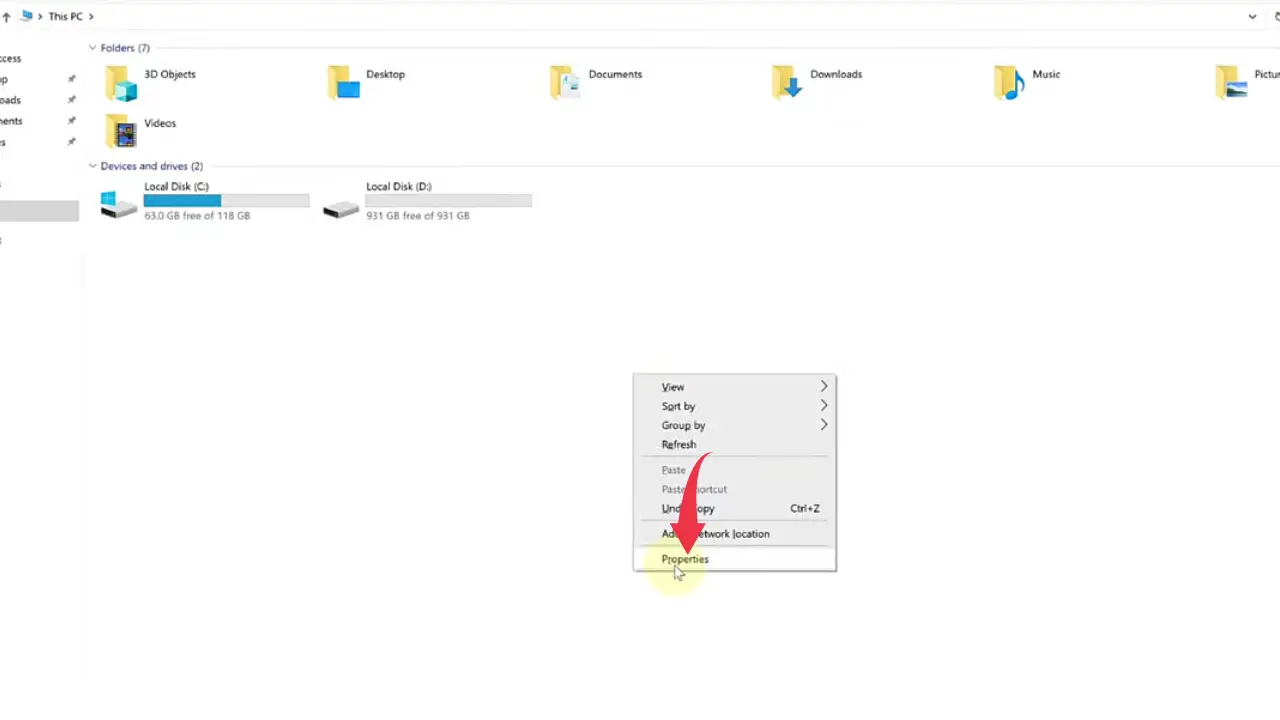
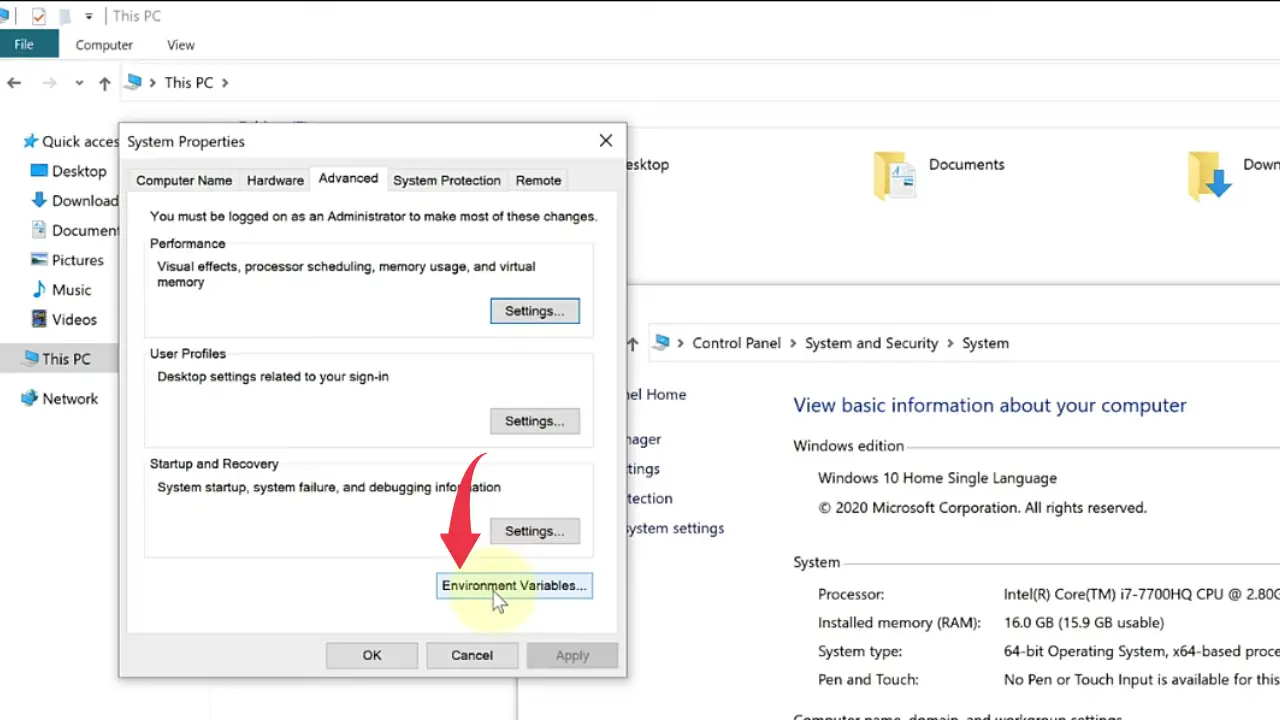
6) Now, open up the properties of your windows machine and click on the advanced settings button.
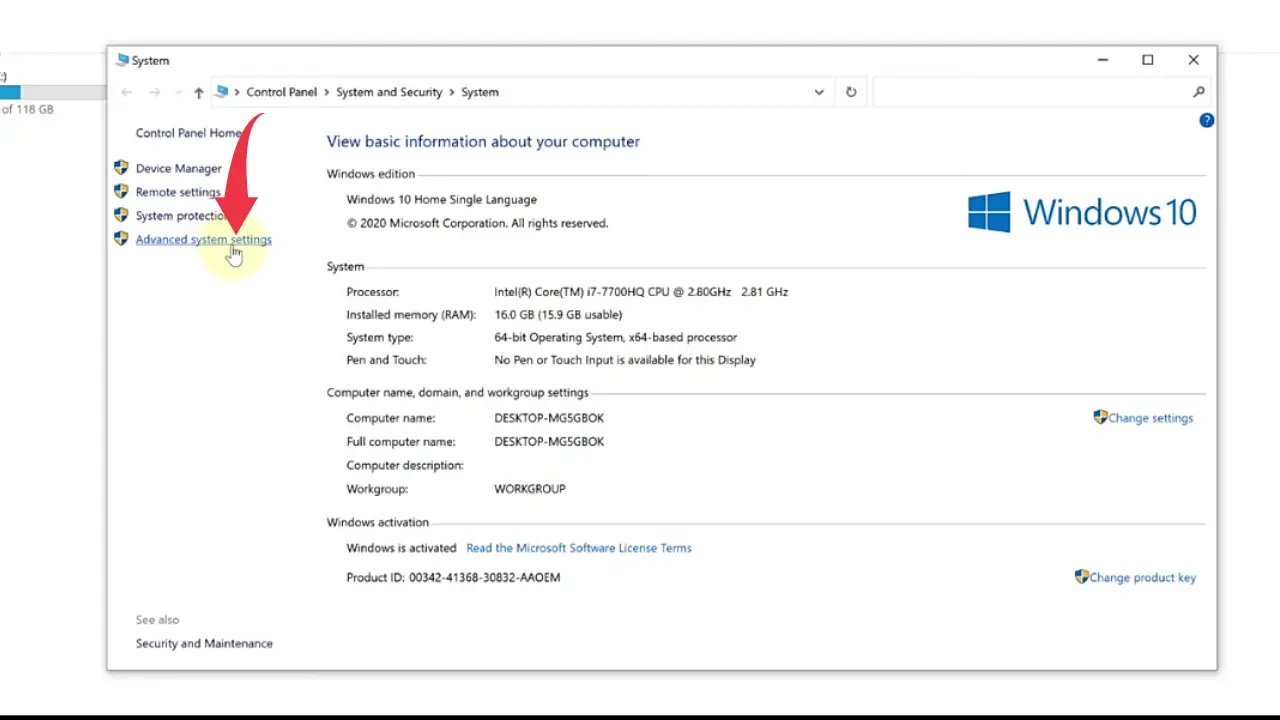
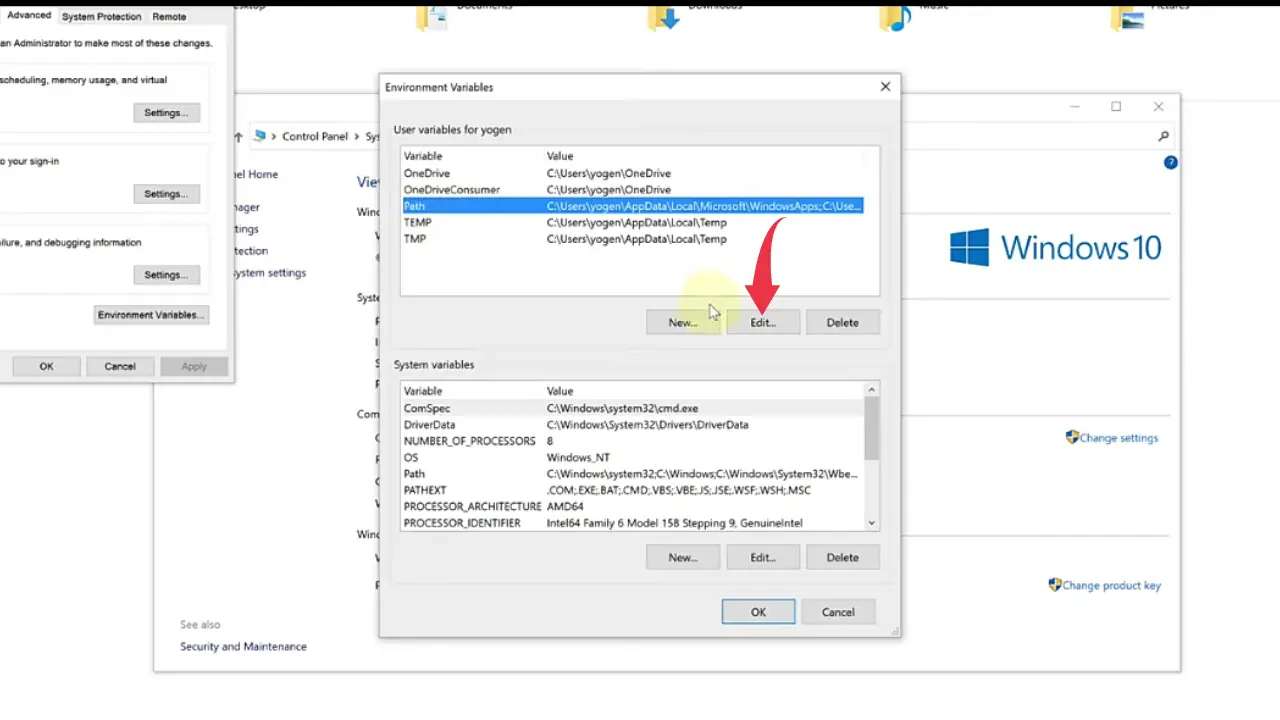
7) Click on the environment variable button, select the path option and click on the edit button.

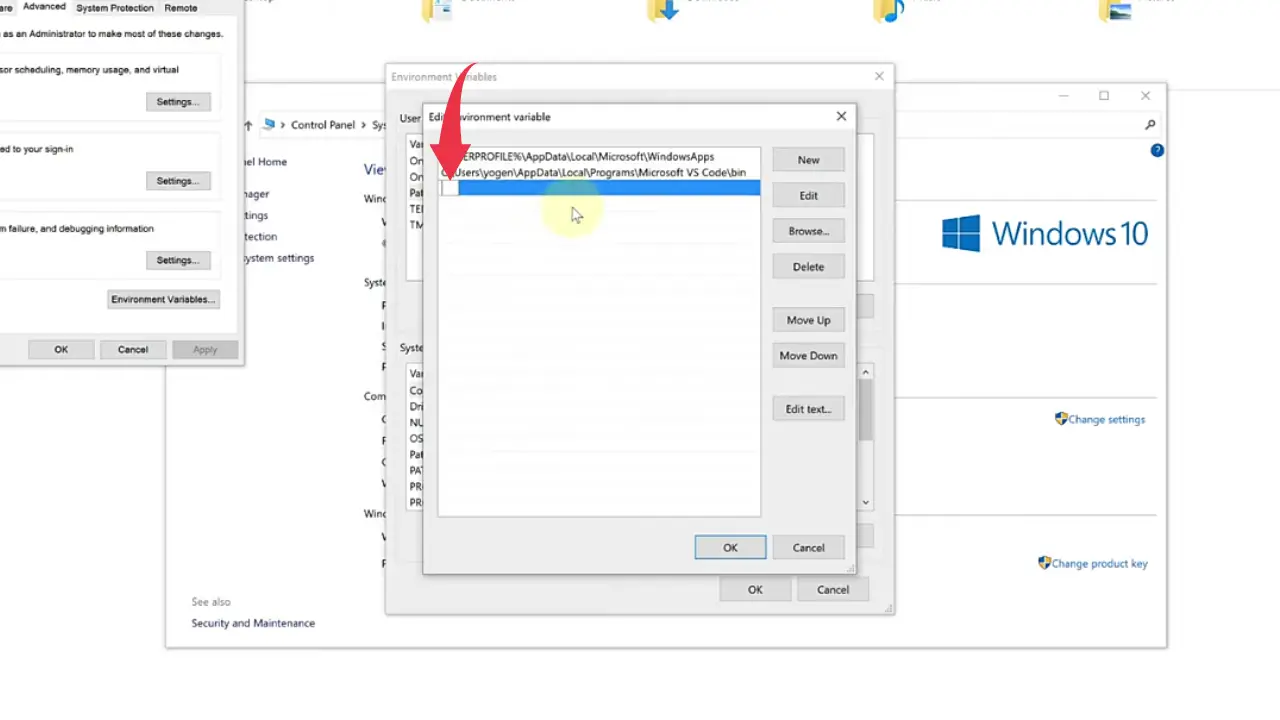
8) Now click on the “New” button and paste the location we’ve copied from step 1.5 in this blank field and click ok.

Step 2: Verify g++ Version
1) Open Up the command prompt, type “g++ -–version” and press enter.
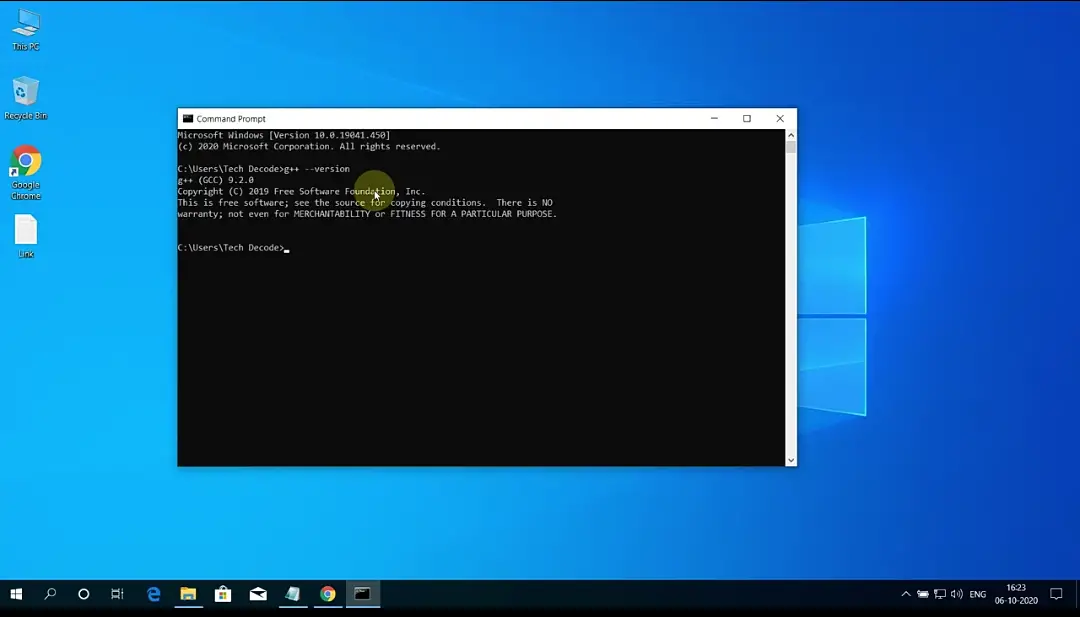
If you’re able to get similar output to the above image then congrats you’ve successfully installed MinGW Compiler in your windows 10.
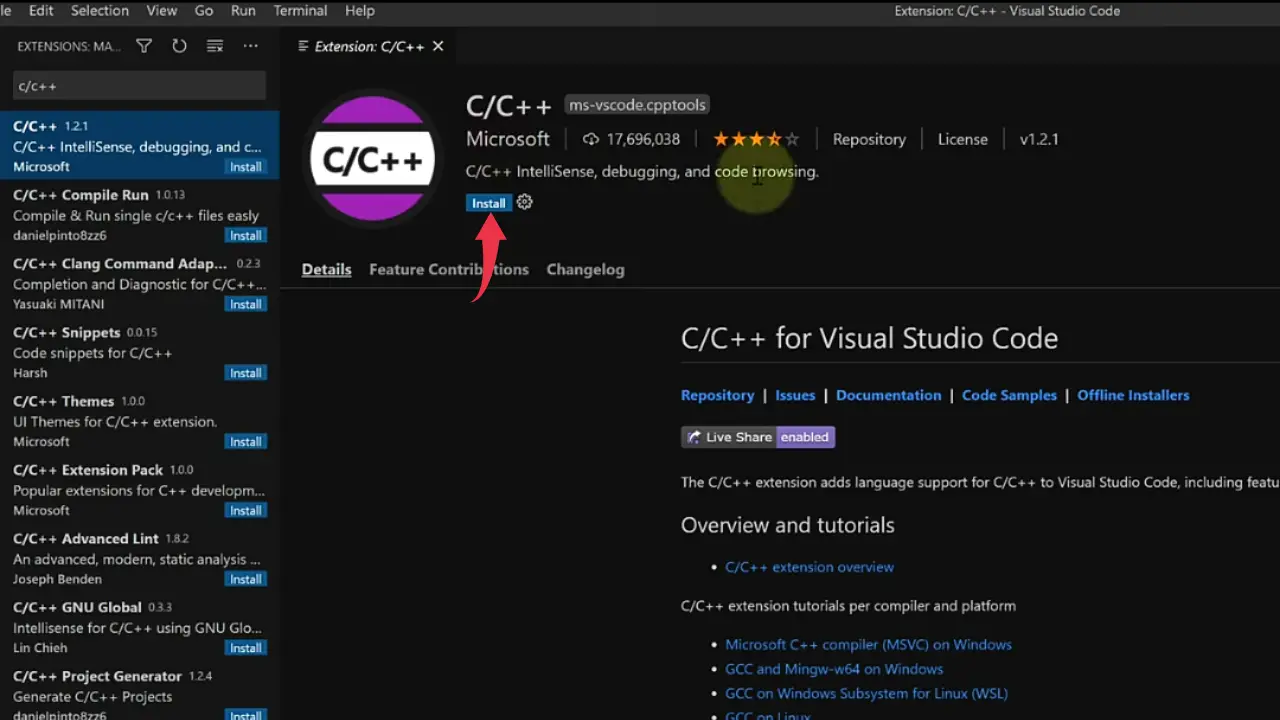
Step 3: Installing C++ Extension in Visual Studio Code
1) Open vs code, click on the extension button and in the search bar type “C/C++“, select the first option from Microsoft and click on the small blue install button.
2) Now again, search for “code runner”, select the first option from Jun Han and install it as well.
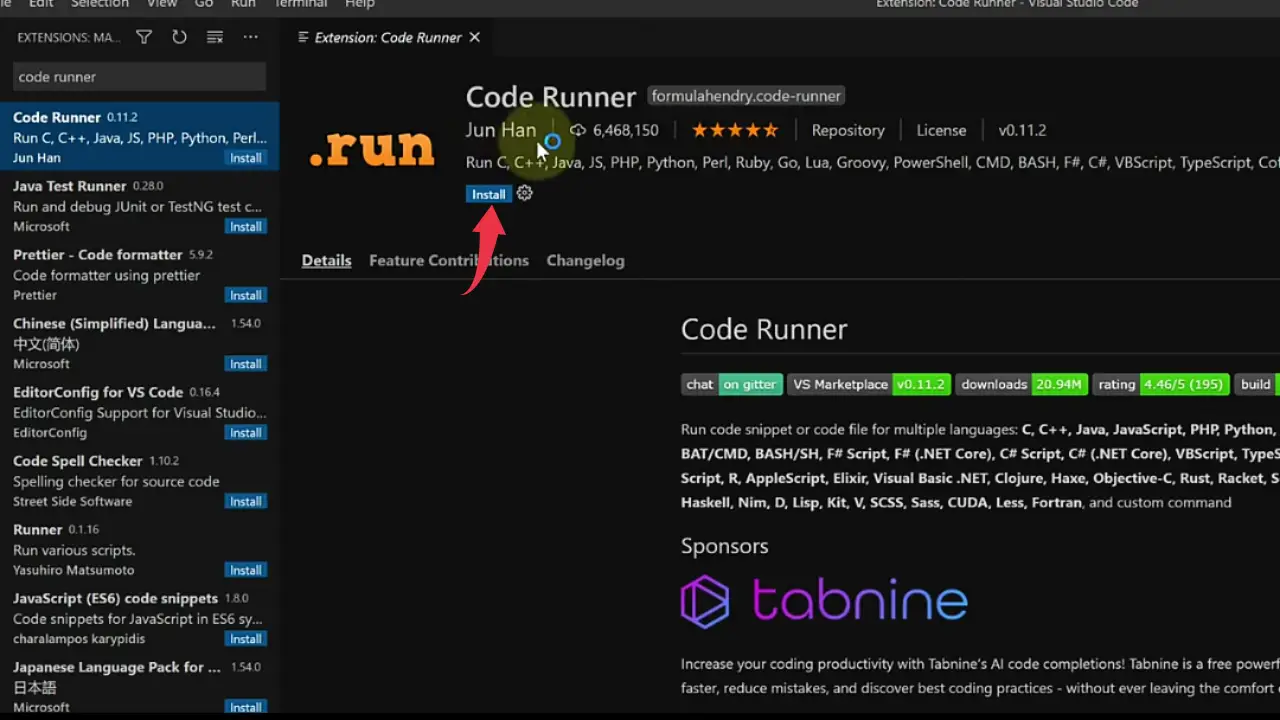
with this extension, you can run the code by pressing Ctrl+Alt+N and stop the same by pressing Ctrl+Alt+M
Step 4: Run C++ Program in Visual Studio Code
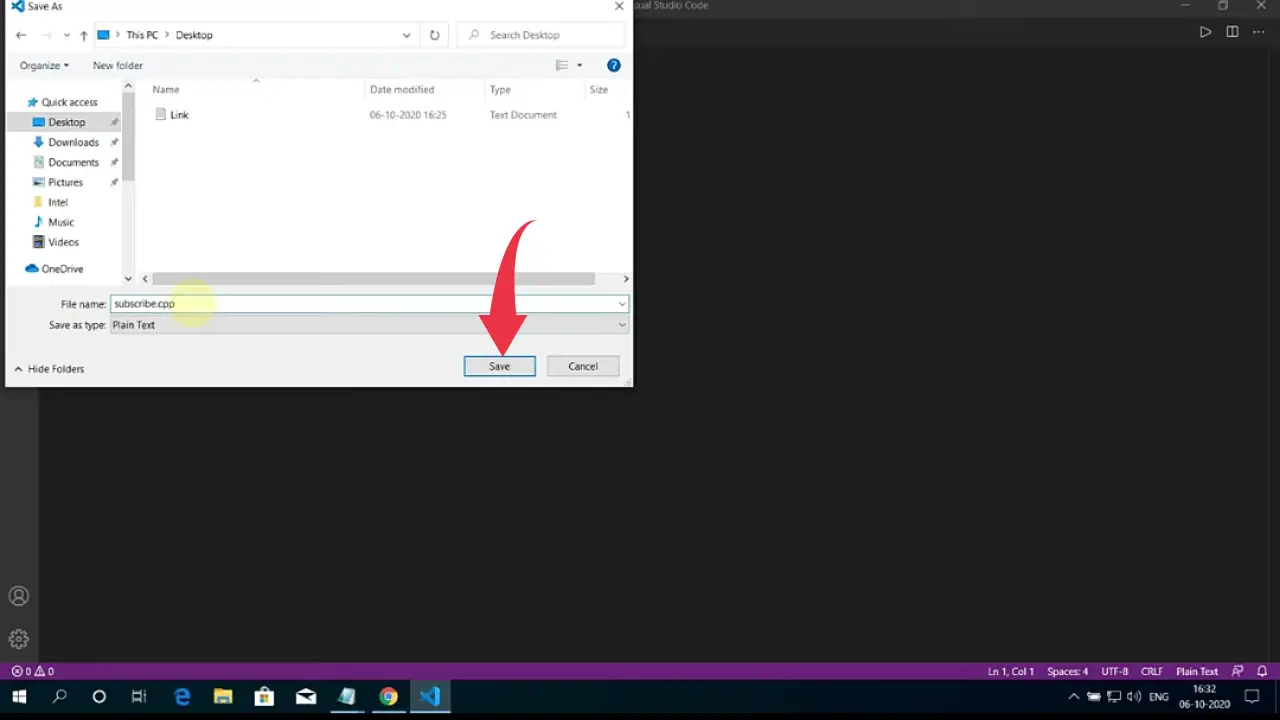
1) Create a New File in Vs Code, save it as “Subscribe.cpp” and paste the below code snippet.
#include<iostream>

using namespace std;

int main()
{

    cout<<"Subscribe To TedchDecode";

    return 0;
}
Make sure to add extension “.cpp” at the end of the name as without it vs code won’t be able to detect the program as a c++ program.
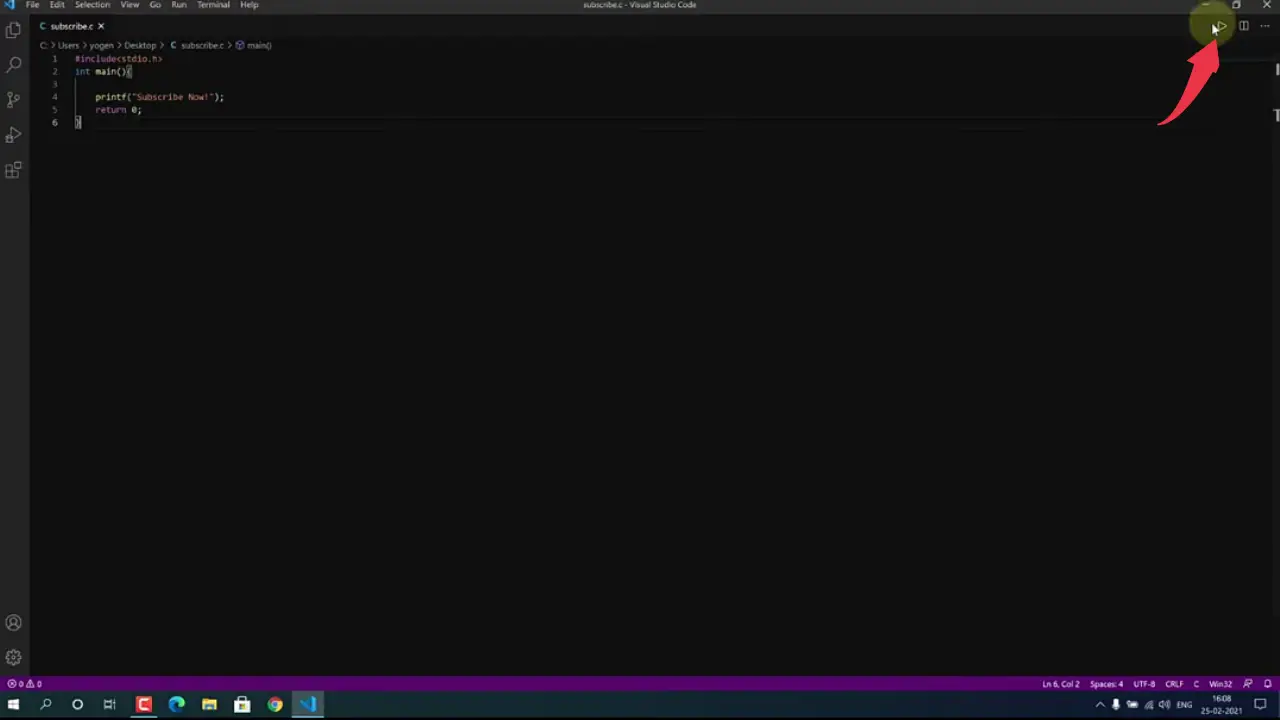
2) Click on the small play button and Voila your program is successfully executed.
Now start your journey of c++ programming 🎉🎉🤗
👉 Click Here To Enroll in Complete C++ Programming Course: Go From Beginner to Beyond with an additional discount.
👉 Click Here To Enroll in Complete C Programming Course: Go From Beginner to Master with an additional discount.
Also Read: How To Run Python in Visual Studio Code on Windows 10

Awesome tutorials, Clean and Precise Explanation.
Such a easy tutorial to follow. Thank You so much