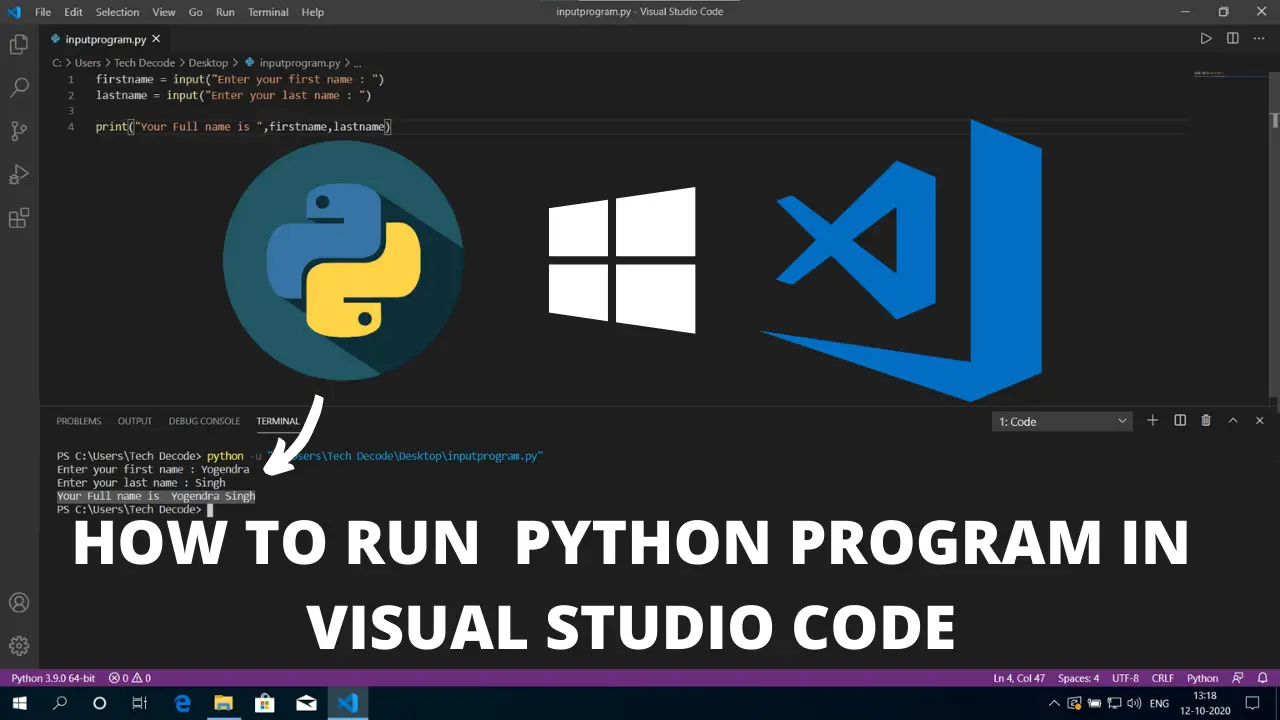
How To Run Python in Visual Studio Code on Windows 10
Python programming is very simple and easy but to run any Python program you must have Python installed on your machine. So in this article let’s find out how you can run python in visual studio code.
Video Tutorial: How to Run Python in Visual Studio Code
If you’re still finding it hard running Python programs in Visual Studio Code on your Windows 10 machine then you can refer to the below video for a complete guide.
Step 1: Download the Latest Version Of Python
1) Firstly we have to install the latest python version available on the internet. Follow the below provided downloading link and you’ll be redirected to the official python downloads page. There click on the yellow download button and Python will start getting downloading.
Download Python Here: https://www.python.org/downloads.

2) Once your download gets finished open it up in the folder where it has been downloaded and run it as administrator. A small pop-up screen will appear, there click on “yes” and your installation will begin.

3) Next, a python installation wizard will open, there click on the “Custom Installation” button.

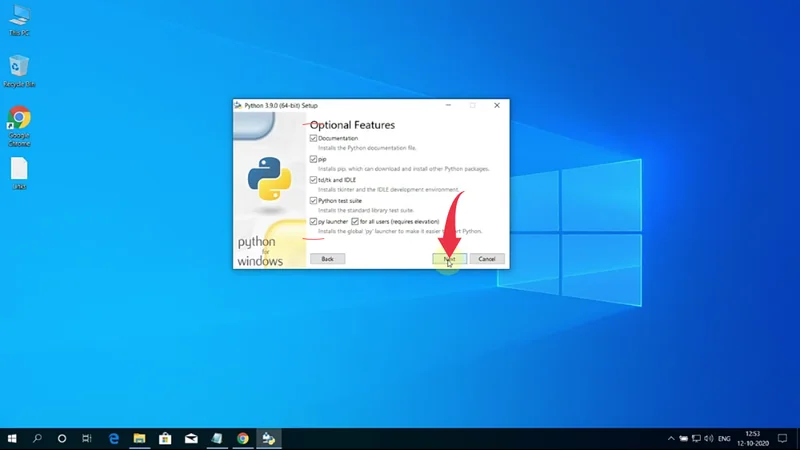
4) Now an optional features window will appear, here check all the boxes and click on next.
5) In the Advanced Options screen check the first five boxes, as shown in the image below.
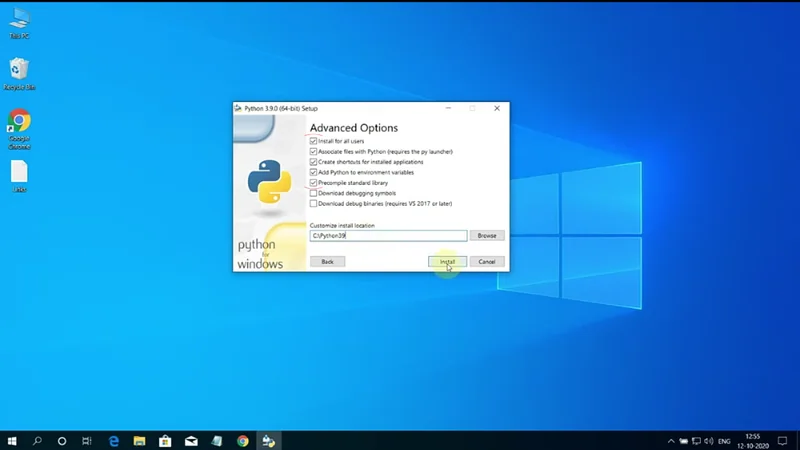
6) Next up, in the small text field type “C:\Python39” and then click on the install button.
Here do note that “Python39” is the name of the installed python folder, so if you download a different version of Python you might get a different folder name.

7) Now your Python installation will begin, once it gets completed click on the close button.

Step 2: Verify Python Version
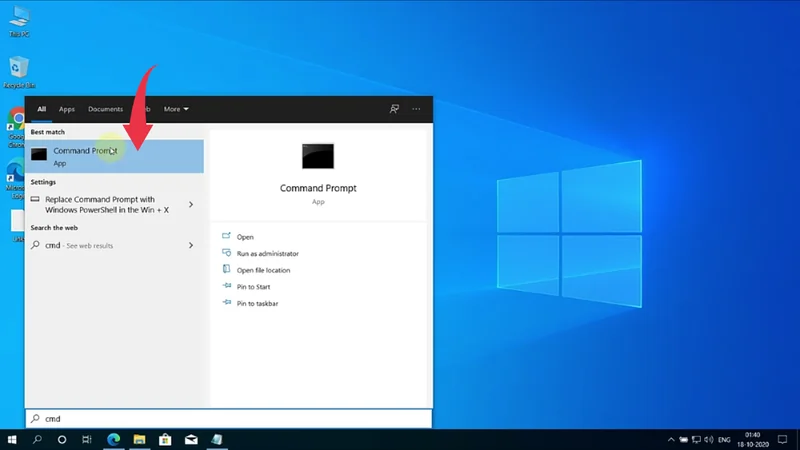
1) Open Up your command prompt by searching “cmd” and pressing enter.
2) In the command prompt type “python“, if you get similar output like the below image then congrats you’ve successfully installed python in your machine. 🎉🎉

Step 3: Configure Visual Studio Code for Running Python Program
1) Click on the extensions button and in the search bar type “Code Runner” and install the first option provided by Jun Han by clicking on the small green install button.

2) Now again search for “Python” in the search bar and click on the first option provided by Microsoft. Install it in the same way as described above.

3) Create a New File in visual studio code.

4) Now press Alt+F and click on ” Save As” and save the file by name “subscribe.py” and paste the below code snippet in your program.
print("Subscribe Now!")
Always add a “.py” extension to your Python program otherwise vs code will not be able to identify the code.

5) After this press Ctrl+S and click on the small play button to run your Python program.

Now begin your journey of Python programming 😇😇. Keep Programming and sharing the love.