How To Install Winrar On Windows 11
For an everyday desktop user, there are a lot of things that are just like a routine. And one of them is interacting with archives. There are too many different types of compression techniques available for file compression. And most of the time we need to use external decompressing software. Without any doubt, Winrar is the first name that comes to mind when thinking of file compression and decompression software. So today let’s find out how to install Winrar On Windows 11 system.
Video Tutorial: How To Install Winrar in Windows 11
No need to worry guys, we’re working on the video tutorial installing Winrar in Windows 11, till then please follow the below article. If you get stuck Feel free to ASK US QUESTIONS. Video Tutorial is coming up soon.
Step 1: Download Winrar
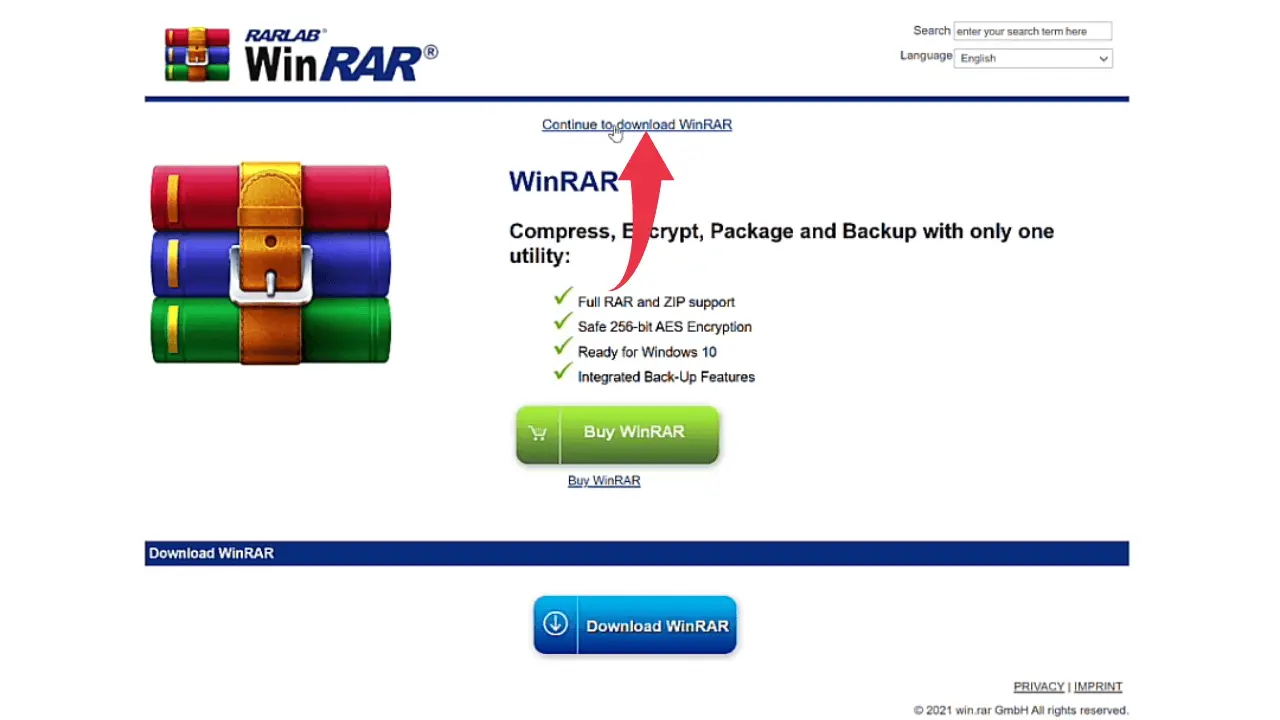
1) Firstly we’ll download the latest available version of the Winrar on the internet. Follow the below-provided download link and you’ll be redirected to the official downloads page of Winrar. There click on the “Download Winrar” button.
Download Winrar Here: https://www.win-rar.com/
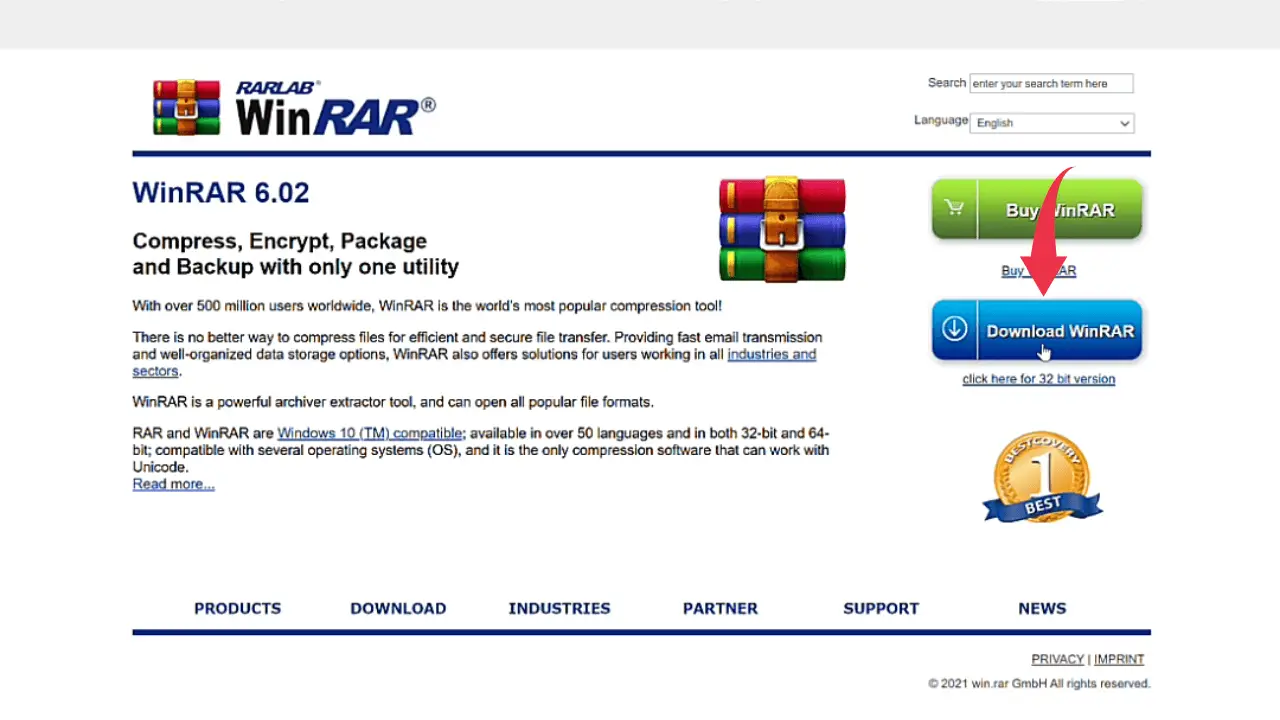
2) Now again, on the downloads page click on Continue To Download WinRAR button and your download will start.
Step 2: Install Winrar in Windows 11
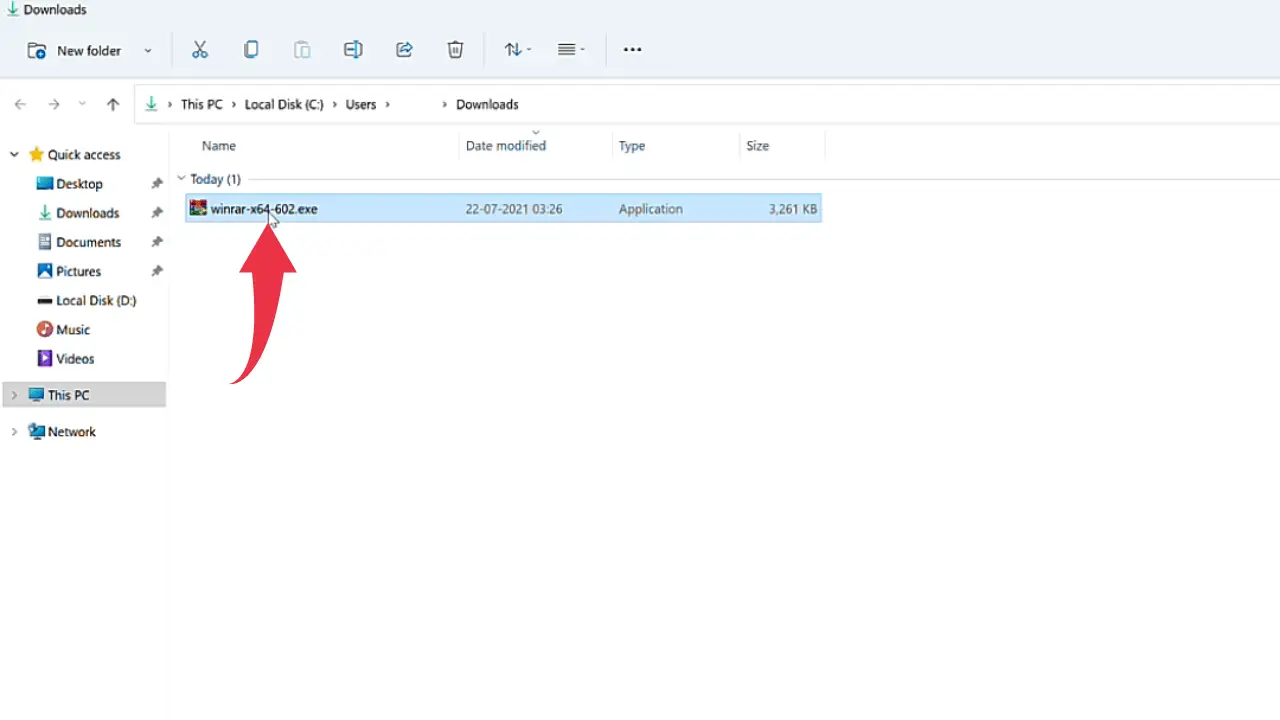
1) Once the download gets finished open the downloaded “.exe” file in the folder where it has been downloaded. Double click on the downloaded file to start the installation window.
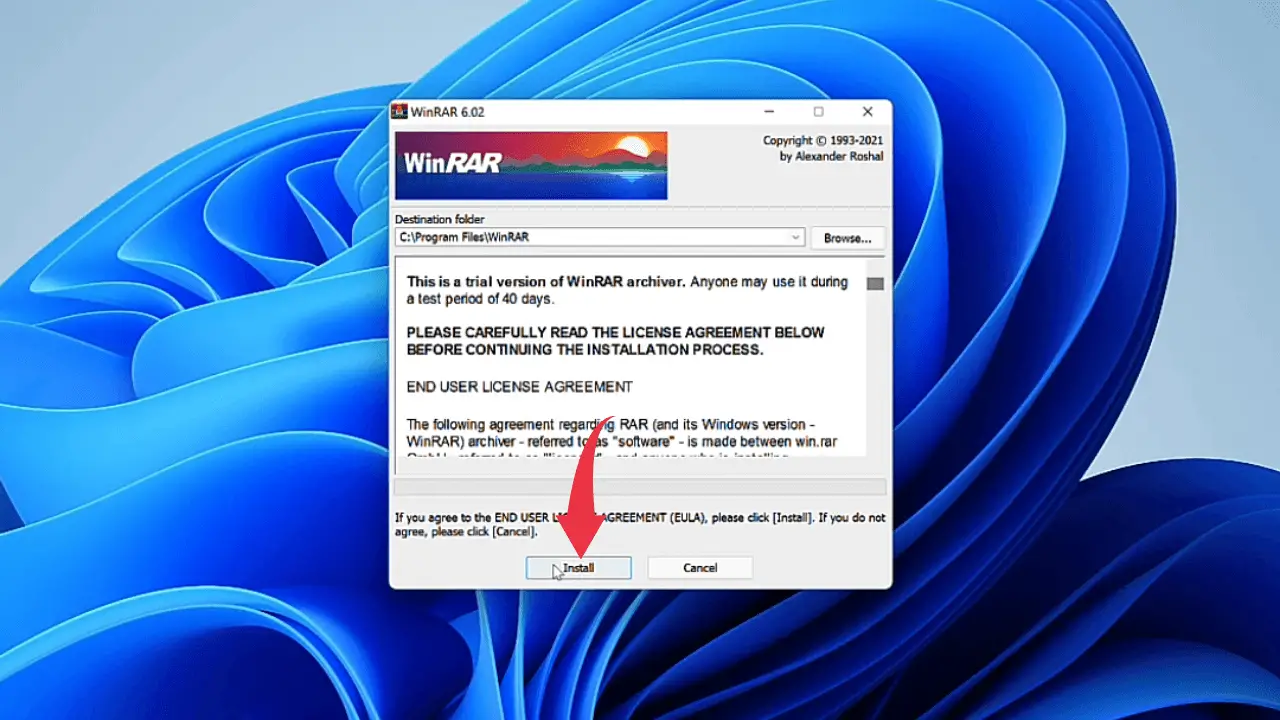
2) In the installation window you’ll be asked to select the installation folder for Winrar. We won’t change anything here so simply click on the Install button.
3) After that, a complex looking window will open up displaying the types of extensions Winrar supports. No need to change anything here as well So, simply click on the Ok button.

4) In this final window, click on the Done button and you’re all done installing Winrar in Windows 11.
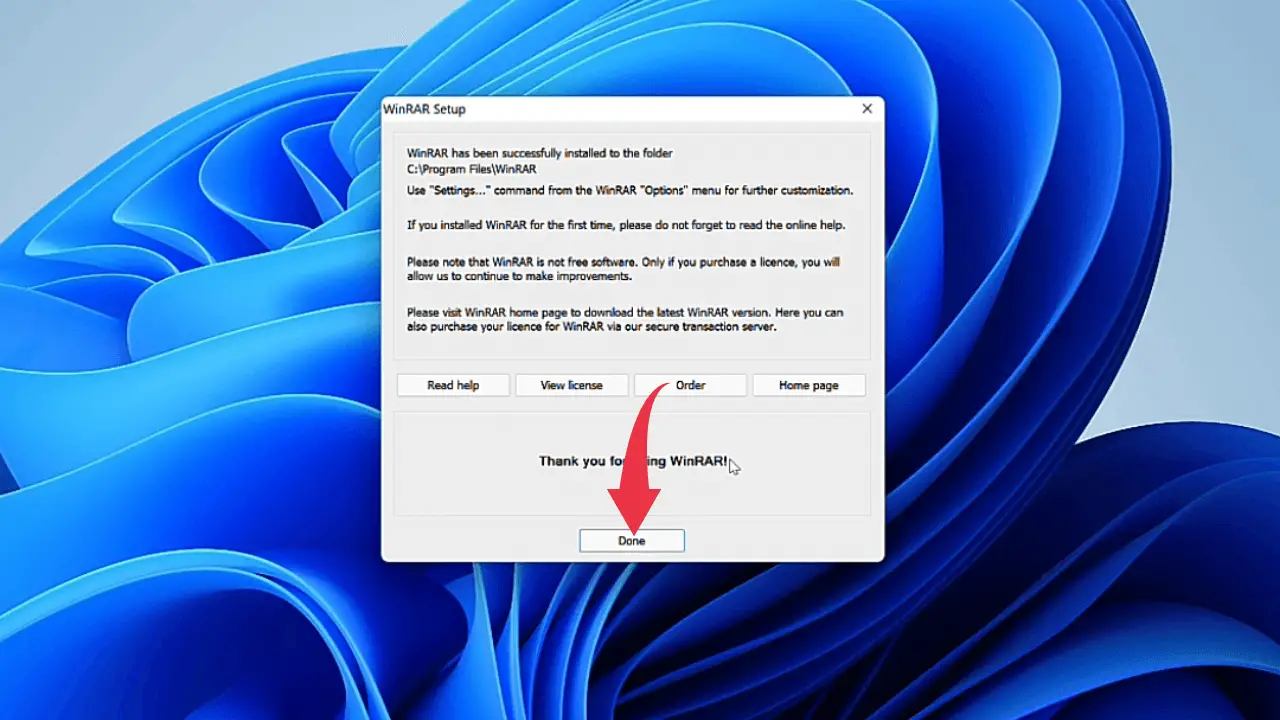
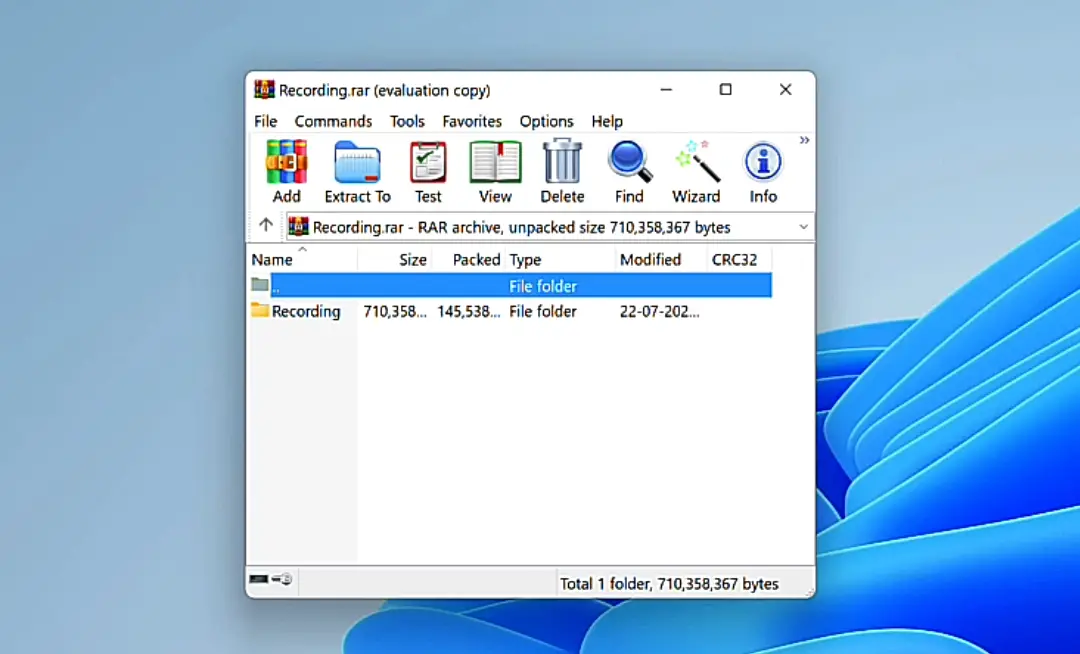
5) After successful installation first looks at your Winrar On Windows 11 will look like this.
