How To Run JavaScript in Visual Studio Code on Windows 10
JavaScript is a very popular programming language, and there are many frameworks already released for JavaScript developers to ease their JavaScript programming journey. So in this article let’s find out how you can run JavaScript in visual studio code.
Video Tutorial: Run Javascript in Visual Studio Code
If you’re still finding it hard installing JavaScript on your Windows 10 machine then you can refer to the below video for a complete guide.
Step 1: Download & Install Node.js
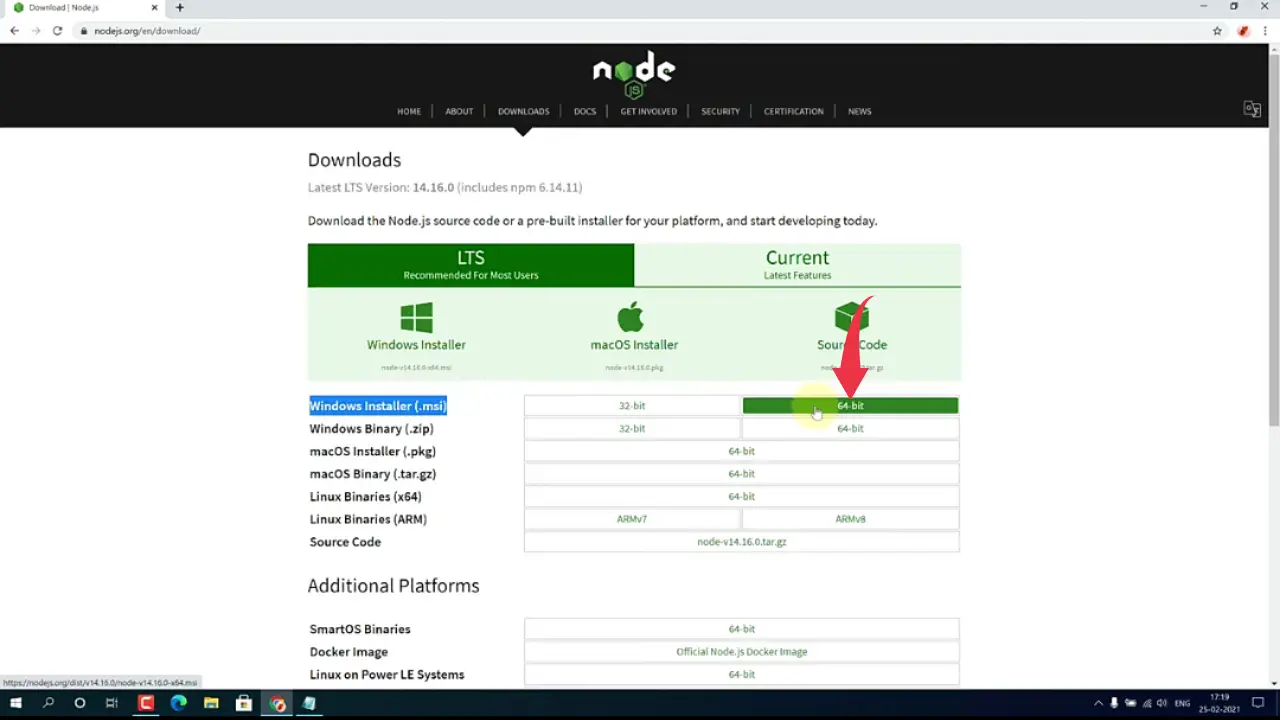
1) Firstly we’ll have to download the latest version of Nodejs available on the internet. Follow the below-provided download link and you’ll be redirected to the official Nodejs downloads page. Now based on your system architecture click on the appropriate button and your download will start. In our case, it’s “64 bit“.
Download Node.js Here: https://nodejs.org/en/download/
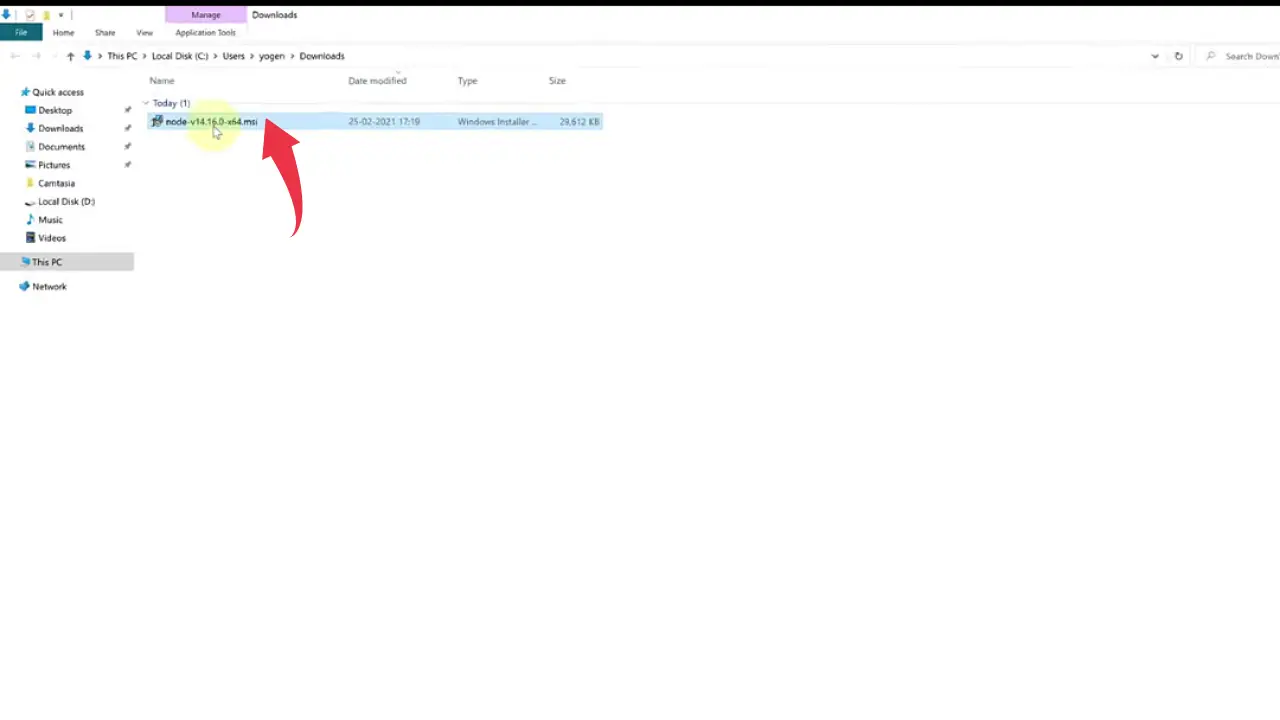
2) After the downloads get finished open it in the folder where it has been downloaded and simply double click on the downloaded file to start the Nodejs installation wizard.
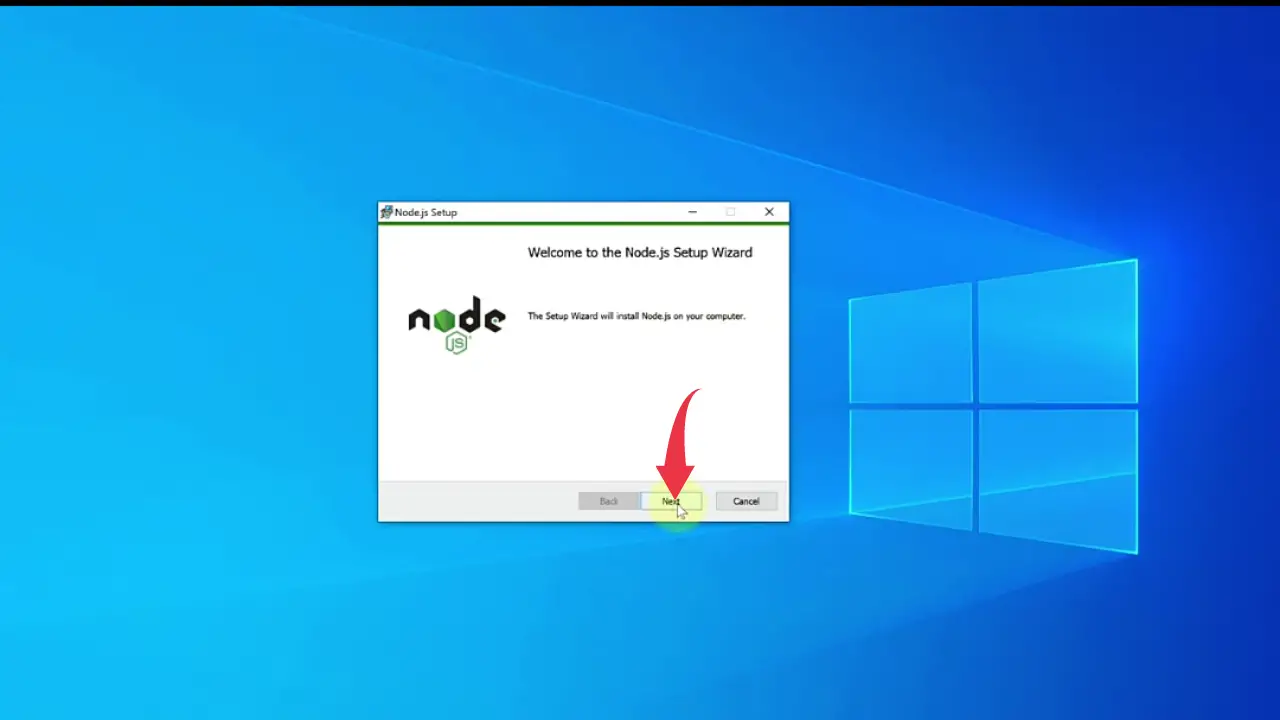
3) A setup wizard will appear in the window screen, so here click next.
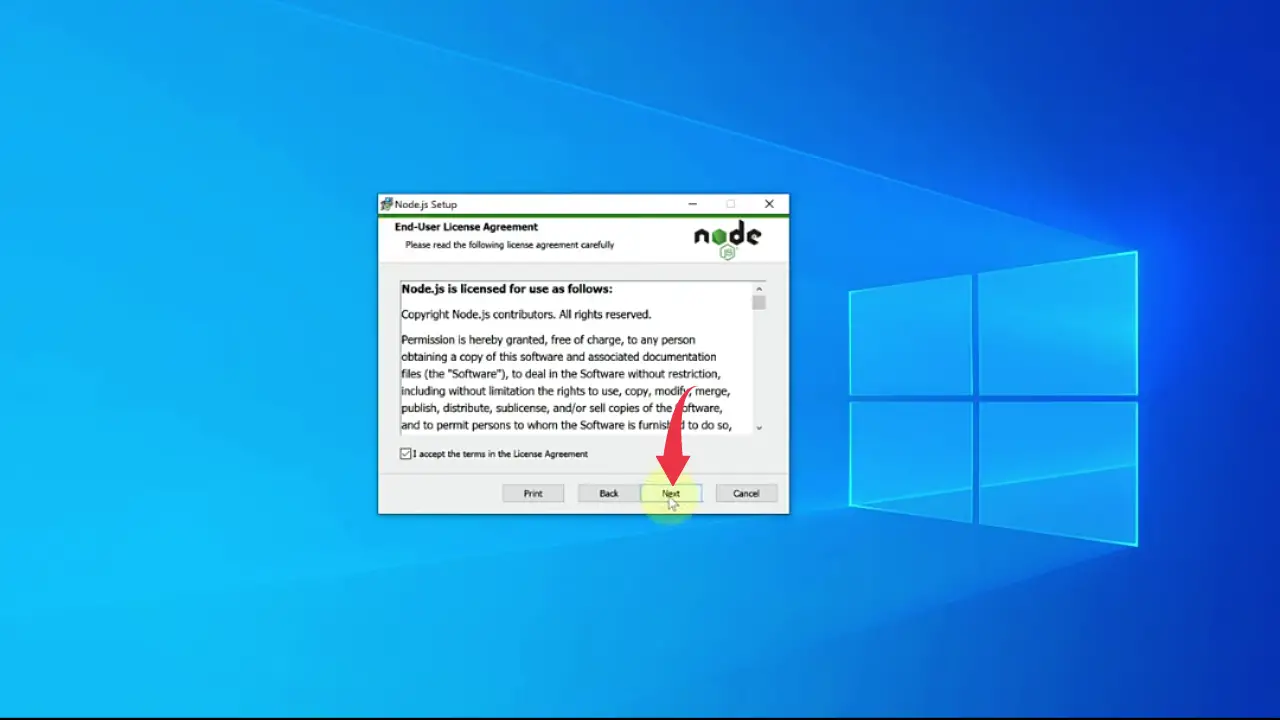
4) Now you’ll be asked to accept the license agreement, so simple tick the “I accept the terms in the license agreement” box and click next.
5) The installation wizard will now ask you to select the installation path for Nodejs. Here we will go with the default installation path so simply click next.
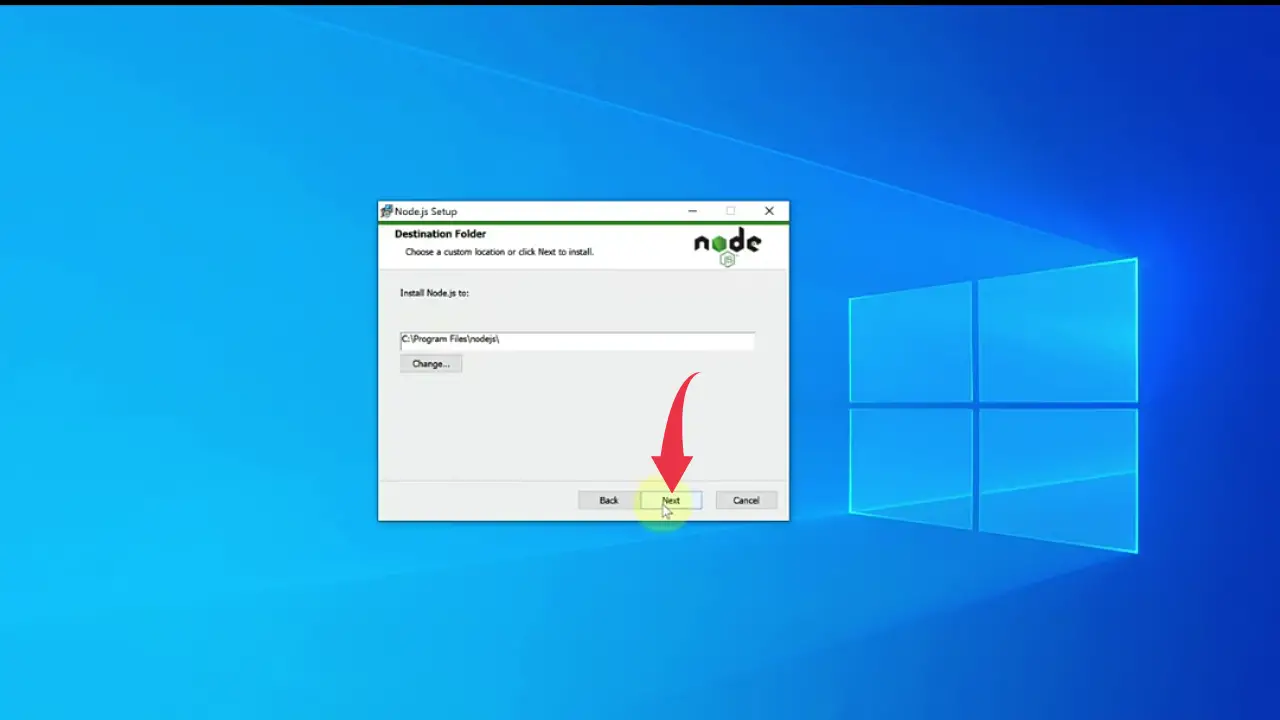
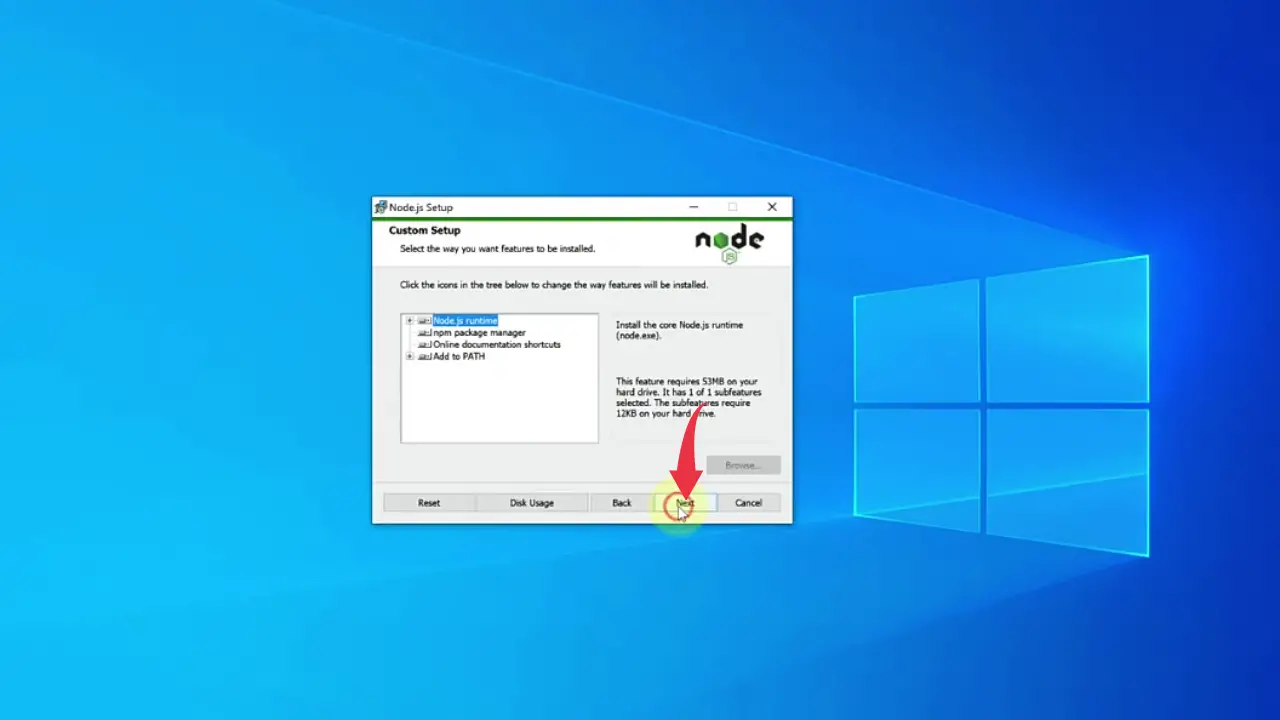
6) A custom setup window will appear so here as well no need to change anything simply click next.
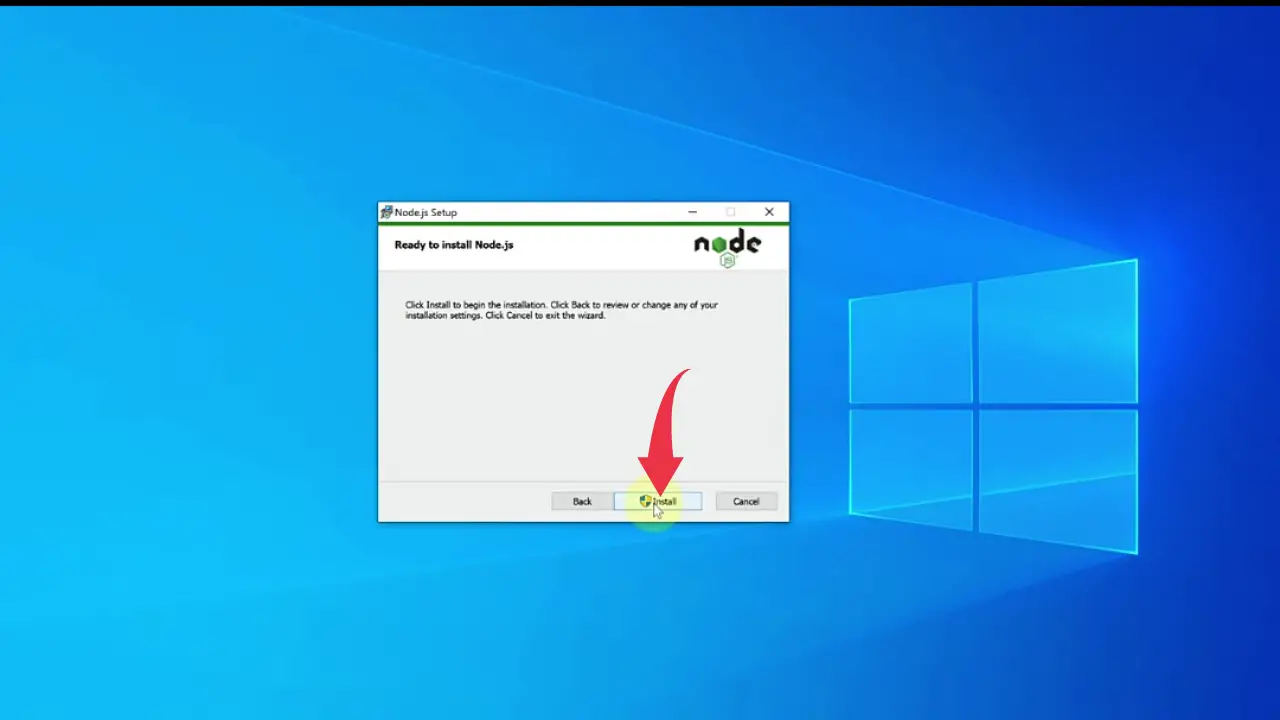
7) A Ready To Install Nodejs window will appear so simply click on the install button and Nodejs will start getting installed in your system.
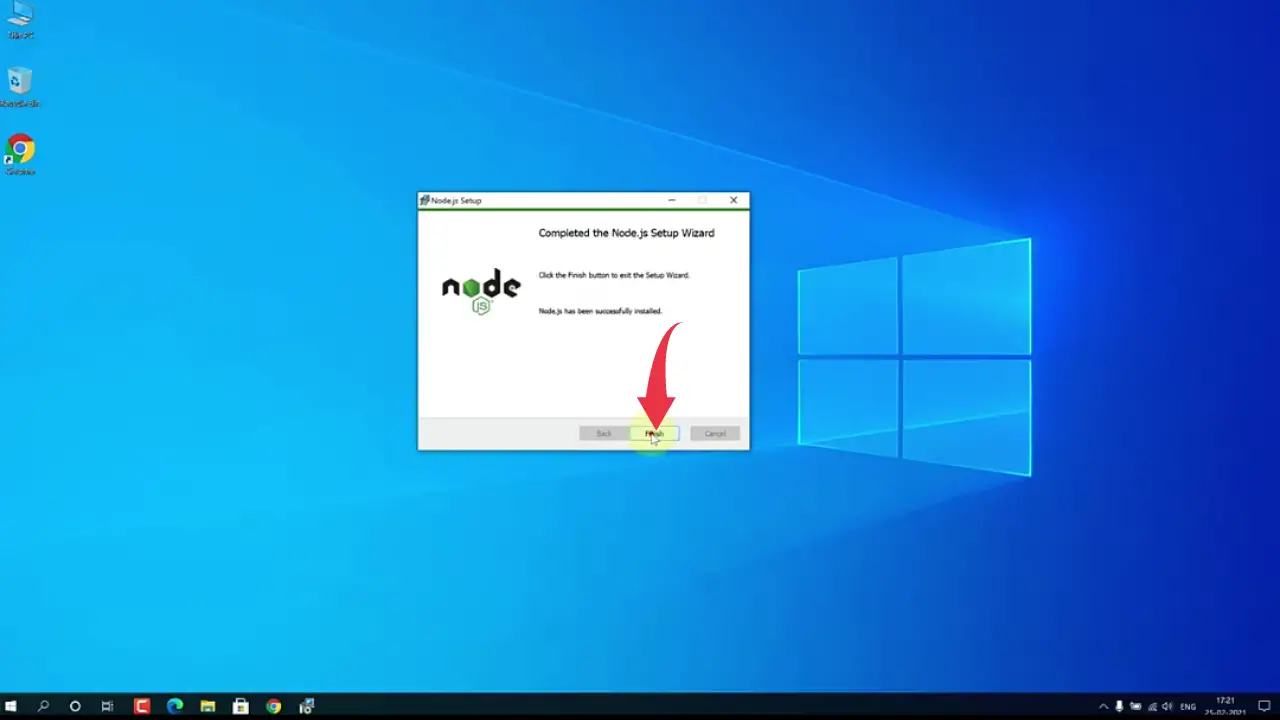
8) Once installation gets complete click on the finish button. By this time Nodejs is successfully installed in your system. So if you see something similar to the below image then congrats 👍👍 you’ve nailed the installation process.
Step 2: Verify Node.js & Npm Version
1) Open your command prompt by searching “cmd” and pressing enter in the windows search menu.

2) In the command prompt type
node --version
to check the installed version of Nodejs.
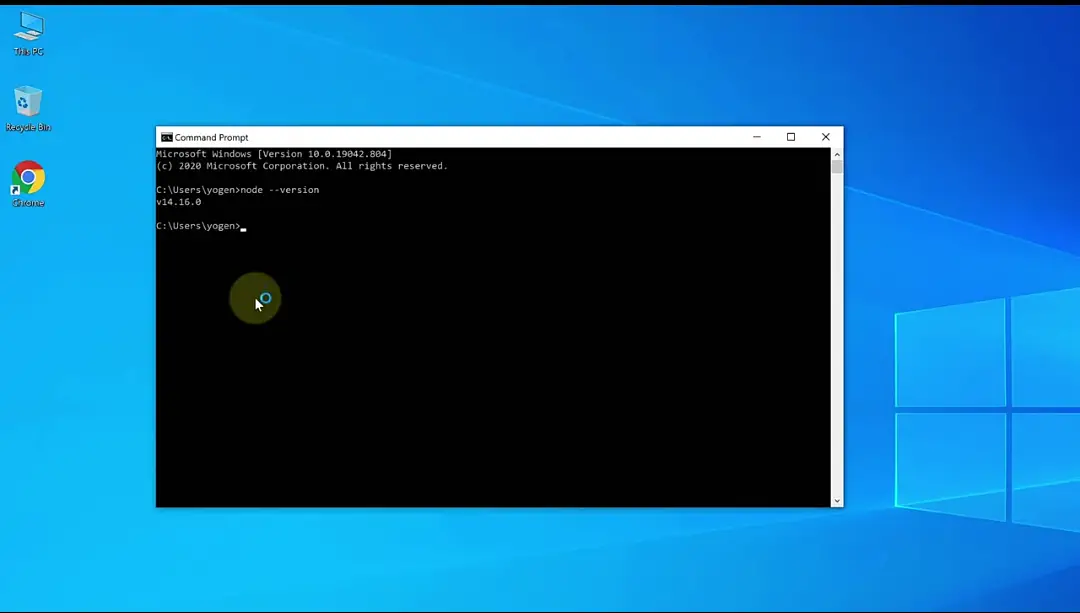
3) Now type
npm --version
to check the installed version of the node package manager.
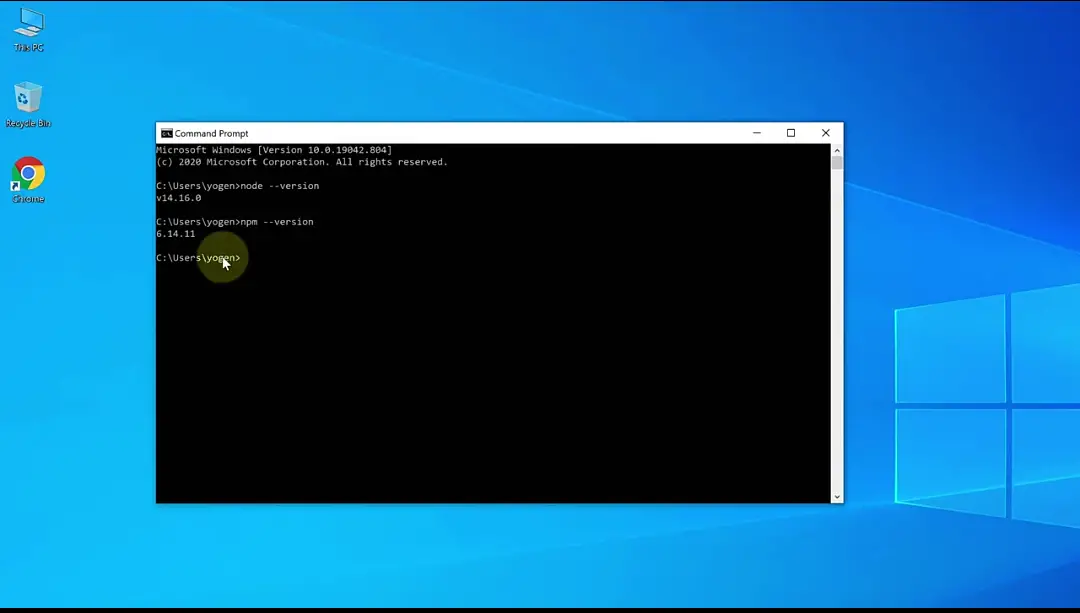
Step 3: Setup Visual Studio Code for JavaScript
1) Open vs code and click on the extensions button. There in the search box type “JavaScript es6“, click on the first option provided by charalampos karypidis and install it by clicking on the install button.
This extension will install JavaScript code snippets in es6 syntax
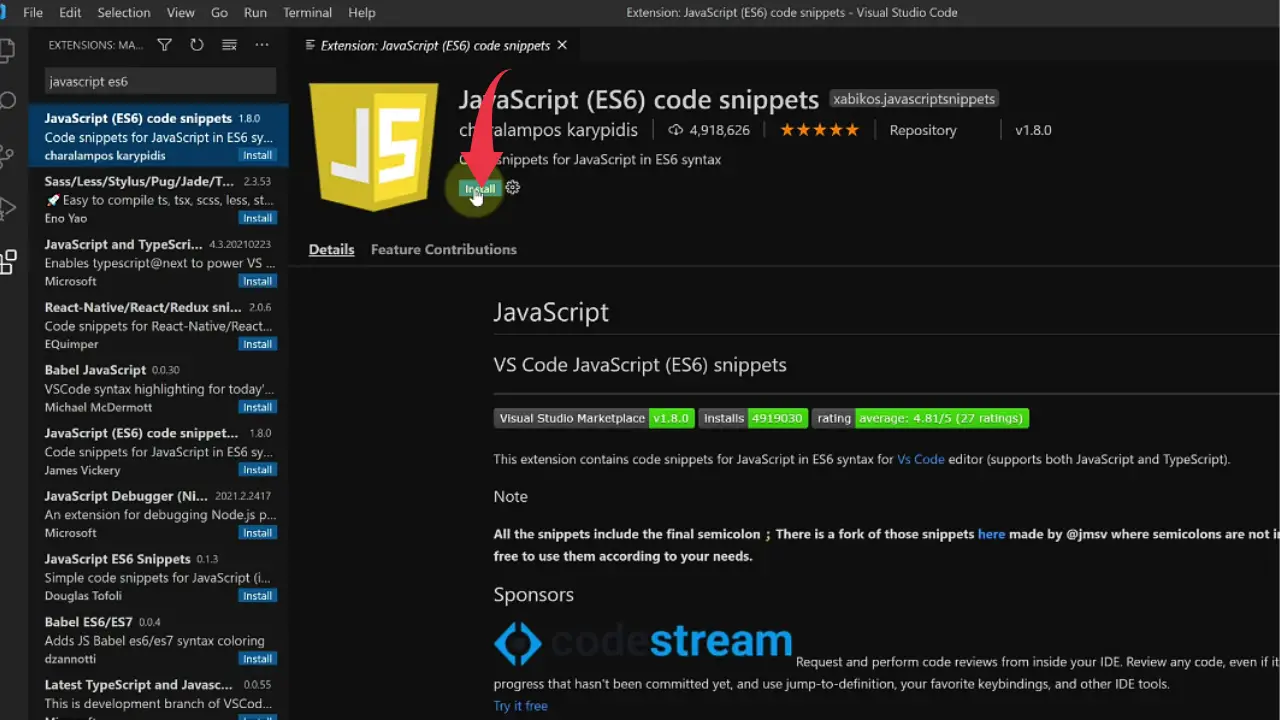
2) Now again search for “code runner” and select the first option provided by Jun Han and install it in the same way described above.
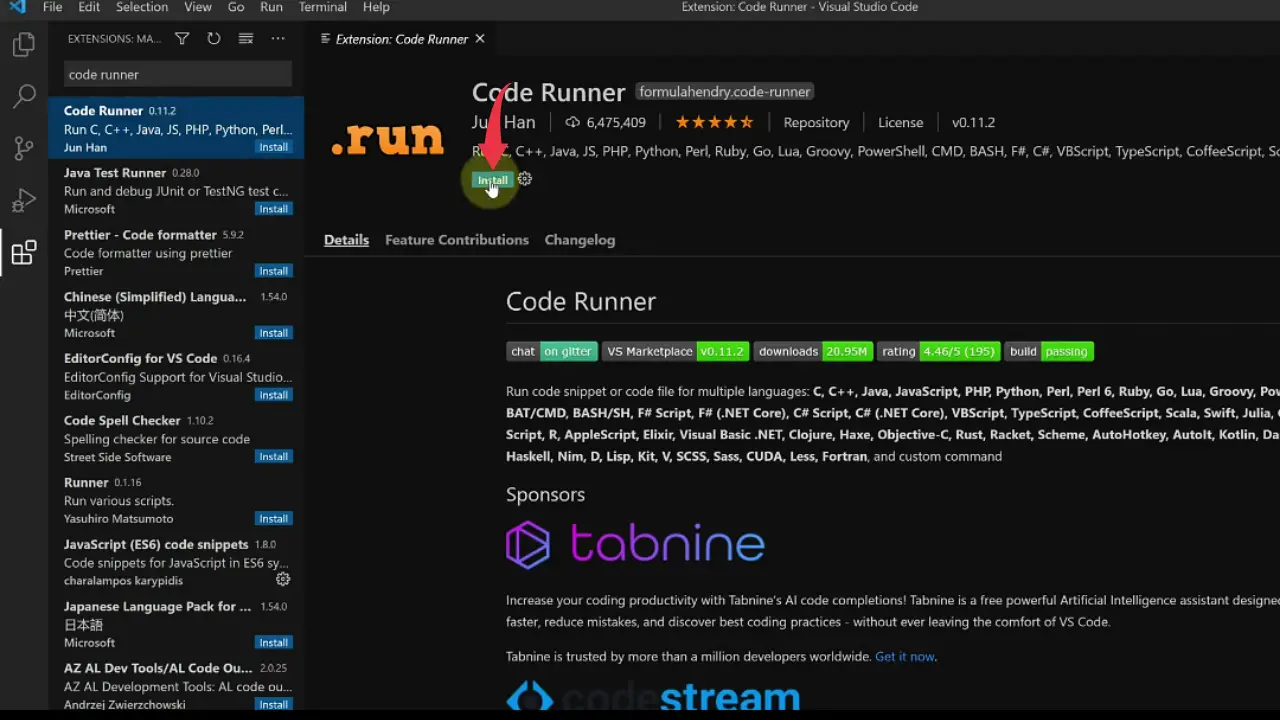
3) Create a New File in vs code by simply clicking “Ctrl+N“.
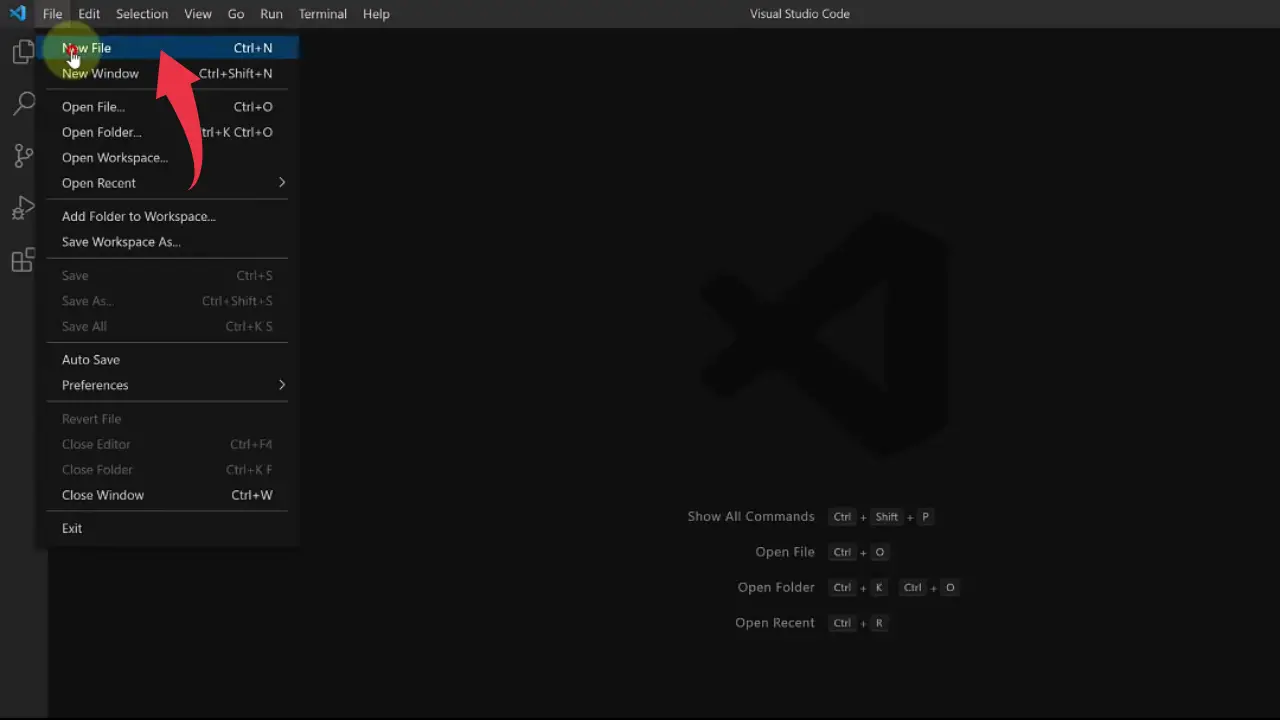
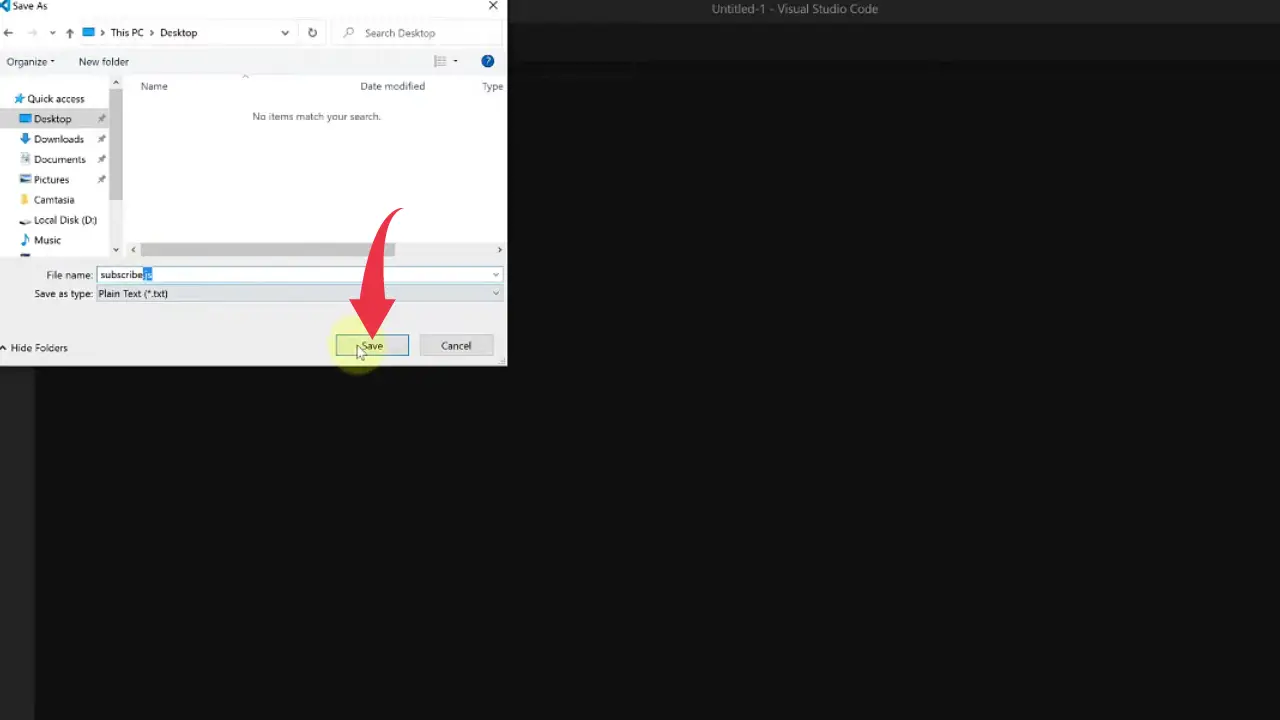
4) Save this newly created file by the name “subscribe.js“.
Make sure to add the “.js” extension to a JavaScript program while saving otherwise visual studio code will not be able to identify the program as a JavaScript program.
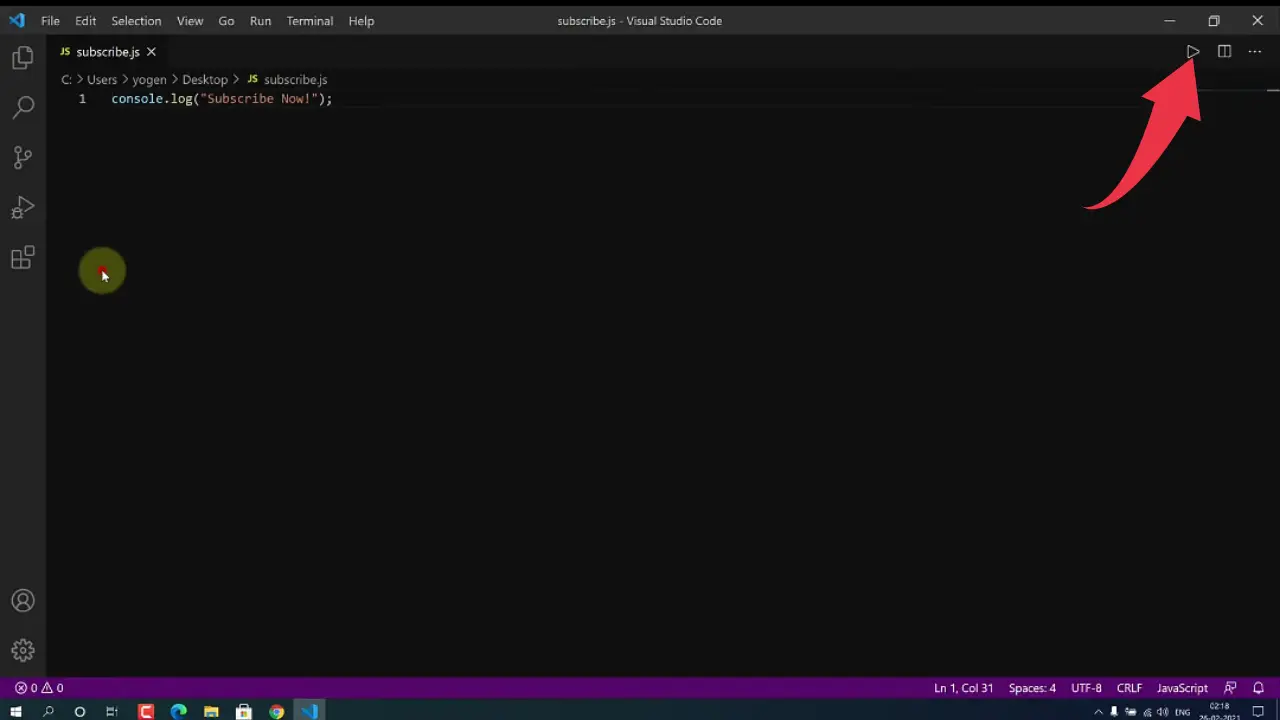
5) Paste the below-provided code snippet in the vs code and press “Ctrl+S“. And click on the small play button to run your JavaScript program.
console.log("subscribe!");
6) If you see something like the image below then congrats you’ve successfully executed your first JavaScript program.
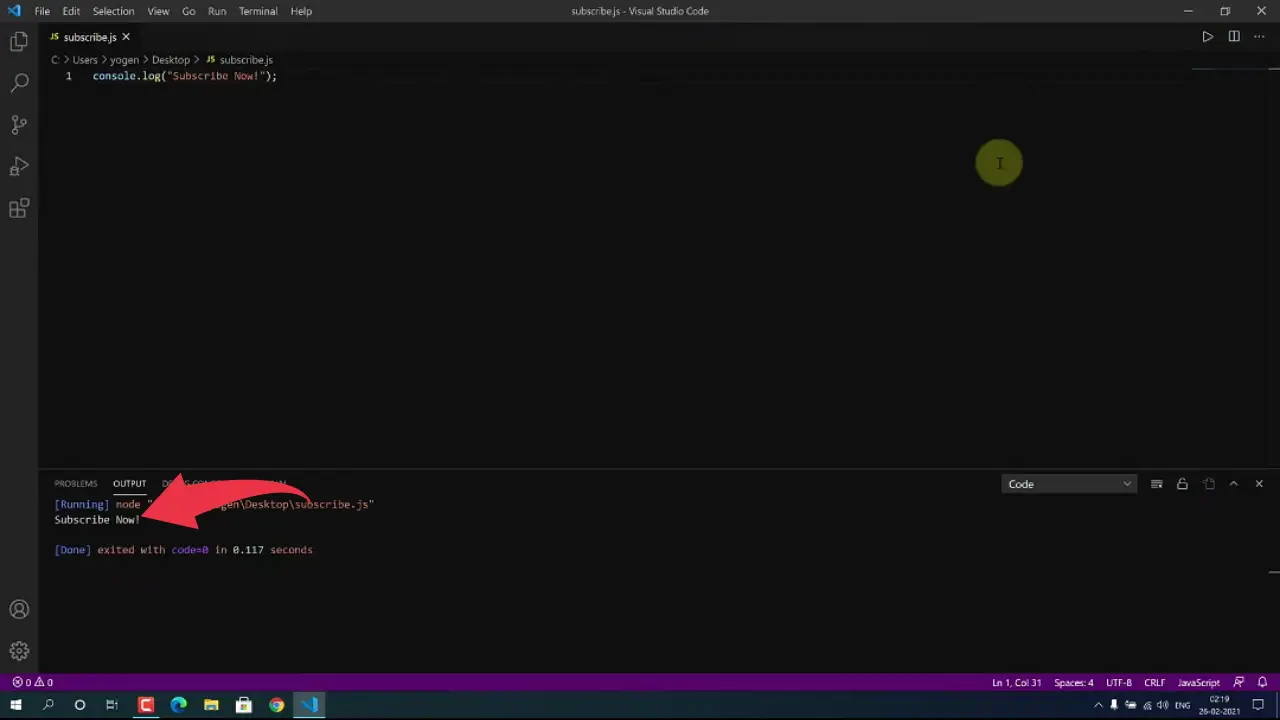
Congrats you’ve successfully executed JavaScript code in windows 10✌️✌️.



To the point. No bullshit.