How To Run Python in Visual Studio Code on Mac OS
Python programming is very simple and easy but to run any Python program you must have Python installed on your machine. So without wasting any time let’s learn how to run python in visual studio code on Mac OS.
Step 1: Download the Latest Version Of Python for Mac OS
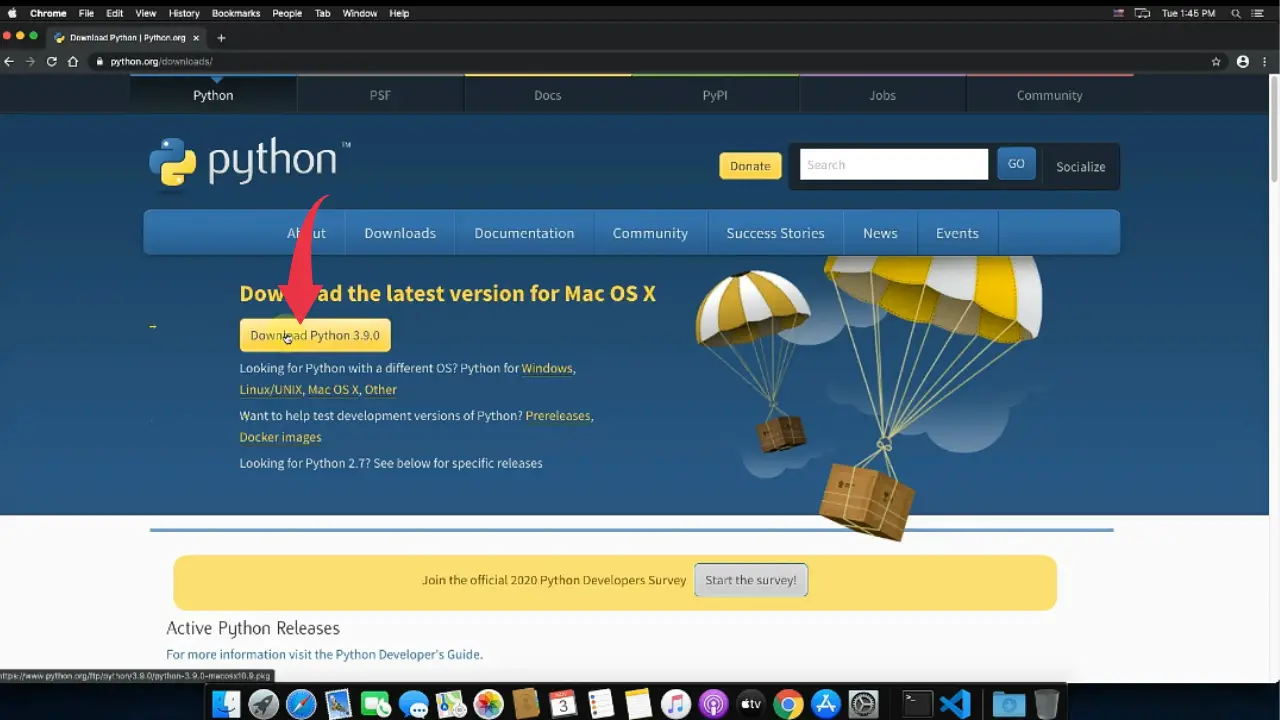
1) firstly we have to install the latest python version available on the internet. Follow the below provided downloading link and you’ll be redirected to the official python downloads page. There click on the yellow download button and Python will start getting downloading.
Download Python Here: https://www.python.org/downloads/
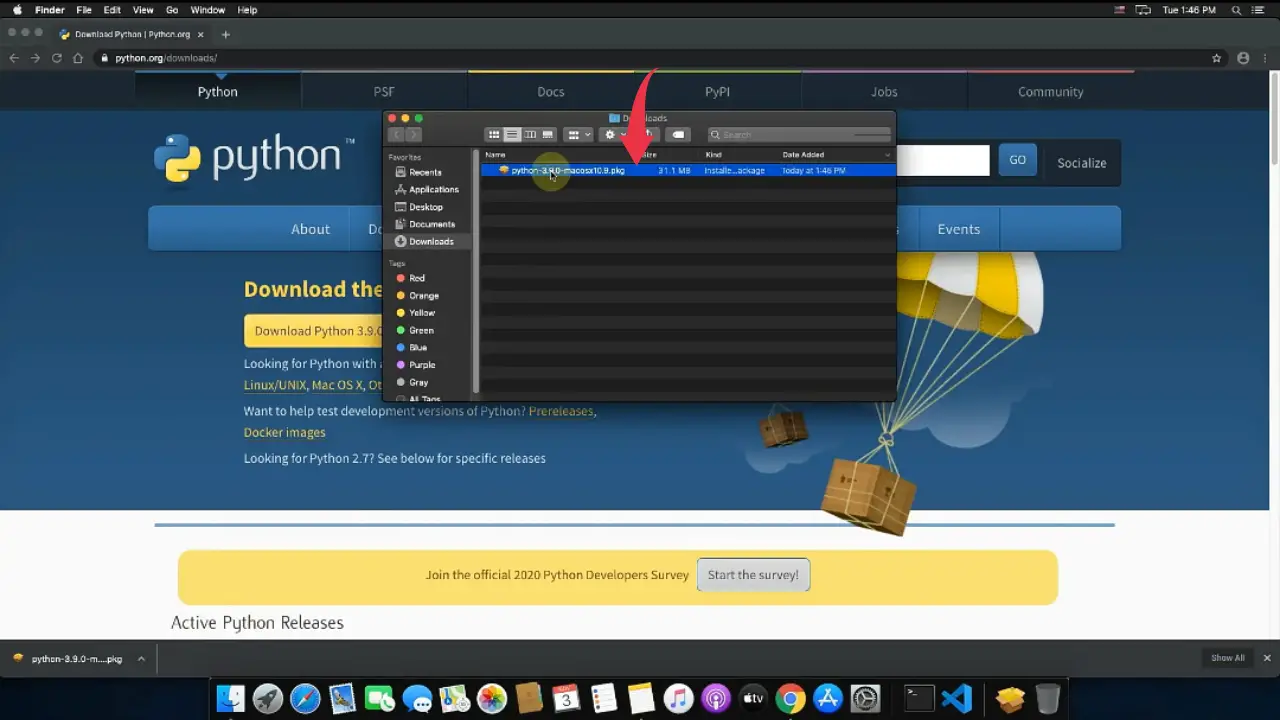
2) Once your download gets finished open it up in the folder where it has been downloaded and double click on the downloaded file to start the python installation wizard.
3) In the Python Installation welcome window simply click on the next button.
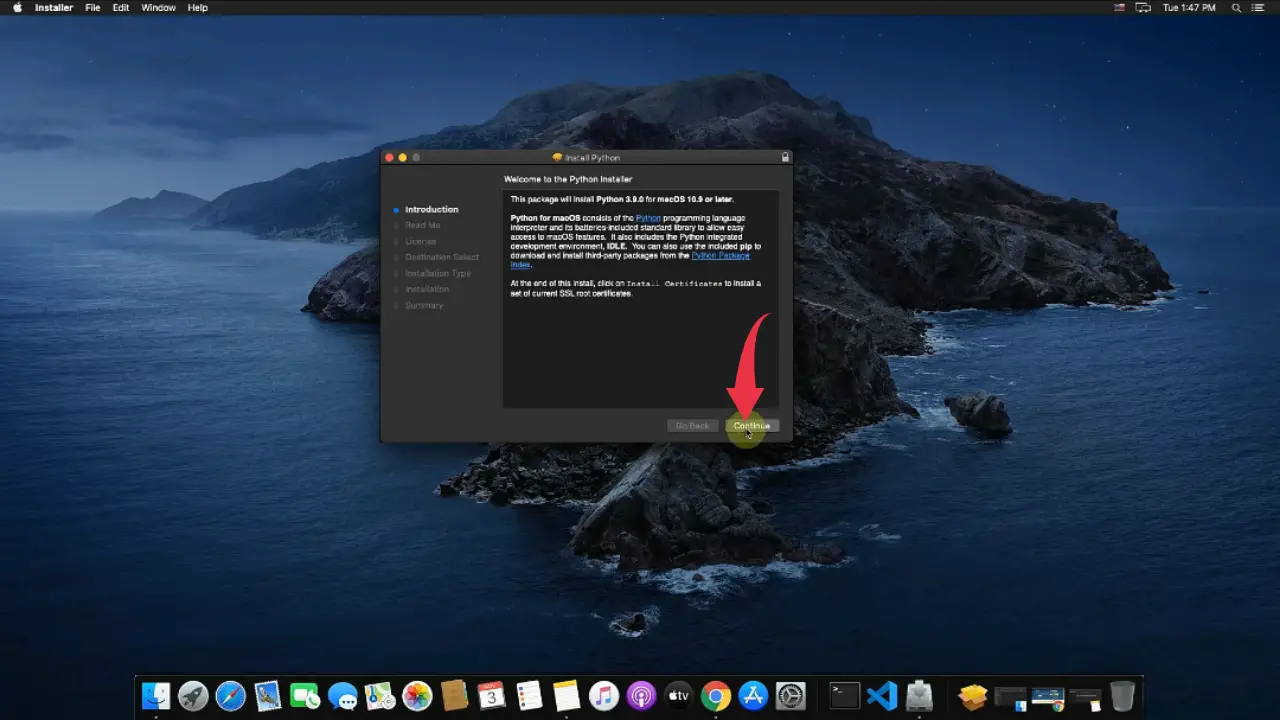
4) In the readme window some basic information about python will be shown, you can read it if you want and afterwards click on the Next button.

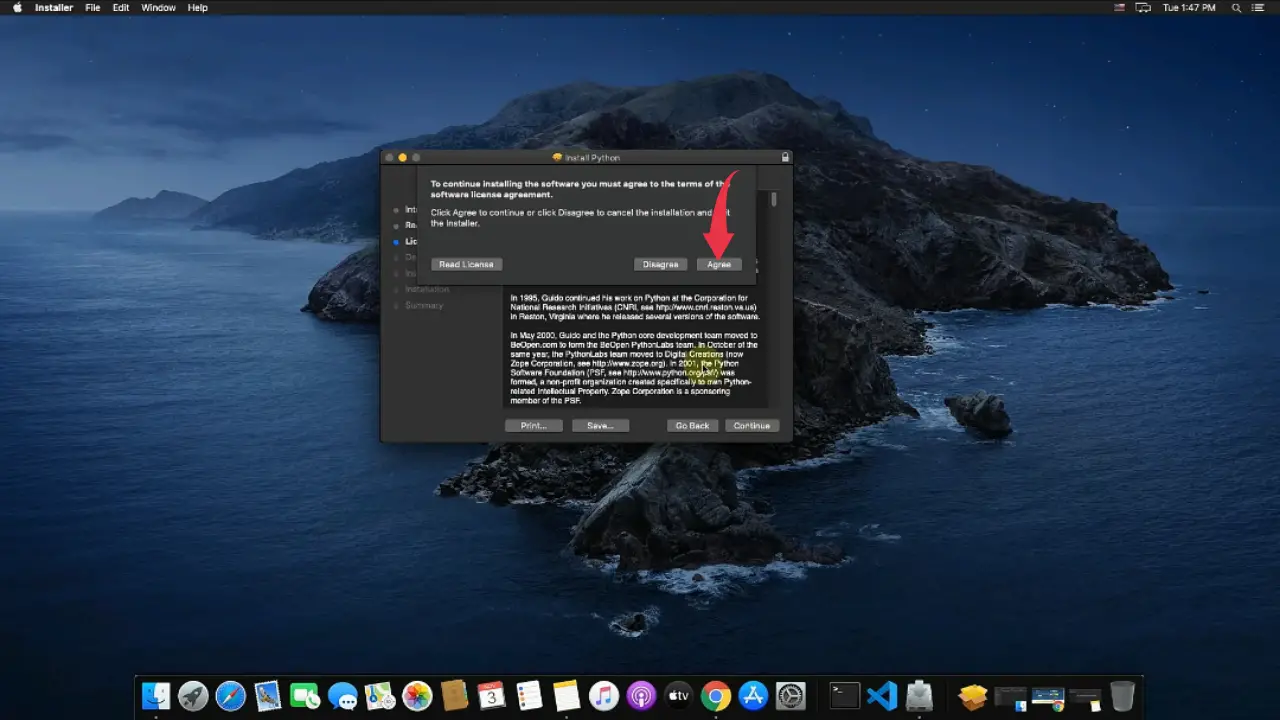
5) Now you’ll have to accept the license agreement so simply click on the agree button.
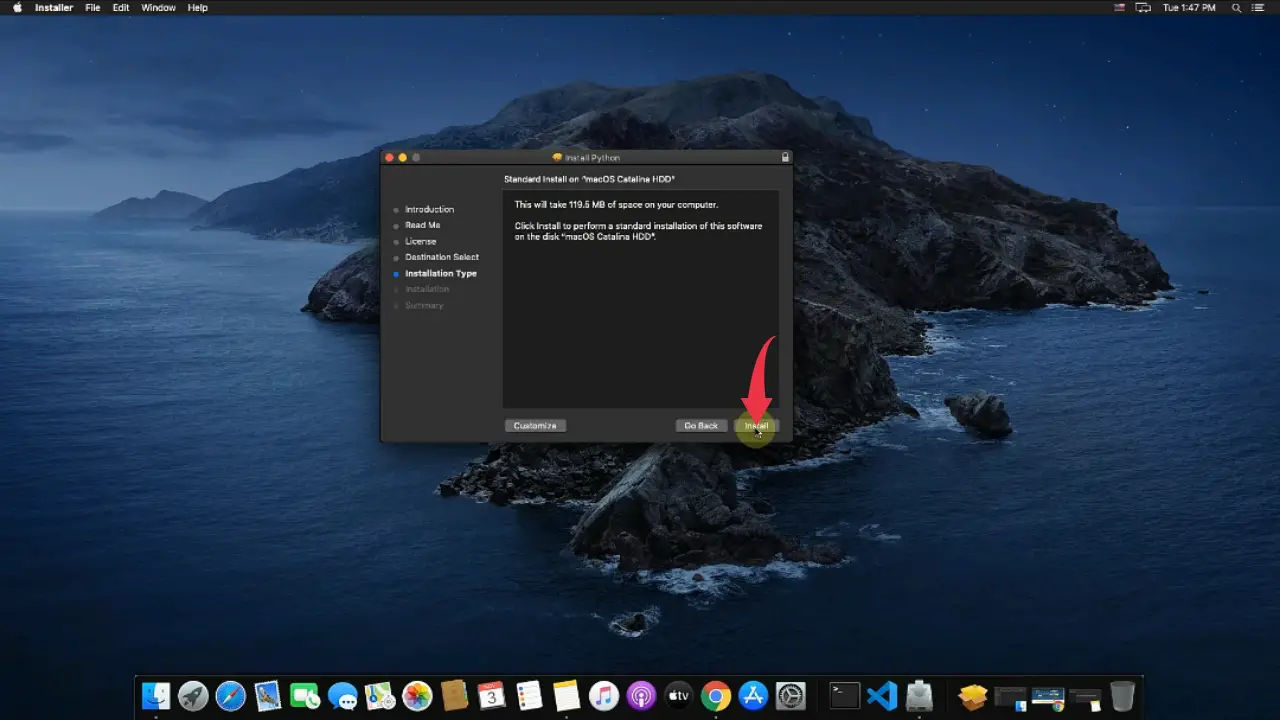
6) In the final installation window simply click on the install button and enter your password if asked, python will start getting installed in your Mac by now. Make sure you have at least 114Mb of free disk space available for python.
7) Once the installation gets completed click on the close button.

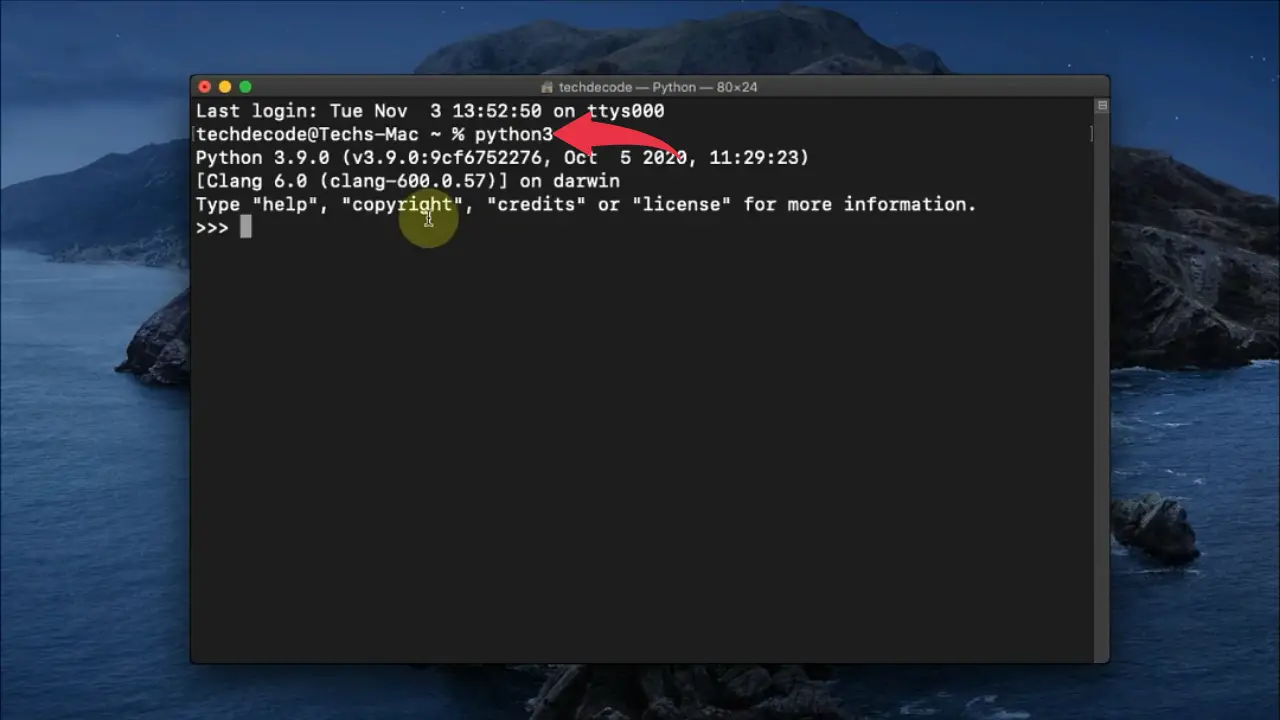
Step 2: Verify Python Version
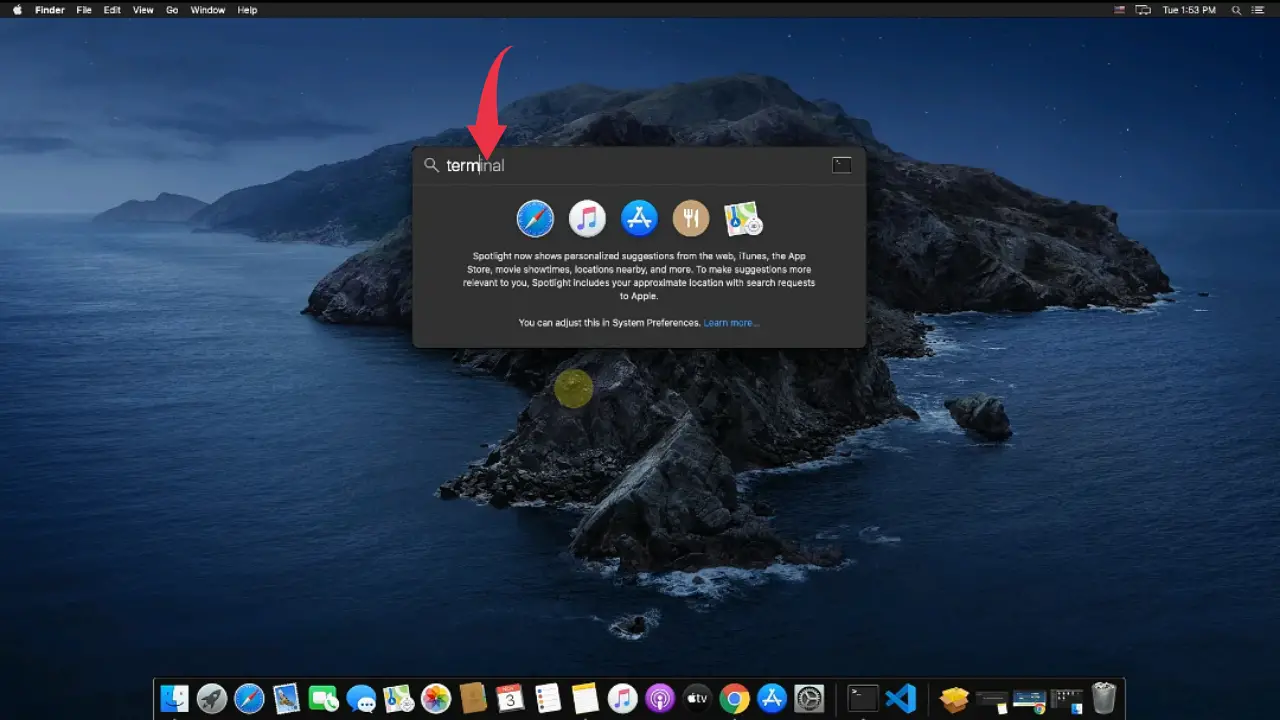
1) Open Up your terminal by typing “cmd+space”, type “terminal” in the search bar and press enter.
2) In the terminal type “Python3” and press enter to check the installed version of python.
Step 3: Configure Visual Studio Code for Running Python Program
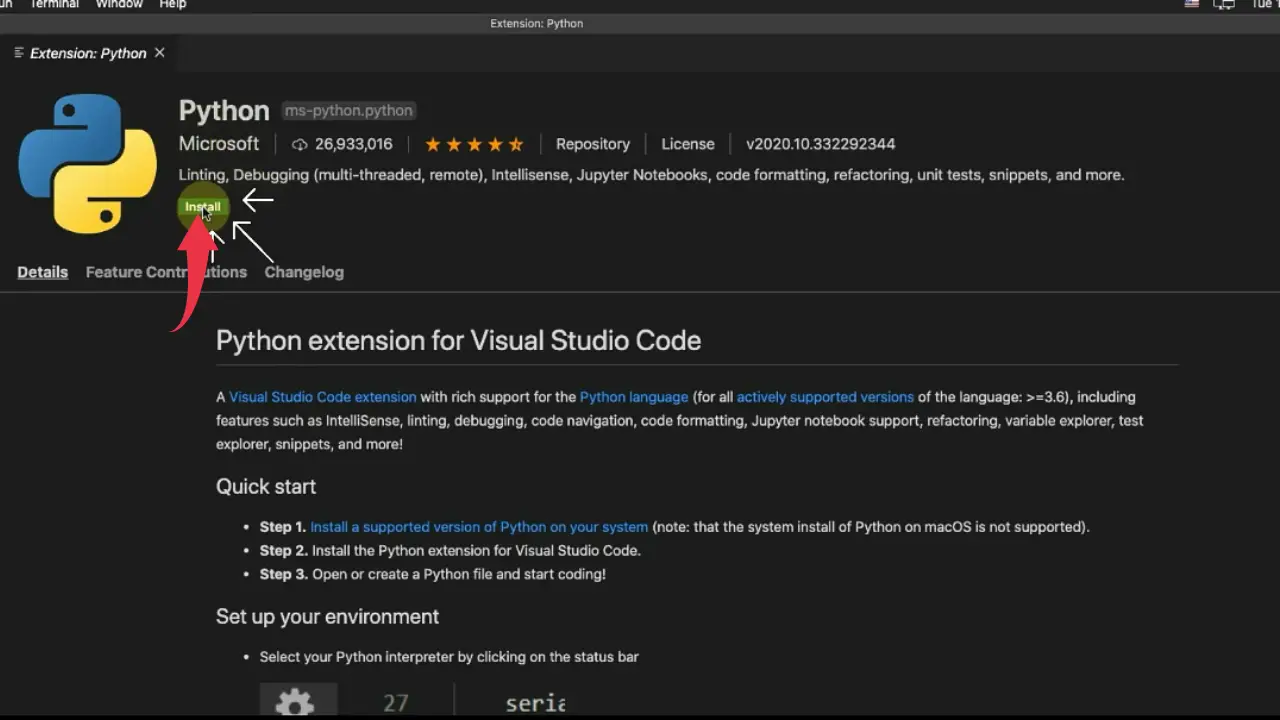
1) Click on the extensions button and in the search bar type “Python” and install the first option provided by Microsoft by clicking on the small green install button.
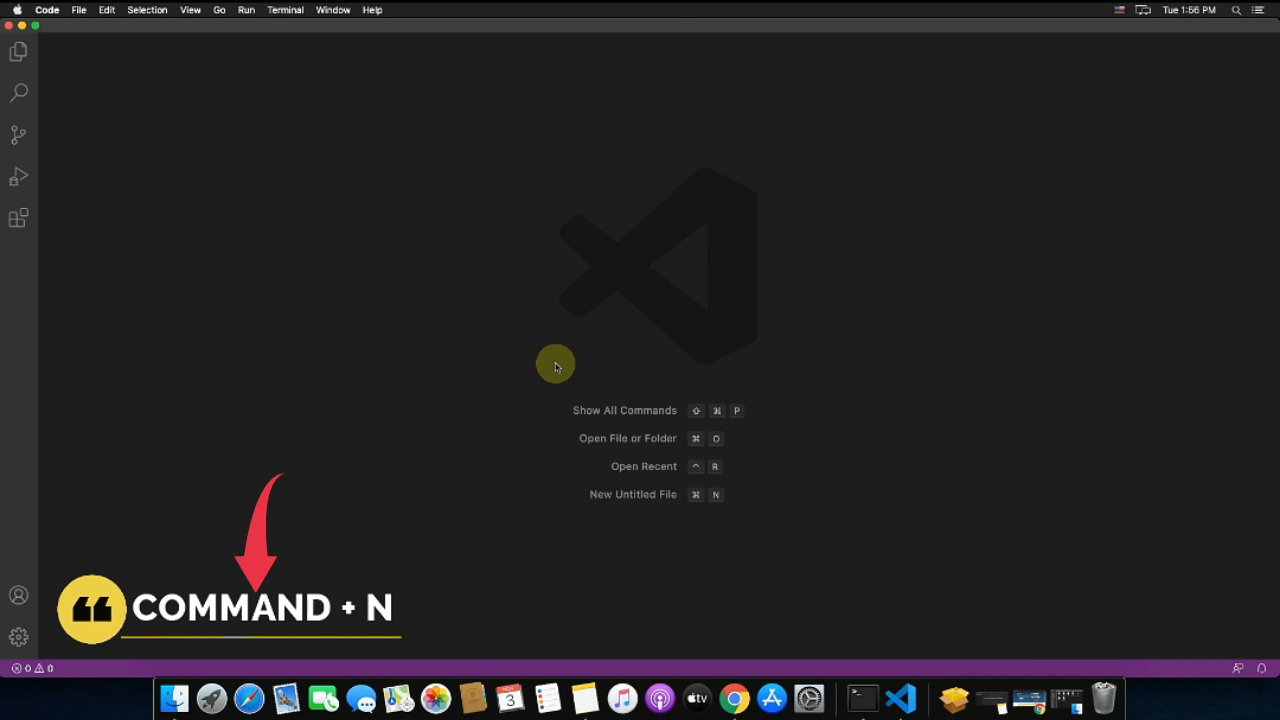
2) Create a New File in visual studio code by pressing “Cmd+N“.
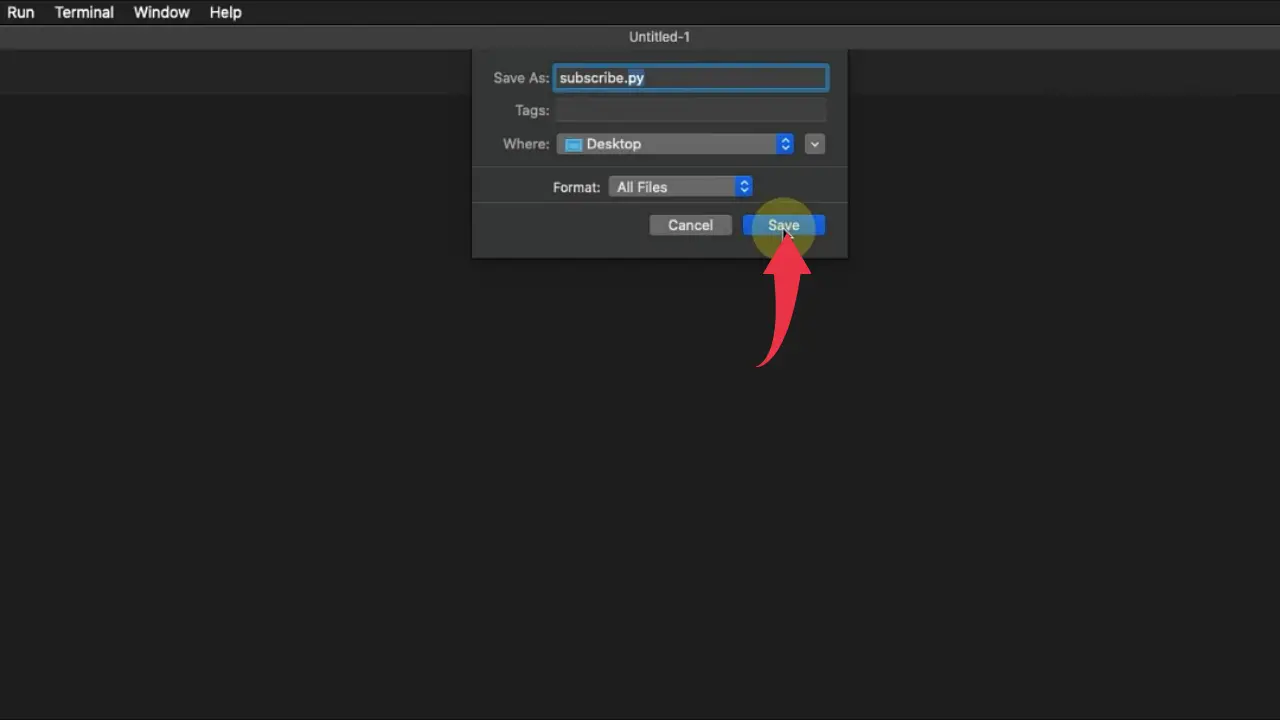
3) Now save the newly created file by the name “subscribe.py”.
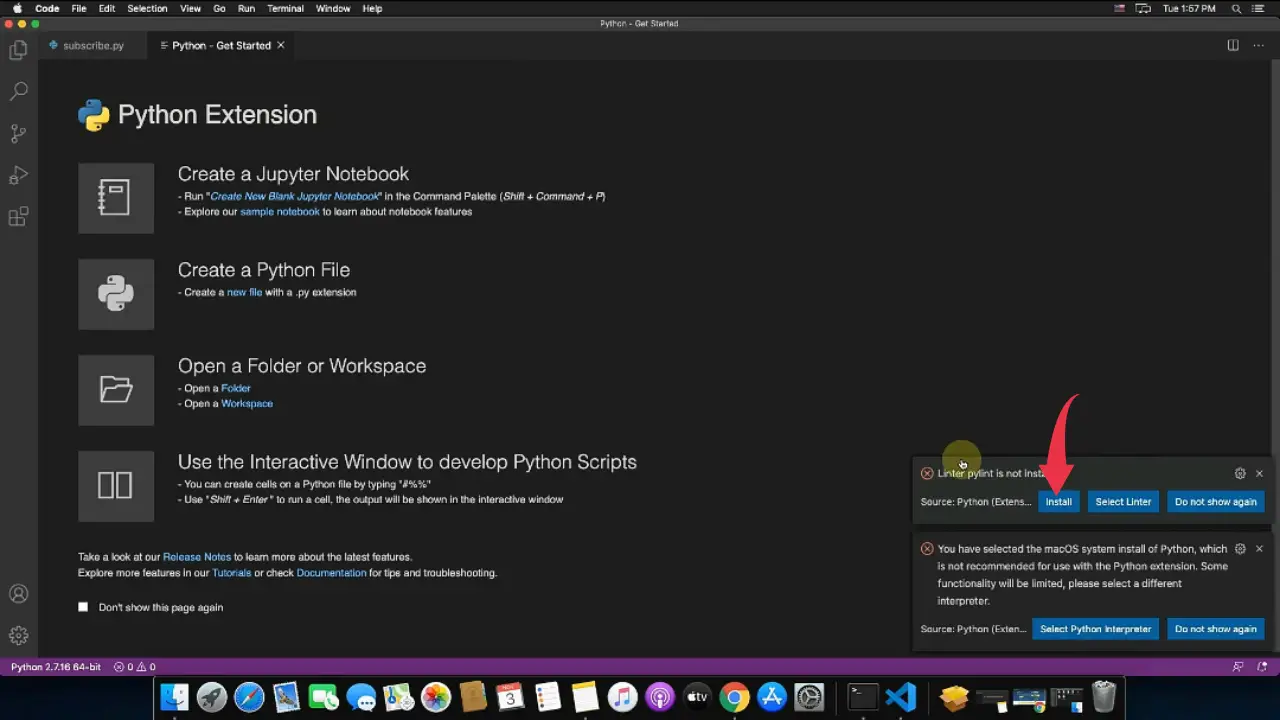
4) For the first time only you’ll be displayed a python get started guide. In this python guide, you’ll have to install the additional extensions required to run python programs on your Mac machine. Firstly you’ll have to install the “Linter pylint” extension by clicking on the install button in the bottom right alert box displaying “Linter pylint is not installed“.
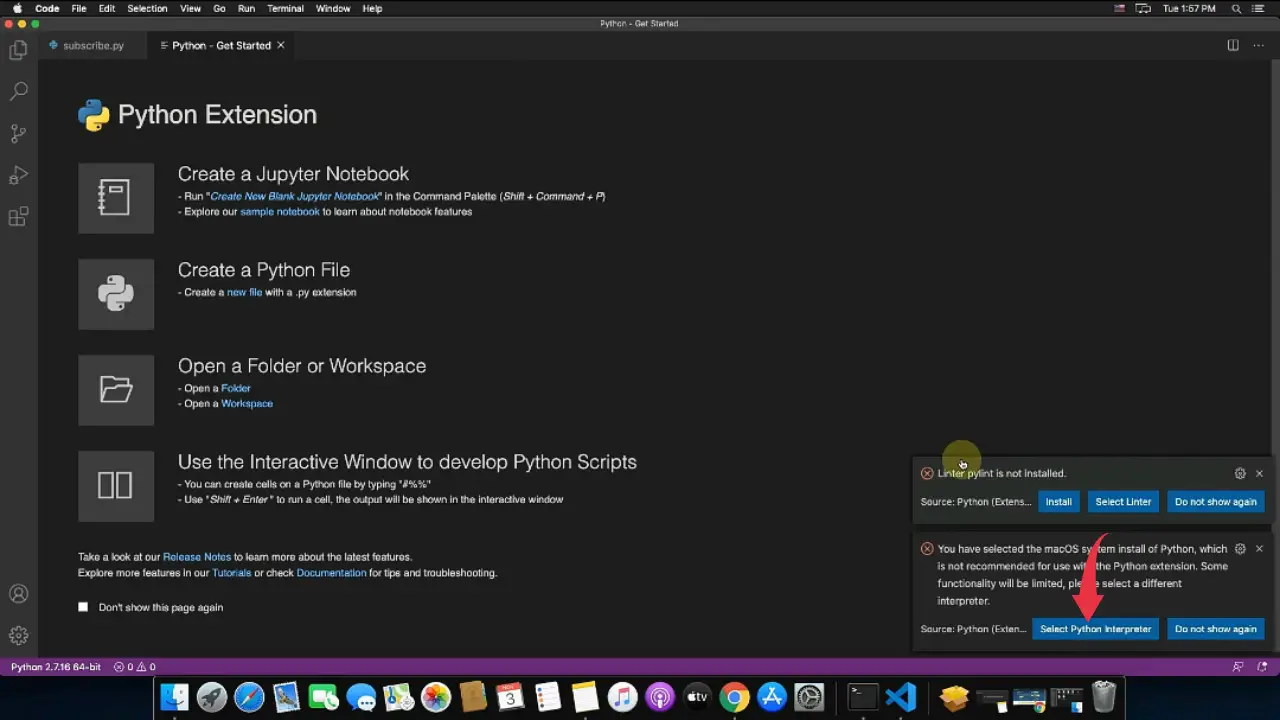
5) After that click on the “Select python interpreter” button just as shown in the image below.
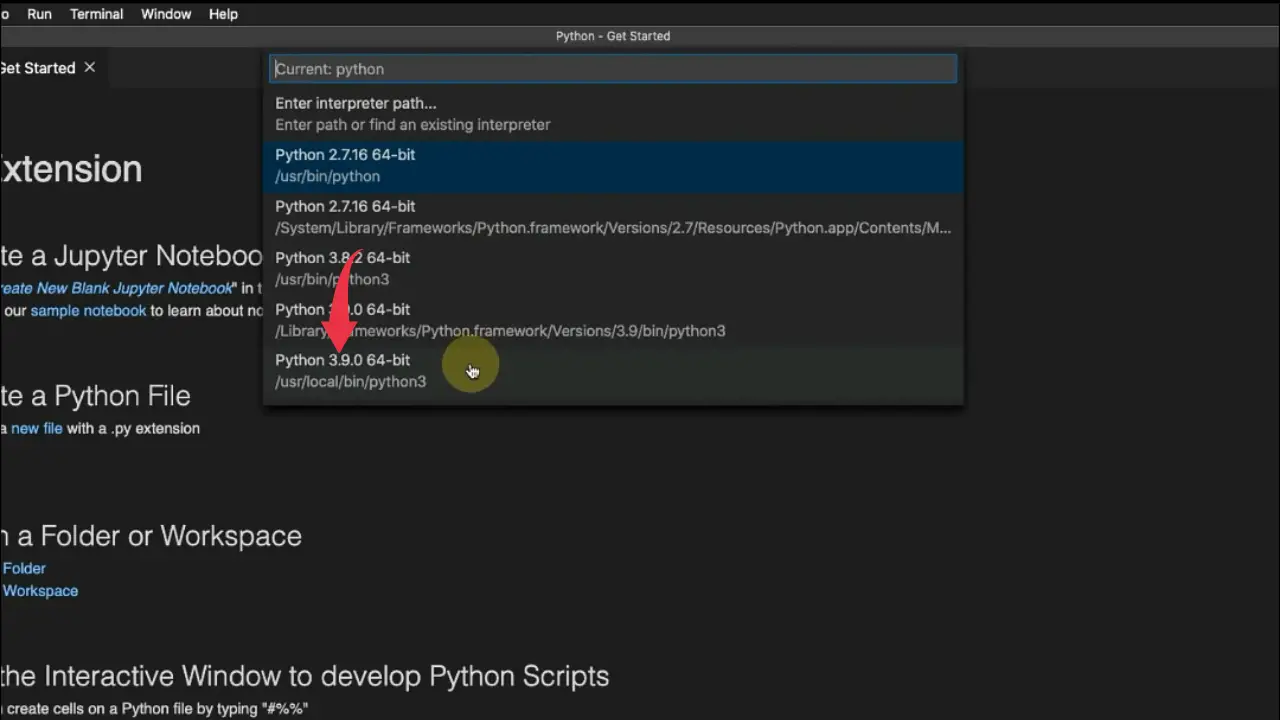
6) Now you’ll be asked to select the current python version, there select the “Python 3.9.0 64-bit” option, if an alert box displays saying “Linter pylint is not installed“, simply click on the install button.
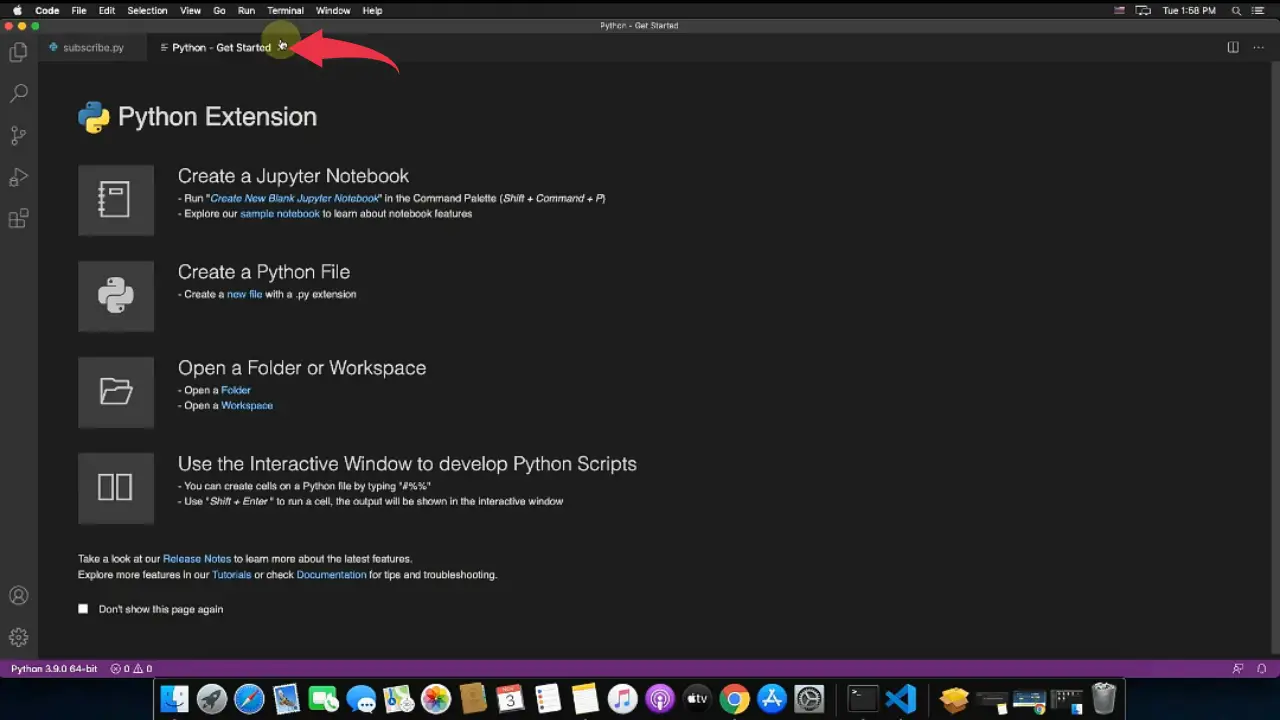
7) After this, close the python get started window.
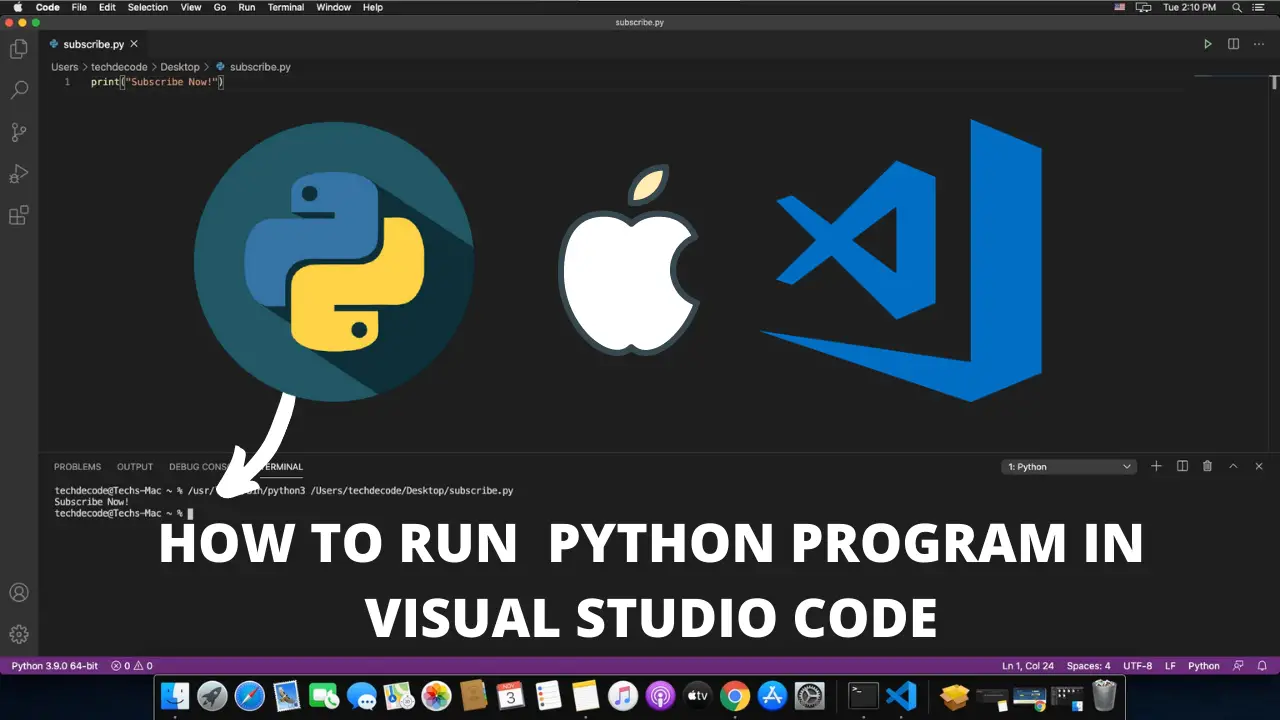
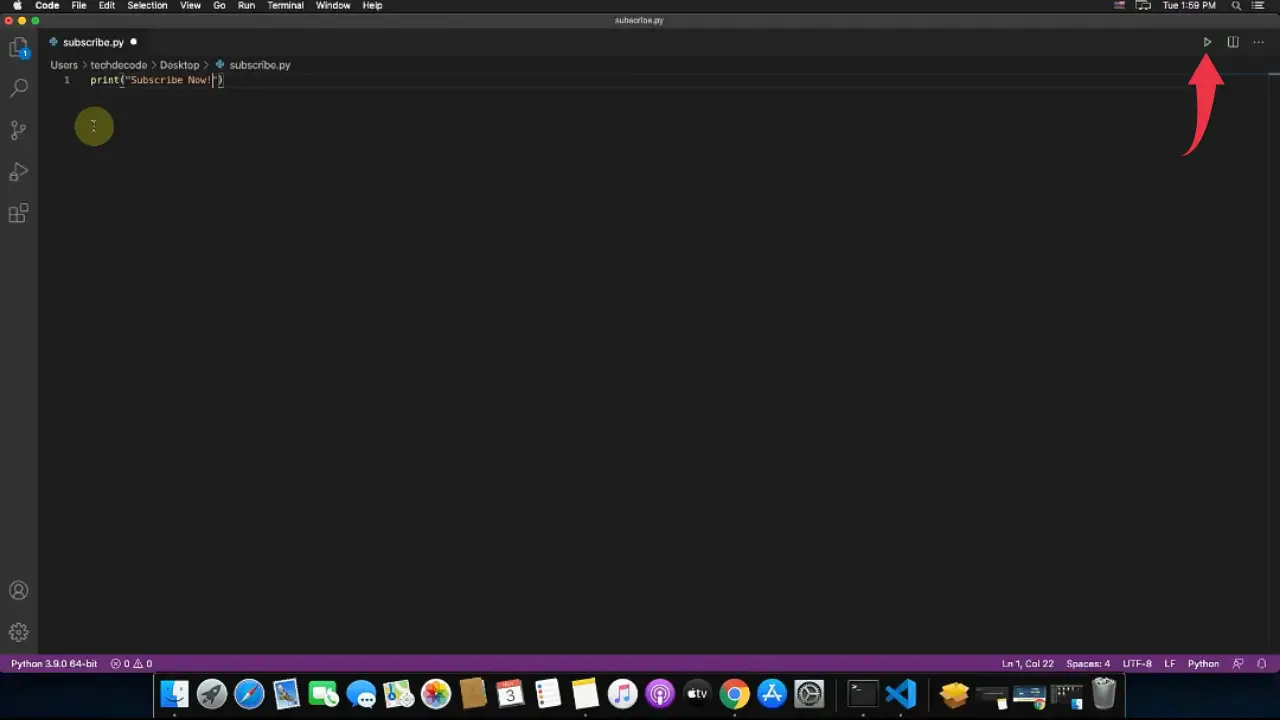
8) You’ll be automatically redirected to our “subscribe.py” program, in that program paste the below-provided code snippet and press the small play button to run the program.
print("Subscribe Now!")
Always add a “.py” extension to your Python program otherwise vs code will not be able to identify the code.
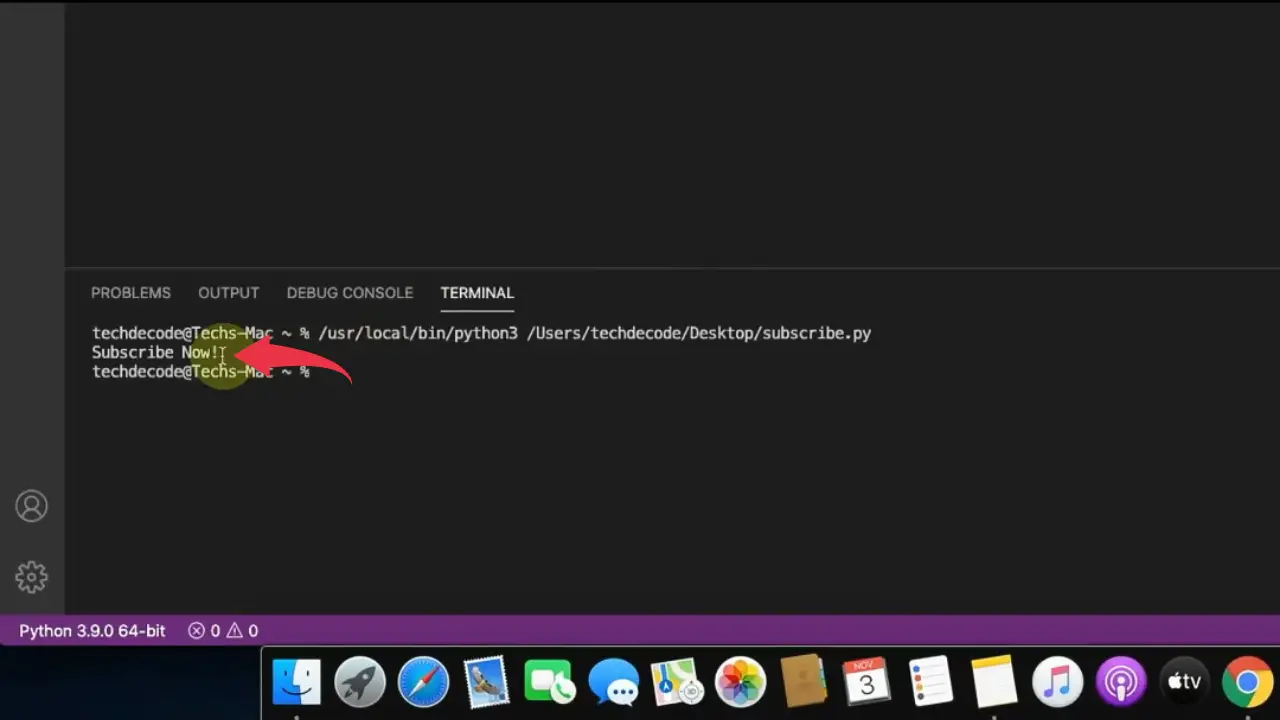
9) If you see output like the below image then congrats you’ve successfully executed the python program in Mac OS using visual studio code.
Video Tutorial: Run Python in Visual Studio Code On Mac
If you’re still finding it hard to run Python in your Visual Studio code, then you can refer to the below video for a complete guide.