How To Install BlueStacks On Windows 11
Android devices are abundant among users. However, those who only have desktops face a major issue, as they cannot use android applications directly on their machines. And even if you have a device, it’s always great that you can run Android applications on your Windows machine. Though it is being said that Windows 11 with its final release will have the feature to install Android apps without any third-party software. But as of now, this functionality is nowhere near to be seen. So to make you use Android apps on your Windows machine. We’re going to tell you How To Install BlueStacks On Windows 11.
Video Tutorial: How to Install BlueStacks on Windows 11
No need to worry guys, currently we’re working on this tutorial, till then refer to the below article. If you have any questions! Feel Free To Ask.
Download BlueStacks
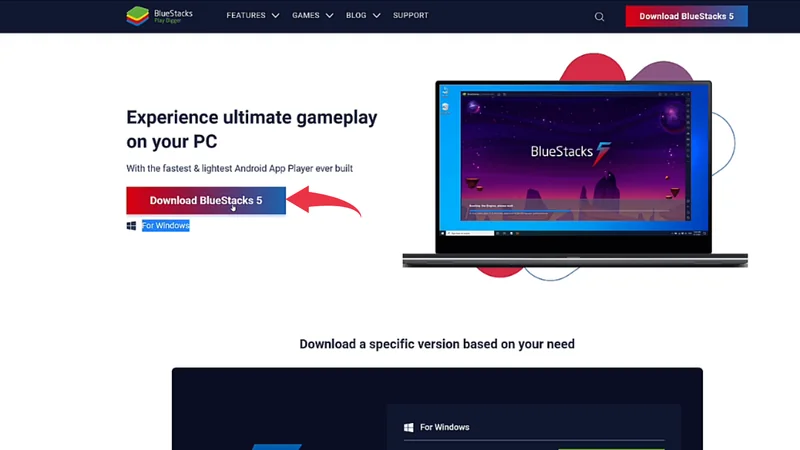
1) We will download the latest version of BlueStacks available on the internet for windows 11. Follow the below-provided download link, and click on the Download BlueStacks 5 button to start the download.
Download BlueStacks here: https://www.bluestacks.com/download.html
Also Read: How To Install WhatsApp On Windows 11
Install BlueStacks
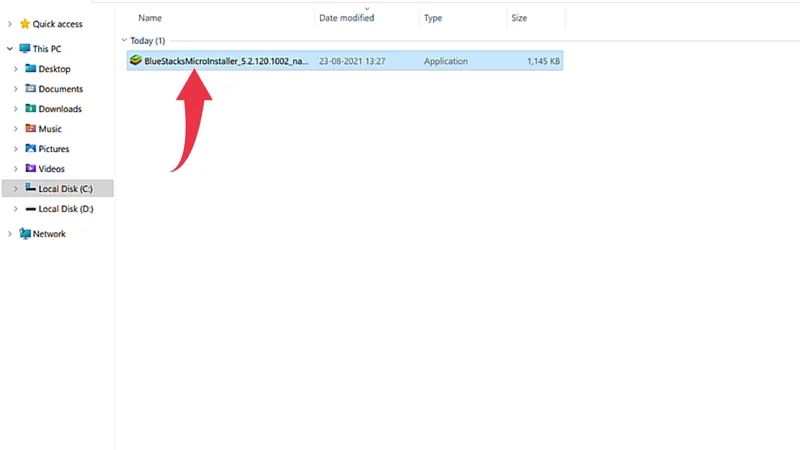
1) Once the download gets finished open it up in the folder where it has been downloaded and Double Click on the downloaded BlueStacks file to start the installation process.
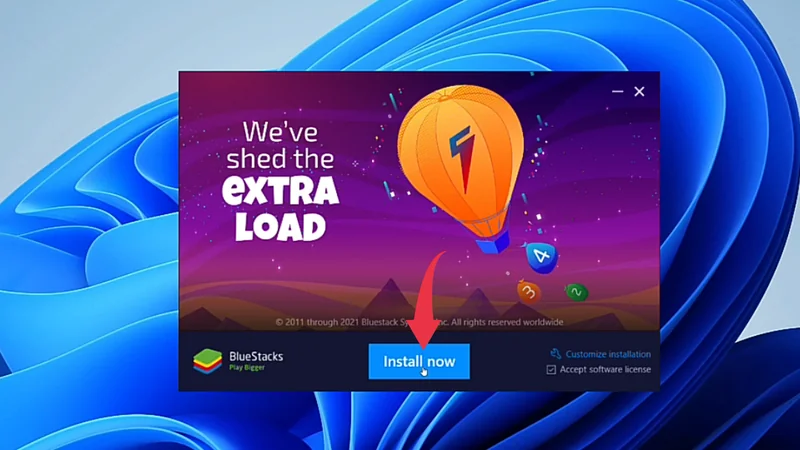
2) After that BlueStacks window will pop up displaying the install button. So simply click on the Install button.
3) From this step, downloading & installation of BlueStacks will be done automatically by the setup file. Therefore from here onwards you don’t need to worry about the installation process.

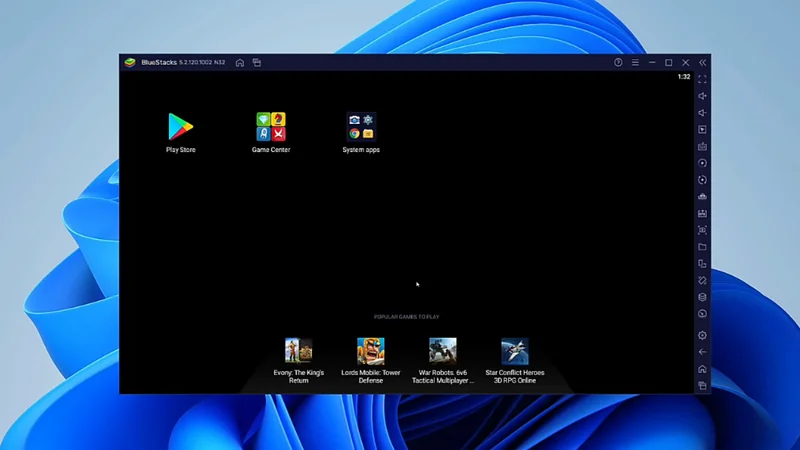
4) After successful installation first looks at your Android emulator on Windows 11 will look like this 👇🏻👇🏻.