How To Install Slack On Windows 11
If you’re a working professional then professional communication is the thing you’d expect the most in your everyday work life. To organize your work communication more professionally, a dedicated application/software must be there to fulfill all of your professional needs. Though there are other communication platforms you can use. But when it comes to professional messaging, and interaction with your team nothing beats Slack. The only platform focused on easing up the communications in your everyday professional life. So today we’ll be taking a look into finding out how to install Slack On Windows 11.
Video Tutorial: How To Install Slack On Windows 11
Also Read: How To Install Zoom On Windows 11
Step 1: Download Slack
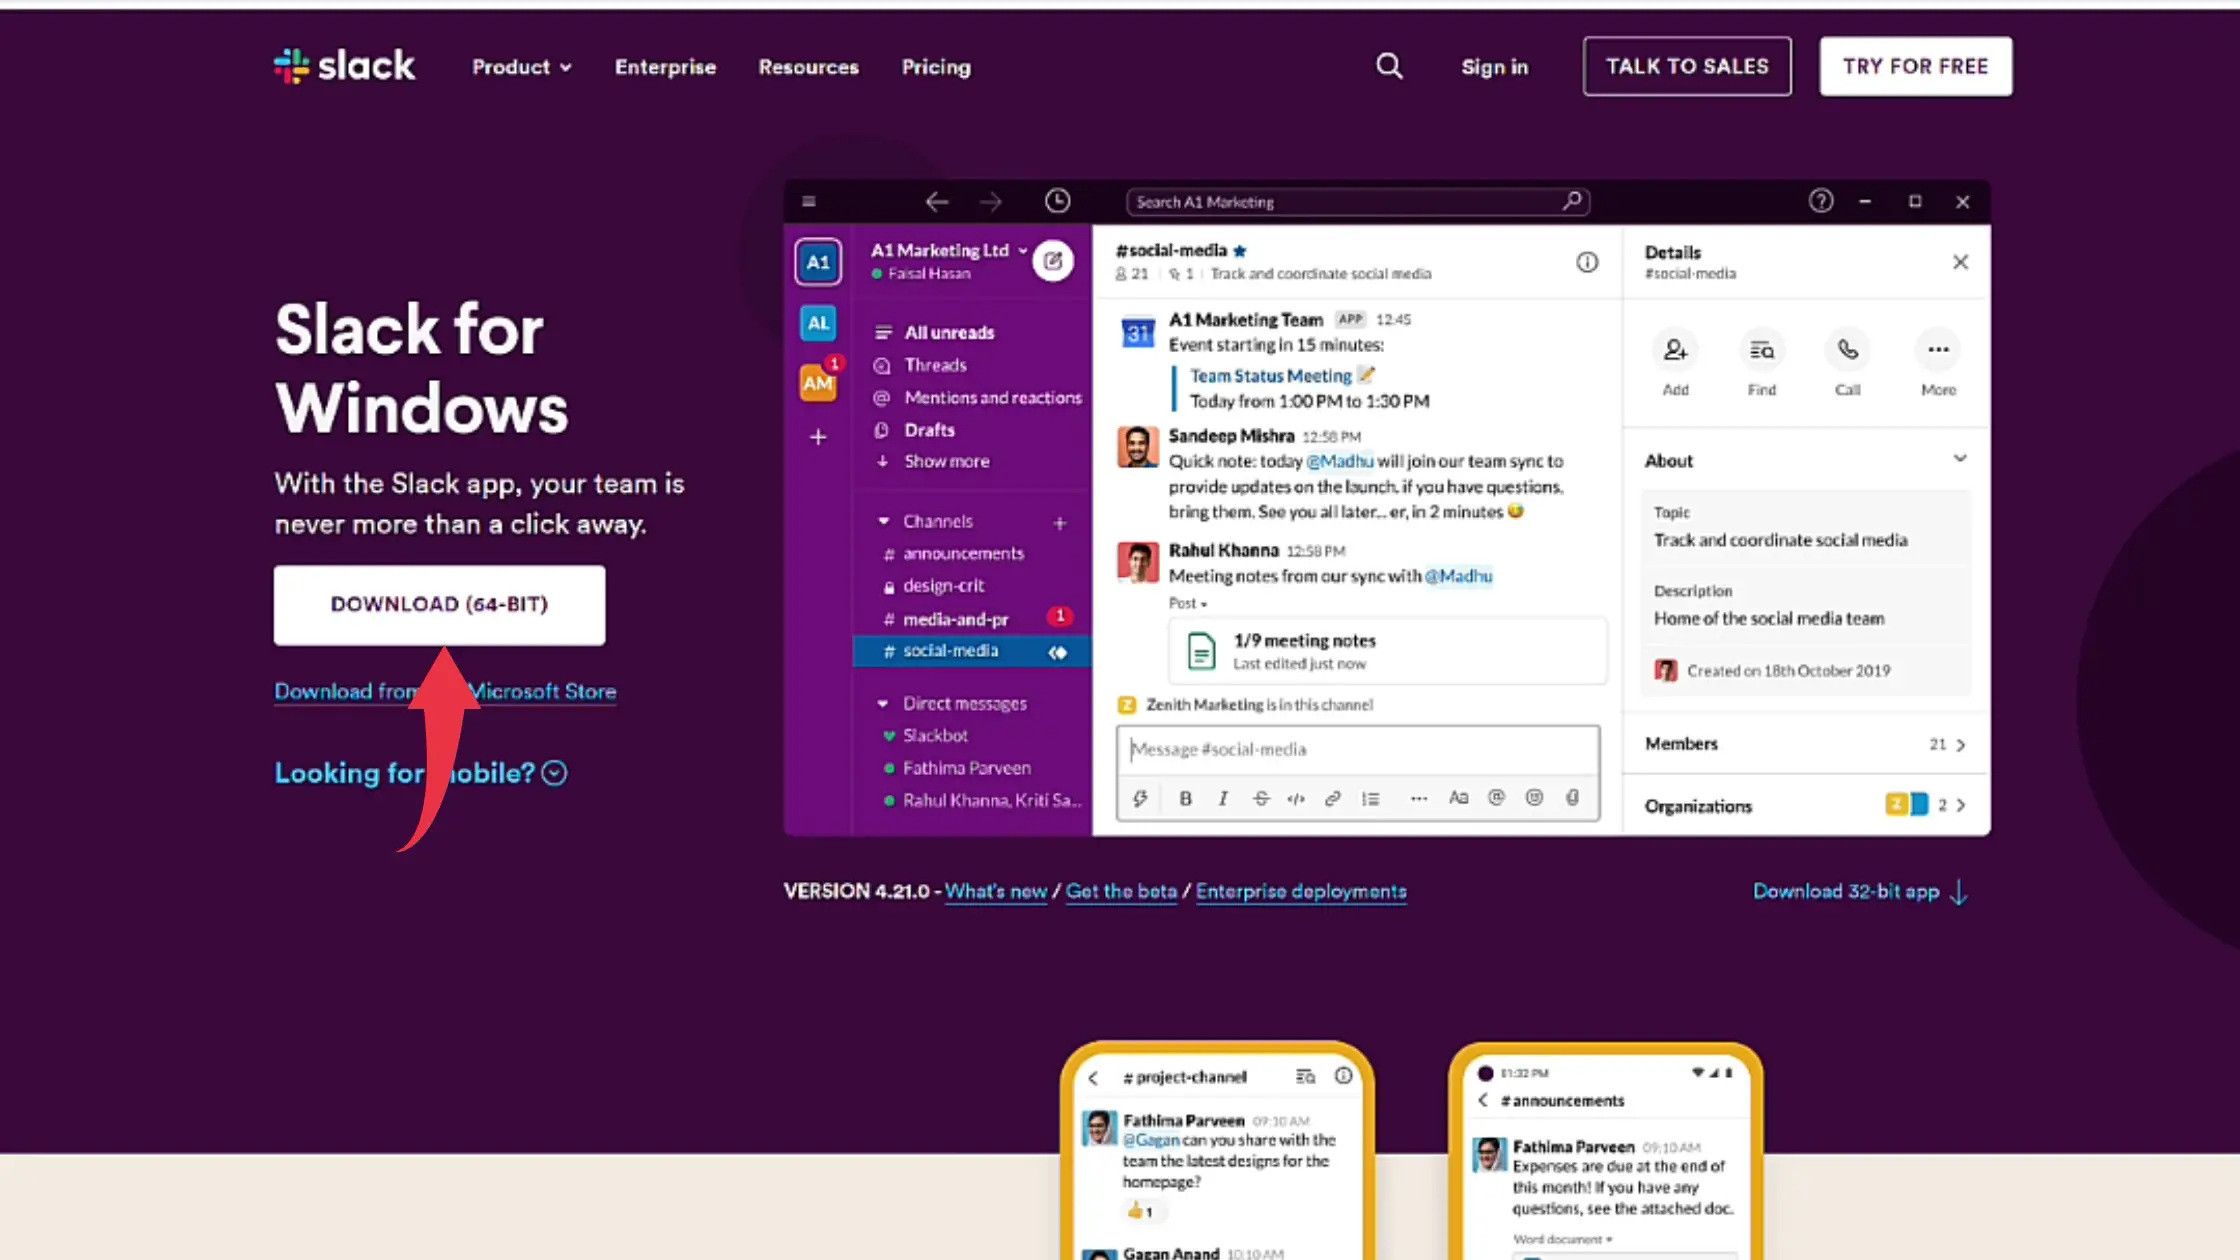
1) Firstly we will download Slack, for our windows 11 machine. Follow the download link provided below and click on the DOWNLOAD (64-Bit) button.
Download Slack Here: https://slack.com/intl/en-in/downloads
Step 2: Install Slack On Windows 11
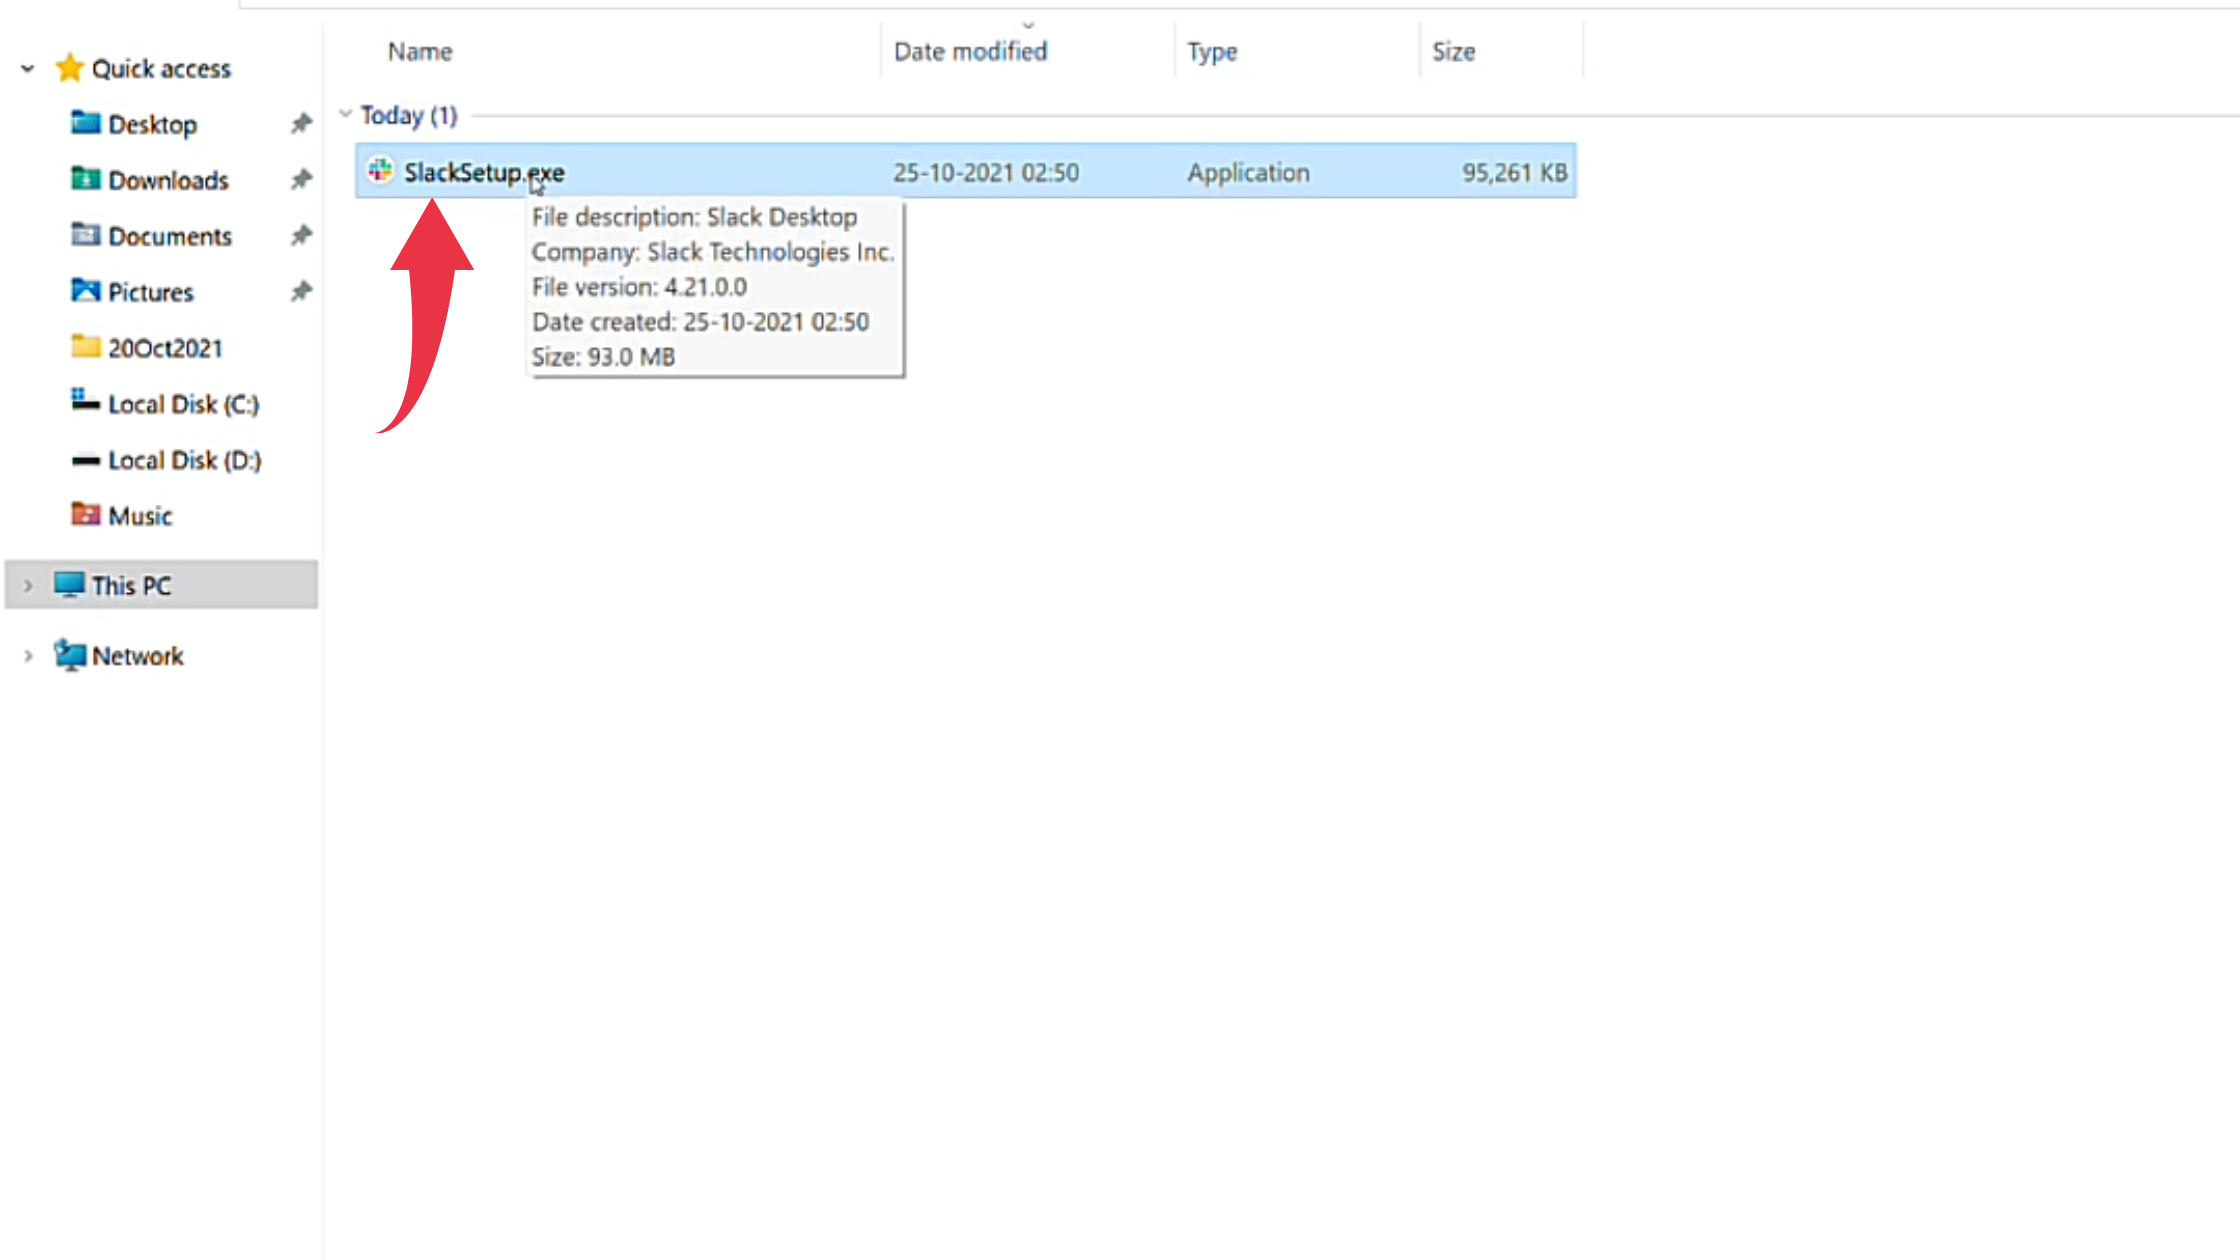
1) Once the download gets finished open the downloaded file in the folder where it has been downloaded. Double click, on the downloaded file, to start the Installation. The installation of Slack will take place once you double-click on the downloaded file.
2) After successful installation first glance at Slack, on your Windows 11 will look like the below image.
