How To Install Foxit Reader On Windows 11
Working with documents and files is the thing that is going around for centuries. But now the means of managing documents and files has been changed from conventional to the digital medium. And we have to rely on document management software for easing up the work experience with digital files. So the software we use plays a very vital role in increasing or decreasing the work experience. There are multiple applications/software one can use but only a few of them offer a great user experience. Foxit Reader is one of those few pdf reading software that everyone loves to use. So today we’ll find out how to install Foxit Reader On Windows 11 machines.
Video Tutorial: How To Install Foxit Reader On Windows 11
Also Read: How To Install 7 Zip On Windows 11
Step 1: Download Foxit Reader
1) Firstly we will download the Foxit Reader, for our windows machine. Follow the download link provided below and click on the Download Now button.
Download Foxit Reader Here: https://www.foxit.com/pdf-reader/

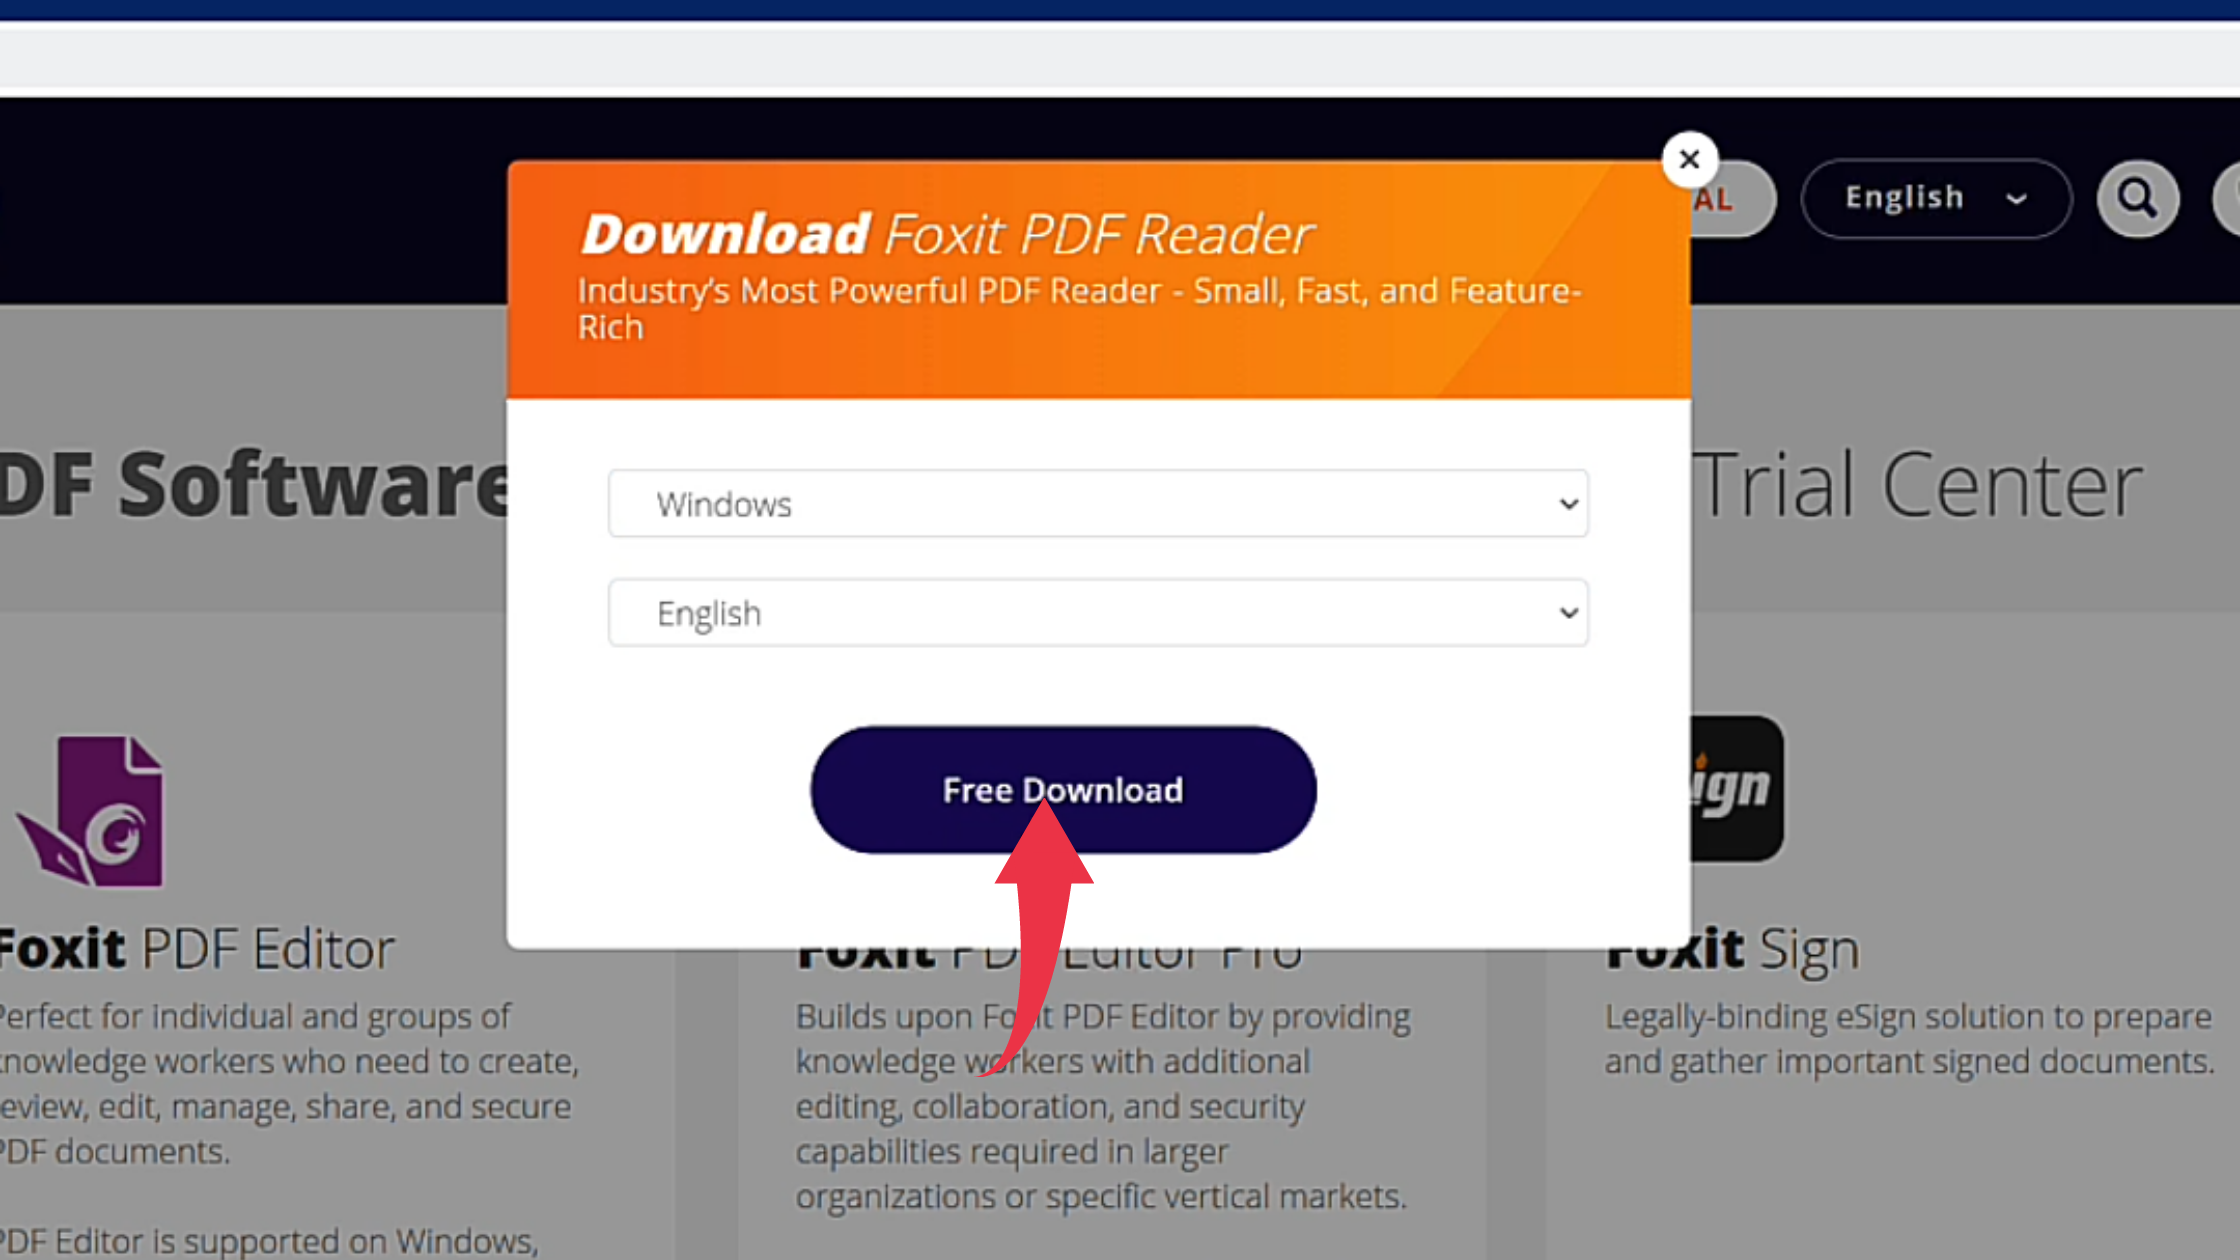
2) Next up in the dialogue box, simply click on the Free Download button.
Step 2: Install Foxit Reader On Windows 11
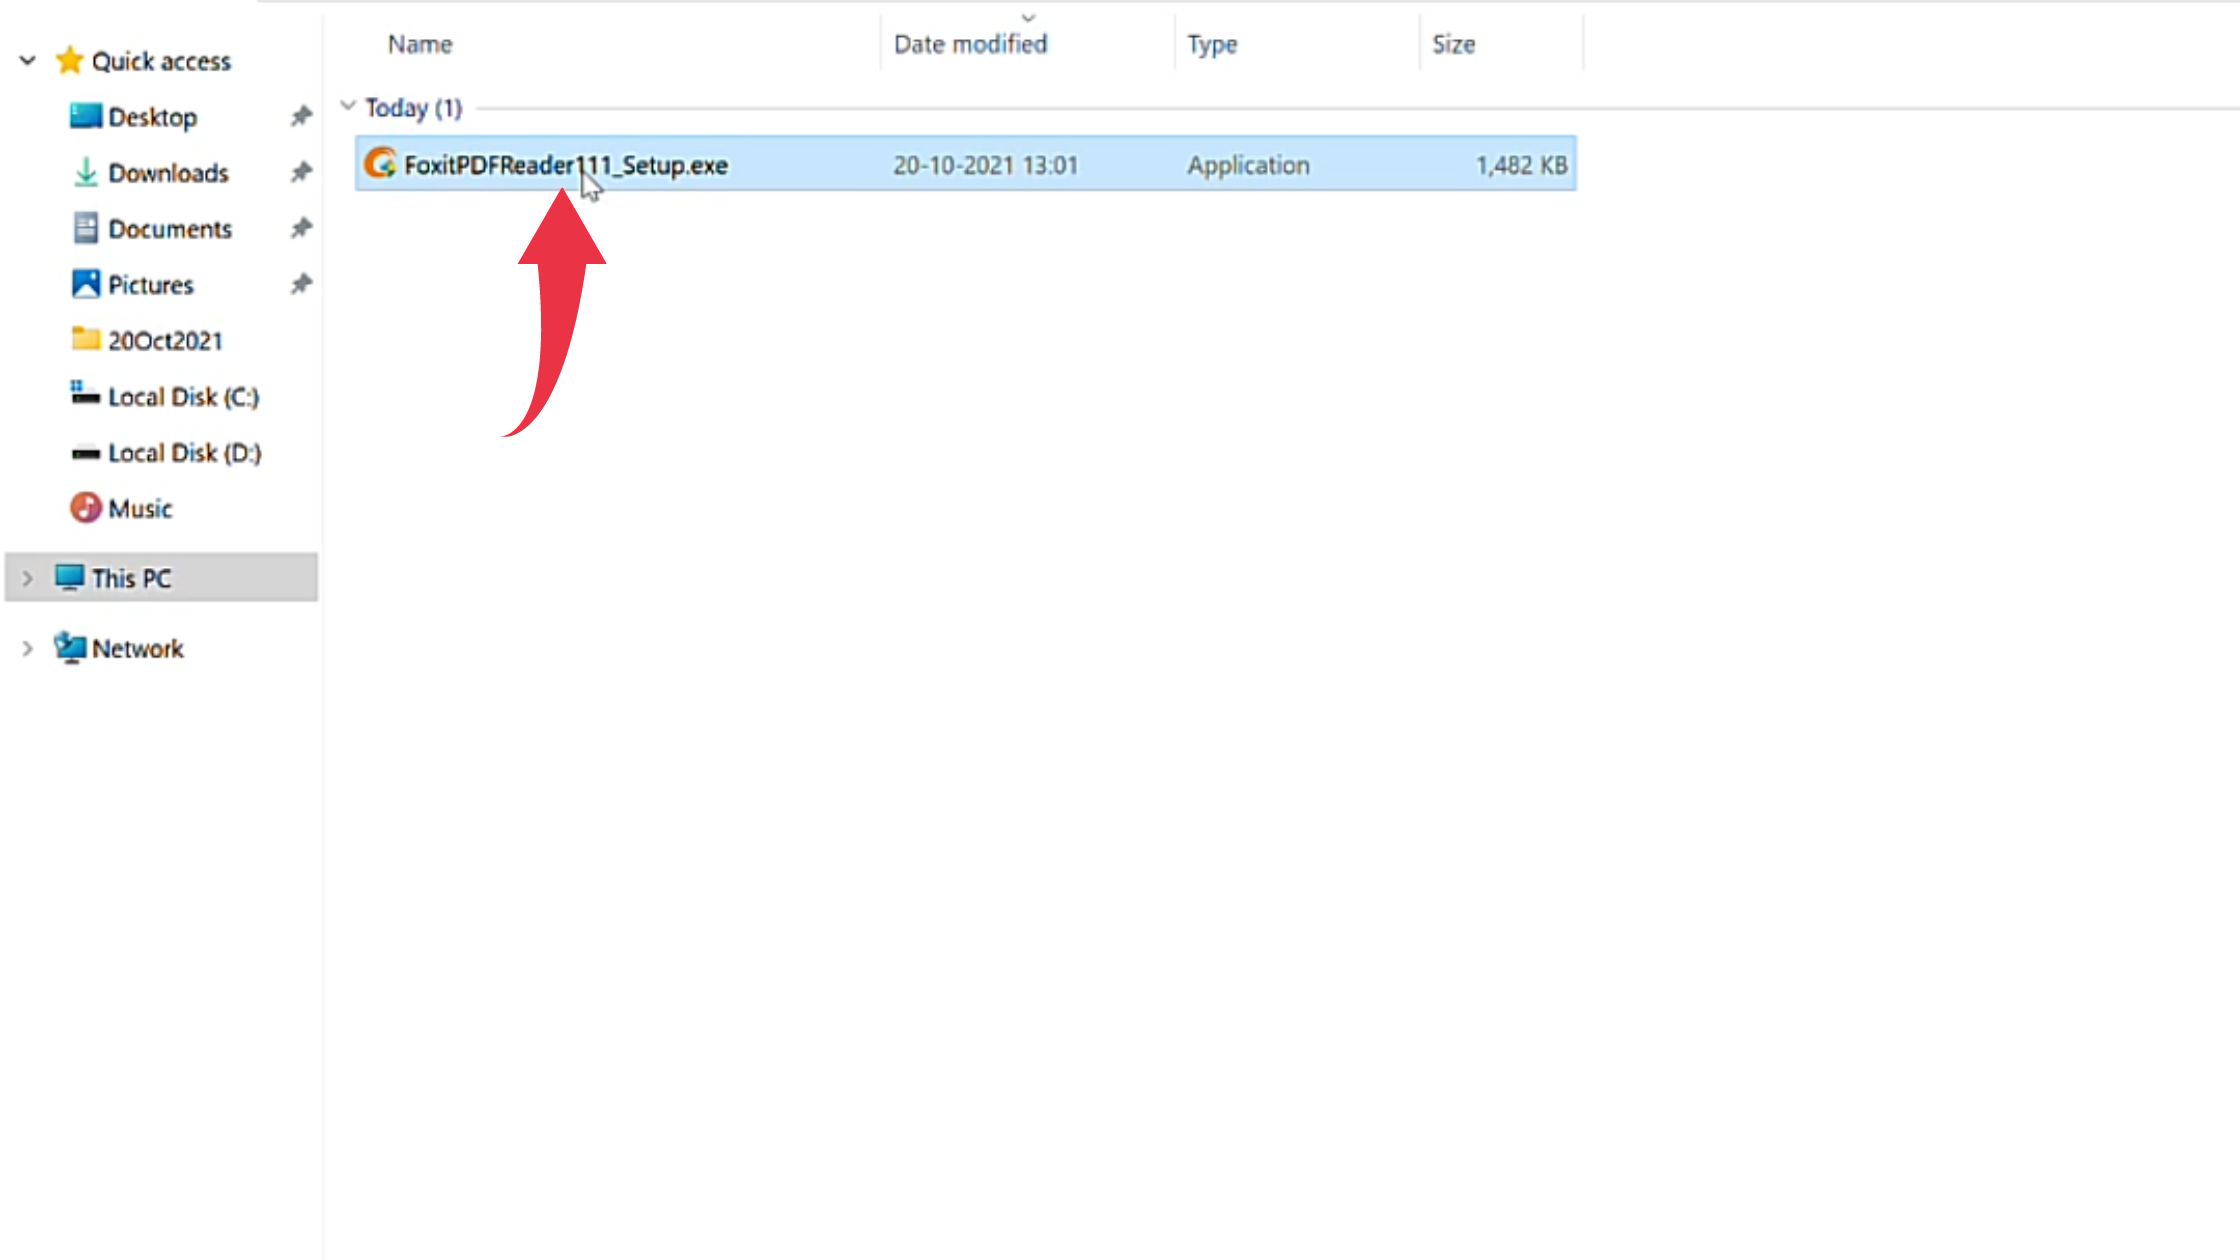
1) Once the download gets finished open the downloaded file in the folder where it has been downloaded. Double click, on the downloaded file, to start the installation window.
2) In the installation window, click on the Next button to continue the installation process.
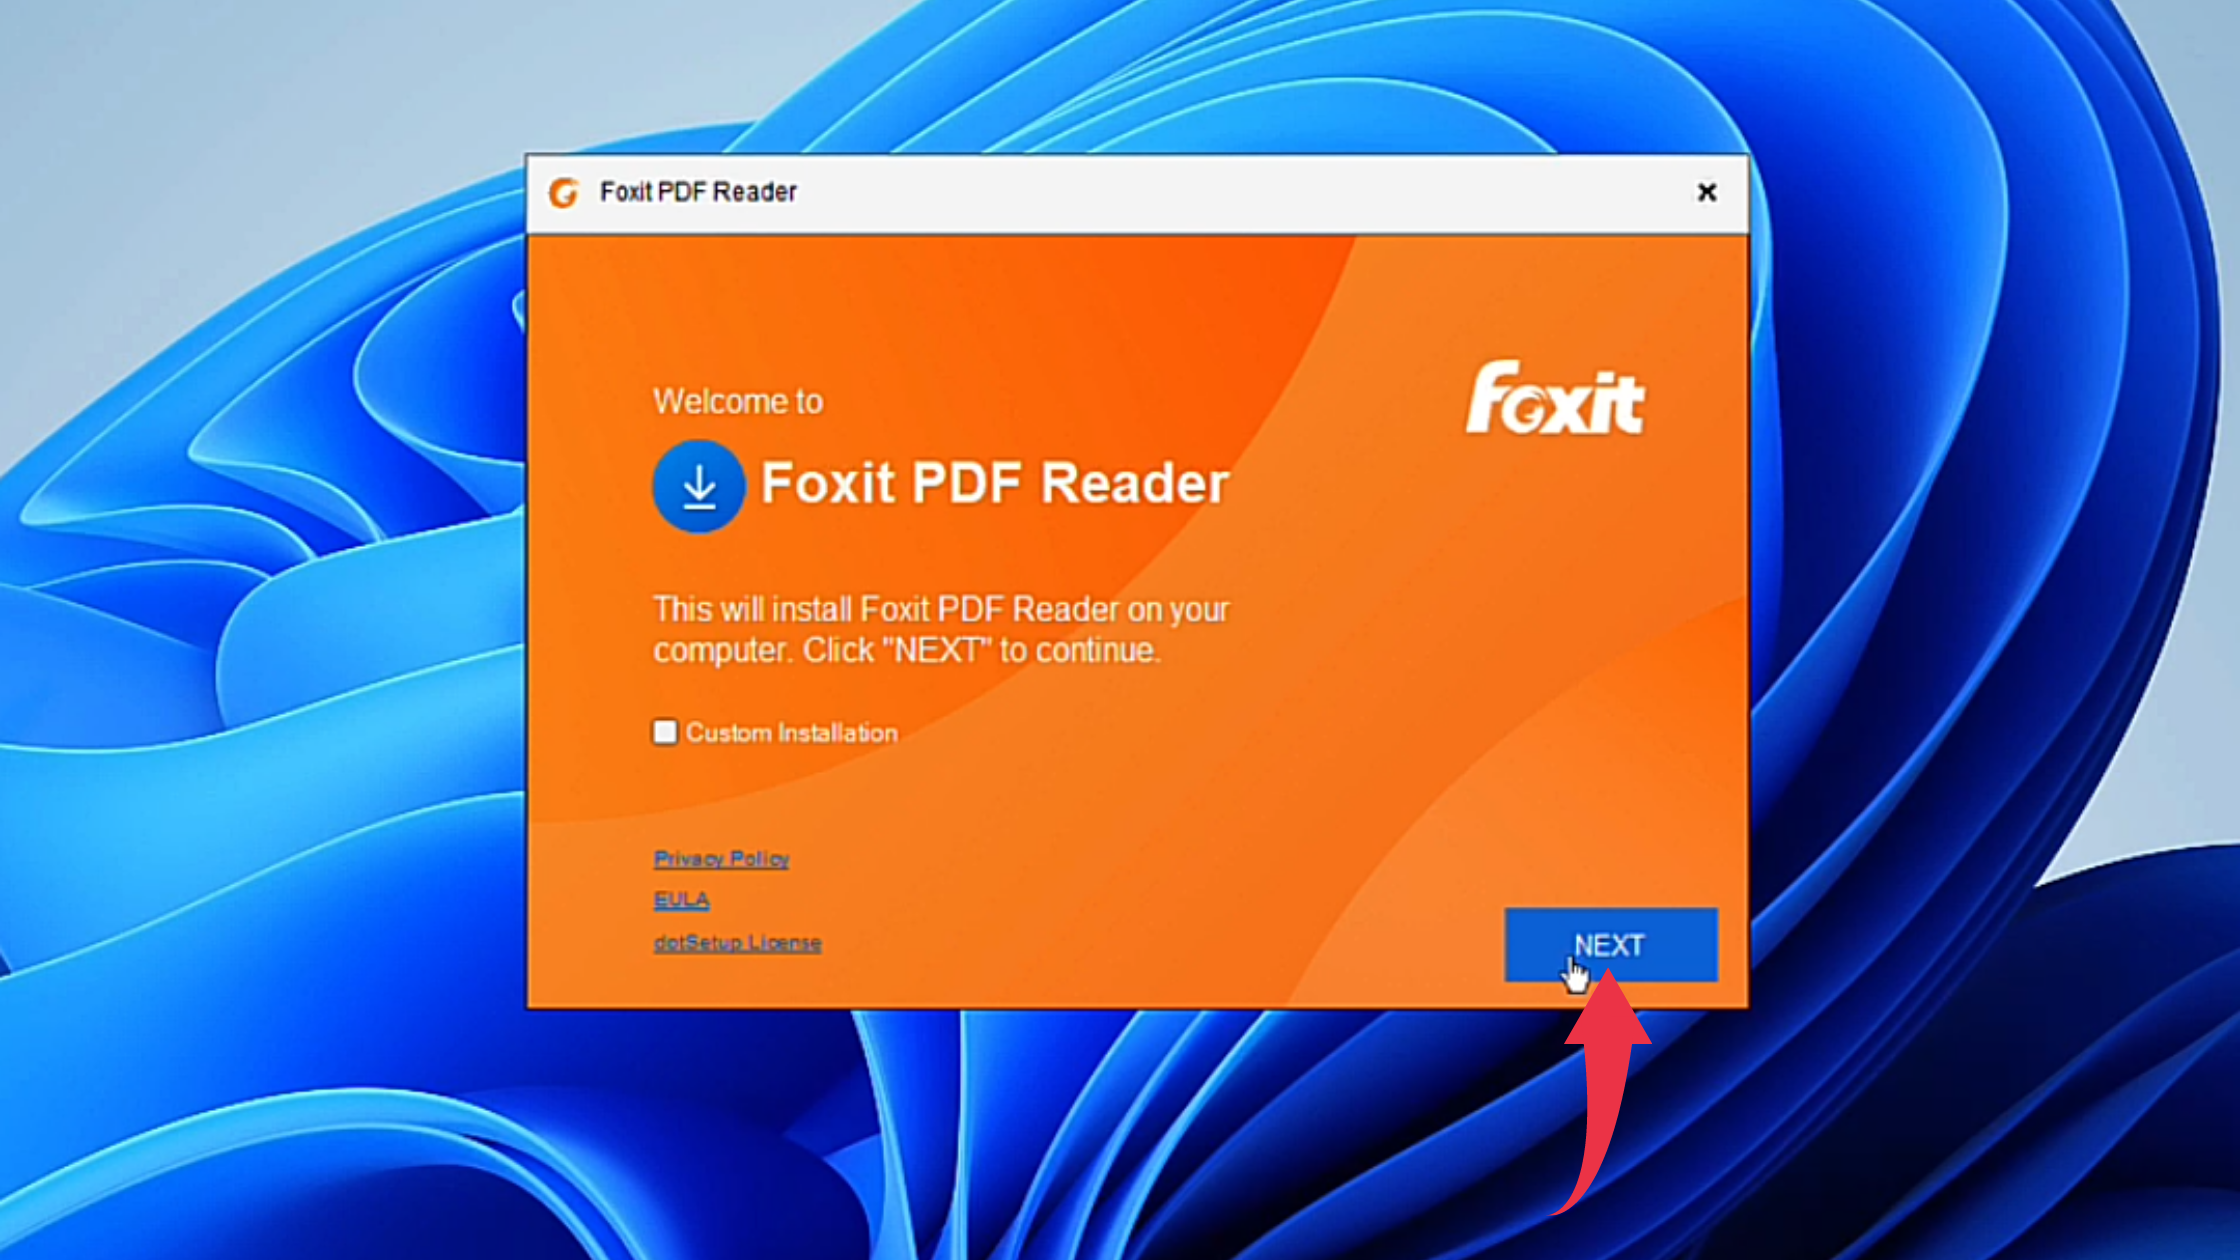
3) In the License Agreement window, simply click on the I Agree the button. Your installation will begin at this point so have some patience.

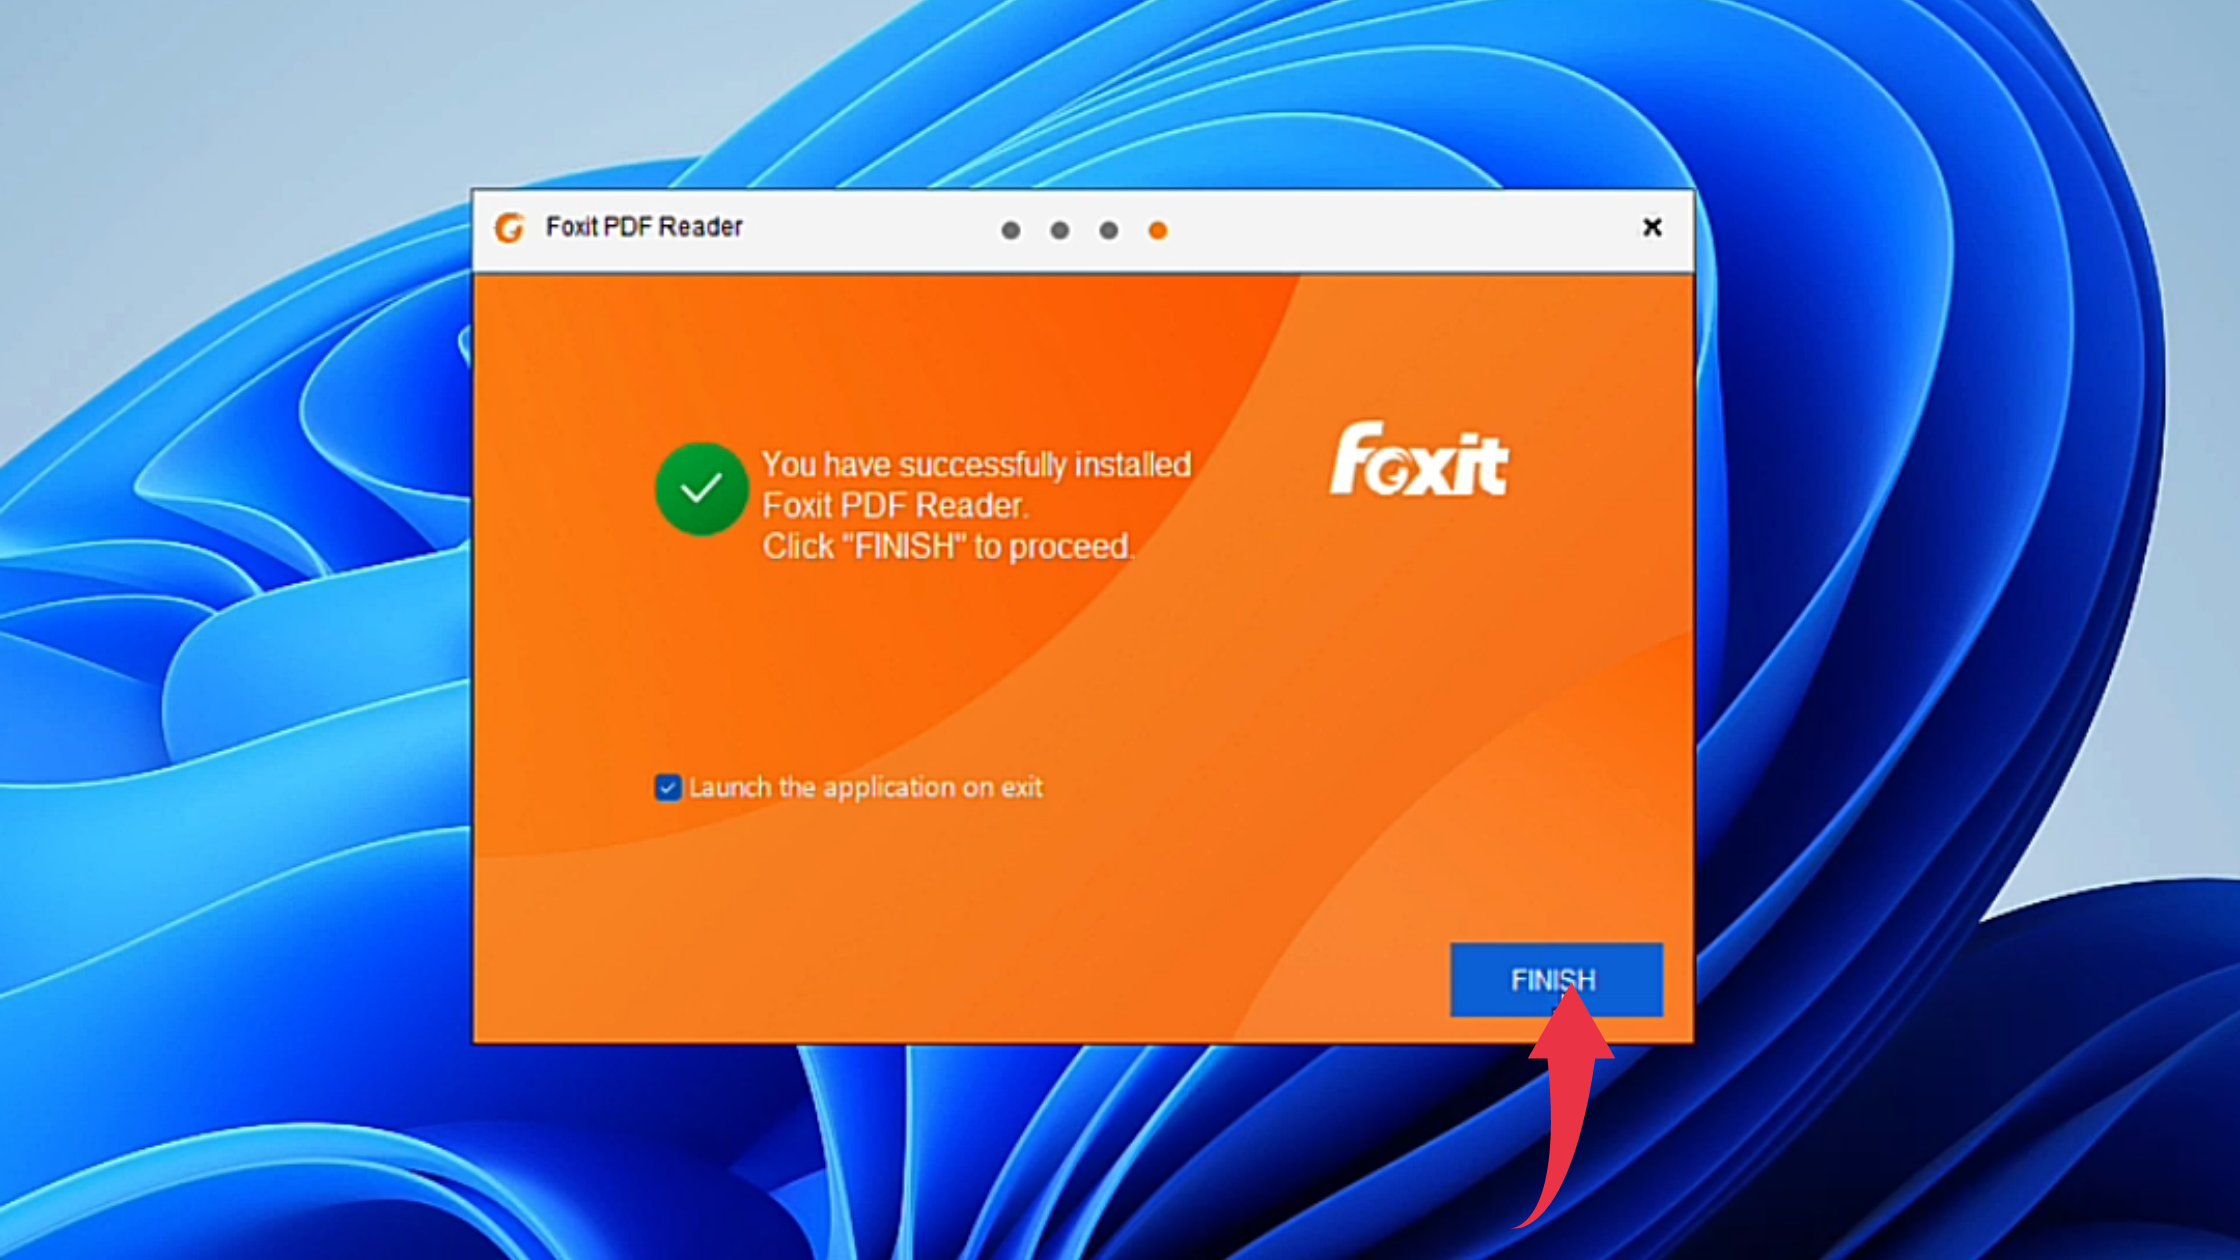
4) Once installation gets complete click on the Finish button.
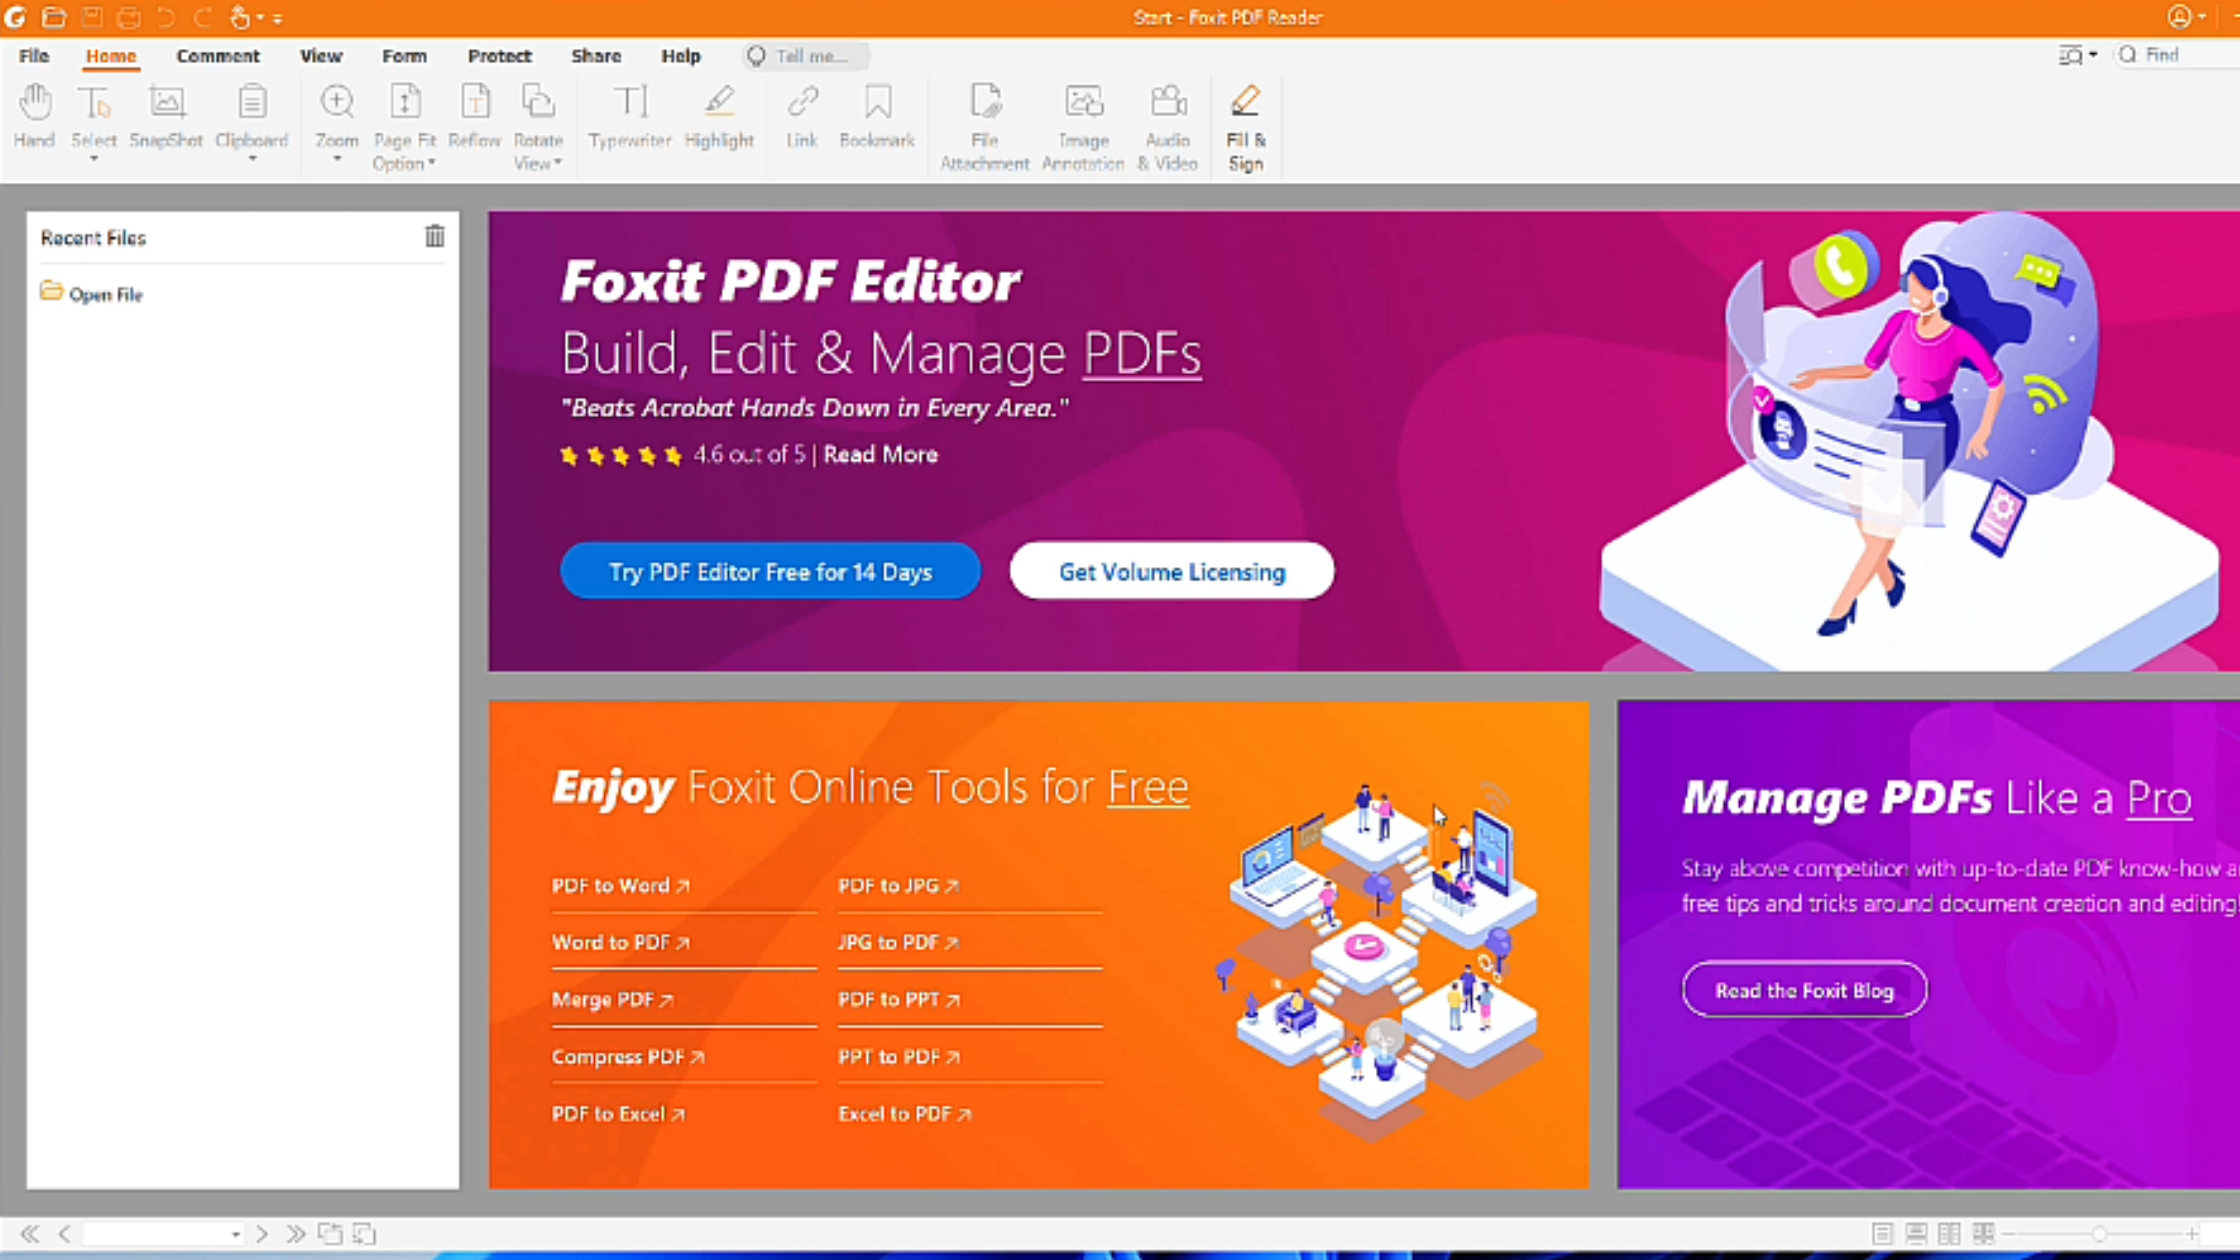
5) First glance of Foxit Reader, on your Windows 11 will look like the below image.
