How to install visual studio code in Mac OS Apple M1 VSCode
When it comes to programming the IDE you’re using plays a vital role. However, there are different IDE for different programming languages. But Visual Studio Code is one of the very few Code Editor where you can write and run programs for almost every language. So in this article let’s learn how to install VSCode on Mac M1.
Video Tutorial: How to Install visual studio code on Mac M1 Apple Silicon
If you’re finding it hard to install VSCode on Mac M1 then you can refer to the below video for a complete guide.
Step 1: Download & Install the Latest version of Visual Studio Code on Mac OS Apple Silicon
1) Firstly we’ll download the latest available version of Visual Studio Code. Follow the below-provided download link and you’ll be redirected to the official visual studio code downloads page. There click on the “Intel Chip” button if you’re a non-M1 user or click on “Apple Silicon” if you’re an M1 user and your download will start.
Download Visual Studio Code Here: https://code.visualstudio.com

2) Once the download gets finished open the downloaded vs code file in the folder where it has been downloaded. Double click on the downloaded vs code zip file to begin the expanding process.
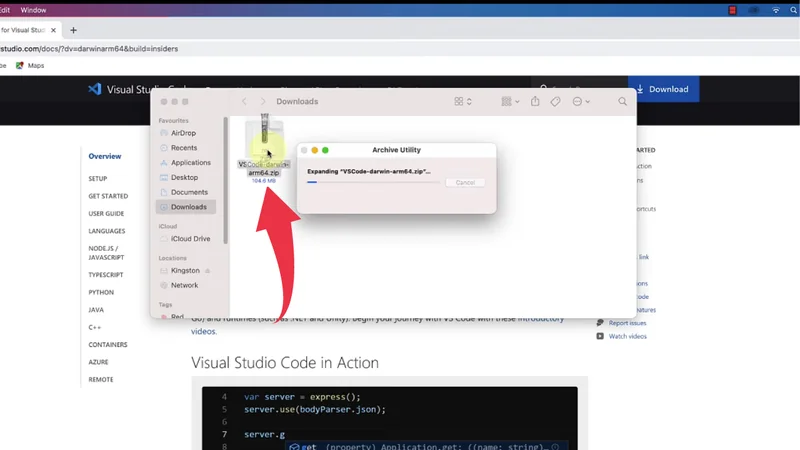
3) Once the file gets expanded, drag the newly expanded visual studio code to the applications folder.

4) Now you’ve successfully installed Visual Studio Code on your Mac machine, to open it simply press “Cmd+space“, type visual studio code and press enter.