How to install node.js in mac os
Node.js is a very great back-end development framework. Also working on Nodejs is pretty fun, but the main part is its initial installation. So in this article let’s learn how to install Node.js in mac machine easily.
Step 1: Download the latest version of Node.js
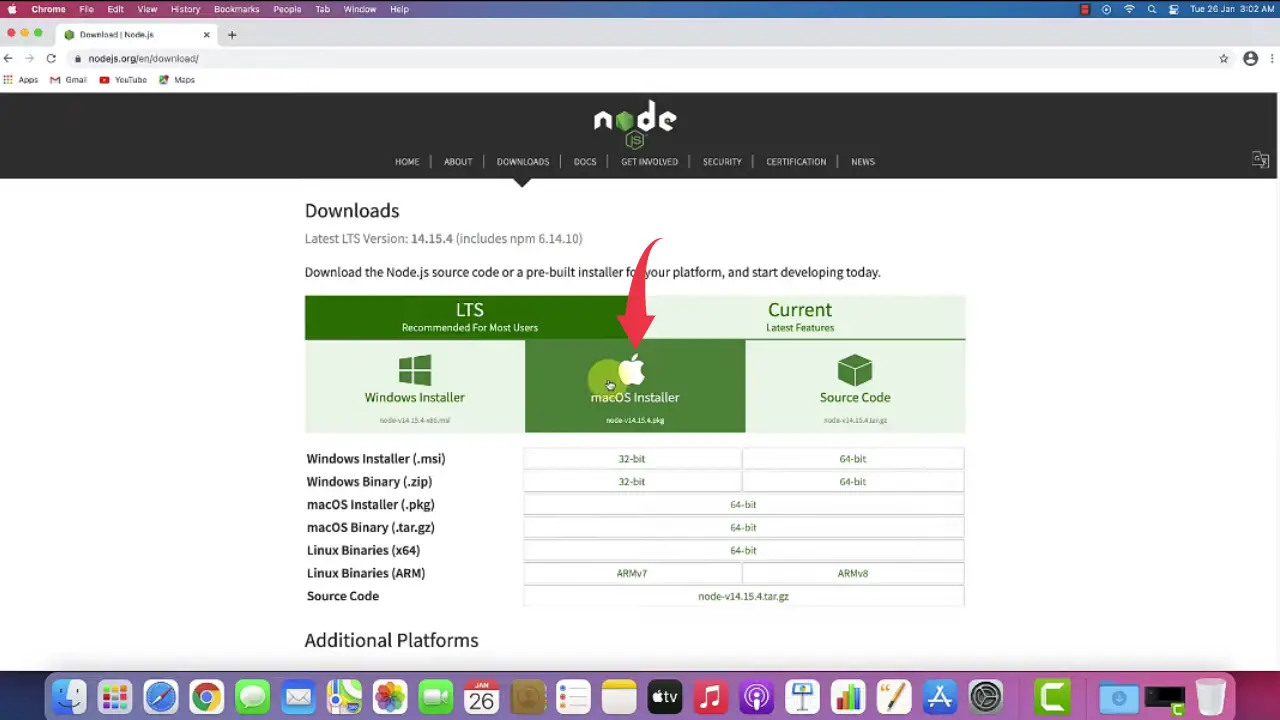
1) Firstly we’ll have to download the latest version of Nodejs available on the internet. Follow the below-provided download link and you’ll be redirected to the official Nodejs downloads page. Now simply click on the “Mac Installer” button and your download will start.
Download Nodejs Here: https://nodejs.org/en/download/
Step 2: Install Node.js
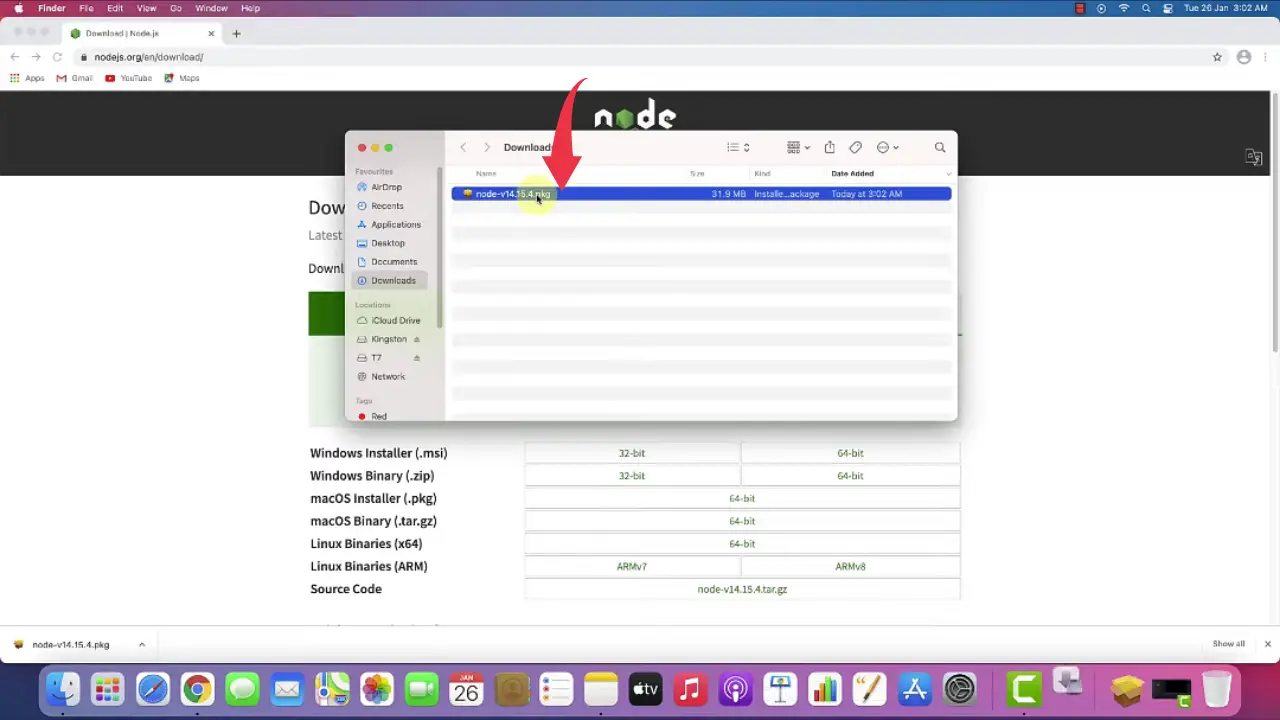
2) After the downloads get finished open it in the folder where it has been downloaded and simply double click on the downloaded file to start the Nodejs installation wizard.
3) In the Introduction window of Nodejs installation wizard click next to continue the installation process.
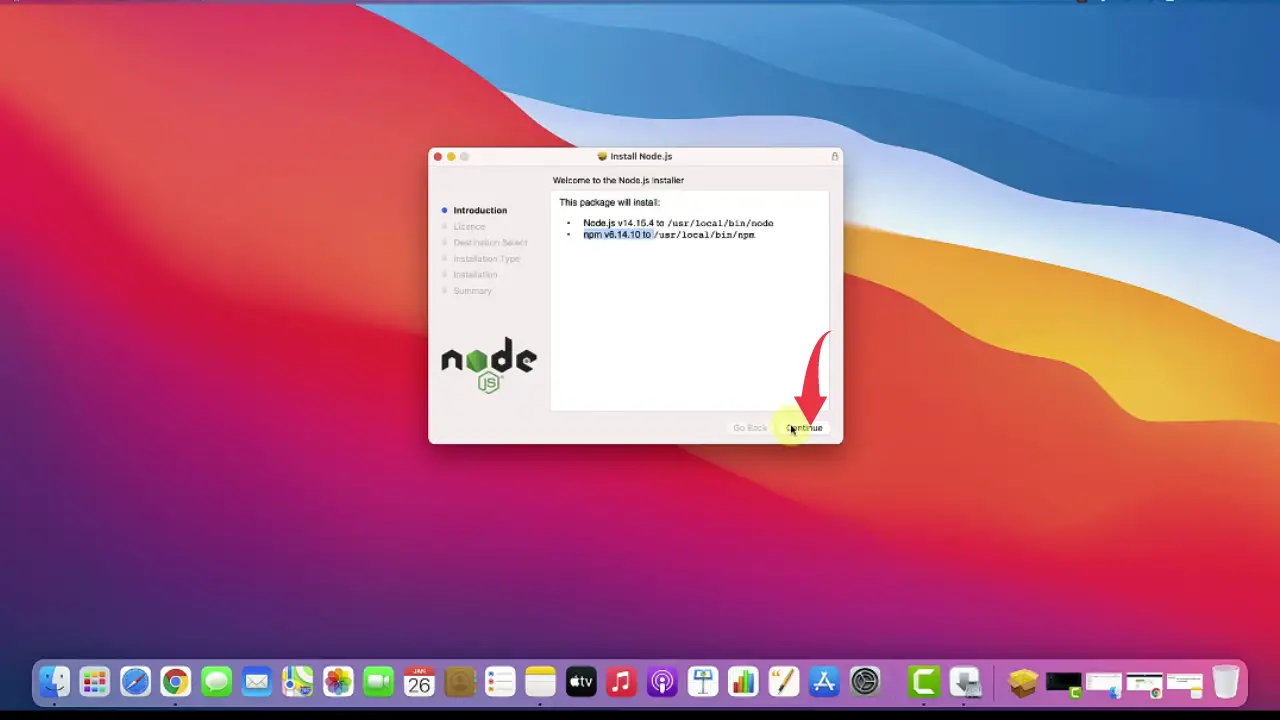
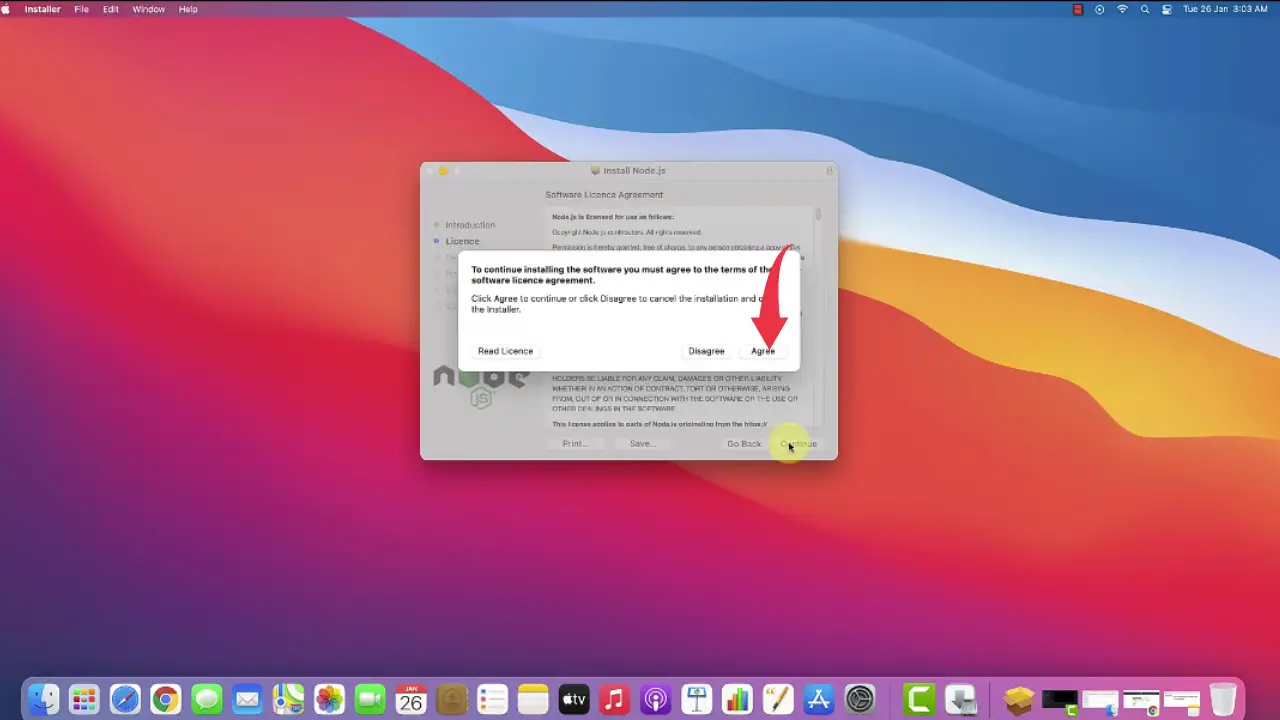
4) Next you’ll have to accept the license agreement for Nodejs installation, simply click on the agree to button.
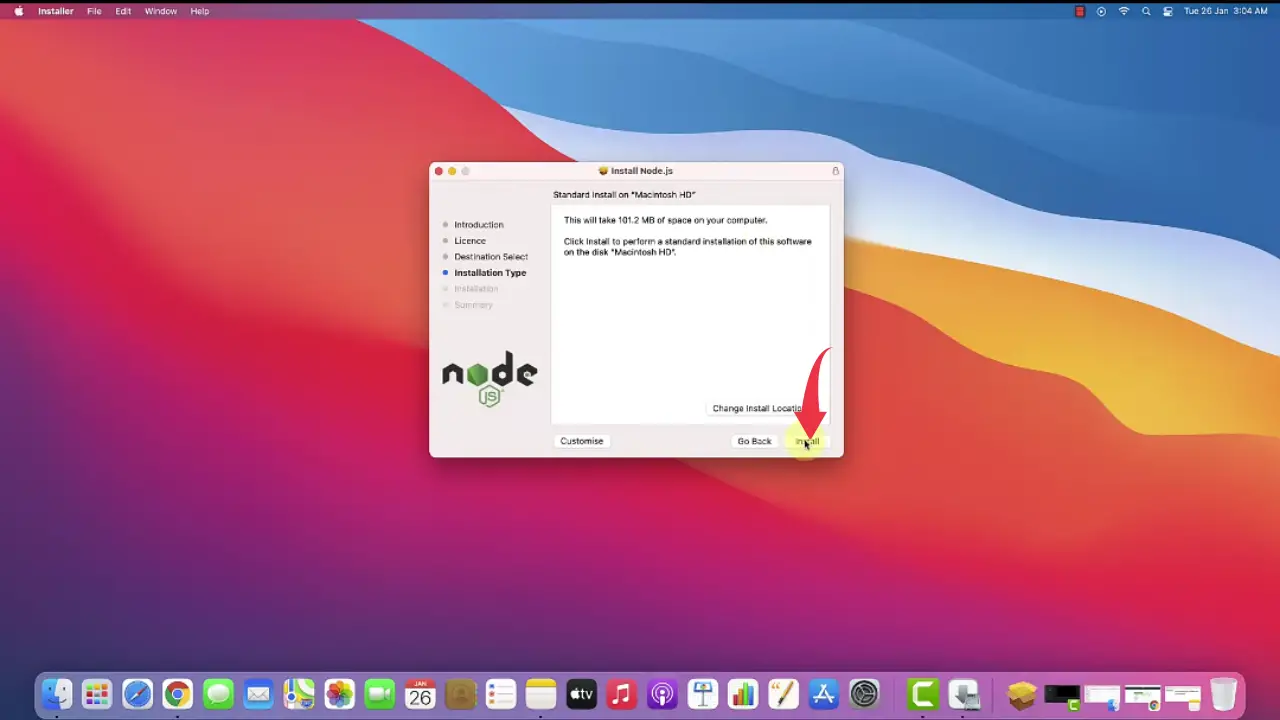
5) In this final step make sure you have 102Mb of free disk space available, click on the install button, if asked enter your Mac password and your installation of Nodejs will start.
6) Once installation gets finished click on the close button.
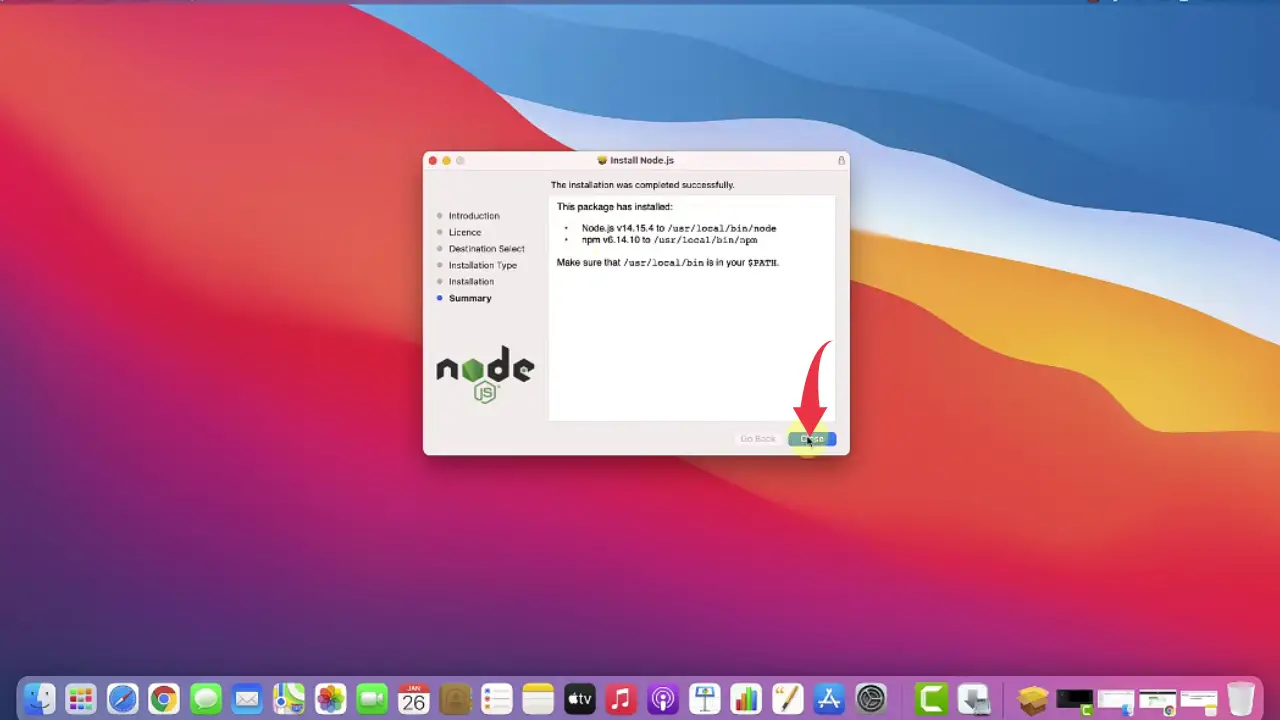
Step 3: Verify Node.js & NPM Version
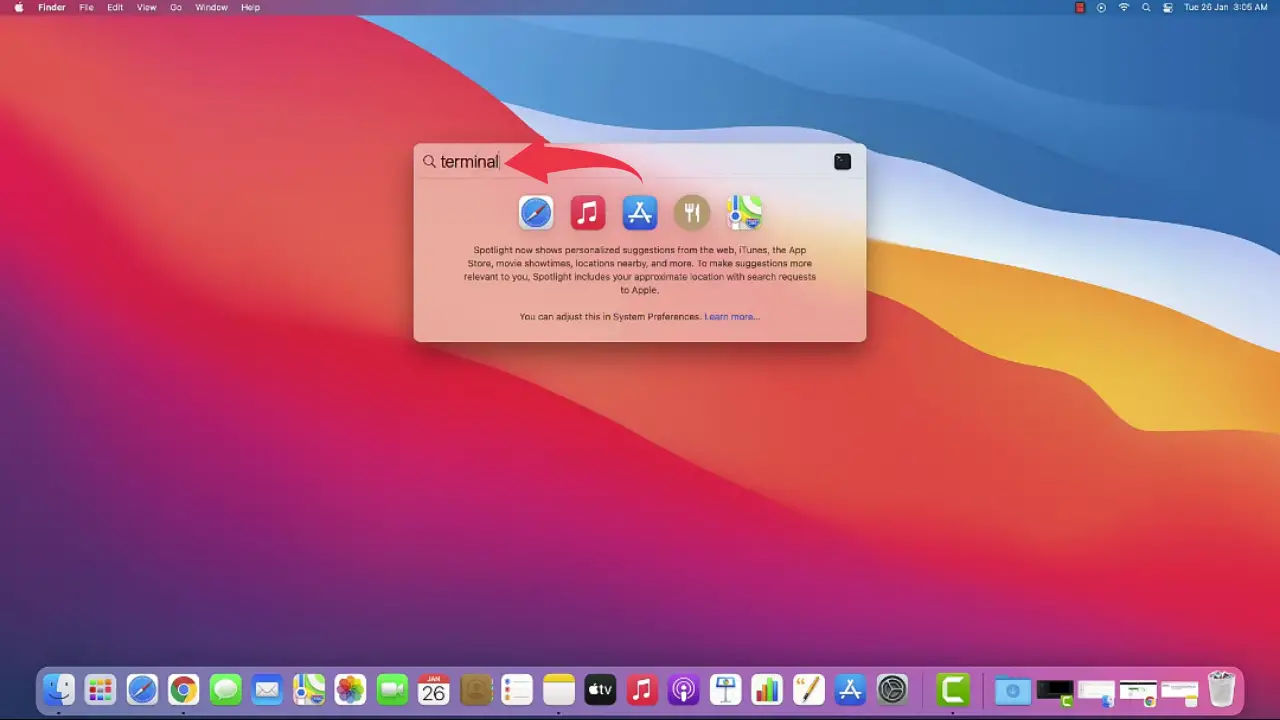
1) Open Up your terminal by pressing “cmd+space”, type “terminal” in the search bar and press enter.
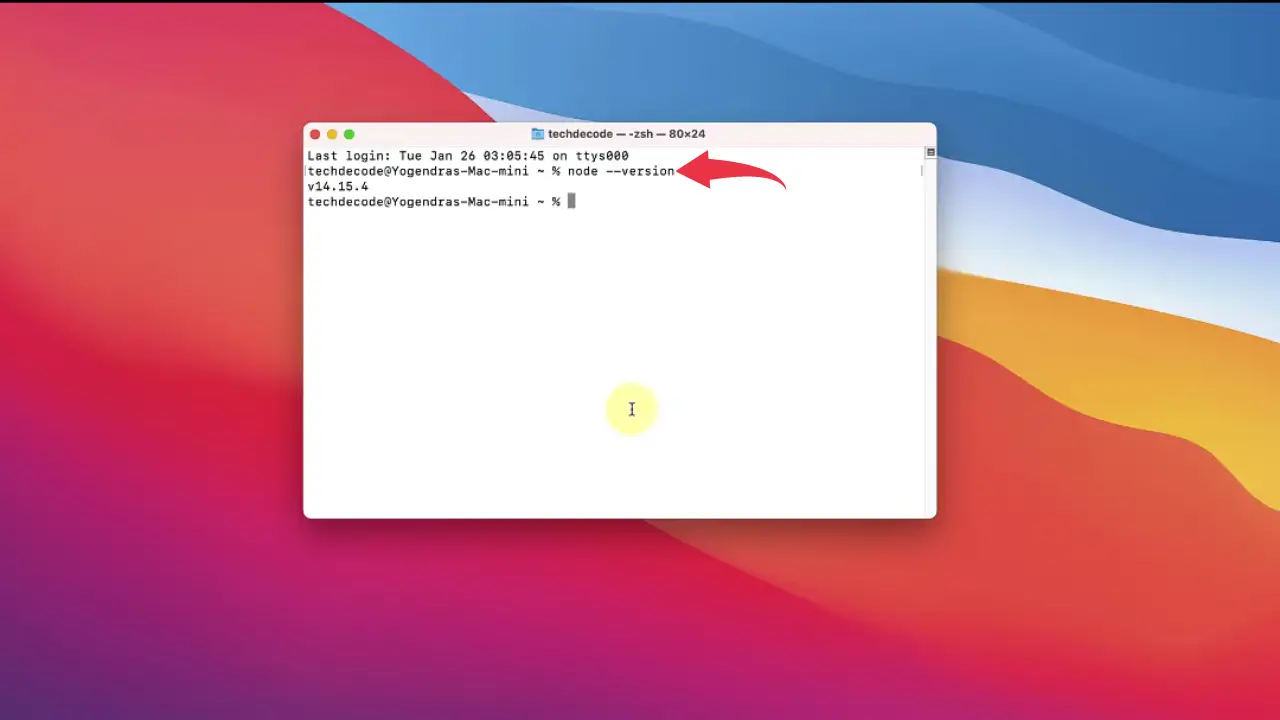
2) In the terminal type
node --version
and press return to check the installed version of Node.js
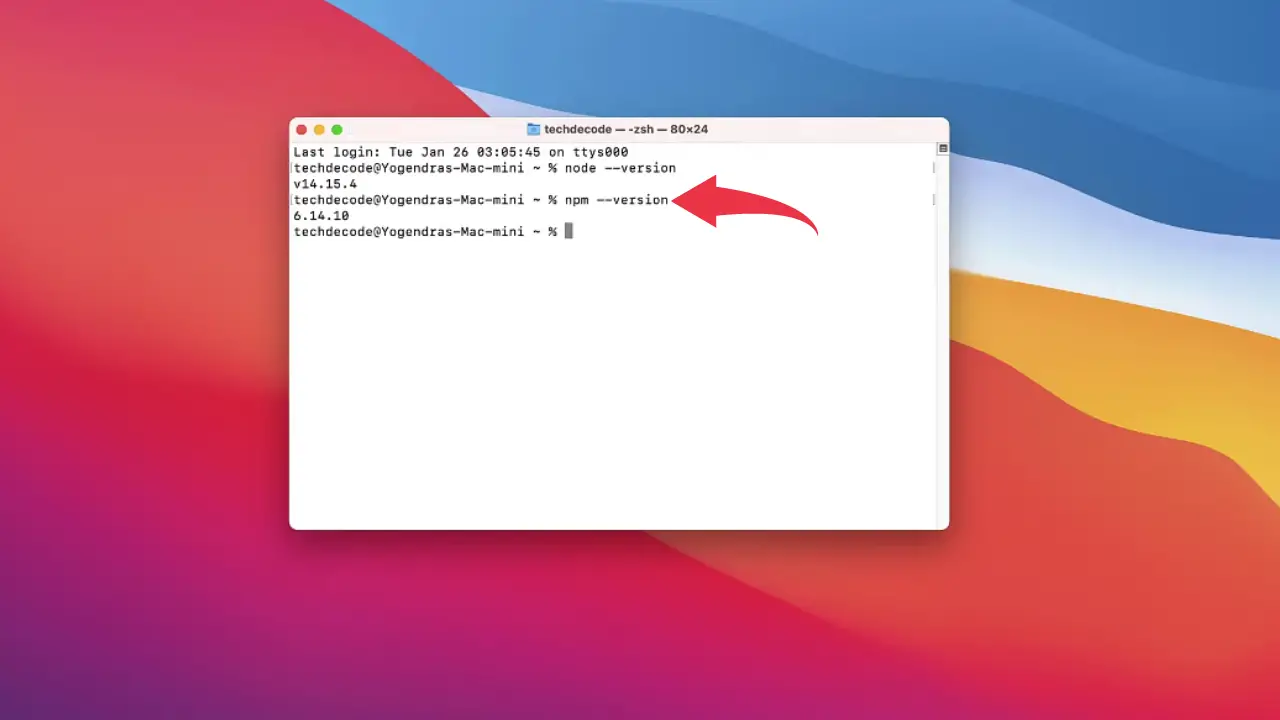
3) Again in the terminal type
npm --version
and press return to check the installed version of Node Package Manager (NPM).
Video Tutorial: How to Install Node.js in Mac
If you’re still finding it hard installing Nodejs on your Mac OS then you can refer to the below video for a complete guide.
Congrats 🎉🎉 you’ve successfully installed Nodejs on your Mac machine.

