How To Install IDM On Windows 11
When downloading a large file, many of the times our downloads get interrupted. This can happen due to various sorts of reasons. Slow internet speed, power failure, or server-side failure are some of the most common reasons behind interrupted downloads. And if your day involves, downloading a lot, then you might face these issues more often than others. So having a dedicated download manager can surely help you out. We’ll there are different download managers you can use. But if you’re using a Windows machine, then IDM is the best option for you. Well today, we are going to find out how to install IDM On Windows 11.
Video Tutorial: How To Install IDM On Windows 11
Also Read: How To Install Canva On Windows 11
Step 1: Download IDM
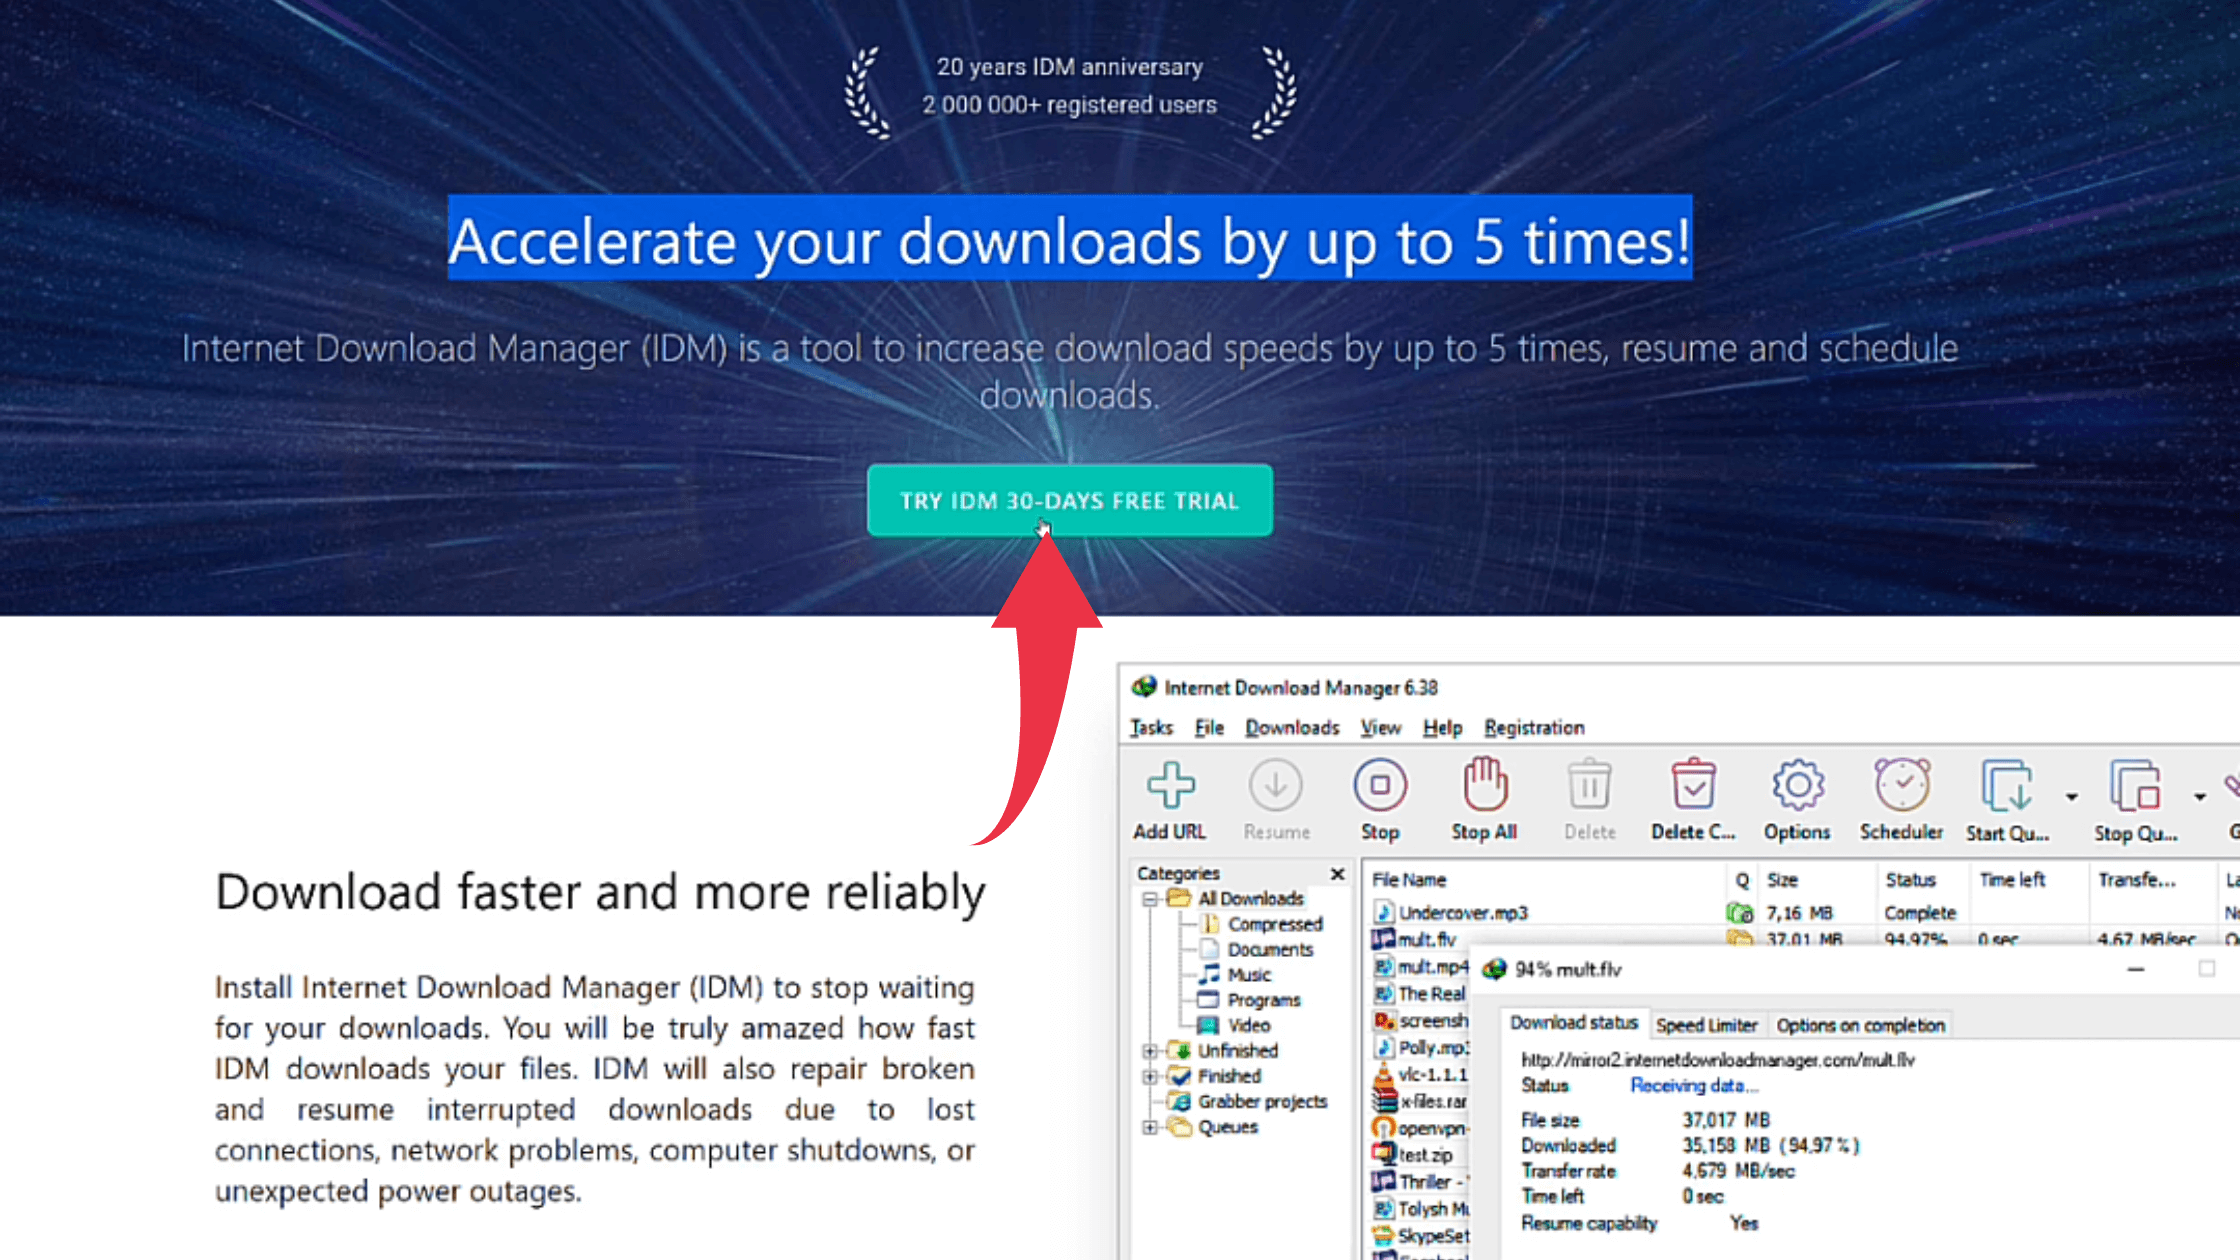
1) Firstly we will download Internet Download Manager, for our windows 11 machine. Follow the download link provided below and click on the TRY IDM 30-DAYS FREE TRIAL button.
Download IDM Here: https://www.internetdownloadmanager.com/
Step 2: Install IDM On Windows 11
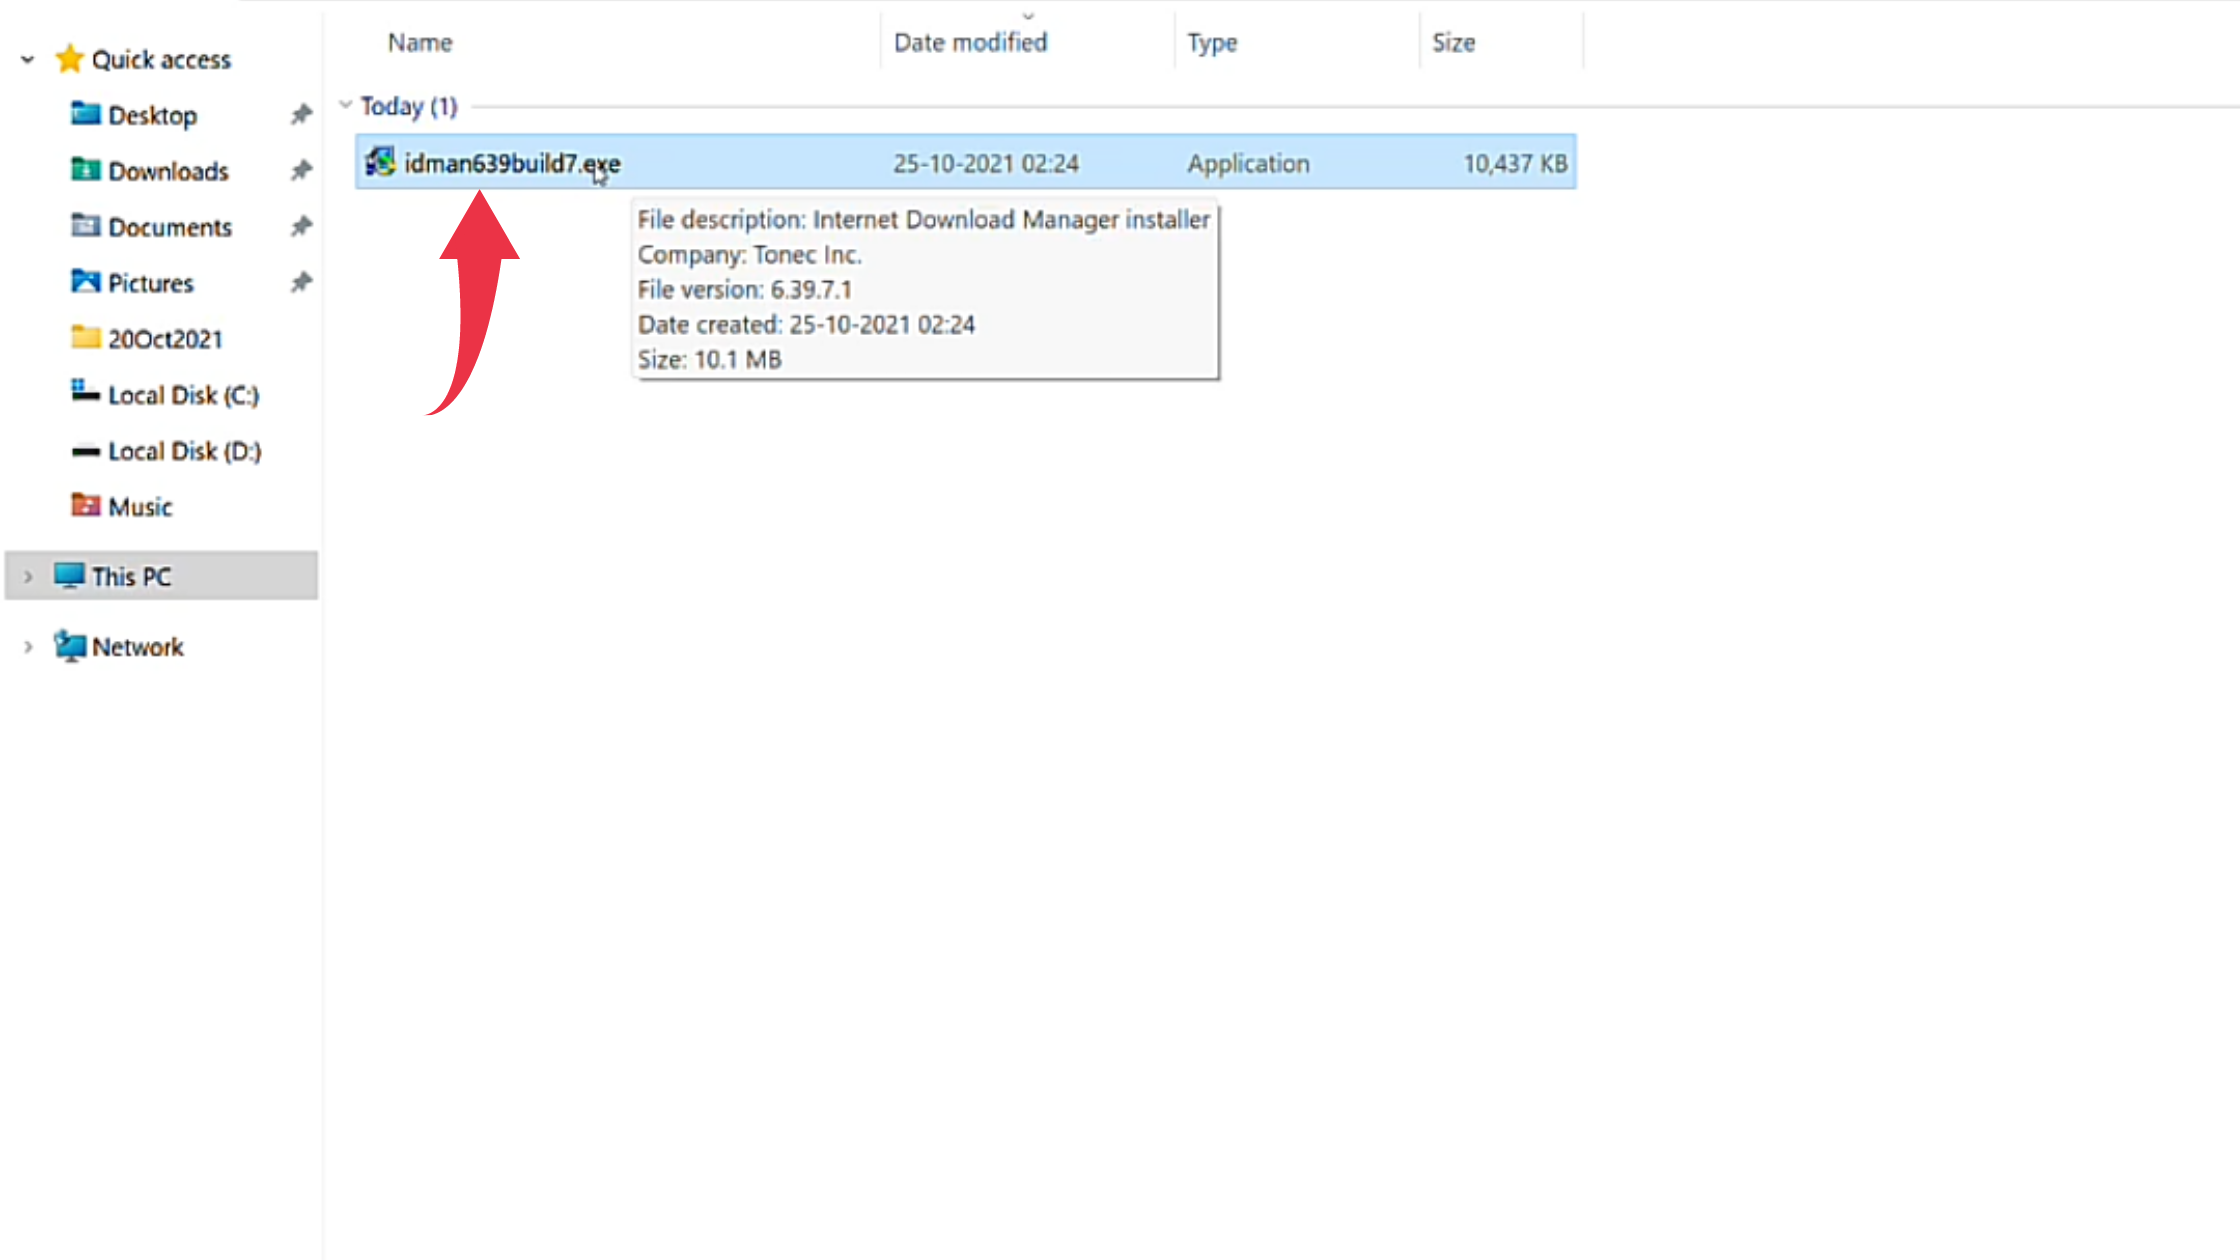
1) Once the download gets finished open the downloaded file in the folder where it has been downloaded. Double click, on the downloaded file, to start the Installation Wizard.
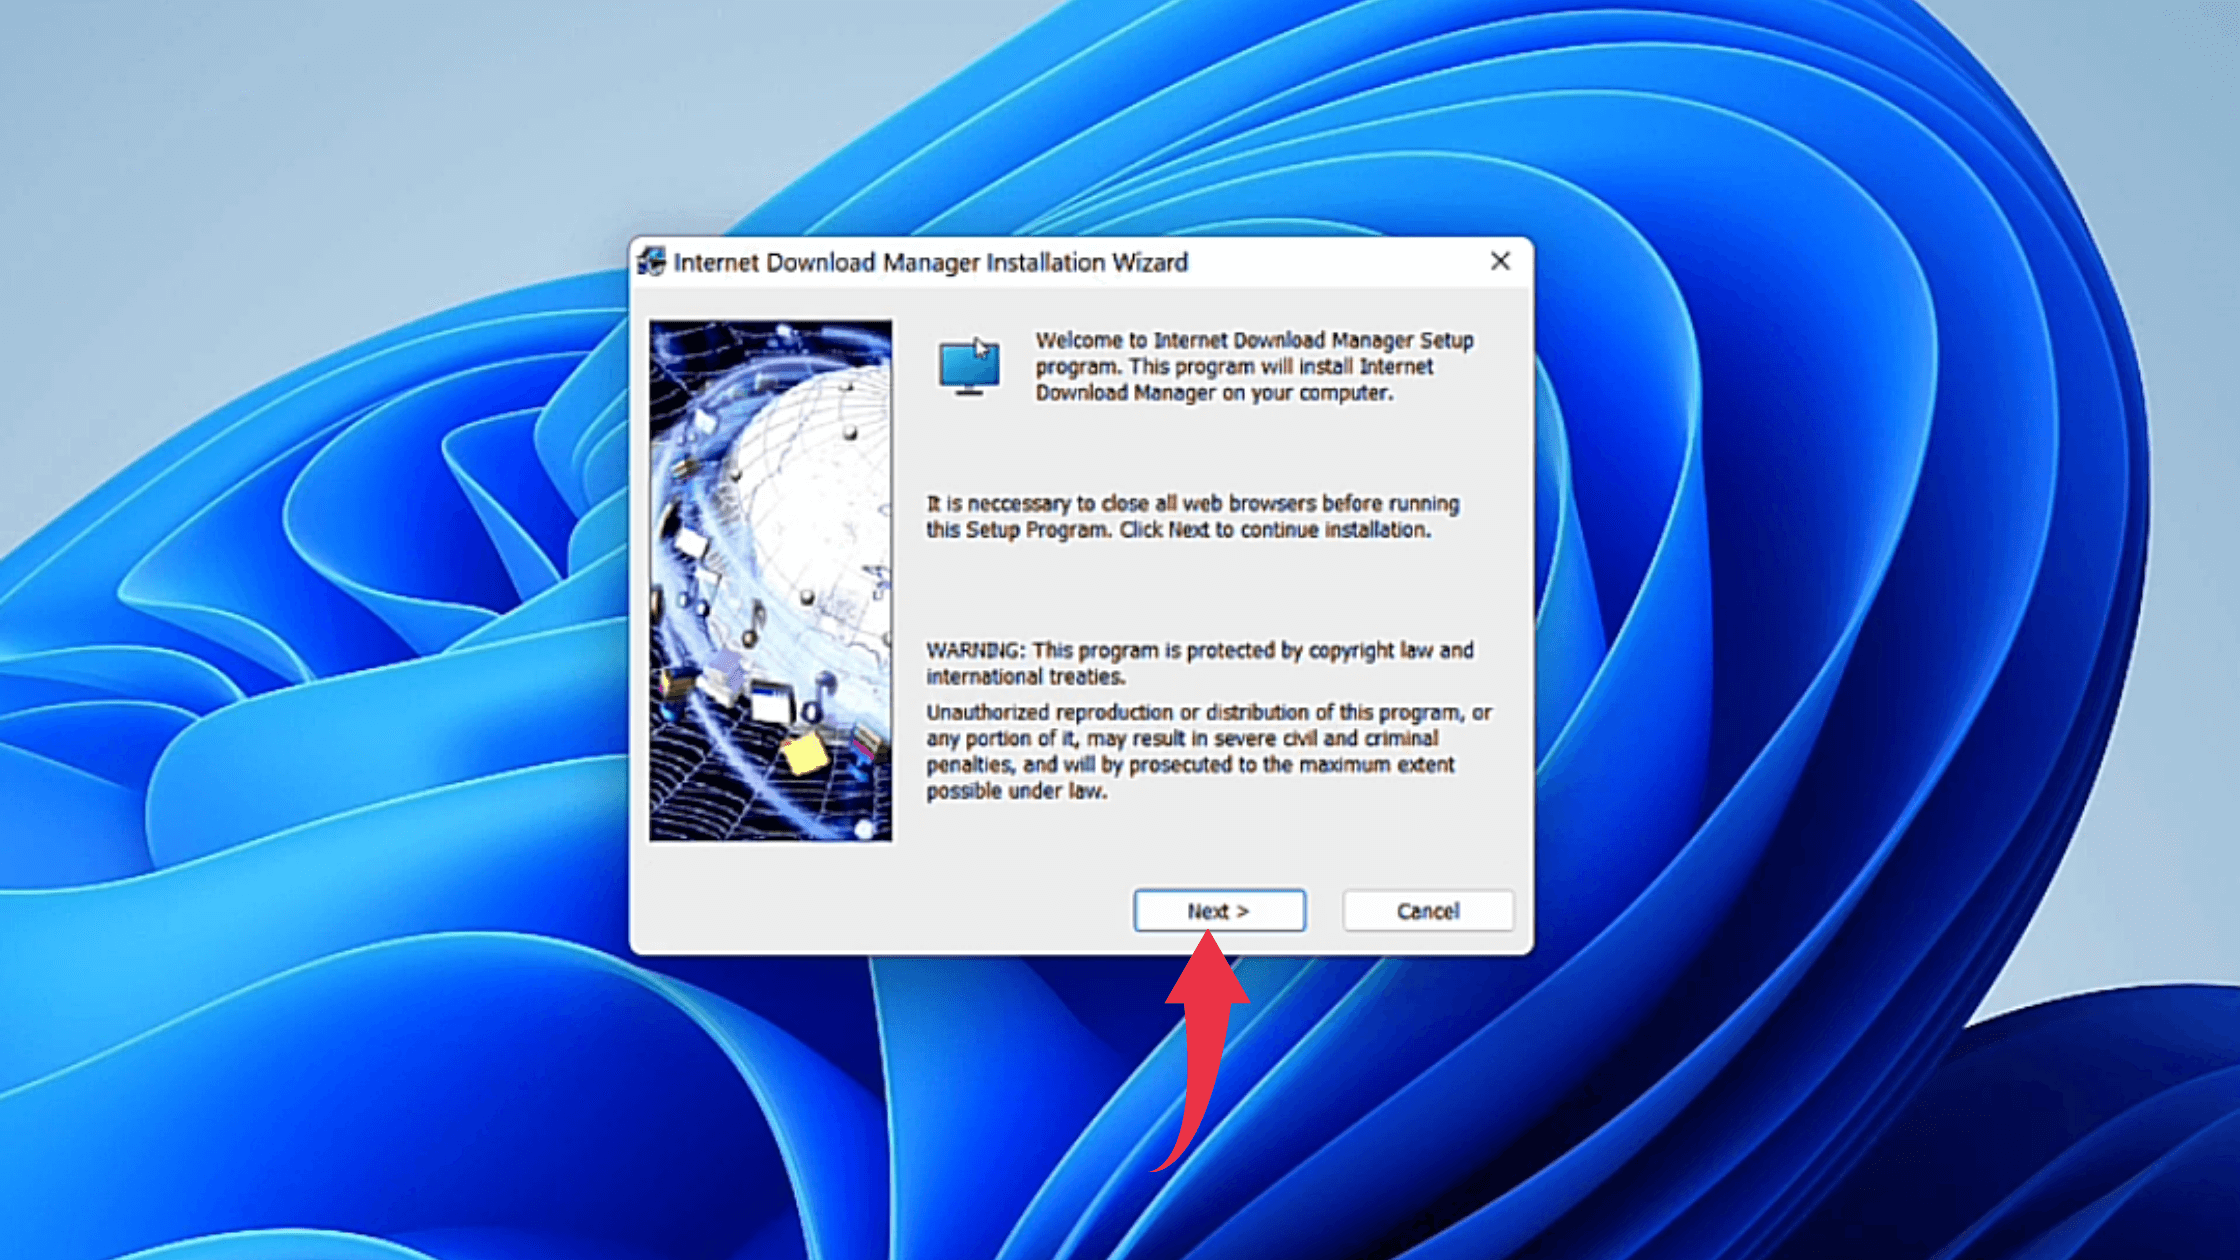
2) In the Installation Wizard’s welcome screen, click on the Next button.
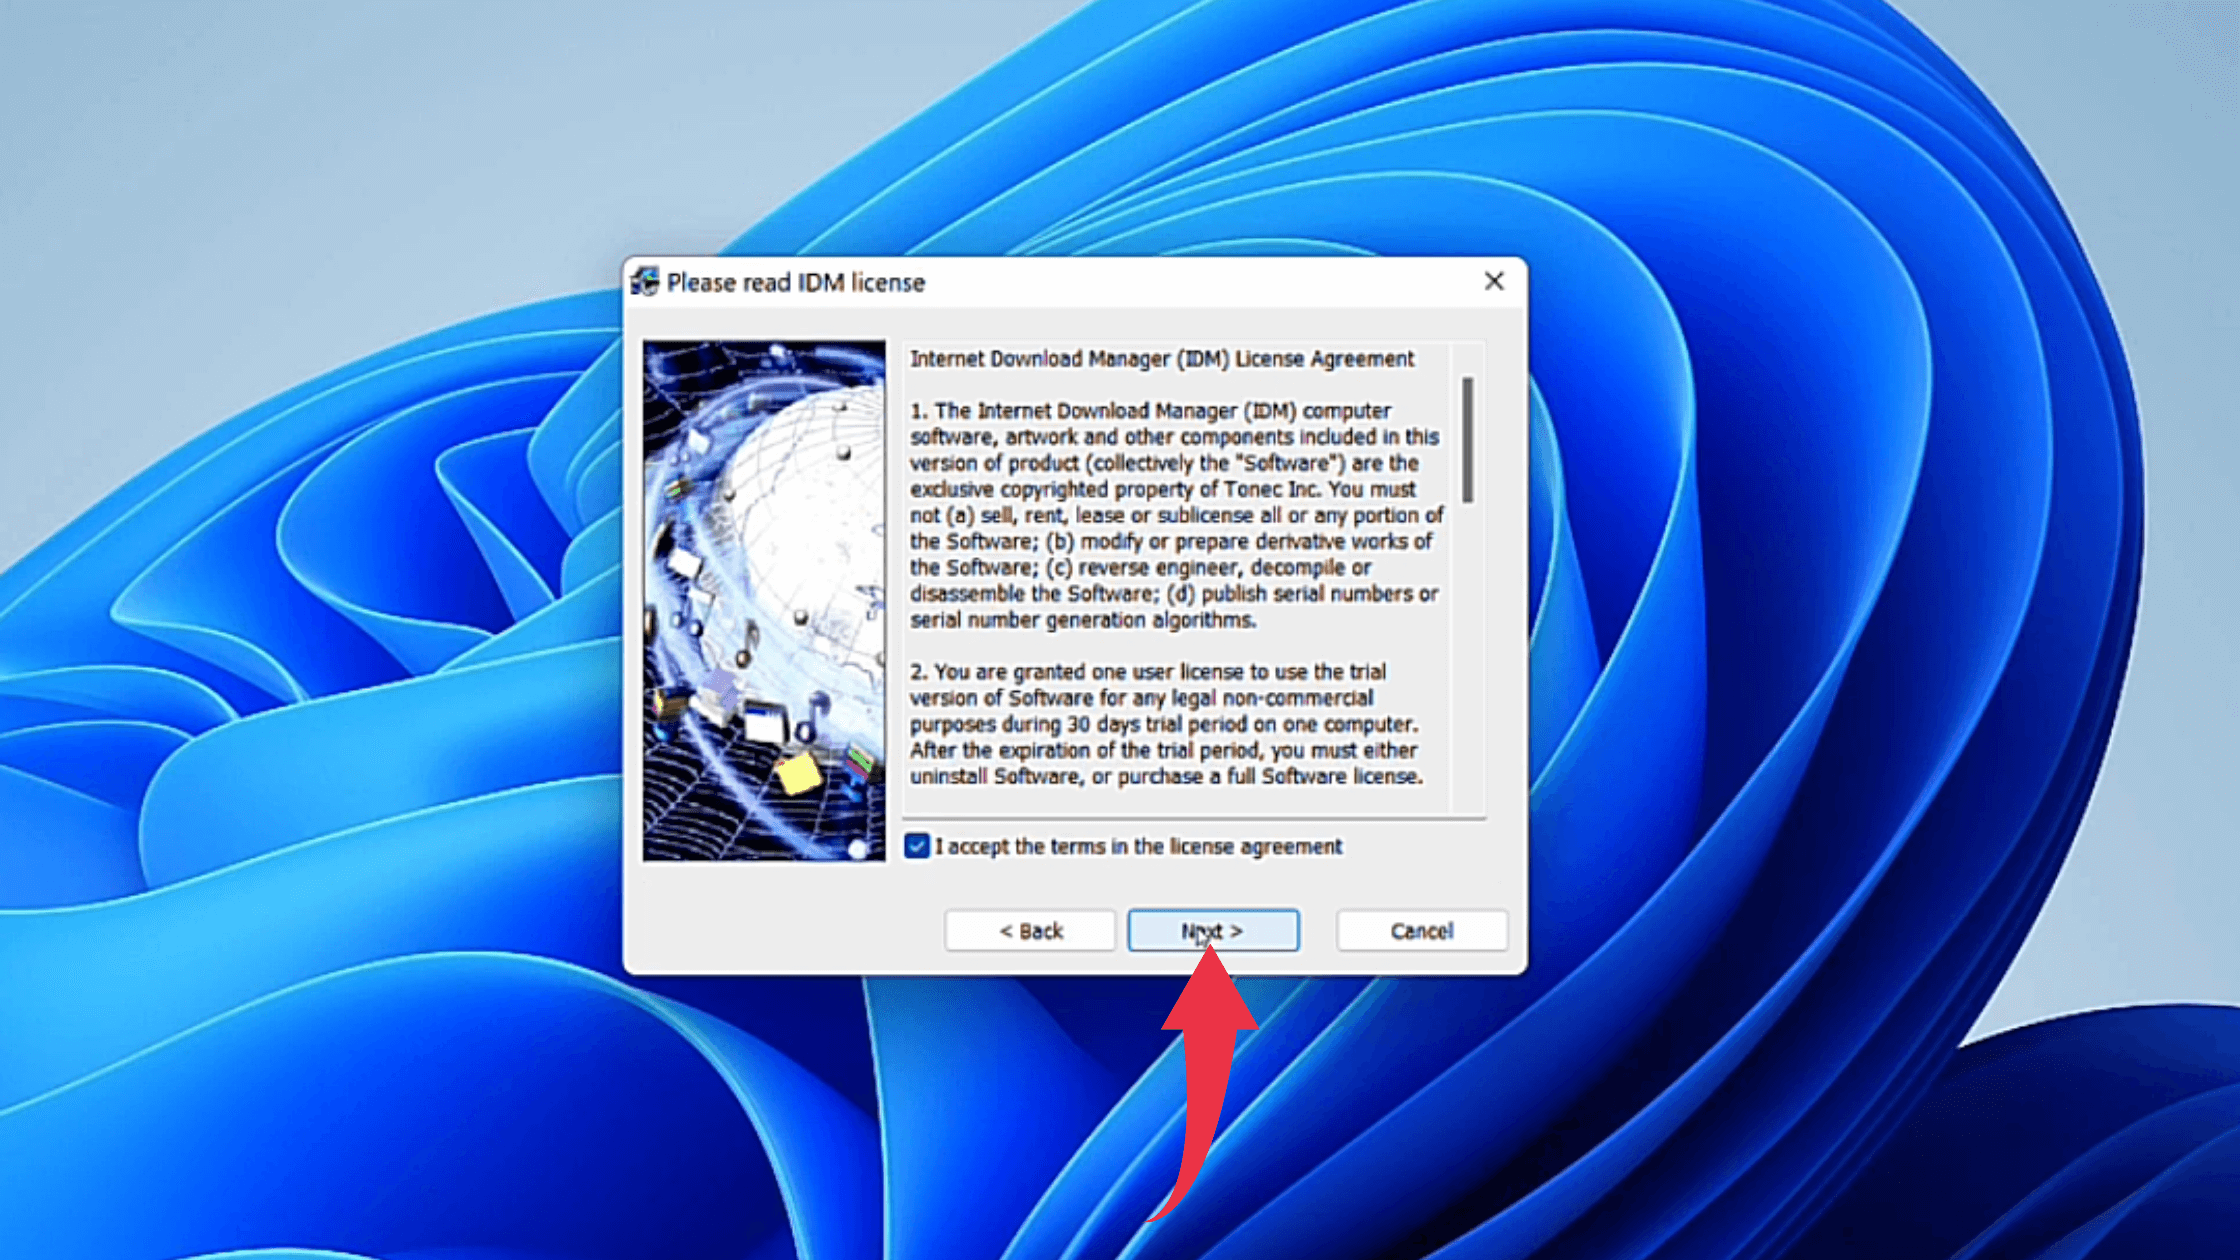
3) In the license agreement window, tick, I accept terms in the license agreement checkbox and click on the Next button.
4) Same in the choose destination location window, click on the Next button.
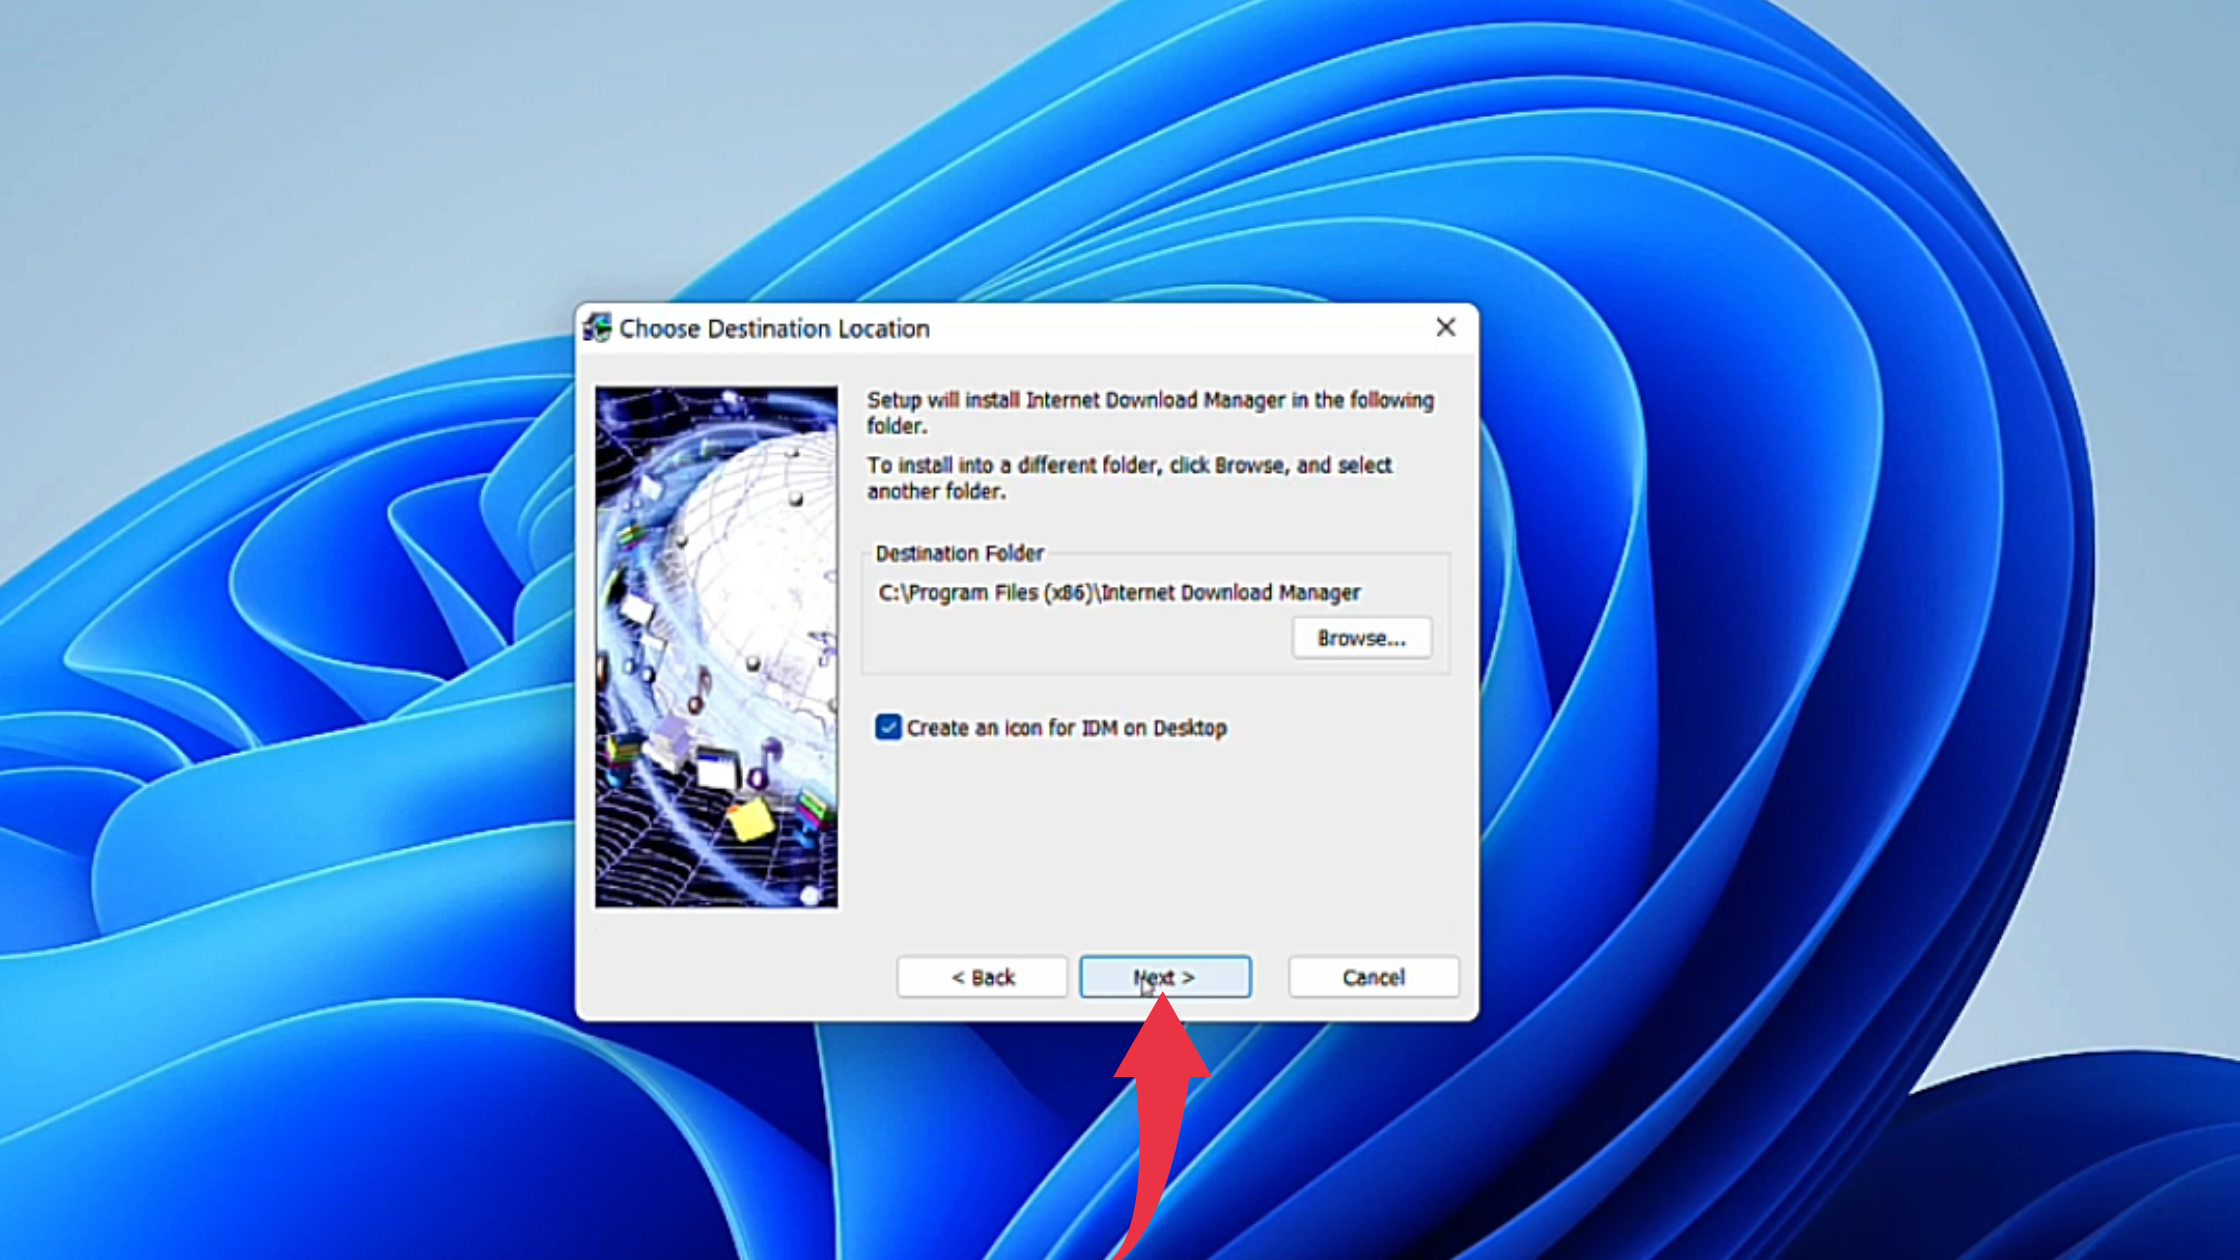
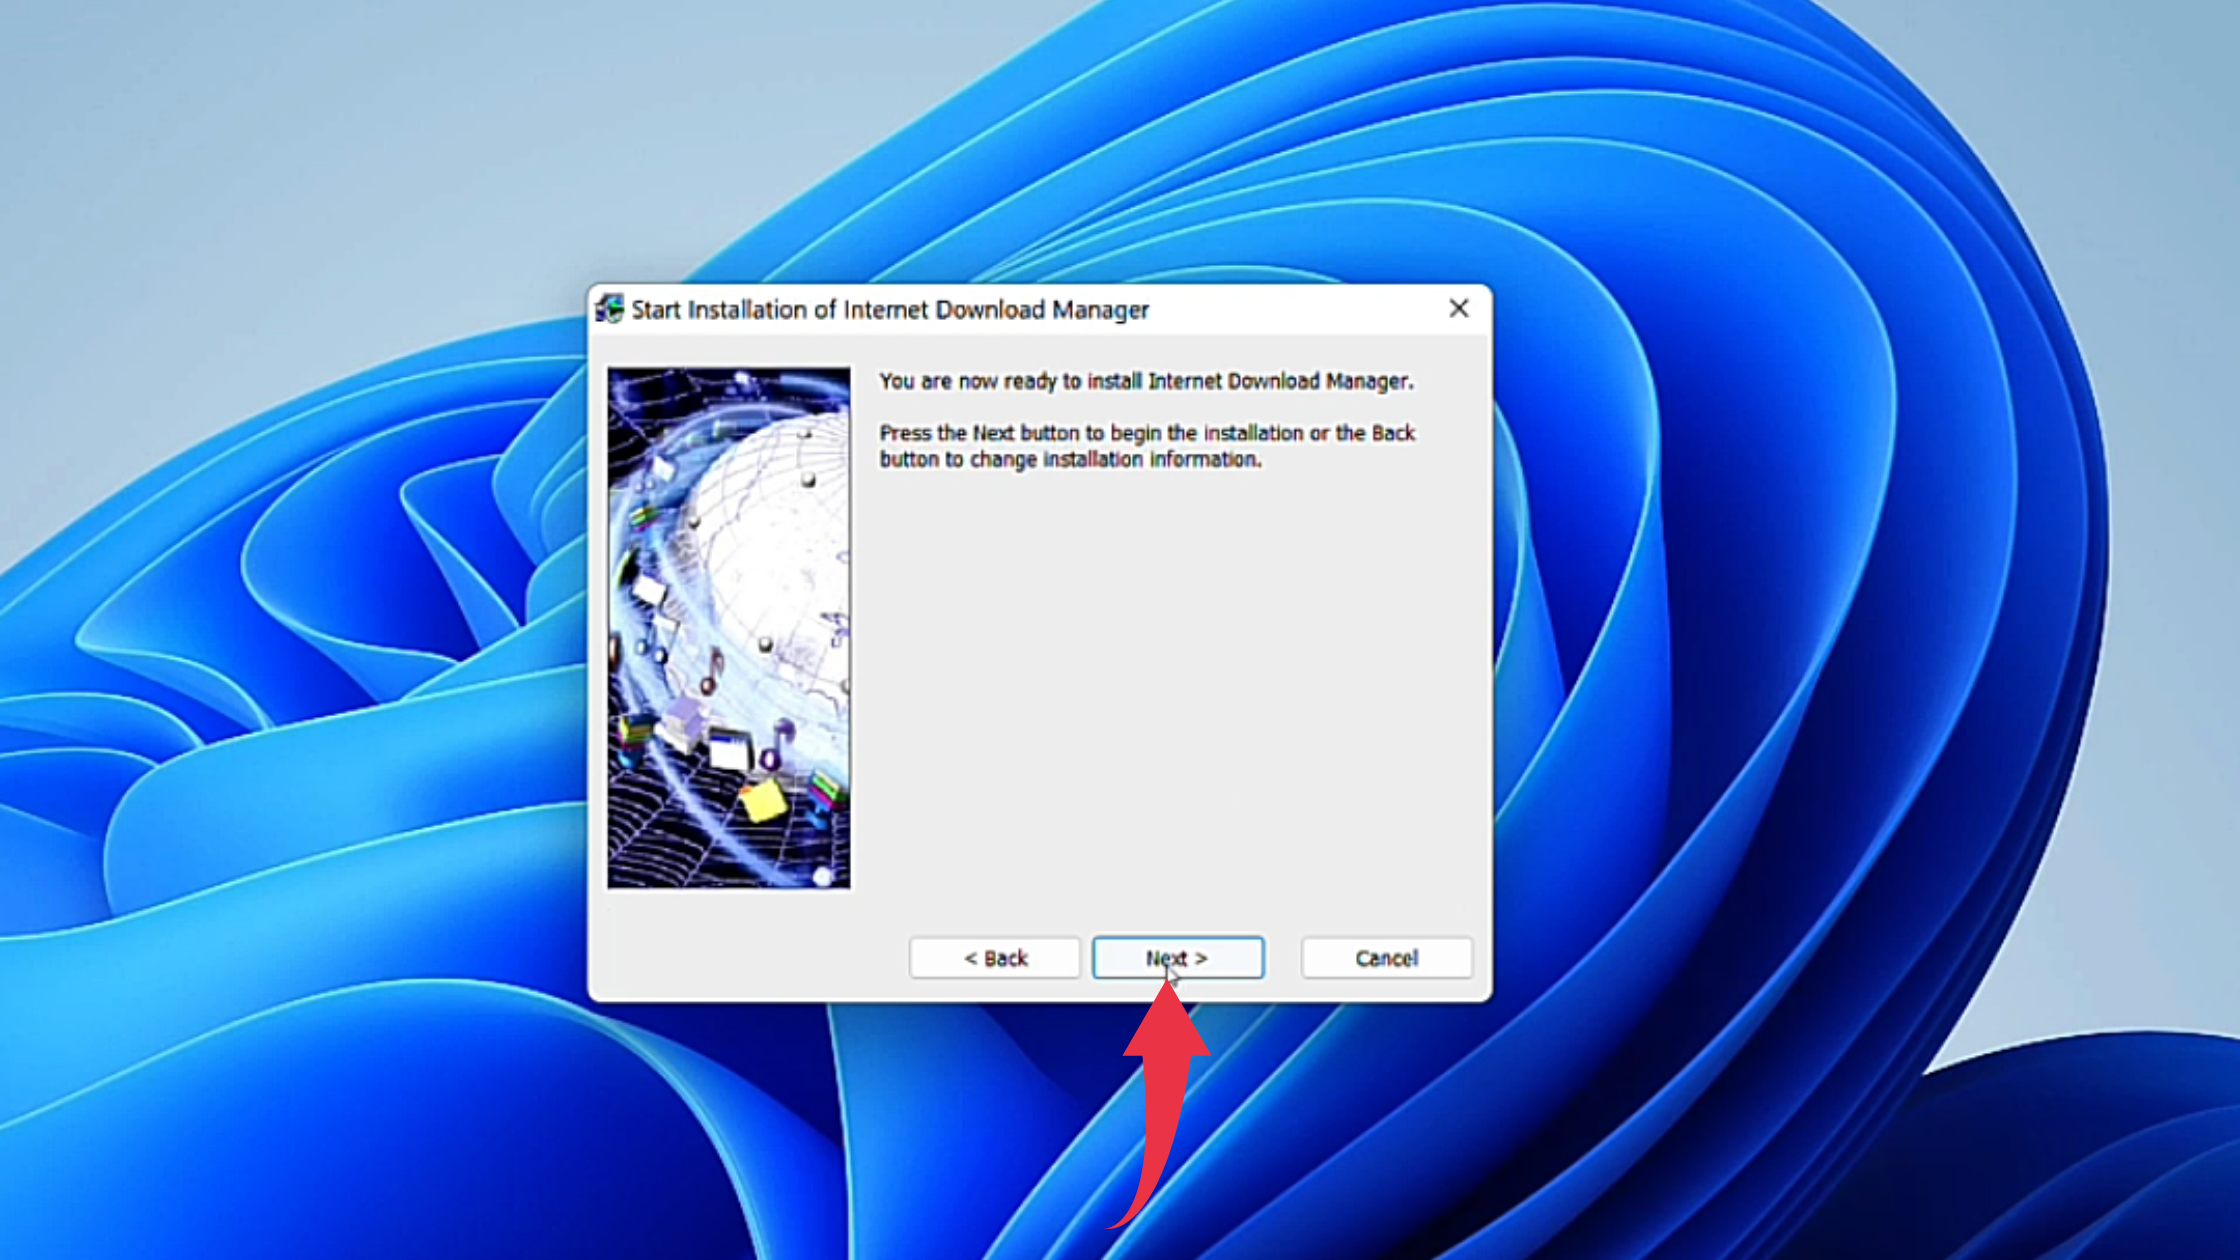
5) In this final installation window, click on the Next button to start IDM installation.
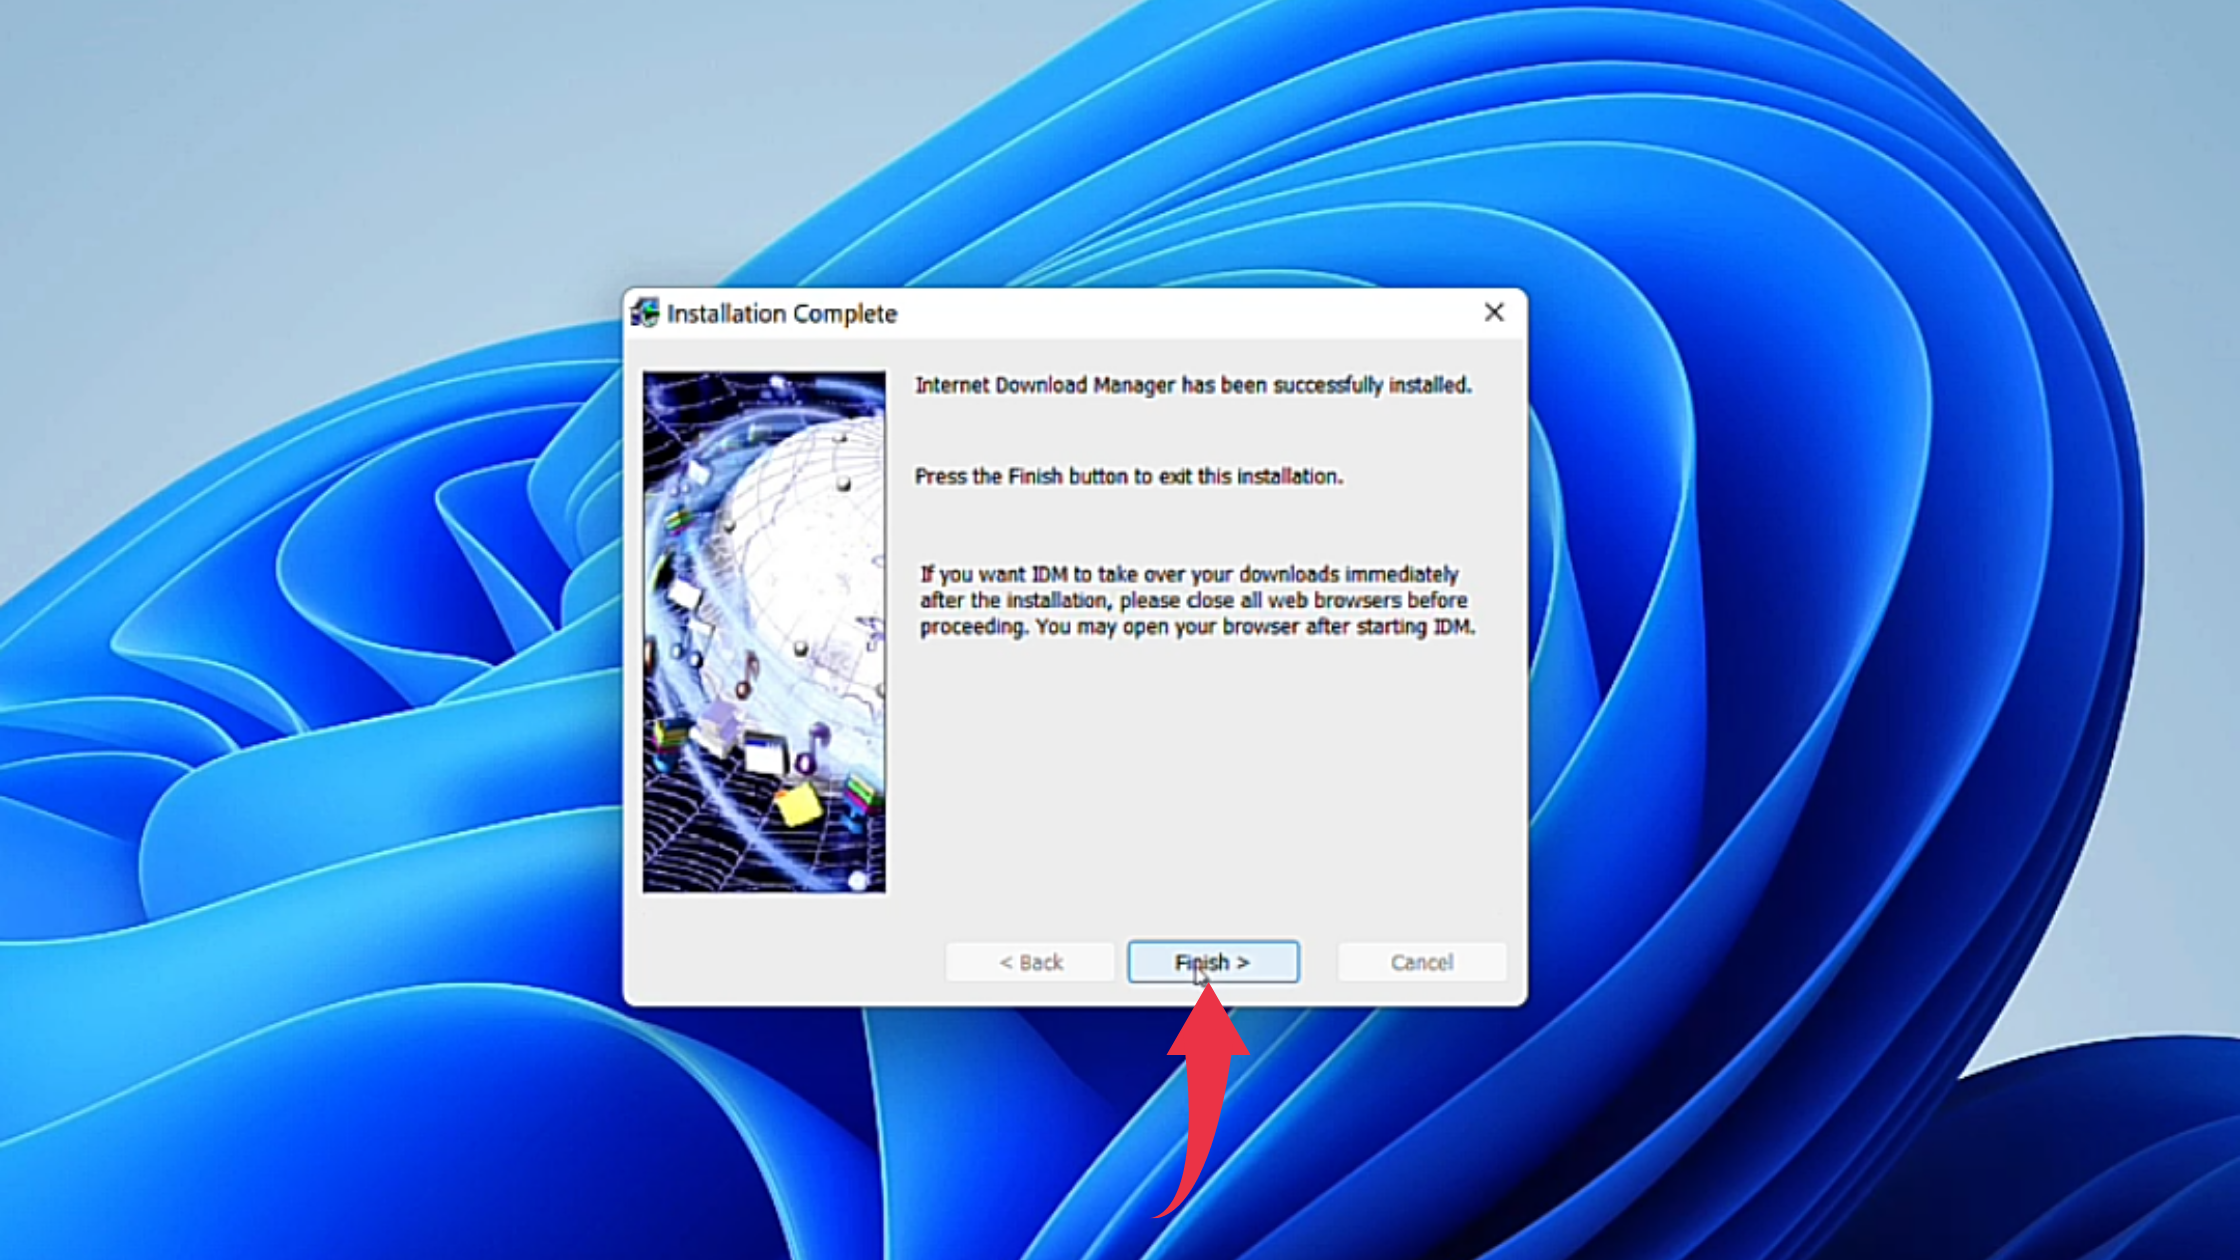
6) After successful installation, click on the Finish button to launch IDM.
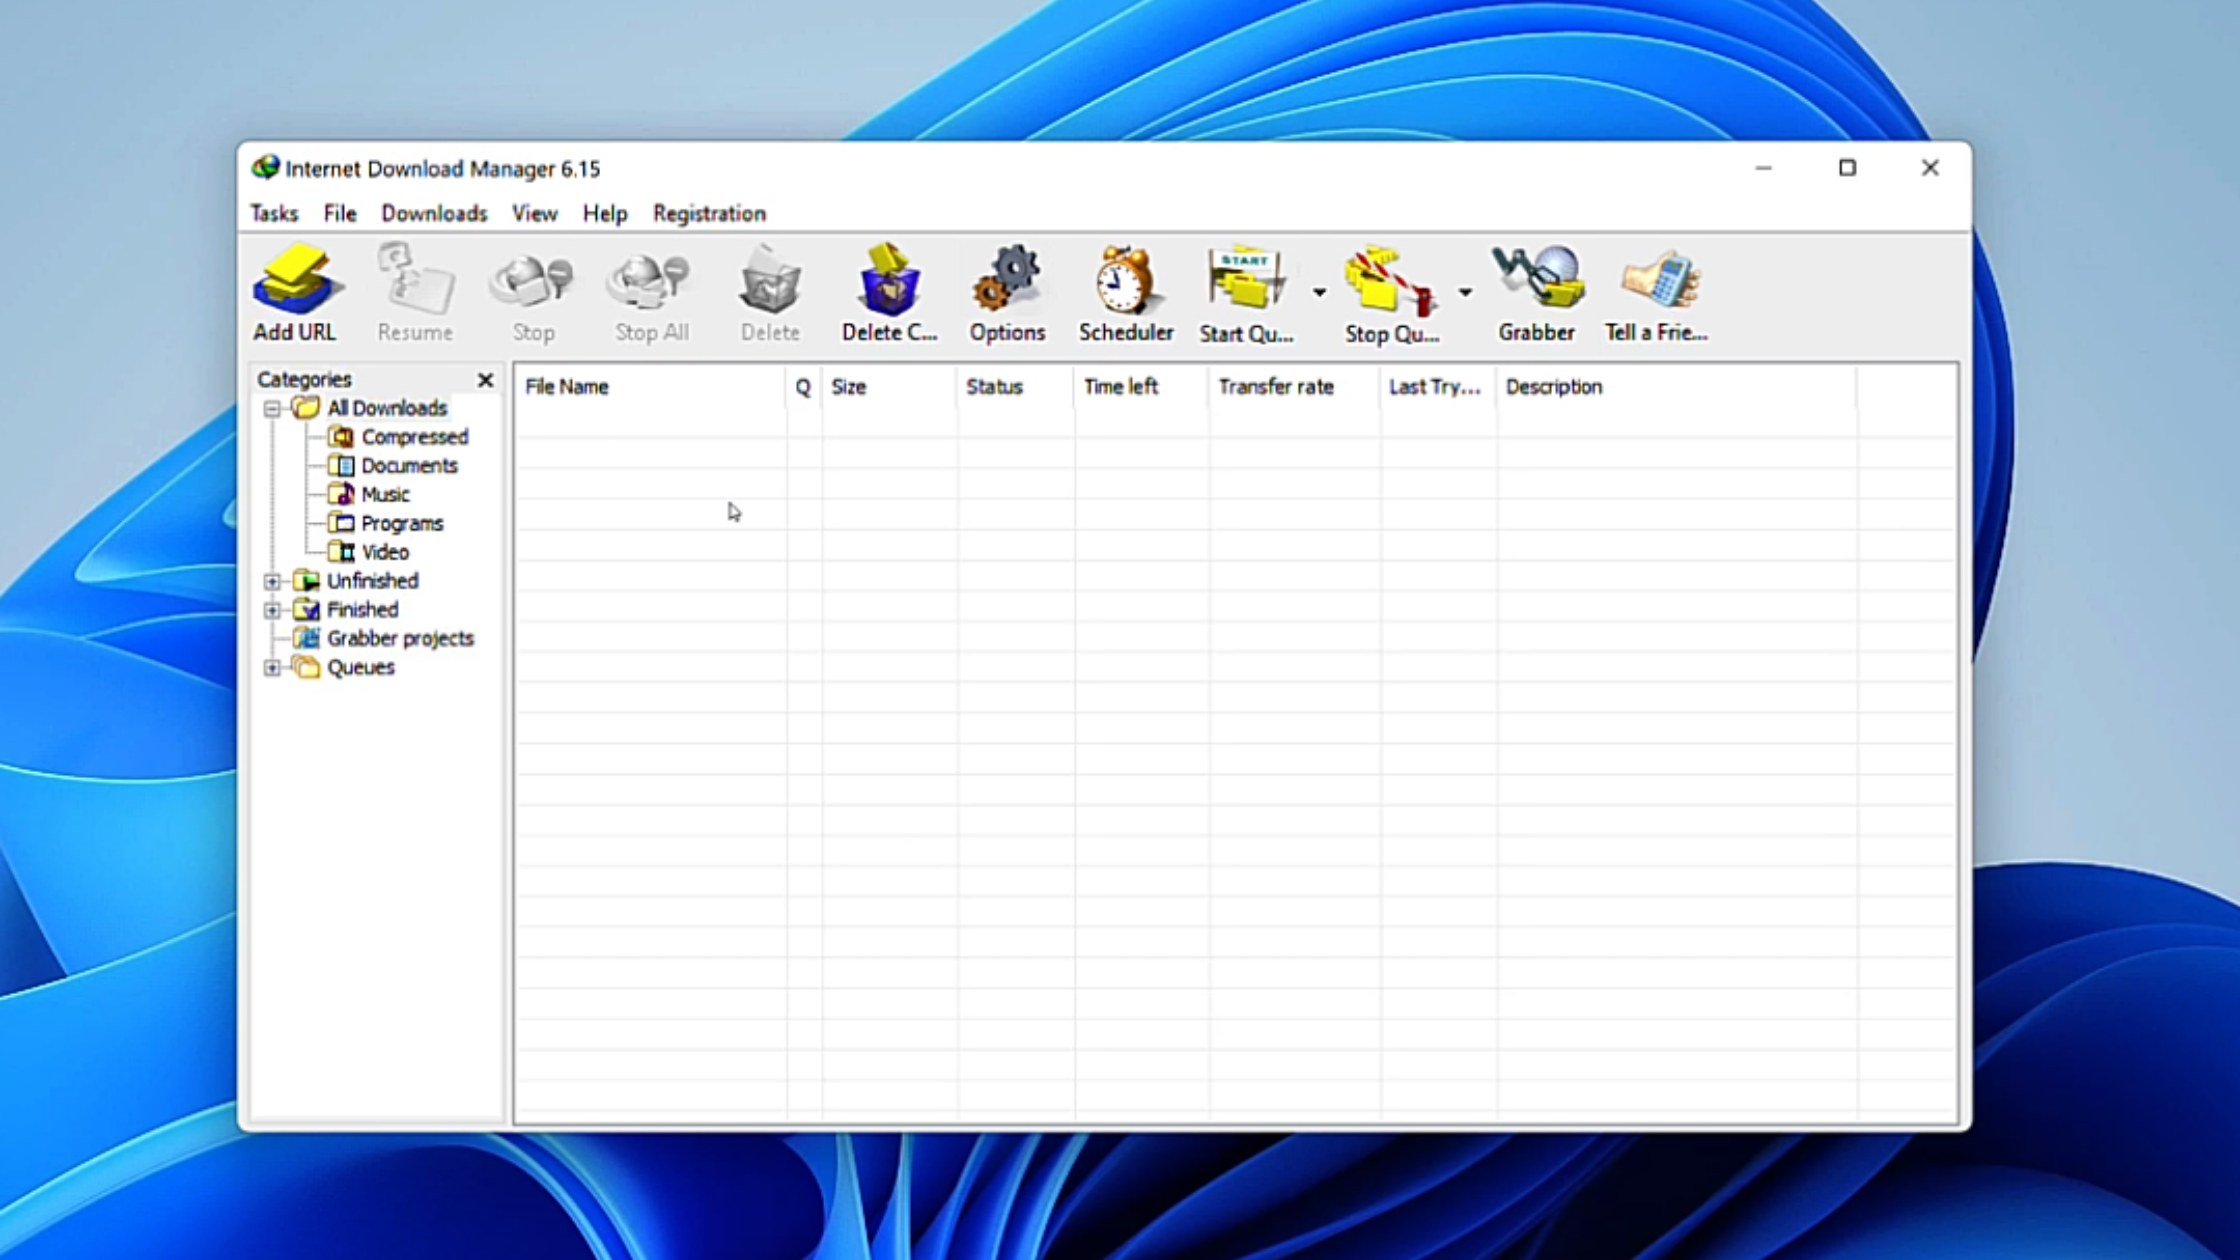
7) First glance at IDM, on your Windows 11 will look like the below image.
