How To Install Git on Windows 11
Working as a software developer in itself is very much of a hassle. And on top of that, managing source code effectively, so that it could be understood by every team member adds up to that as well. So for developing software with the team, one must use a version control system to manage changes in the developing code. When talking about version control systems, the very first name to pop up in the mind is git. Git is by far one of the most popular version control systems used by every professional software developer. Therefore today we’ll take a look into learning how to install git on Windows 11.
Video Tutorial: How To Install Git on Windows 11
Step 1: Download Git
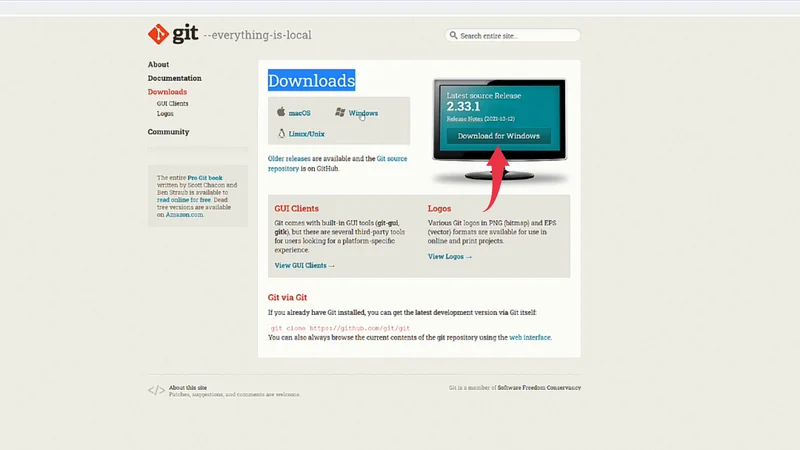
1) Firstly we’ll download the latest version of GIT available for windows 11. To do so, follow the below-provided download link and click on the Download For Windows button.
Download Git Here: http://git-scm.com/downloads
Step 2: Install Git On Windows 11
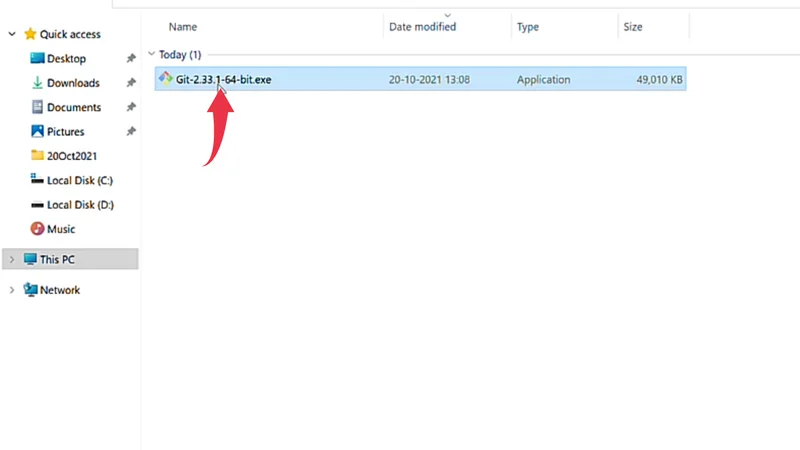
1) Once the download gets finished open the downloaded file in the folder where it has been downloaded. Double click on the downloaded file to start the installation window.
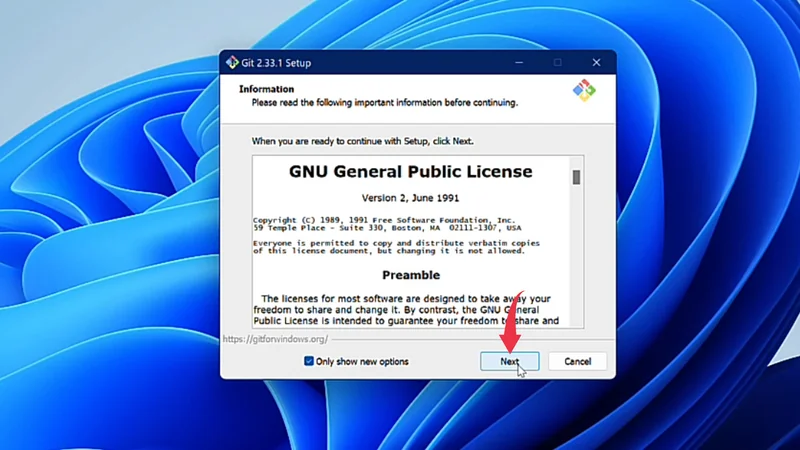
2) In the installation wizard click on the Next button, just like shown in the image below.
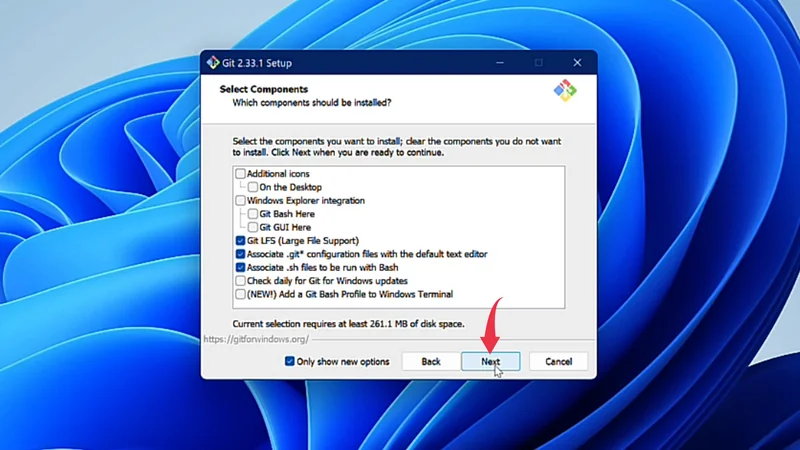
3) In the Select Components Window no need to change anything click on the Next button.
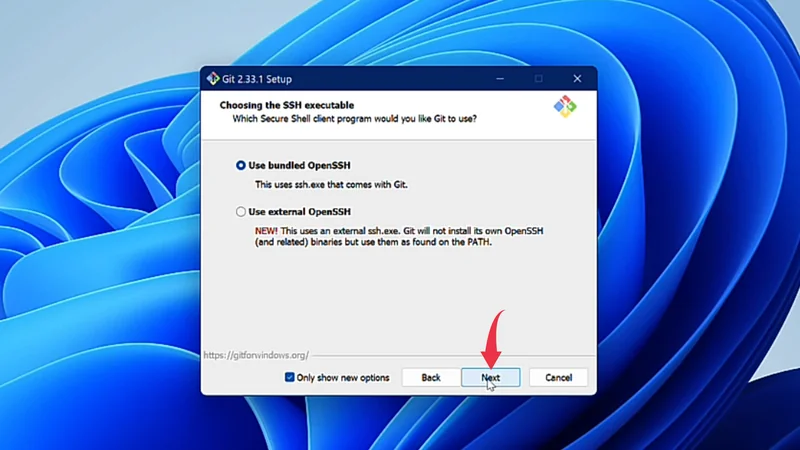
4) Same as in the Choose SSH Executable window simply click on the Next button.
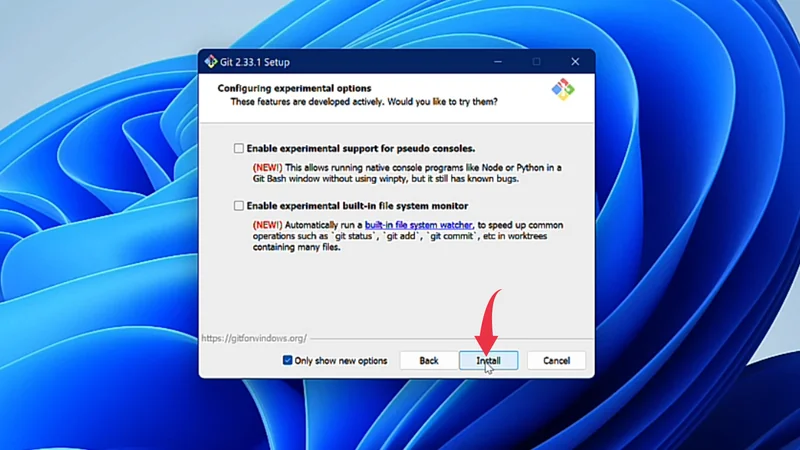
5) In this final Installation window click on the Install button and git installation will start to begin.
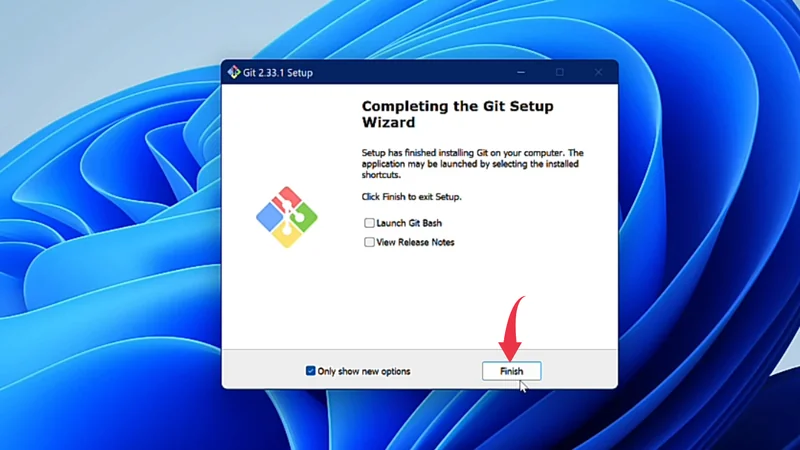
6) Once the installation gets complete click on the Finish button.
Also Read: How To Install Github Desktop On Windows 11
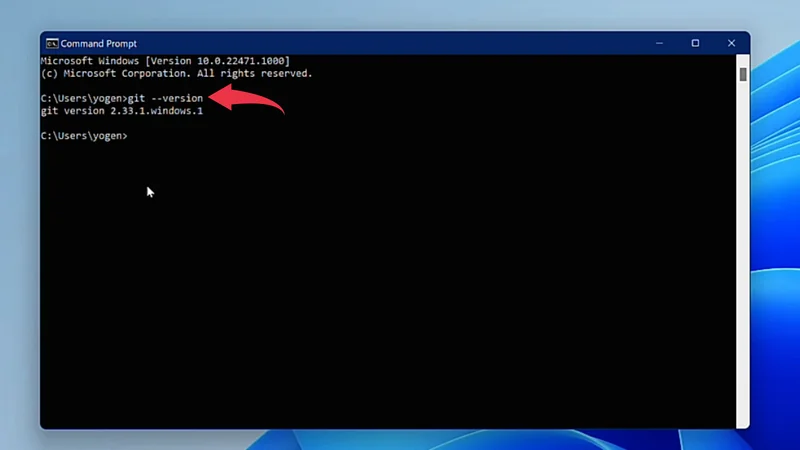
Step 3: Check Git Version
1) To check if Git is installed properly or not, open up your command prompt, type git --version, and hit enter. You’ll see output like the below image if you’ve followed all the steps mentioned above.