How To Install Ruby On Windows 11
There are hundreds of programming languages in the world of IT and software. However, only a few of the programming languages are famous and known to most people. But there are some other programming languages as well that play a major role in today’s technological environment. Ruby is one of those languages, not known by many but it’s pretty powerful. Ruby is used for many dynamic tasks but it is mostly used in web application development. Not only that but there are many famous software built using this language. Therefore today we are going to learn how to install Ruby on Windows 11.
Video Tutorial: How To Install Ruby On Windows 11
Step 1: Download Ruby On Windows 11
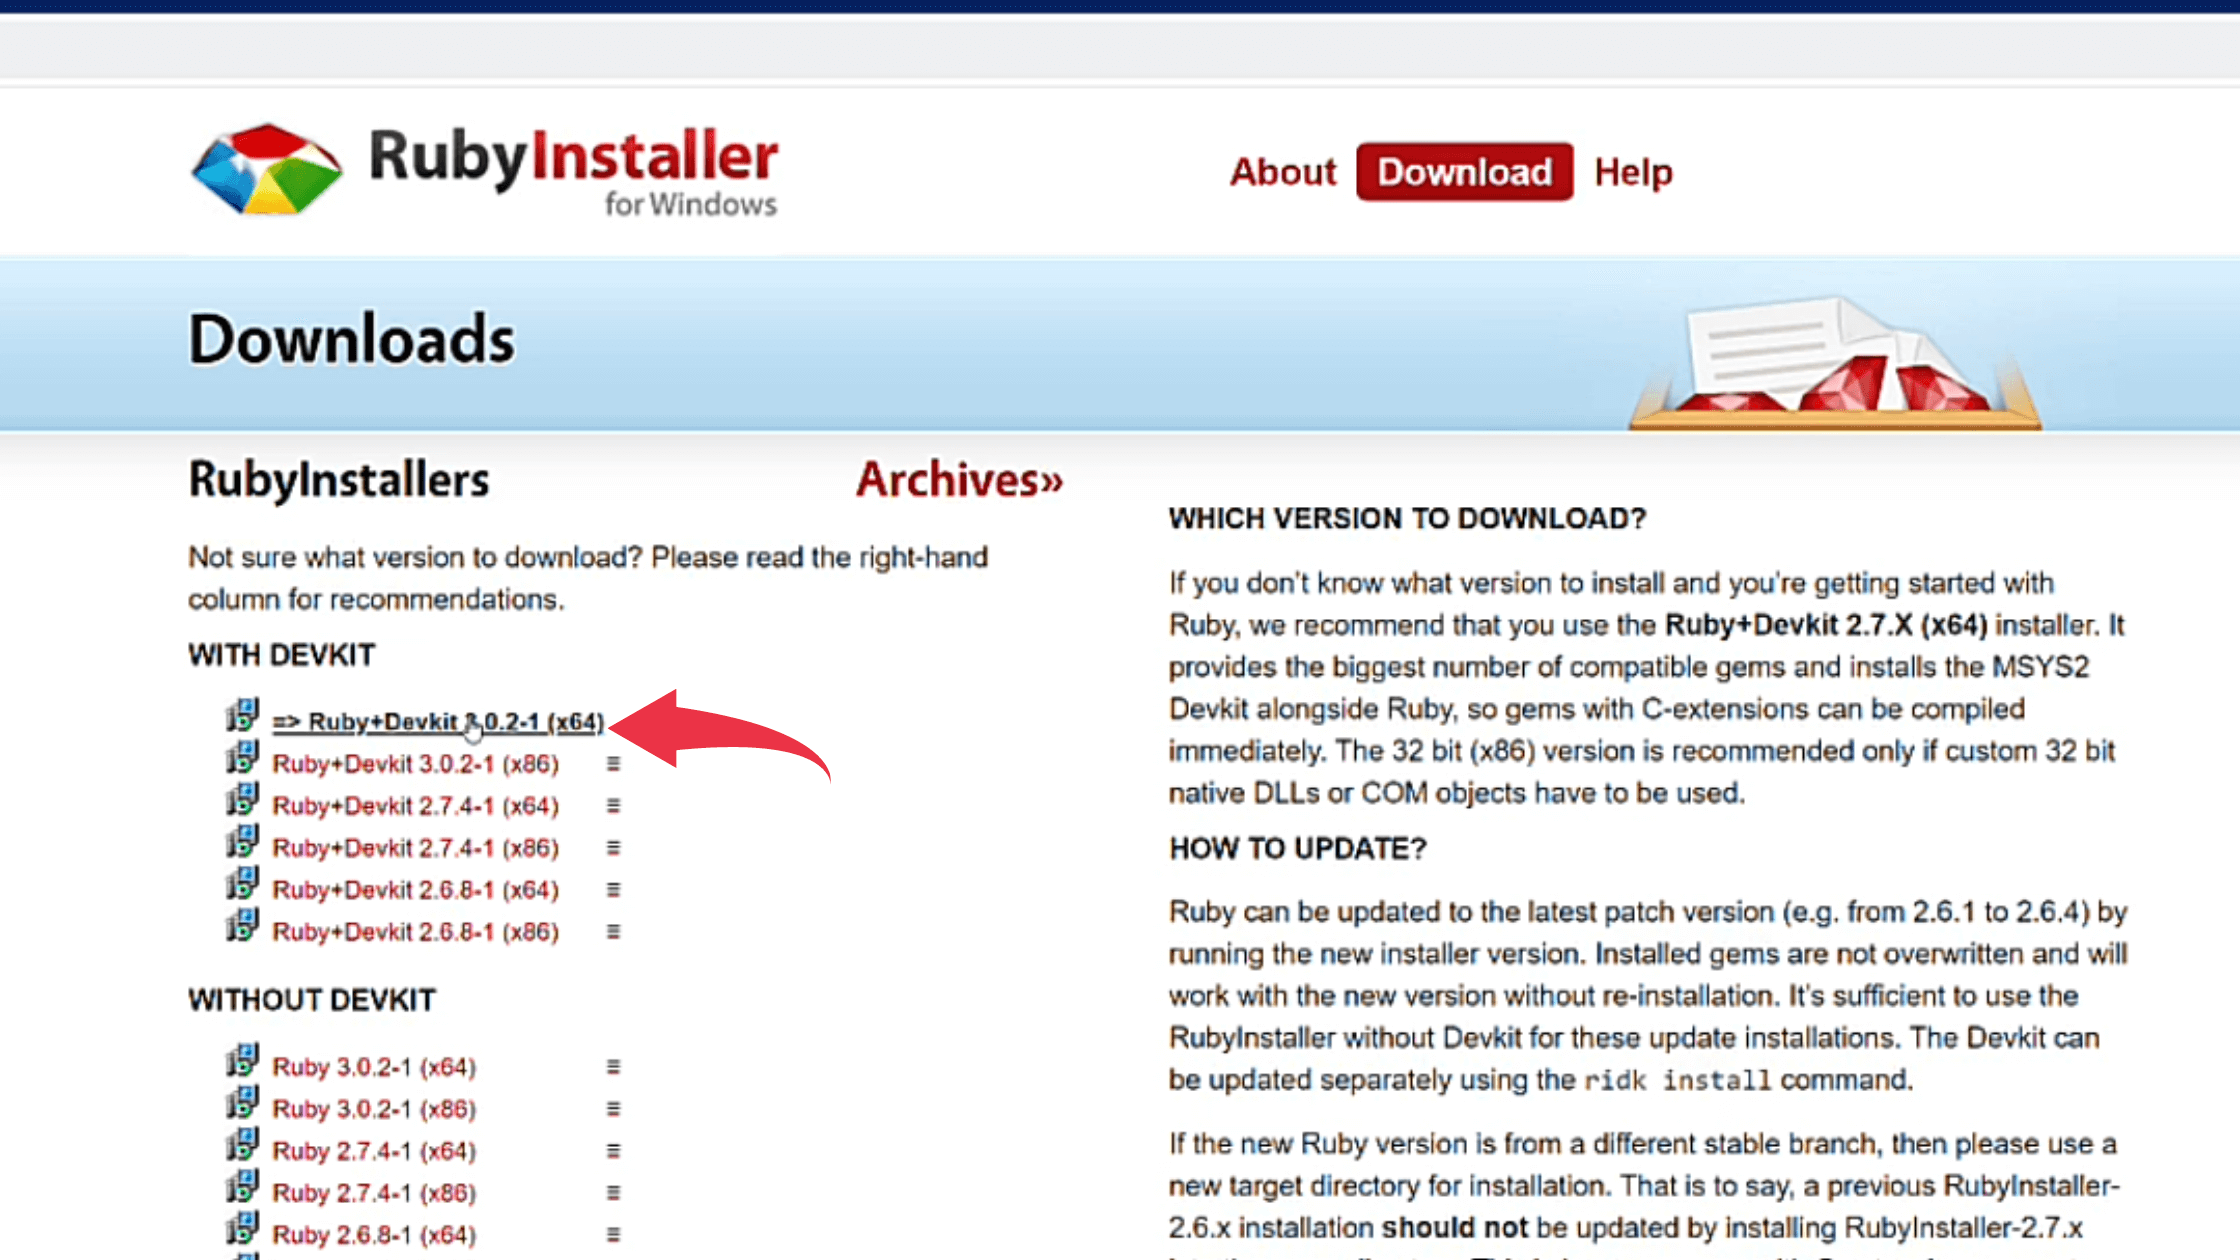
1) Firstly we will download the Ruby installation package for our windows machine and for that for the download link is provided below. There click on the Ruby+Devkit 3.0.2-1 (x64) button.
Download Ruby Here: Ruby+Devkit 3.0.2-1 (x64)
Step 2: Install Ruby On Windows 11
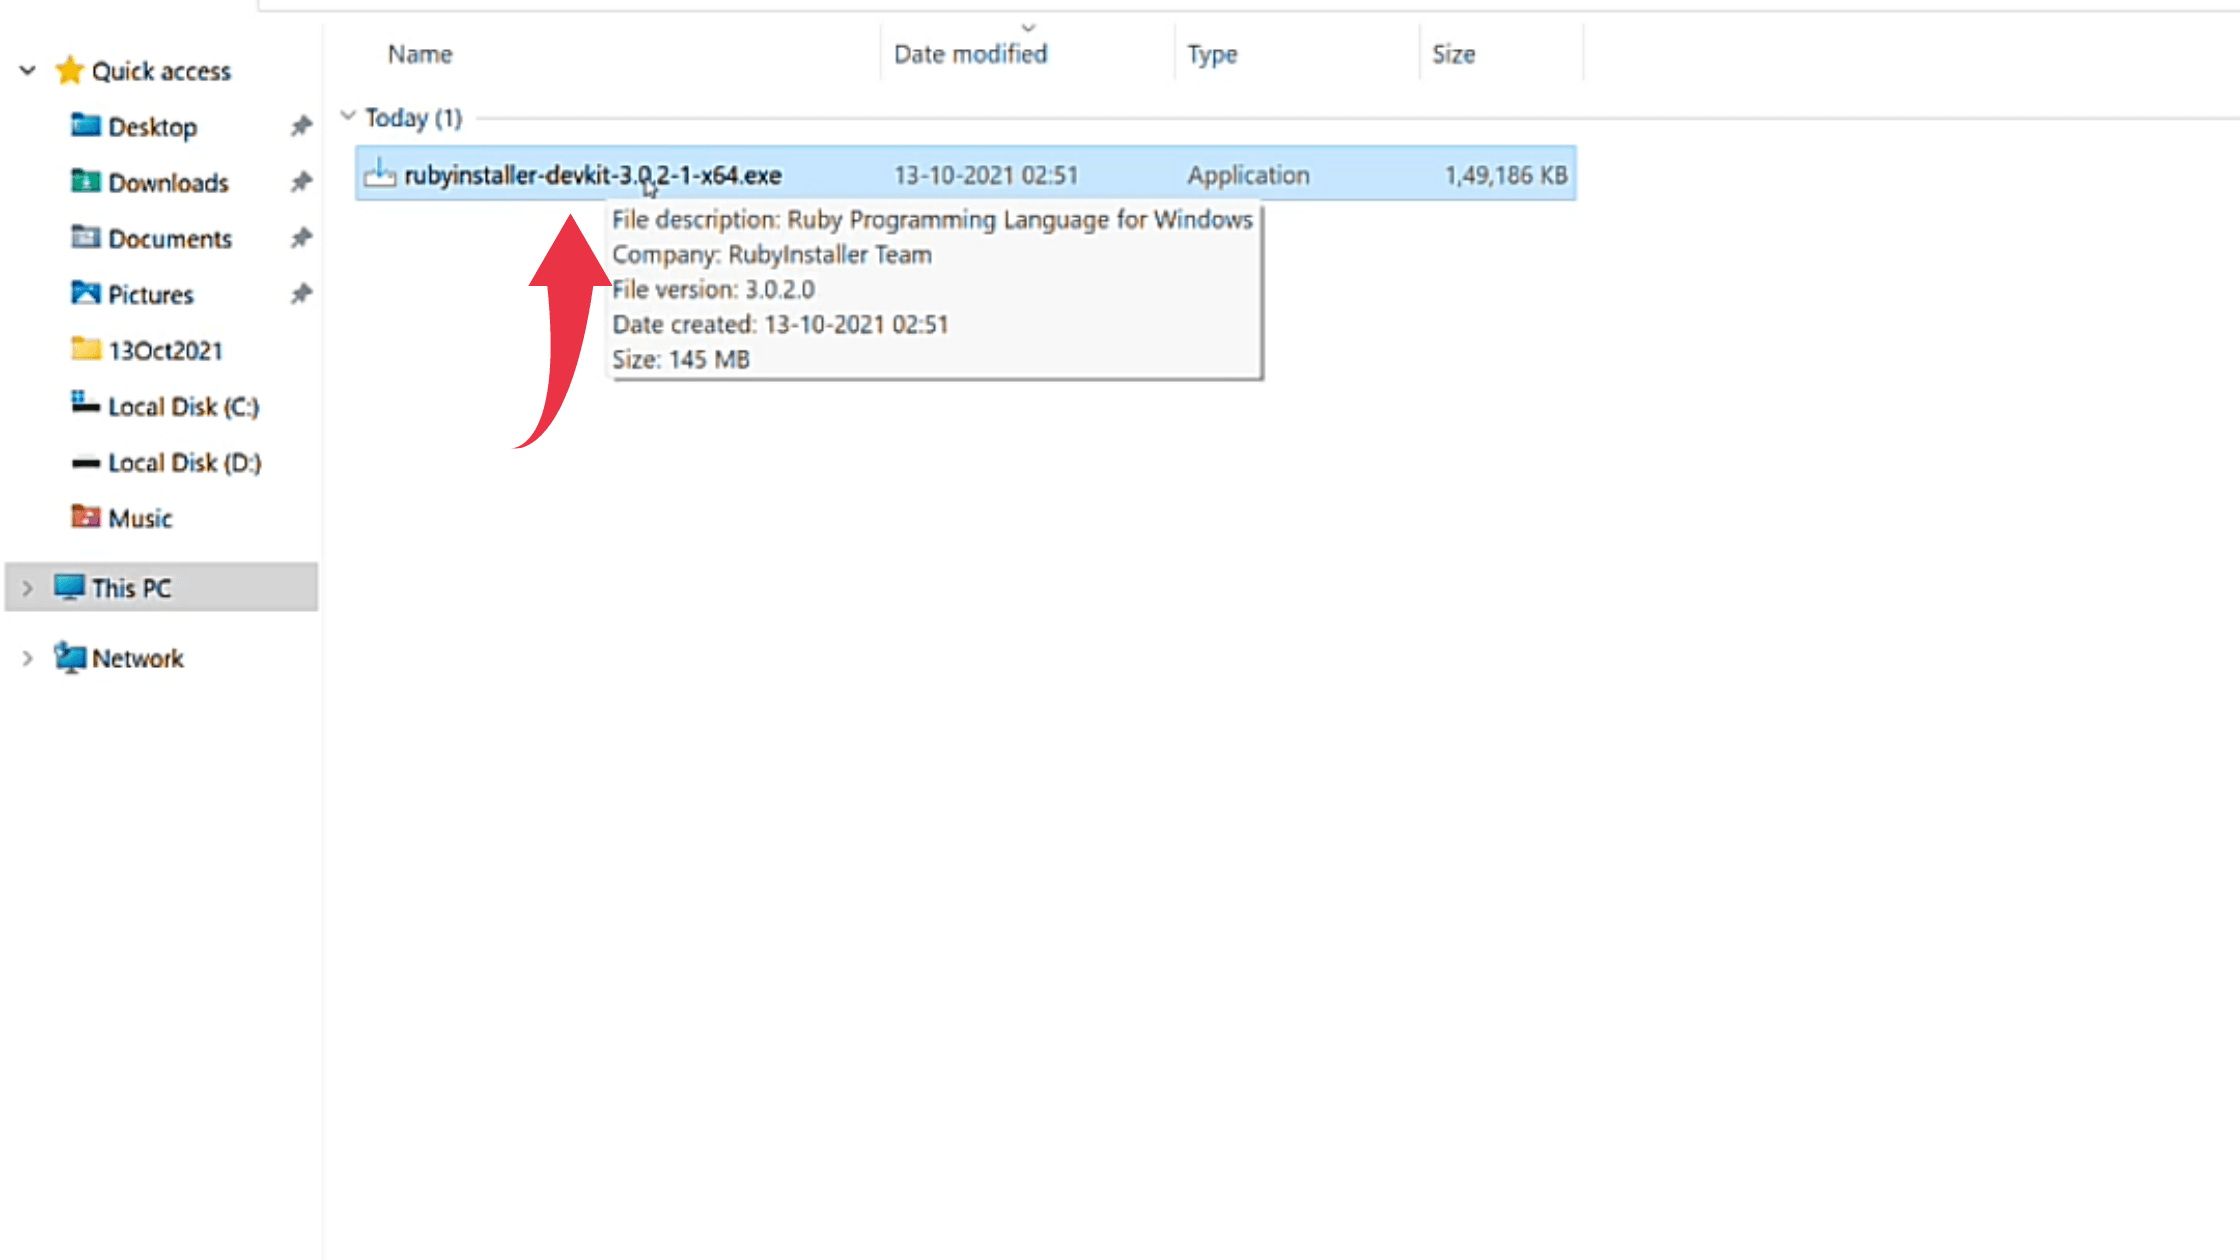
1) Once your download gets finished open it from the folder where it has been downloaded and double click on it to start the installation process.
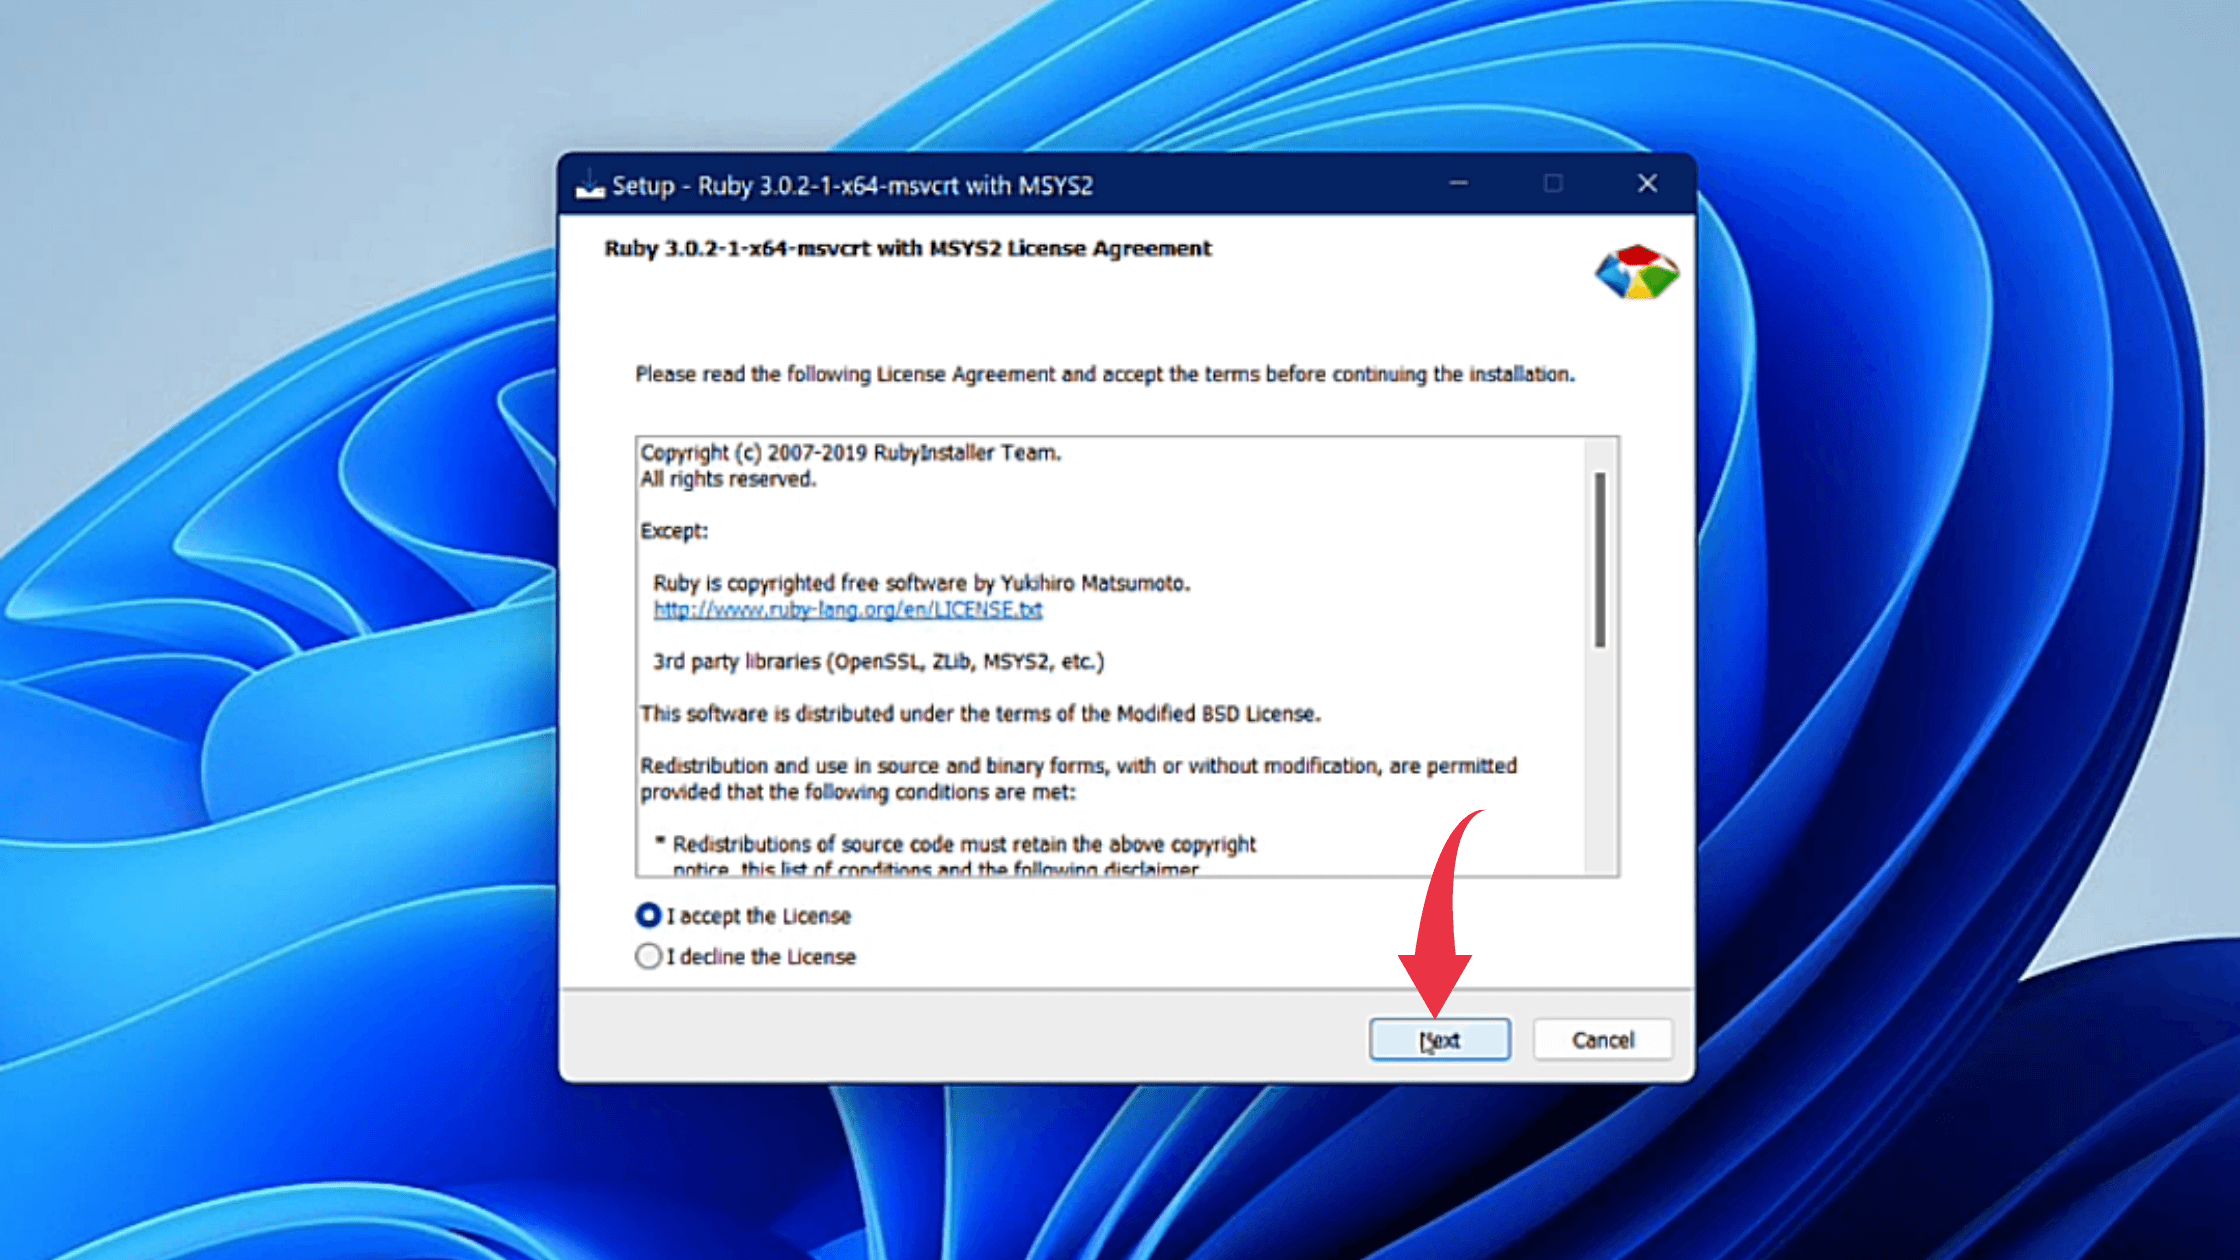
2) Next, in the popup window you will see a license agreement, there simply click on the I accept the license checkbox and click on the Next button.
3) In the installation window click on the install button.
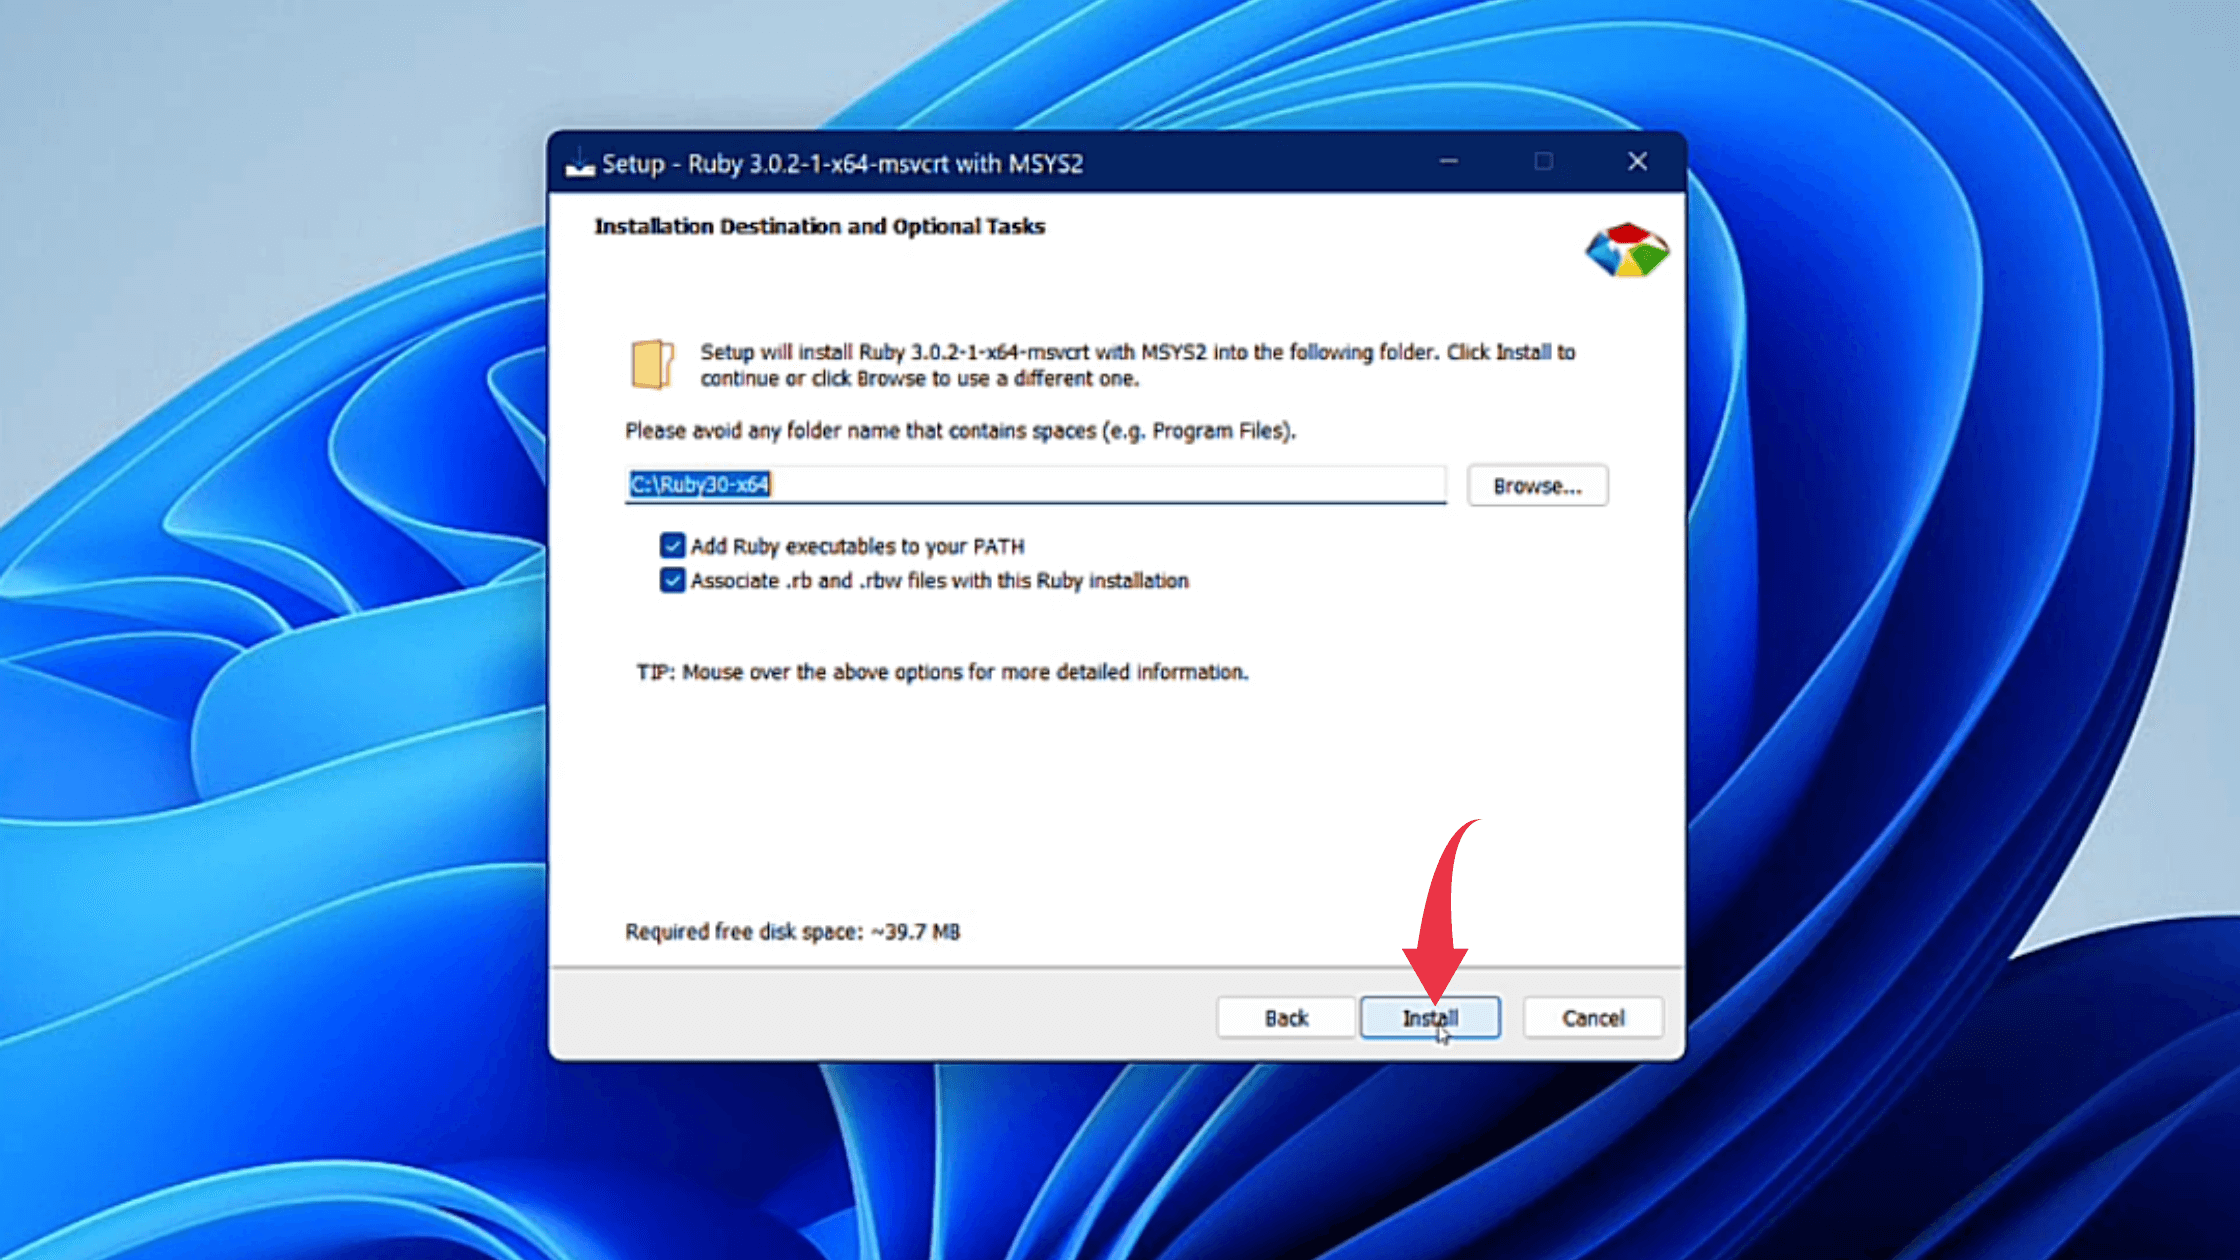
4) Now you will see a select component window so here as well click on the Next button. In this step, your installation will start.
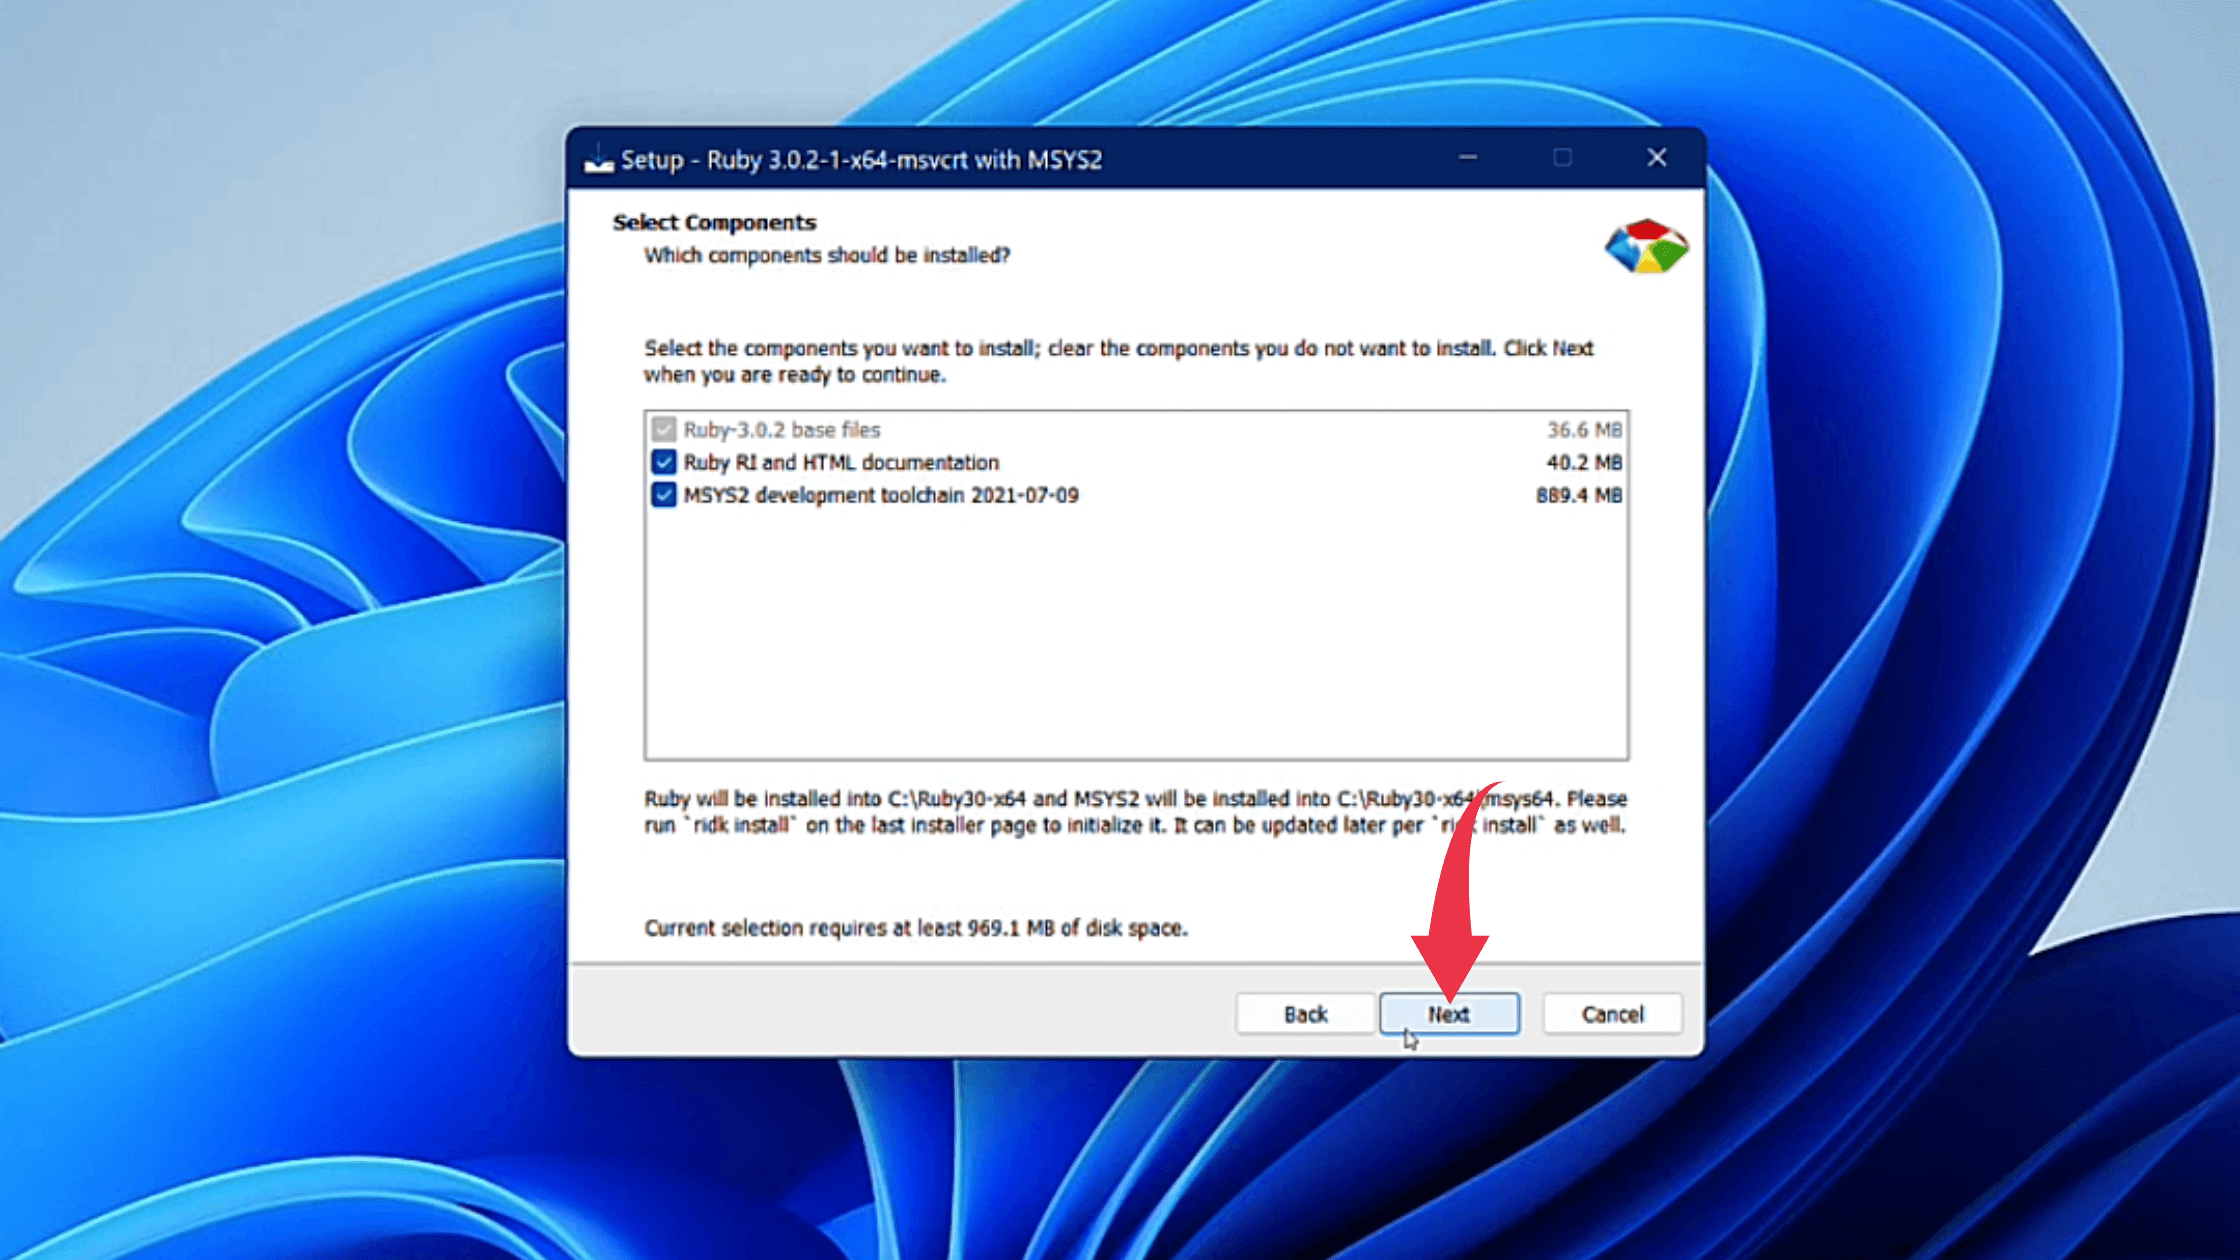
5) Once the installation gets successful click on the finish button.

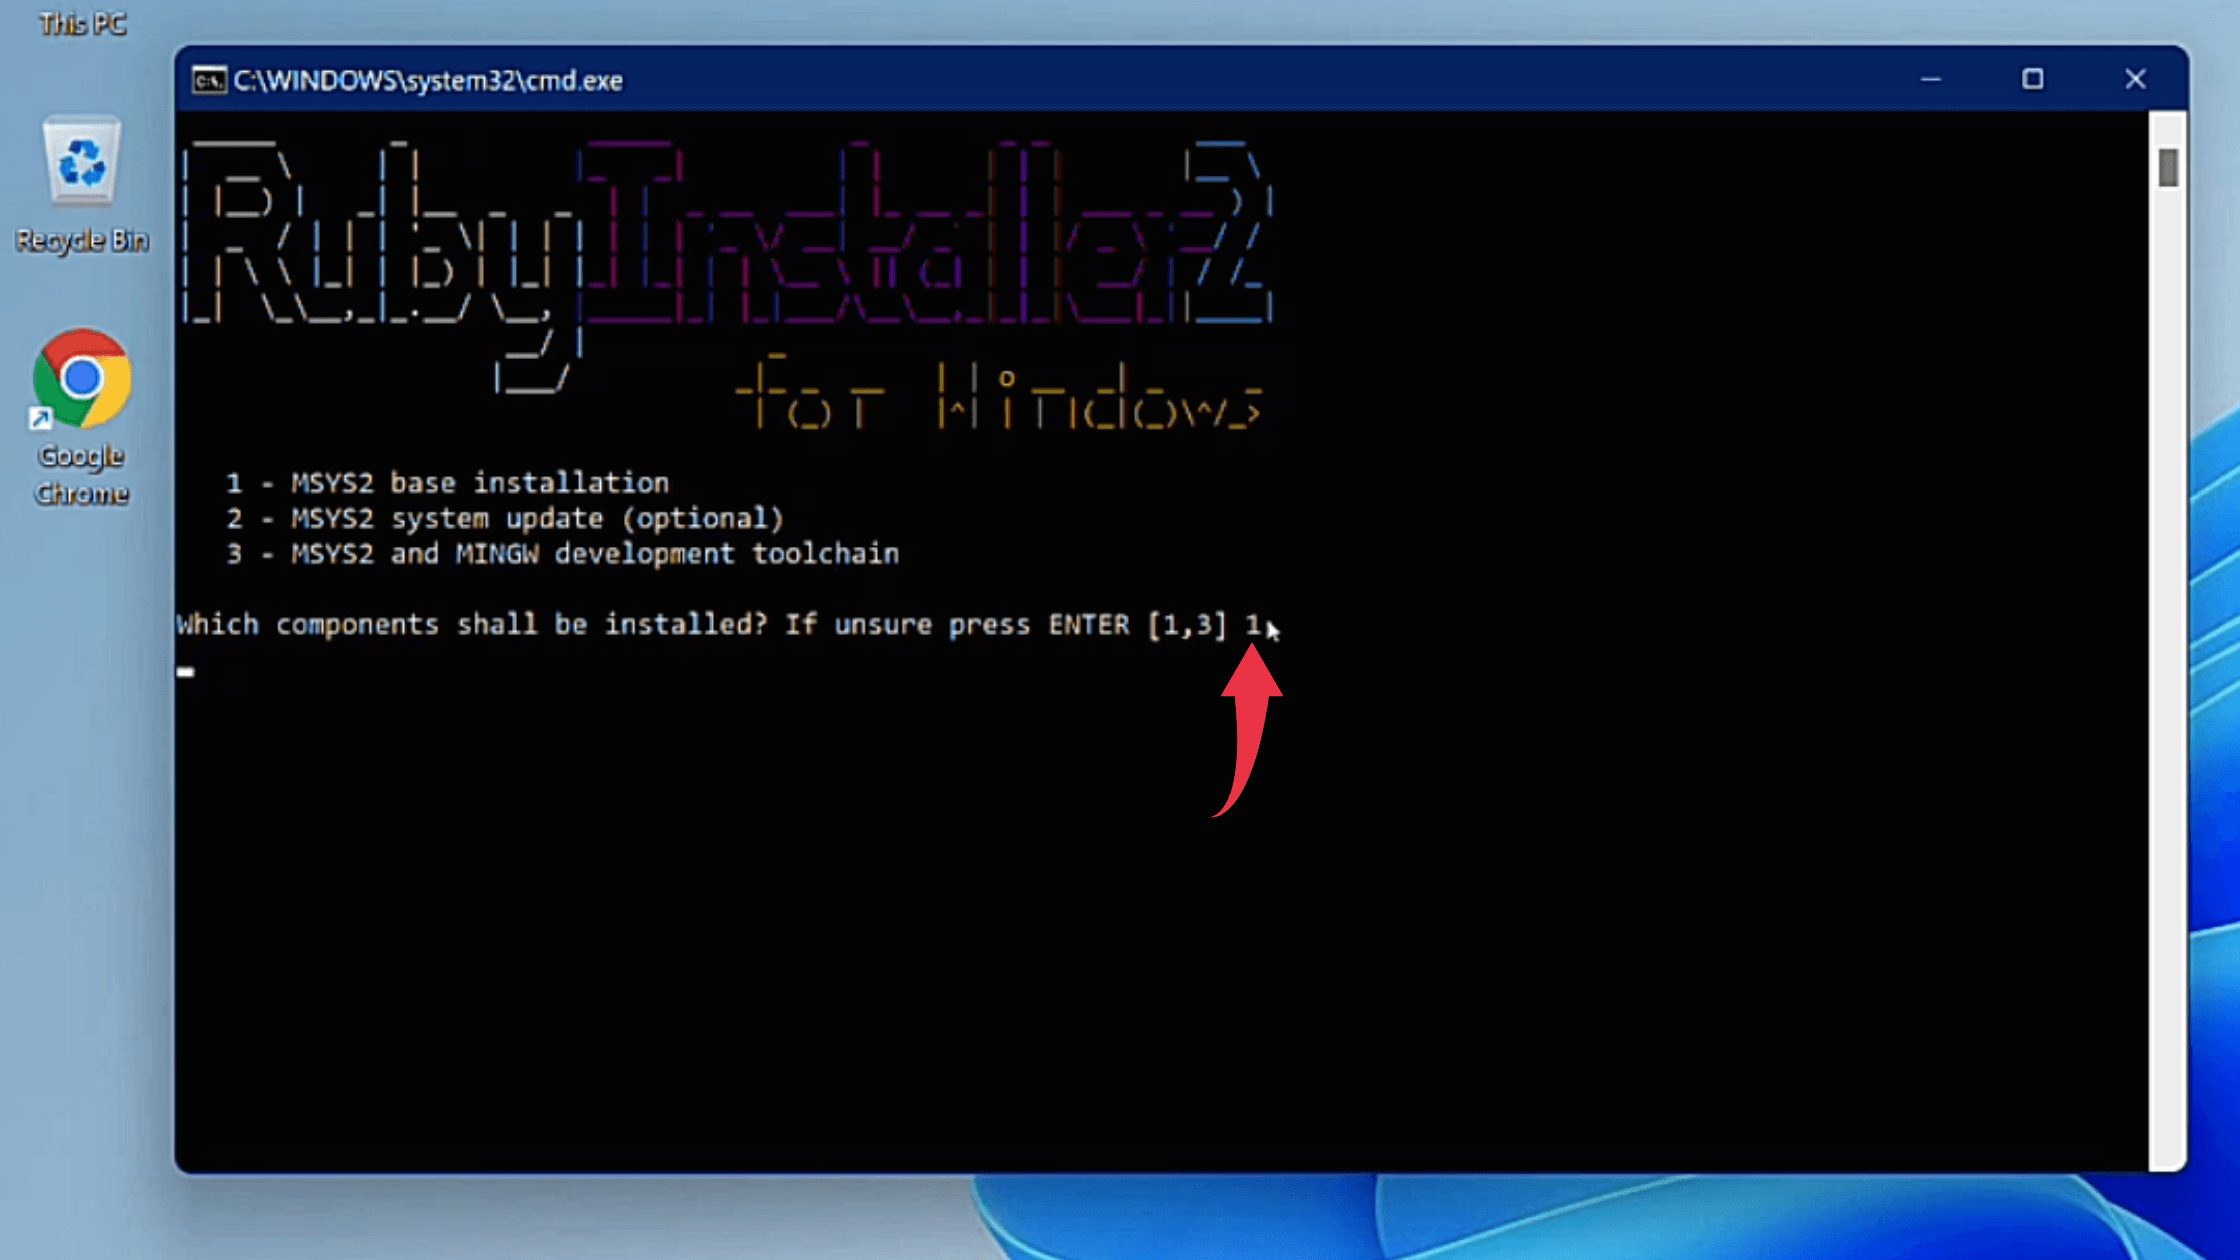
6) A terminal window will popup ask for the Ruby components to be installed on your Windows machine. Simply type 1 and component installation will begin automatically.
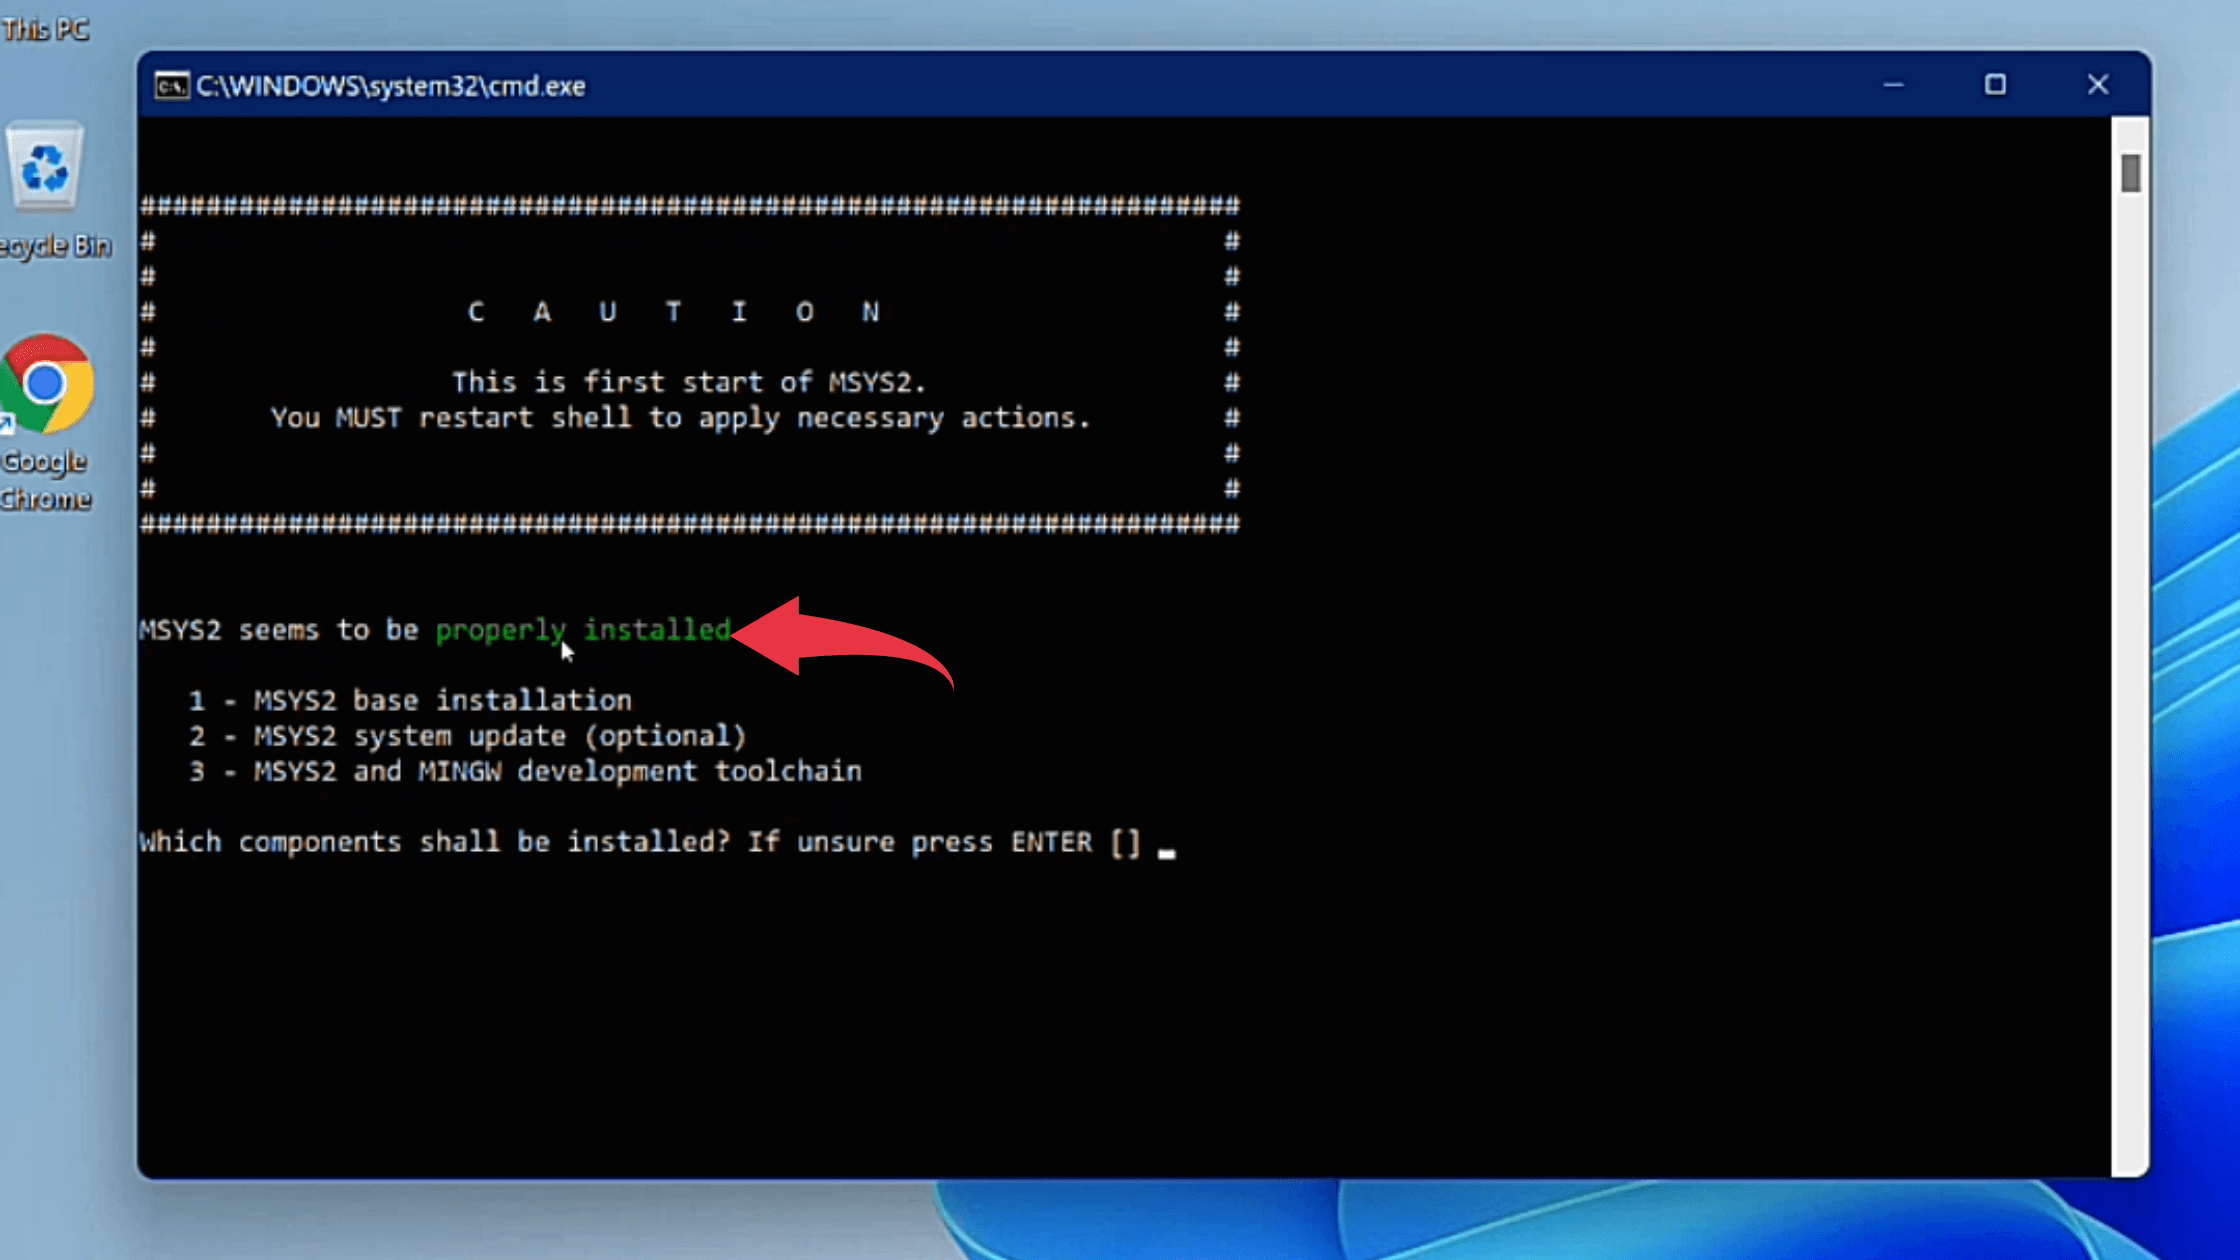
7) Successful installation of Ruby components will display a window like the below image.
Step 3: Check Installed Ruby Version
1) Open Up the command prompt, type ruby --version, and press enter.
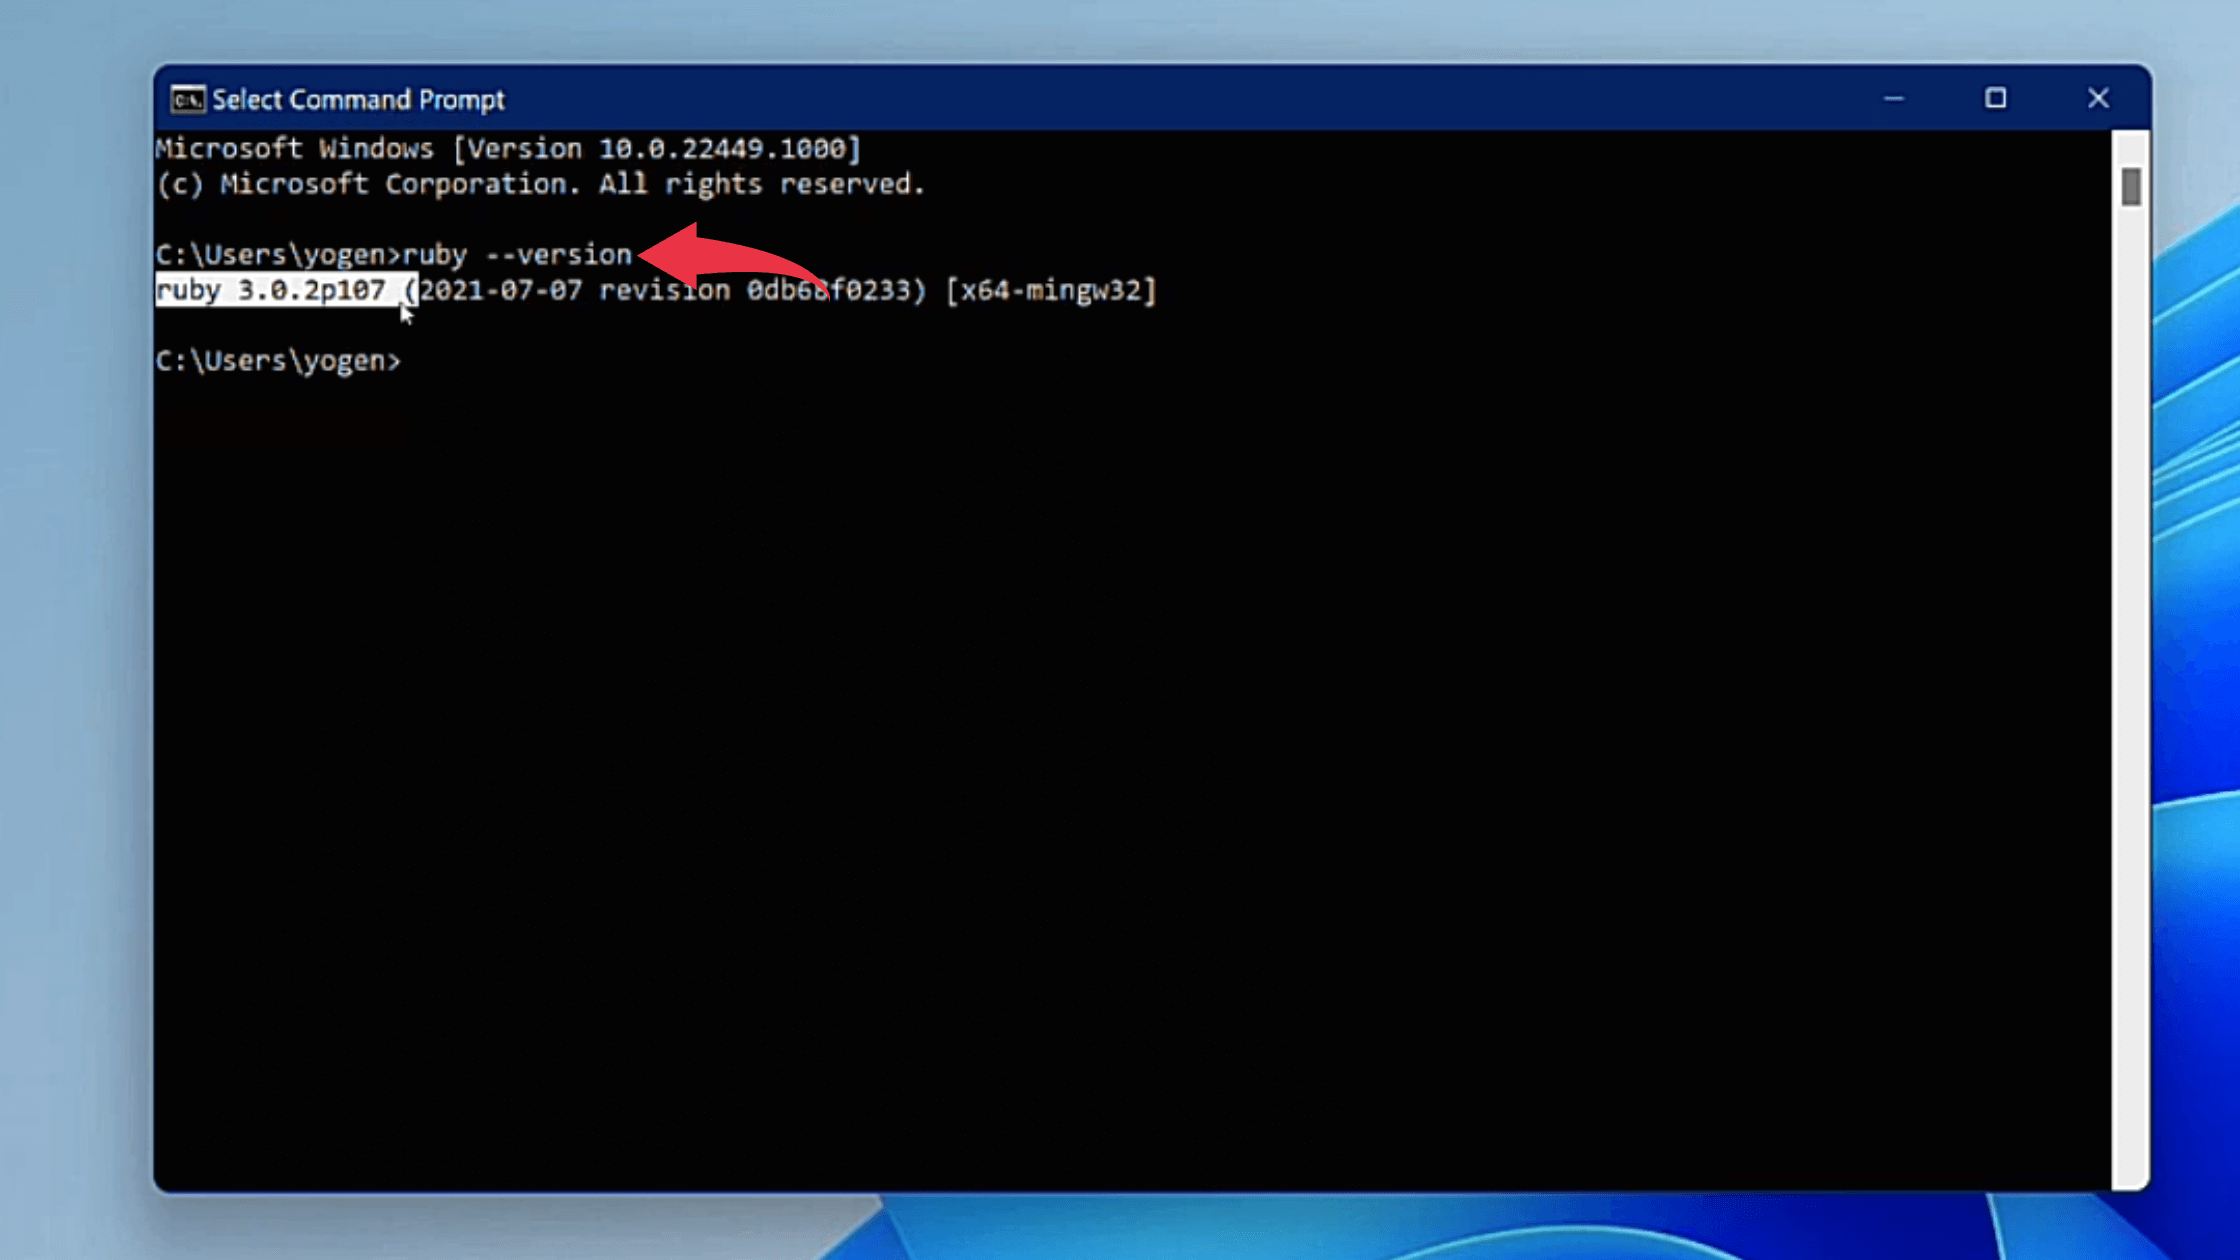
If you’re able to get similar output to the above image then congrats you’ve successfully installed Ruby in your windows 11.

