

How To Install Mozilla Firefox On Windows 11
A browser is a very powerful application that every desktop user uses multiple times every day. However, many browsers don’t necessarily enrich the experience of the user. Apart from that many famous browsers vigorously eat your memory till the system starts lagging. Many software on Windows machines consumes RAM heavily. But now, here comes Mozilla Firefox, which provides a pretty amazing user experience with minimum memory consumption. So today we’re going to find out how can we install Mozilla Firefox on Windows 11 machines.
Video Tutorial: How to Install Mozilla Firefox on Windows 11
Step 1 : Download Mozilla Firefox Installer
1) Firstly we will download the Installer file of Mozilla Firefox for Windows 11. Follow the below-provided download link, and click on the Download Firefox button to start the download.
Download Mozilla Firefox Installer here: https://www.mozilla.org

Step 2: Install Mozilla Firefox Installer
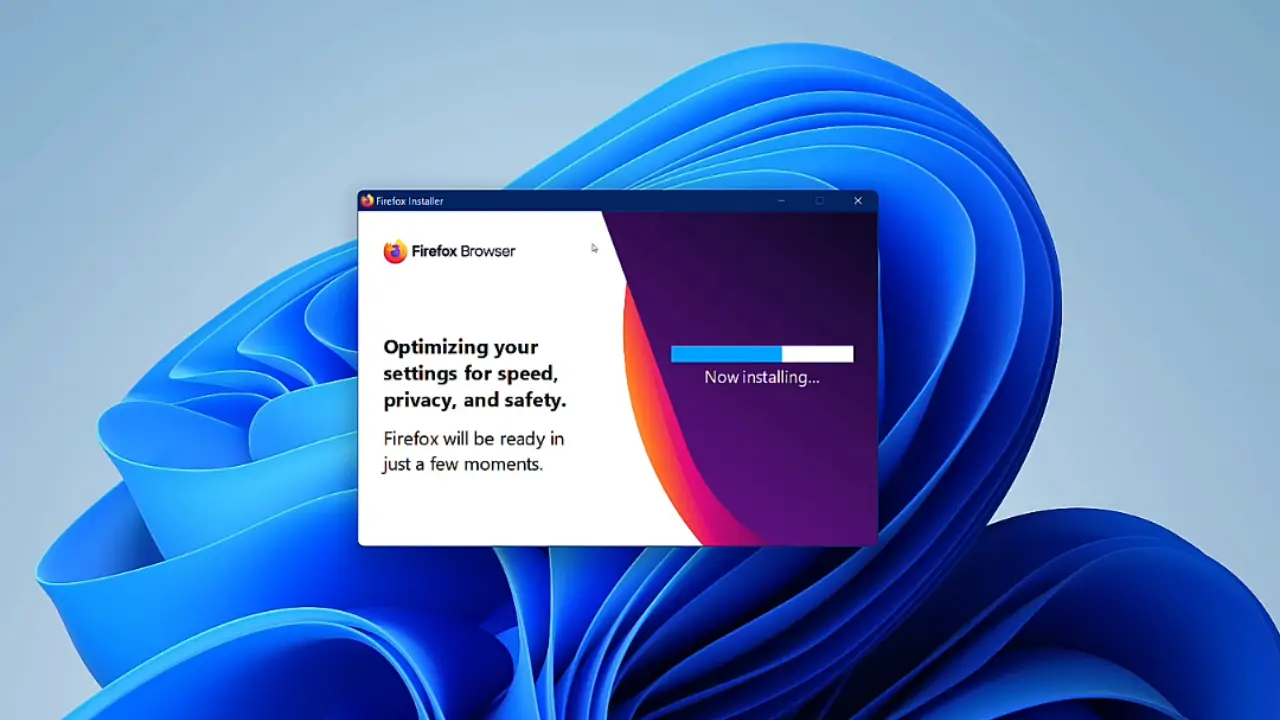
1) Once the download gets finished, open it up in the folder where it has been downloaded and Double Click on the downloaded file to start the installation process.

2) From this step, downloading & installation of Firefox will be done automatically by the setup file. Therefore from here onwards you don’t need to worry about the installation process.
3) First look at your Mozilla Firefox will look like this 👇🏻👇🏻 after the installation gets successful.

Also Read: How to install Turbo C++ on Windows 11