
How to Install Java JDK JRE on Windows 10
To run any Java program you need JDK installed on your windows machine. However, the process of downloading and installing JDK is not that hard. So today let’s download and Install Java JDK JRE in your windows 10.
Video Tutorial: How to Install Java JDK JRE on Windows 10
If you’re still finding it hard installing JDK on your Windows 10 machine then you can refer to the below video for a complete guide.
Step 1: Download the latest version of JDK (Java Development Kit)
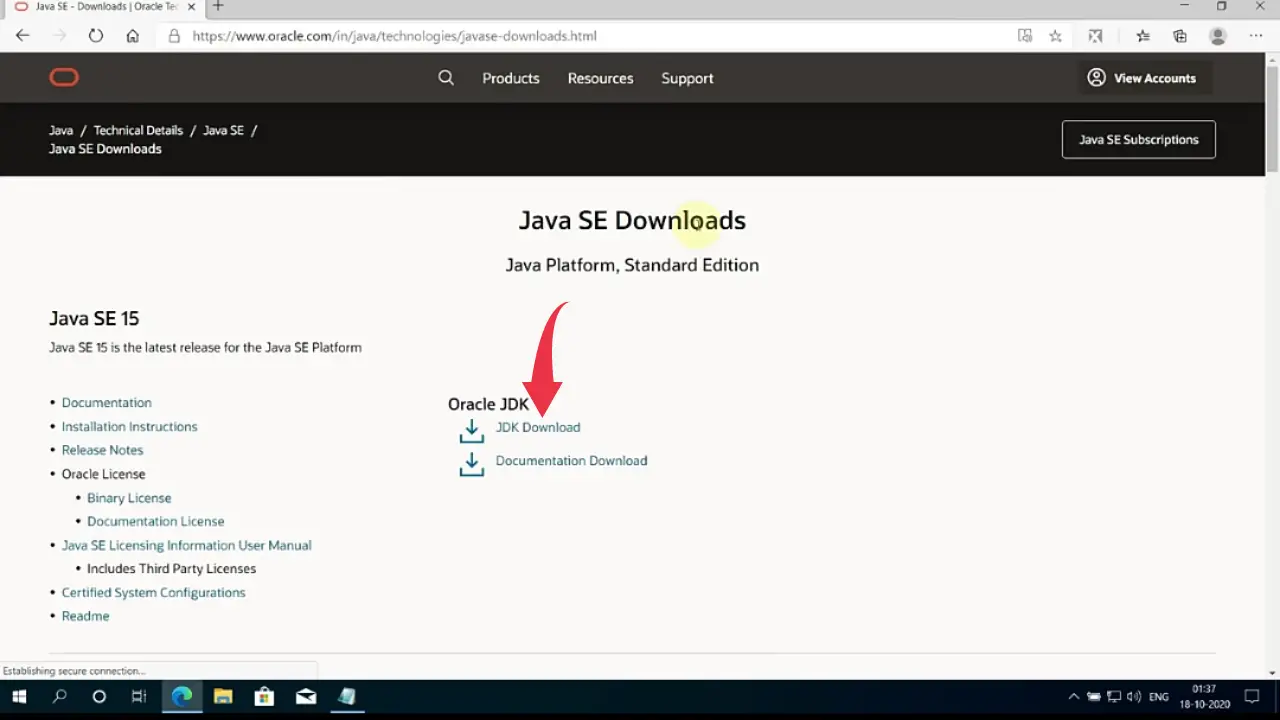
1) First things first you’ll need to download a jdk.exe and to download that you’ll have to click on the download link we’ve provided below. From there you’ll be redirected to the official JDK download page. Once you’re on that page click on the “JDK Download” button.
JDK Download Link: https://www.oracle.com/in/java/technologies/javase-downloads
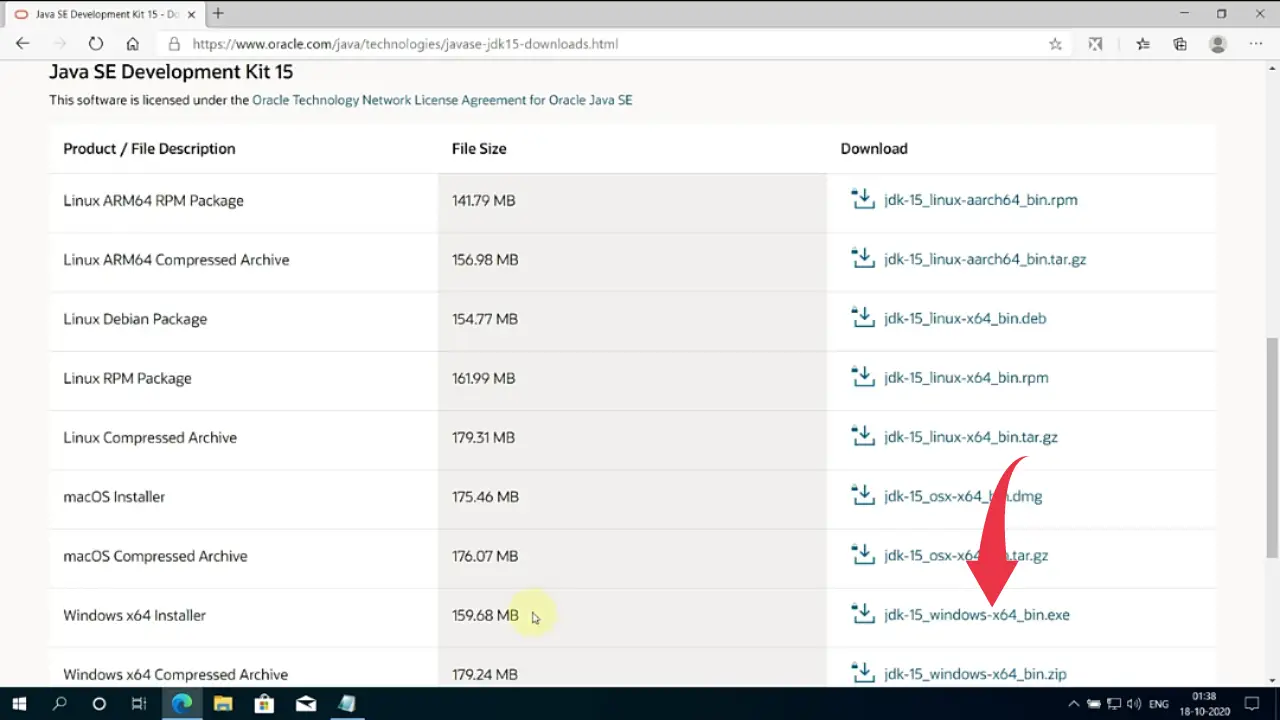
2) After that, you’ll be redirected to the “Java SE Development Kit Downloads” page. Now scroll down and there you’ll see a “windows X64 Installer” row and next to that a download link is given. Click on that link to download the installer for windows 10.
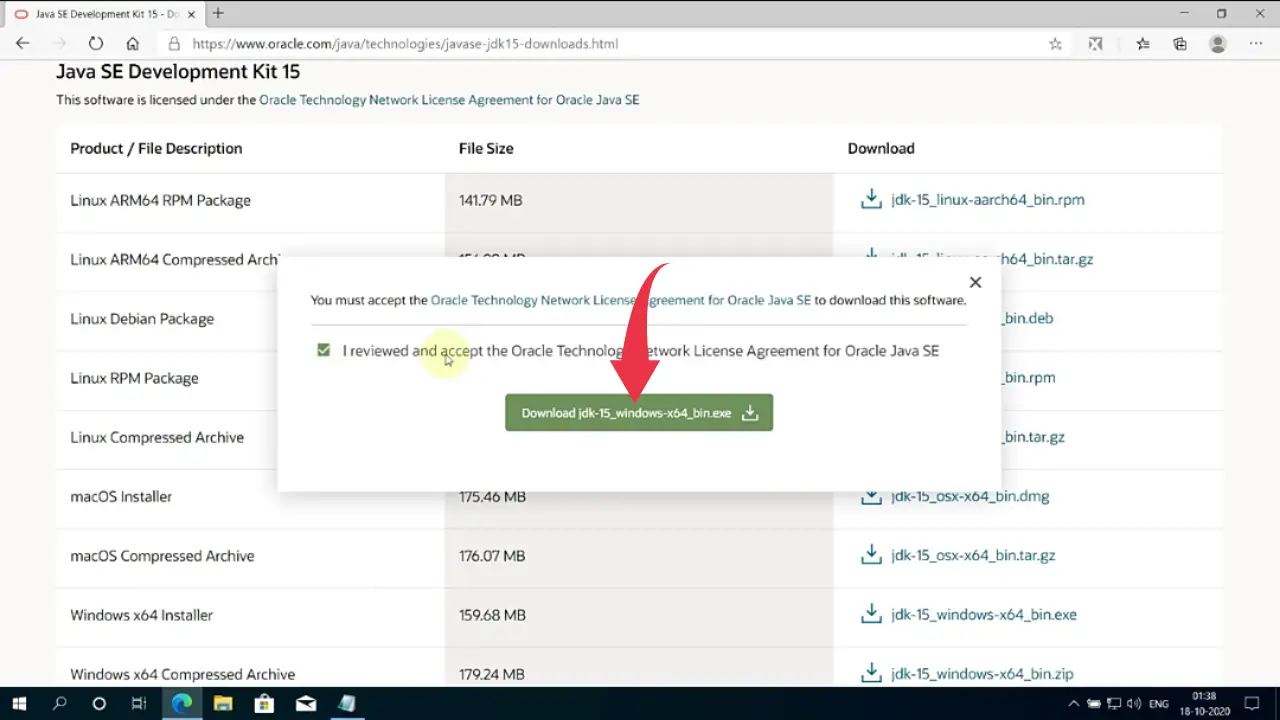
3) A popup screen will appear here, check the license agreement box and click on the long green download button. Depending on your internet connection the JDK file will get downloaded accordingly.
4) Now go to the folder where the downloaded exe file is available, right-click on the file and run it as administrator. A small window will appear to click on yes and the installation will begin.

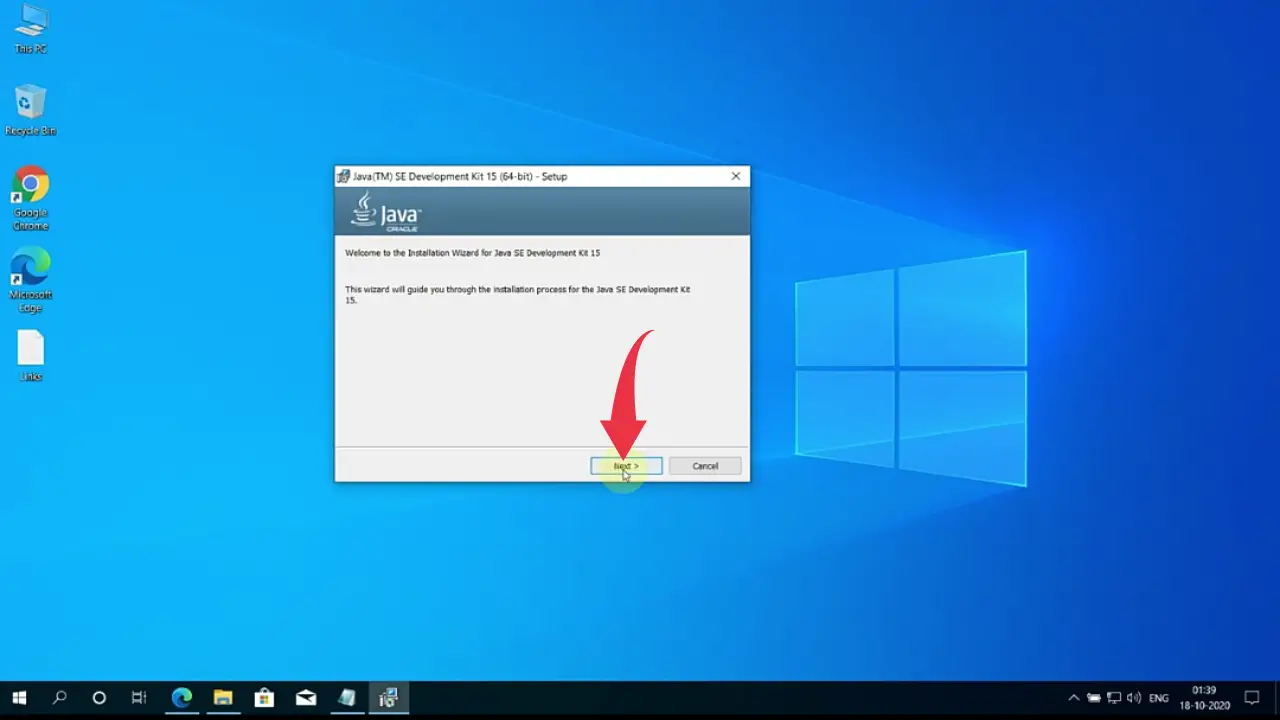
5) Once the installation gets finished a new installation wizard for Java will appear, here click next.
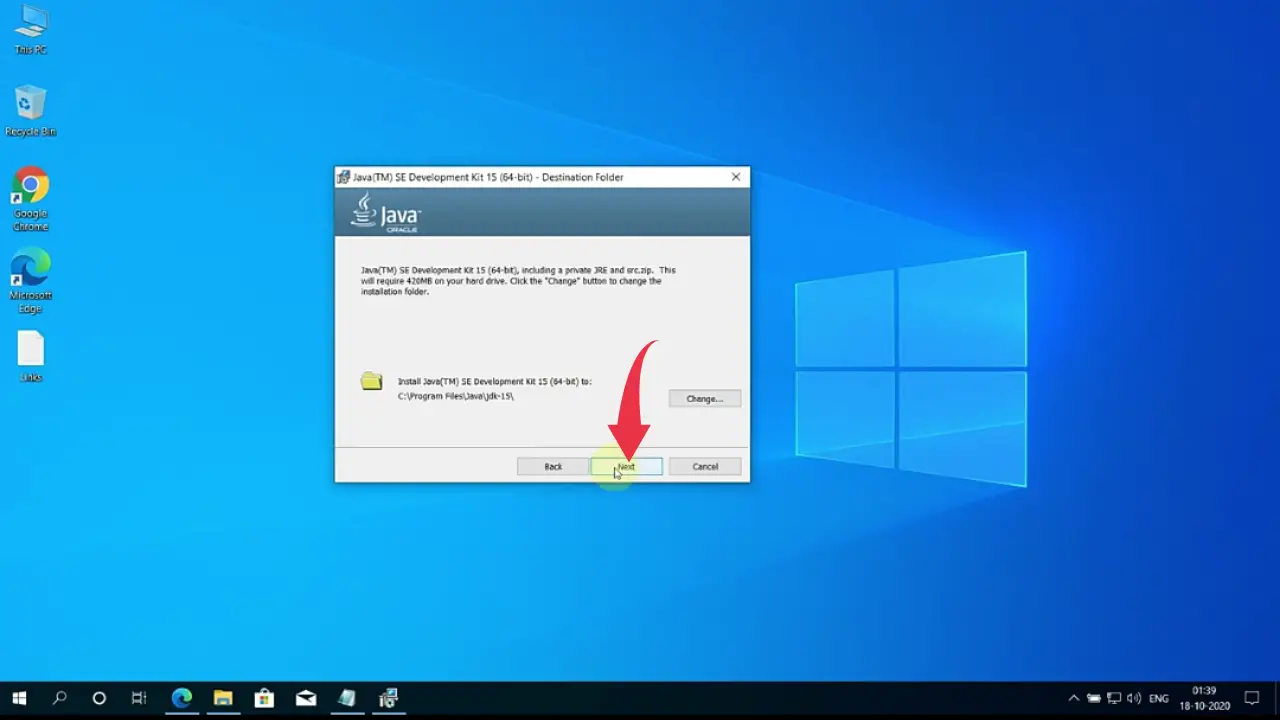
6) After that you’ll be asked to choose the installation folder, here we will go with the default installation folder so click on next.
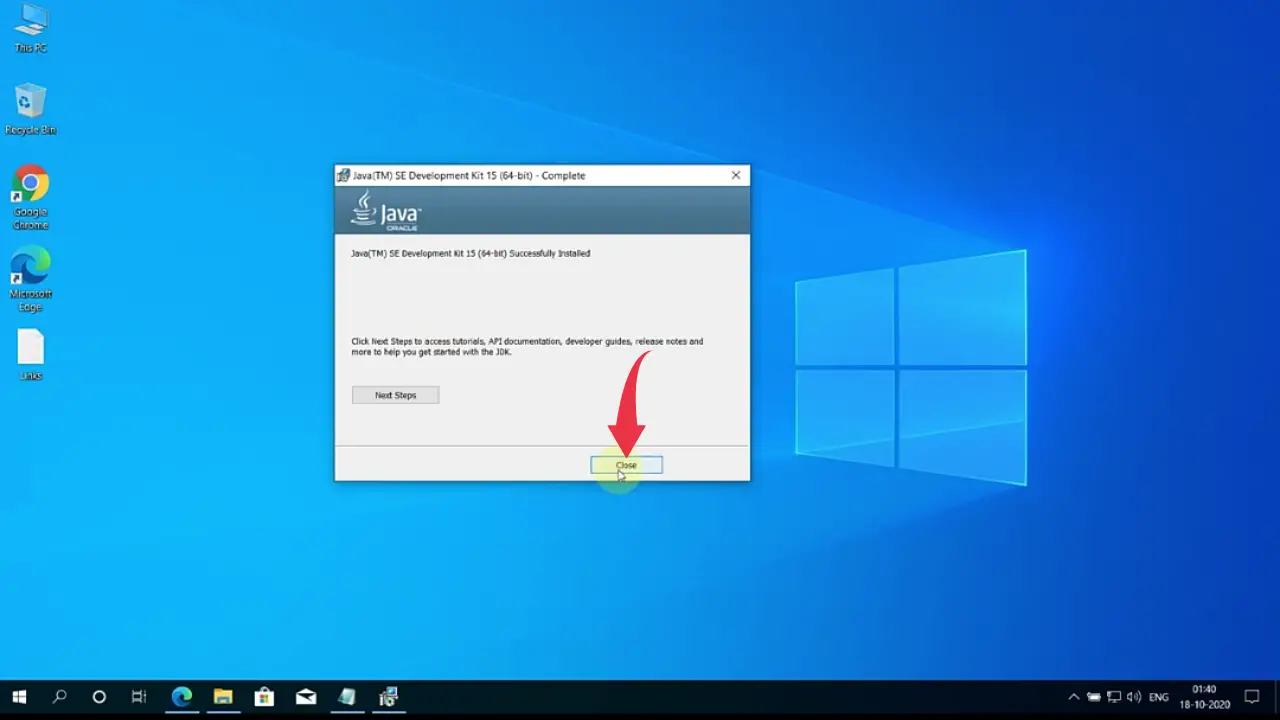
7) A progress bar will appear showing the installation progress, once it gets completed “Java(TM) SE Development Kit successfully installed” will appear on the screen and after that click on the close button.
Congrats 👏👏, by this time you’ve successfully installed JDK in your windows 10 machine.
Step 2: Verify Java JDK JRE Version
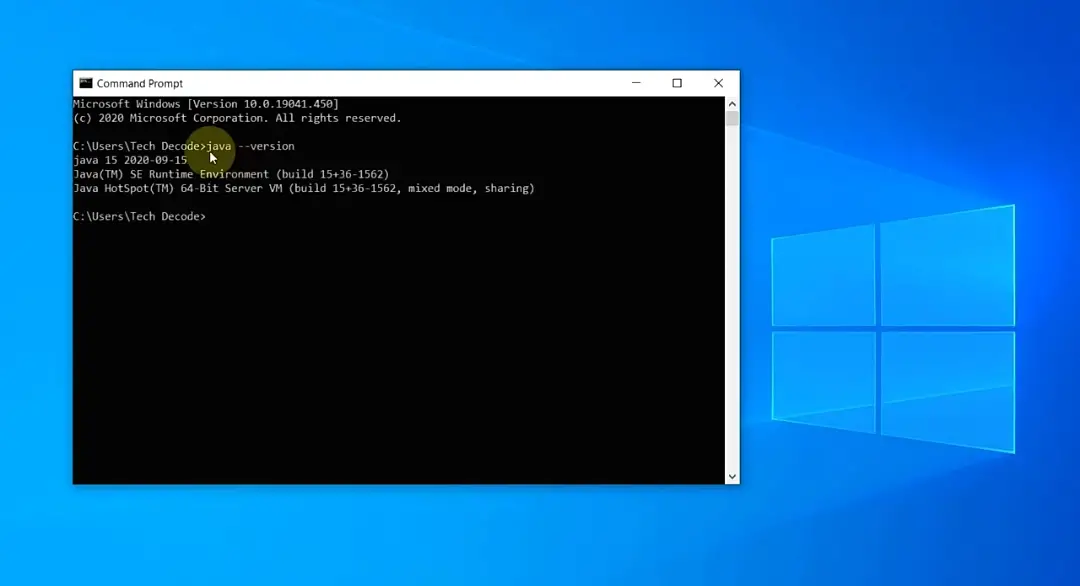
1) To check if JDK is installed properly or not, open up your command prompt by pressing the Windows button, type “cmd” and press enter.

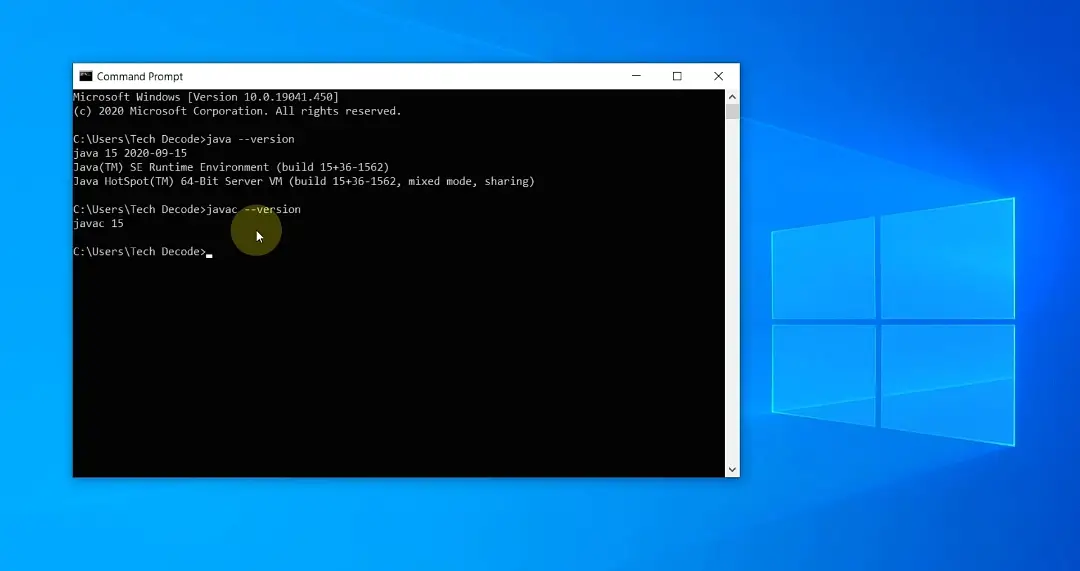
2) In the command prompt type, “java –version” and press enter to check the installed version of JDK.
3) After that type “javac –version” and press enter to check the installed version of the java compiler.
Now pat yourself in the back cause you’ve successfully installed JDK in windows 10 all by yourself🤗🤗.


This is a great tutorial! I’m new to Java and this was really helpful.